Sticky, mahogany-glazed chicken thighs are what happen when the oven does the heavy lifting and the sauce gets time to concentrate. The skin turns crisp at the edges, the meat stays juicy, and the BBQ sauce tightens into a lacquer that clings to every bite instead of sliding off into the pan. It’s the kind of dinner that looks like you worked a lot harder than you did.
The trick is giving the chicken a dry, hot start before the sauce goes on. If you brush BBQ sauce too early, the sugars can scorch before the thighs are cooked through. Here, the seasoning goes on first, then the sauce layers build in the final stretch so they caramelize instead of burn. A rack over a lined sheet pan helps the hot air circulate, which keeps the bottoms from steaming.
Below, I’ve included the timing cue that matters most, a few smart swaps, and the one broiler mistake that can ruin all that sticky, caramelized goodness if you’re not paying attention.
The sauce got that sticky, caramelized finish I always chase, and the thighs stayed juicy under the broiler. My husband kept picking at the crispy edges straight off the pan.
Caramelized BBQ chicken thighs that turn sticky, lacquered, and oven-crisp in all the right places.
The Part That Keeps BBQ Sauce Sticky Instead of Burnt
The mistake with oven BBQ chicken is rushing the sauce. BBQ sauce usually has sugar in it, and sugar turns from glossy to bitter fast once the oven heat gets aggressive. That’s why the thighs get seasoned and cooked first, then glazed in layers near the end when the meat is already close to done.
The rack matters too. It lifts the chicken out of its own fat so the skin can dry and brown instead of sitting in a shallow puddle and going soft. Broiling at the end gives you that lacquered finish, but only after the sauce has had a chance to thicken in the oven. If the sauce looks loose when it goes on, that’s fine; it should reduce into a sticky coat by the final minutes.
- Bone-in, skin-on chicken thighs — These stay juicier than boneless pieces and give you enough fat under the skin to crisp up properly. Boneless thighs will cook faster, but they won’t give you the same rich texture or that deep, roasted finish.
- BBQ sauce — Use a sauce you already like on fries or ribs. Since it reduces in the oven, a sauce that tastes balanced in the jar will taste even more concentrated on the chicken. If yours runs very sweet, add a pinch of vinegar or hot sauce before brushing it on.
- Smoked paprika and garlic powder — These give the chicken a grilled, smoky backbone that keeps the final dish from tasting flat. Fresh garlic can burn in the oven here, so the powdered version is the right tool for the job.
- Olive oil — This helps the spices cling and encourages the skin to brown before the sauce goes on. You don’t need much; too much oil can keep the skin from crisping cleanly.
Layering the Heat So the Glaze Turns Dark and Sticky
Seasoning the Thighs
Rub the thighs all over with olive oil, garlic powder, smoked paprika, onion powder, salt, and pepper. The surface should look evenly coated, not wet or pasty. If the seasoning is clumpy, the chicken will brown unevenly and the spices can burn in spots instead of forming a seasoned crust.
Starting on the Rack
Set the thighs skin-side up on a wire rack over a foil-lined baking sheet and bake at 400°F for 25 minutes. You’re looking for the skin to tighten and take on some color before any sauce enters the picture. If the chicken sits flat in rendered fat, the bottom can steam and the skin won’t develop that roasted bite.
Building the Sauce Layers
Brush the thighs generously with BBQ sauce, then return them to the oven for 10 minutes. Add another coat and bake 5 minutes more, until the sauce looks darker, thicker, and starts clinging in shiny streaks. If the sauce pools in the pan instead of sticking to the chicken, it usually means the oven wasn’t hot enough or the chicken needed a few more minutes before glazing.
The Final Broil
Broil for 3 to 4 minutes to get that last burst of caramelization. Stay close, because BBQ sauce can go from glossy to scorched fast under the broiler. When it’s right, the glaze will look almost black-cherry in the high spots, with crisp edges and a sticky sheen across the top.
How to Adapt These Chicken Thighs Without Losing the Sticky Finish
Use boneless thighs for faster weeknight timing
Boneless thighs work if you want dinner on the table faster, but cut the first bake time down and start checking early. They won’t hold onto quite as much fat, so the texture will be a little less rich, but the sauce still caramelizes nicely.
Make it gluten-free with a labeled BBQ sauce
The chicken itself is naturally gluten-free, so the only thing to check is the sauce. Use a BBQ sauce with a gluten-free label and the rest of the method stays the same. You’ll get the same sticky finish without changing the cooking time.
Dial up the heat with chipotle or cayenne
Stir chipotle powder or a pinch of cayenne into the seasoning mix if you want a smoky, spicier finish. Don’t add too much directly to the sauce unless you’ve tasted it first, because the reduced glaze will taste hotter than it does in the bowl.
Make a dairy-free, crowd-friendly tray dinner
This recipe is already dairy-free, which makes it easy to serve alongside potatoes, slaw, or roasted vegetables without extra planning. If you’re feeding a bigger group, double the sauce but keep the chicken in a single layer so the glaze still reduces instead of simmering around the meat.
Storage and Reheating
- Refrigerator: Store in an airtight container for up to 4 days. The skin softens, but the sauce stays flavorful.
- Freezer: Freeze for up to 2 months. Wrap tightly and thaw in the refrigerator before reheating so the sauce doesn’t separate as much.
- Reheating: Rewarm in a 350°F oven, covered loosely with foil for the first part so the sauce doesn’t overdarken. Uncover near the end to bring back a little stickiness; the microwave heats the meat, but it usually leaves the glaze dull and the skin rubbery.
Questions I Get Asked About This Recipe
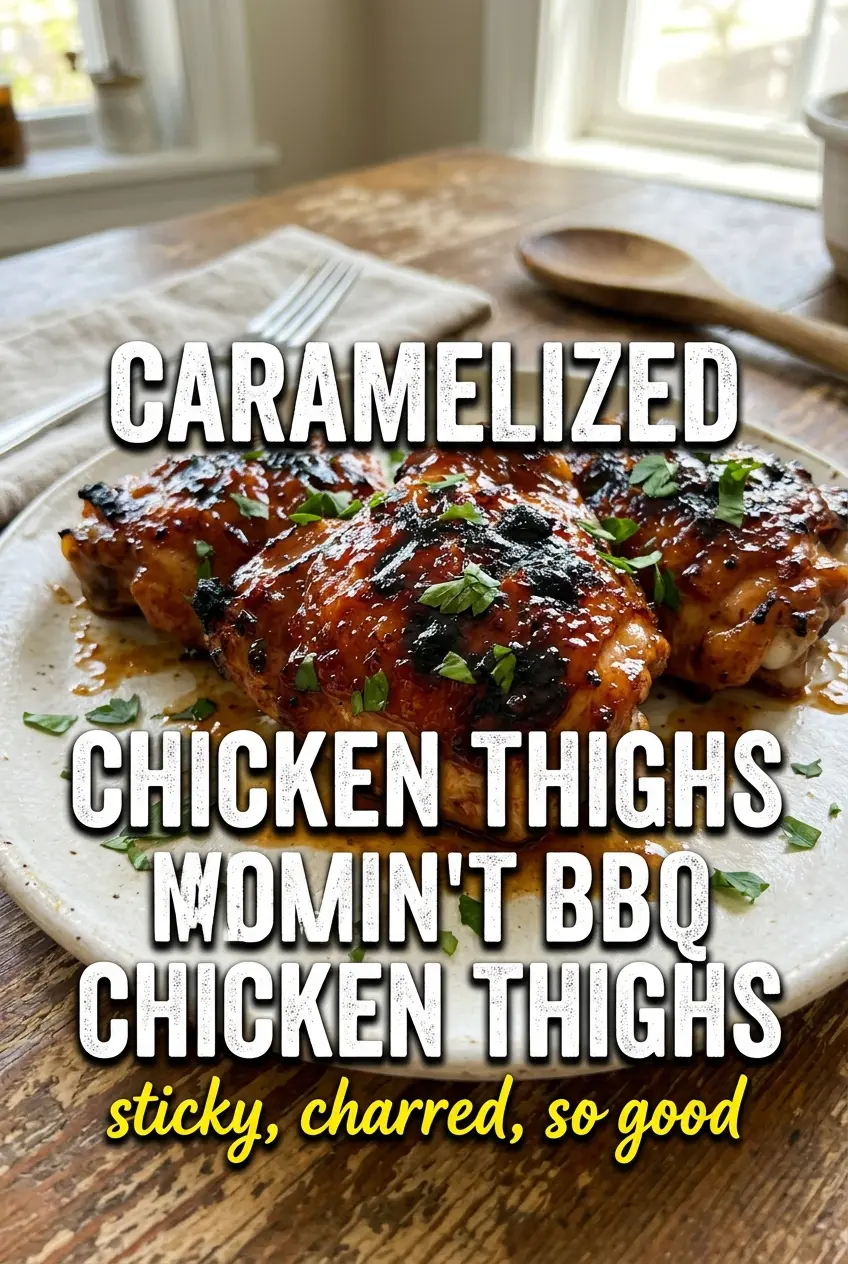
Caramelized BBQ Chicken Thighs In The Oven
Ingredients
Equipment
Method
- Preheat the oven to 400F and set a wire rack inside a foil-lined baking sheet for air flow around the chicken.
- Rub the chicken with olive oil, garlic powder, smoked paprika, onion powder, salt, and pepper until evenly coated.
- Place the chicken skin-side up on the rack, leaving space between thighs so the skin can brown.
- Bake at 400F for 25 minutes, until the chicken skin looks set and lightly browned.
- Brush generously with BBQ sauce and bake at 400F for 10 minutes, until the sauce starts to thicken.
- Brush with more BBQ sauce and bake at 400F for 5 more minutes, until deeply caramelized and sticky.
- Broil for 3-4 minutes for maximum caramelization, watching carefully so the sauce turns mahogany-colored without burning.
- Rest the chicken for 5 minutes to let the glaze cling before serving.
- Serve with extra BBQ sauce and garnish with fresh parsley.


