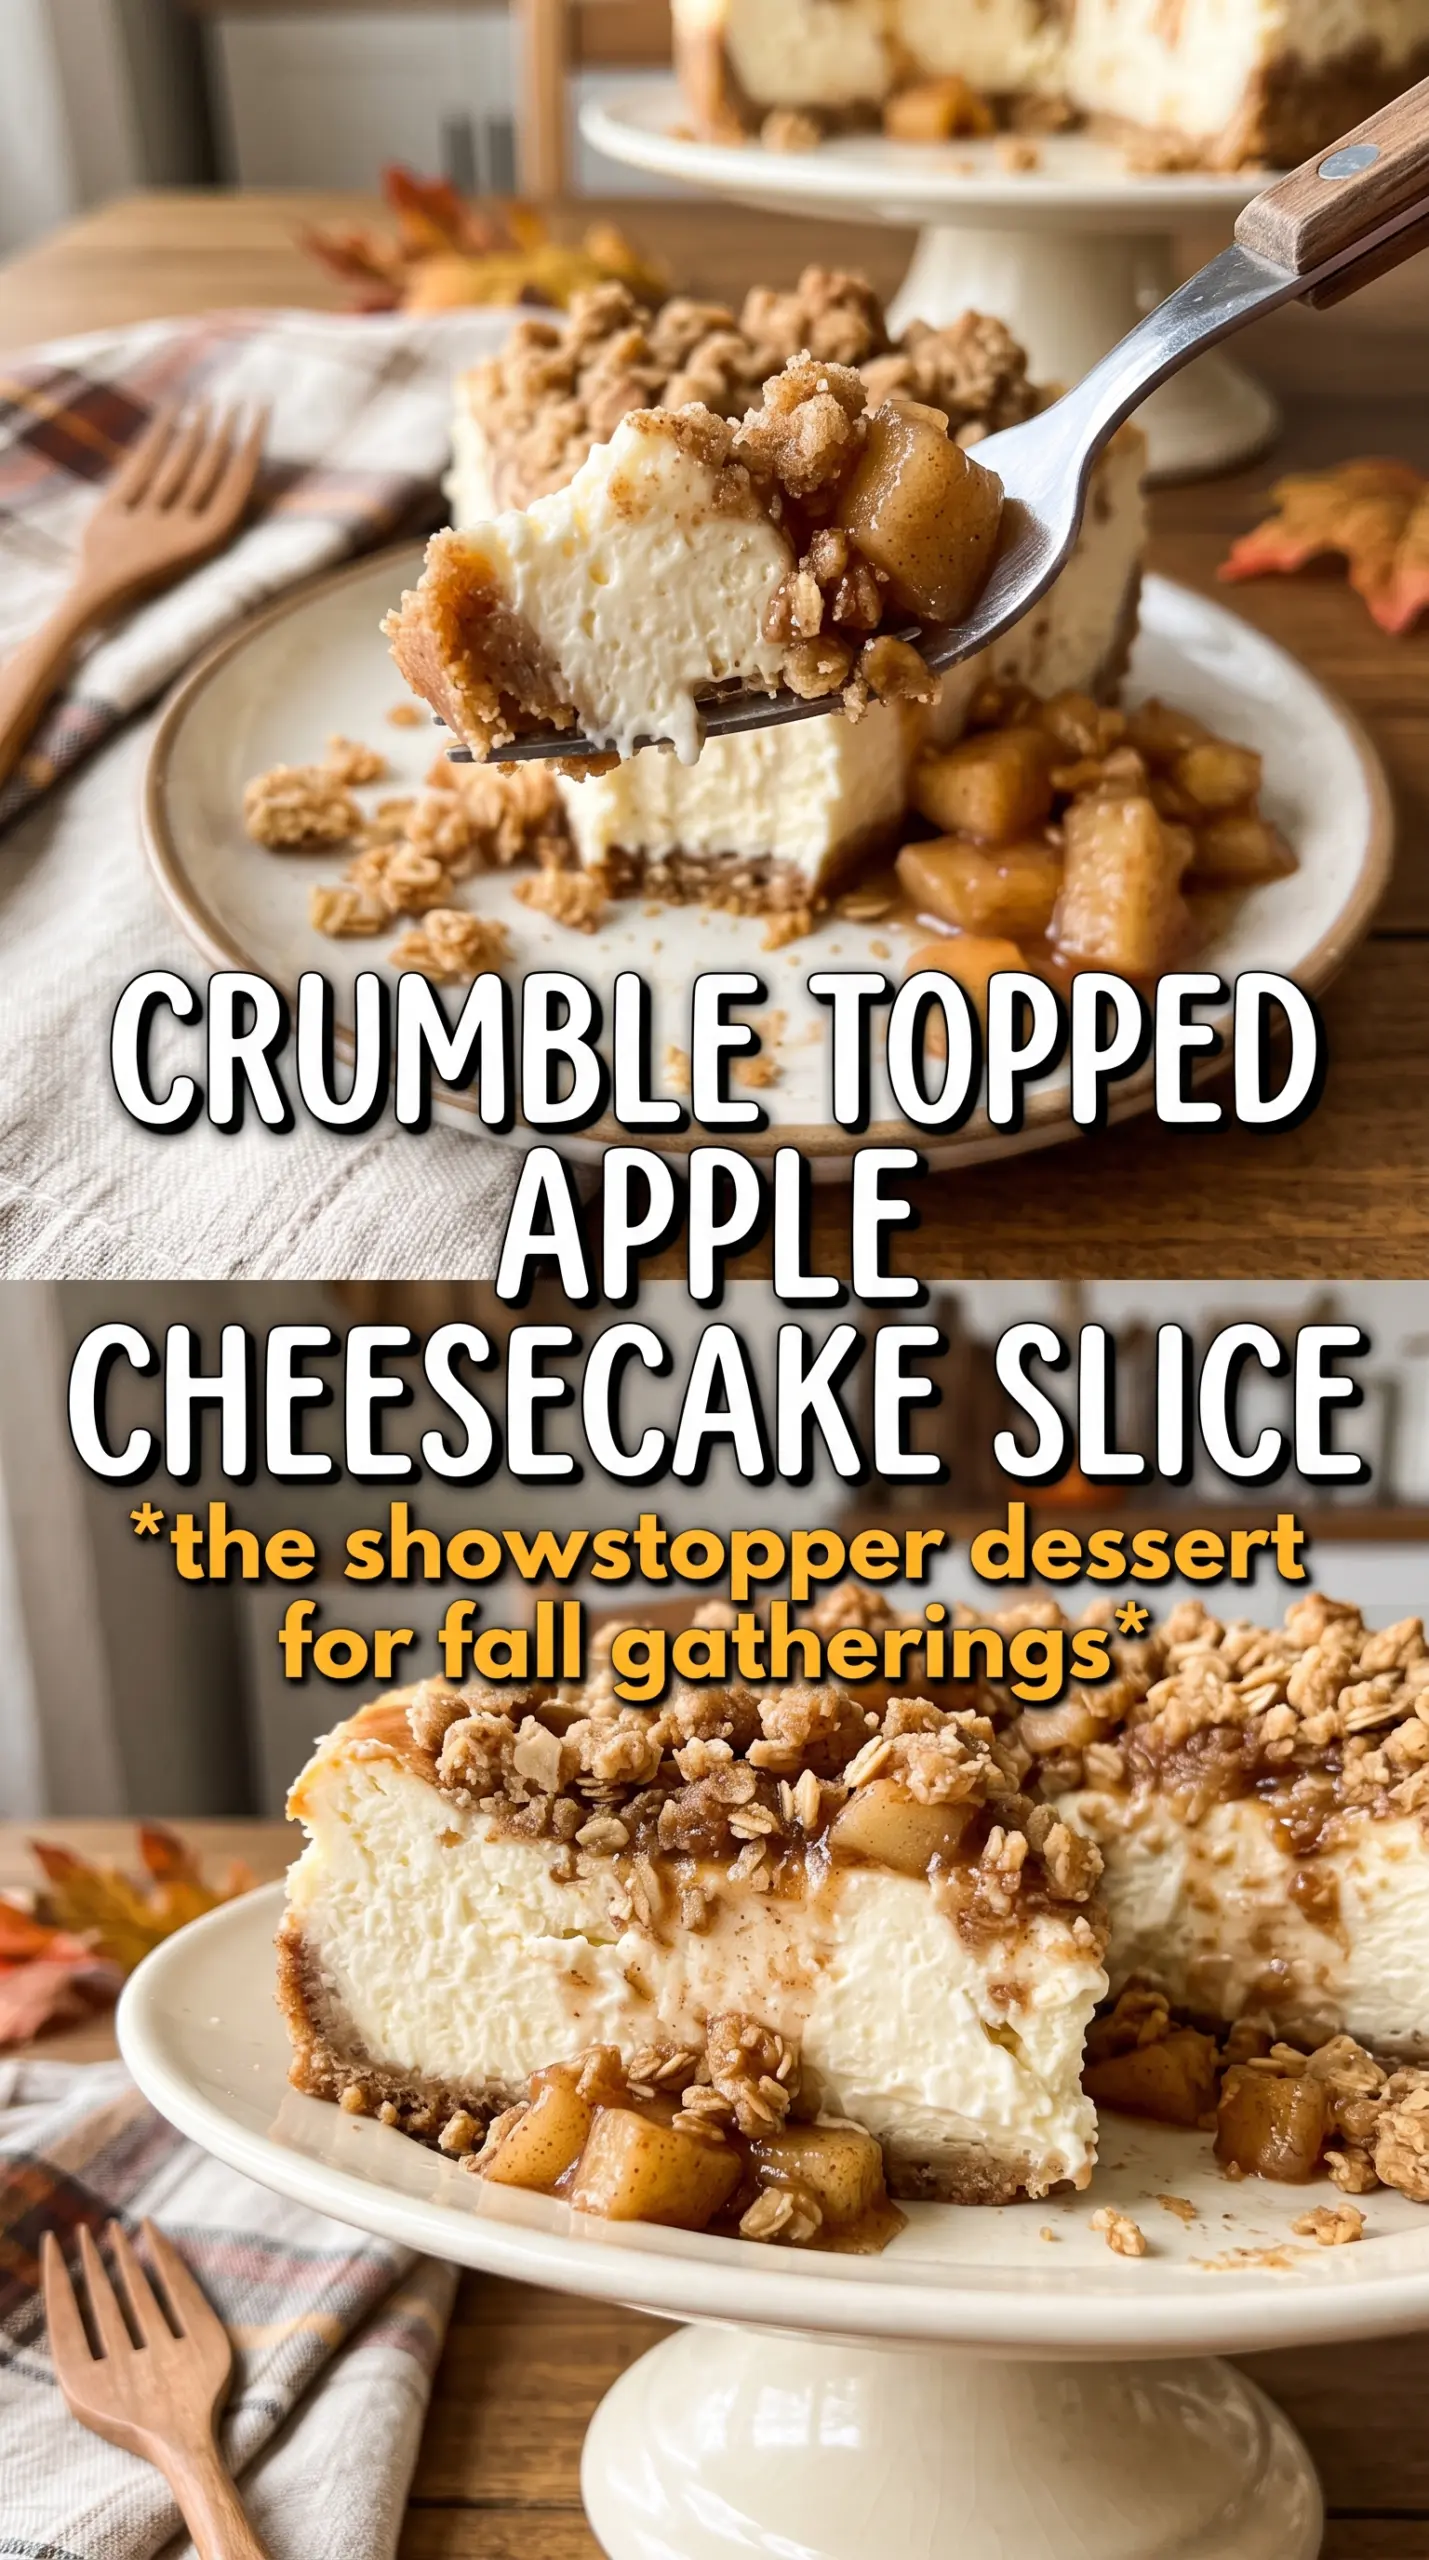
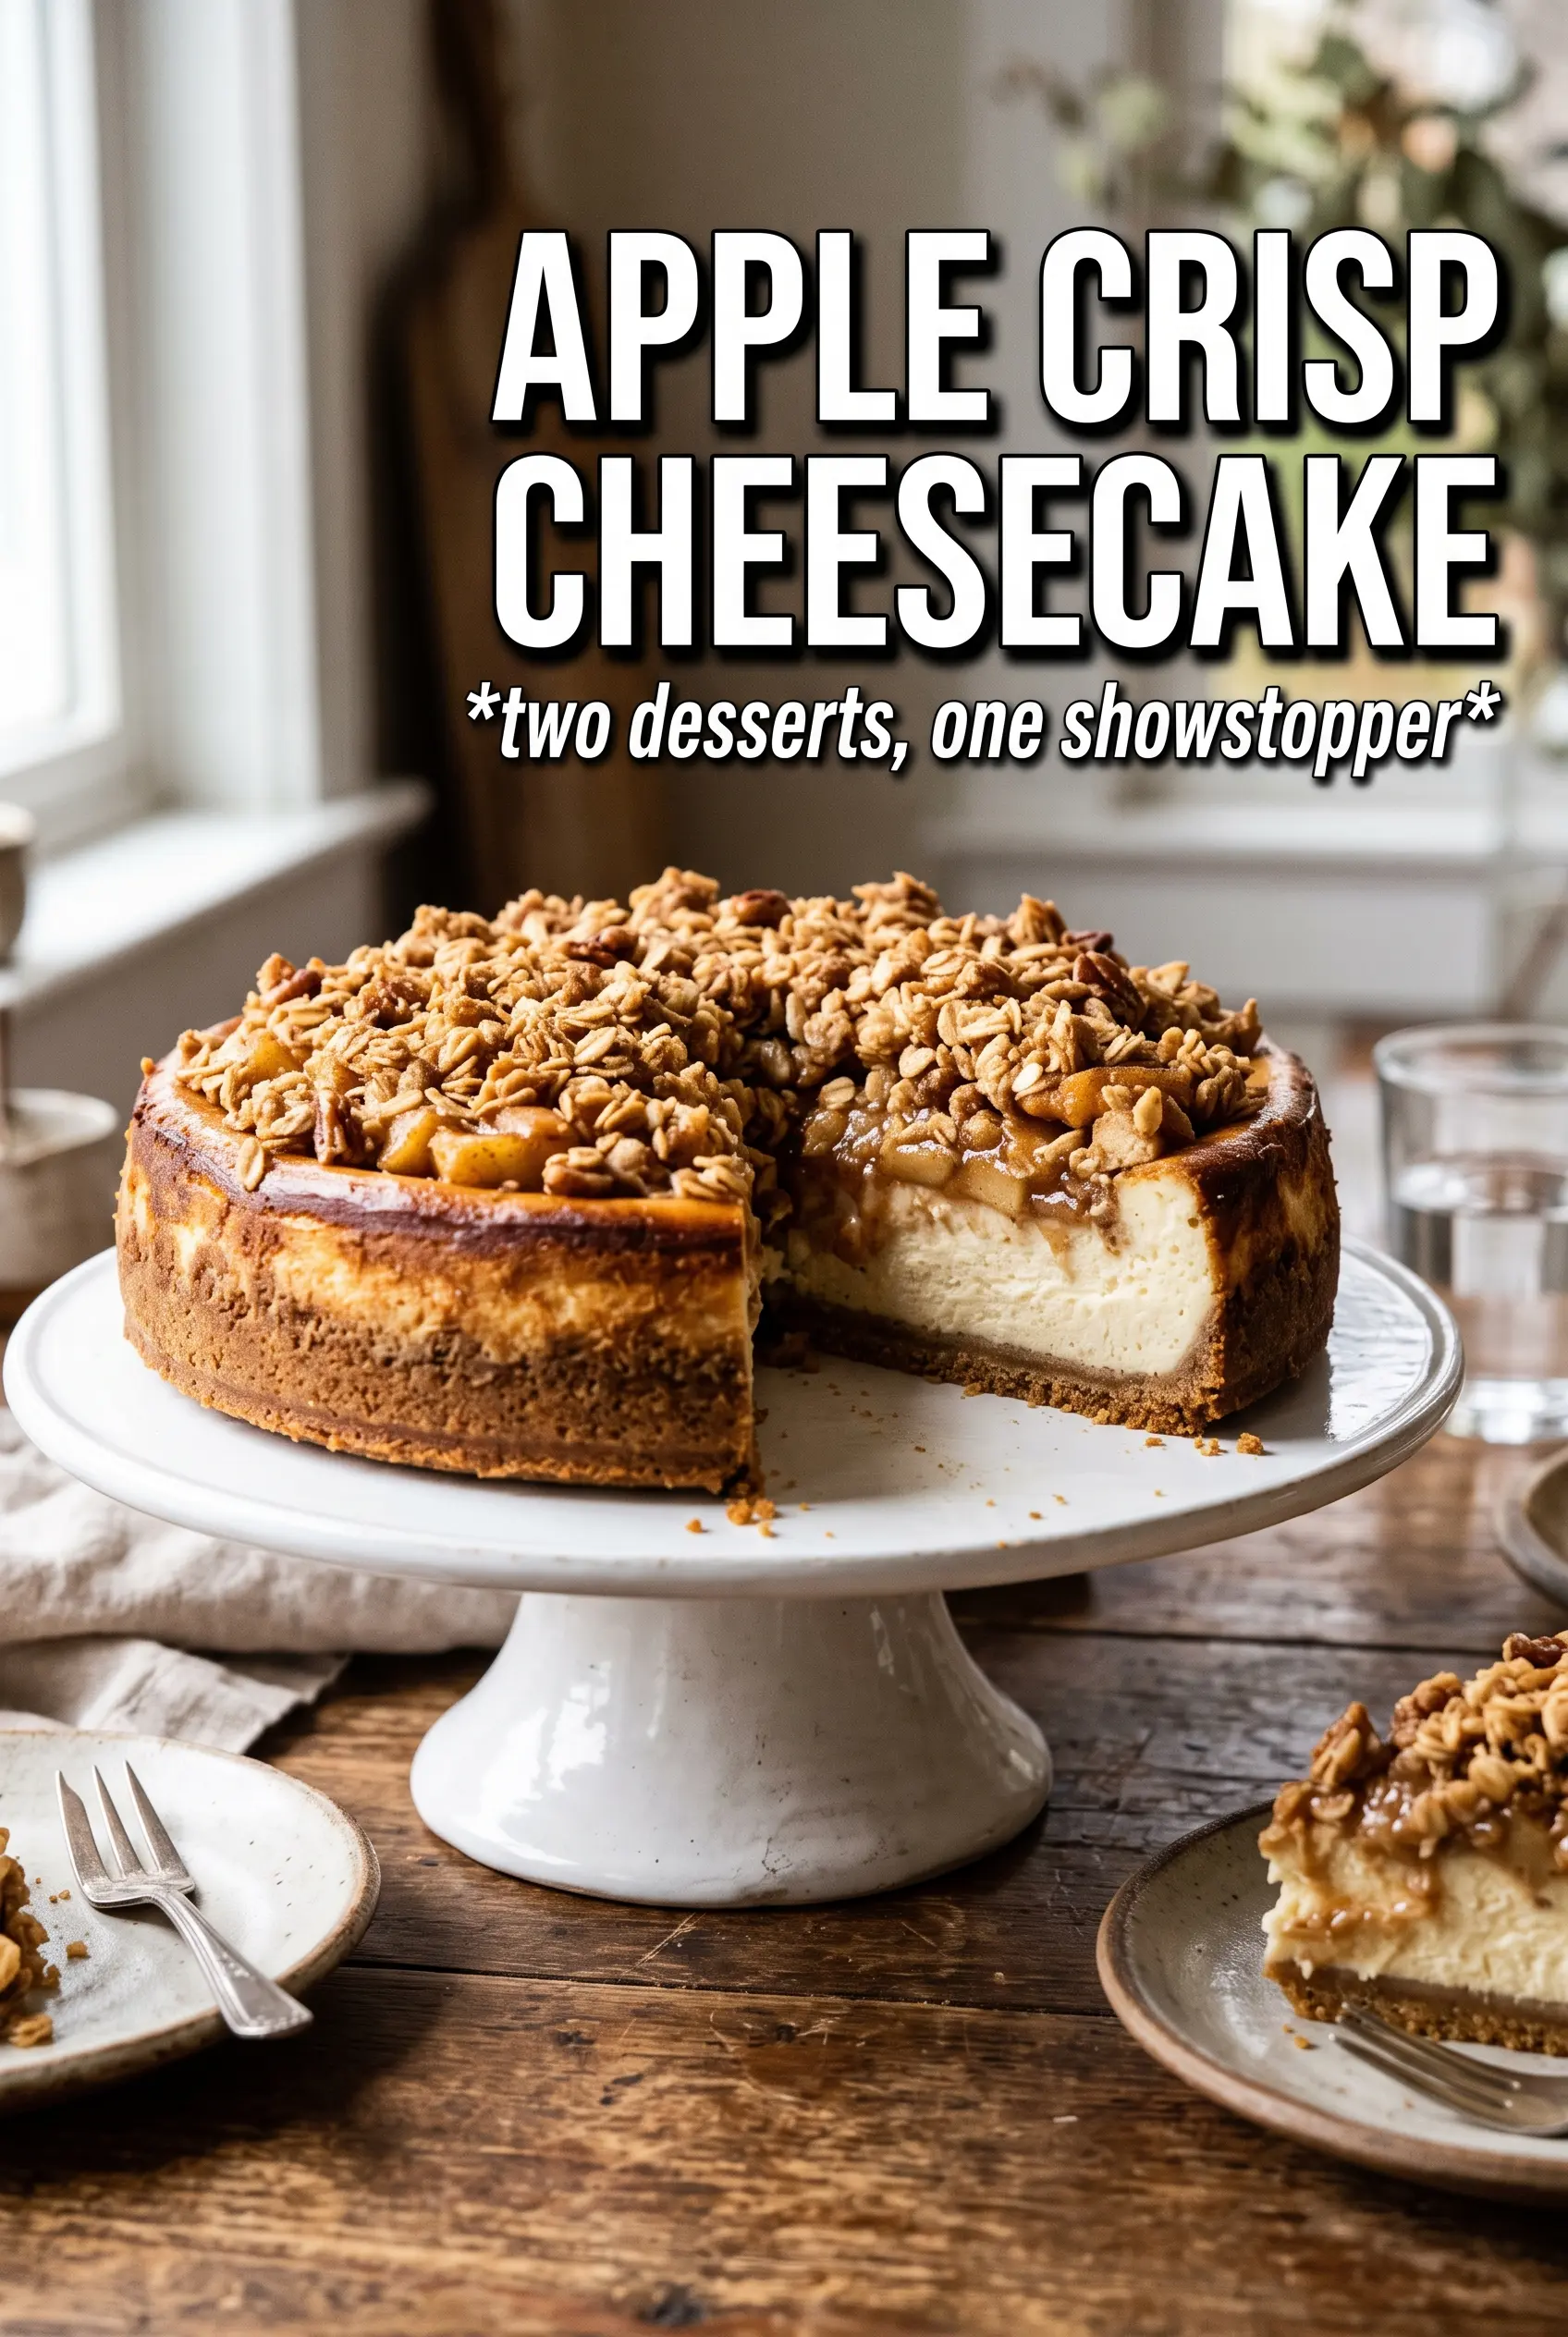
Apple crisp cheesecake lands in that sweet spot between a classic baked cheesecake and the warm, buttery crumble I want on almost every apple dessert. The crust stays sturdy, the filling bakes up smooth and tangy, and the apple layer gives each slice that soft, cinnamon-spiced bite that keeps the whole thing from feeling heavy. The oat topping finishes it with a crisp lid that cracks just enough when you cut into it.
What makes this version work is the order of the layers and the way each one is handled before it goes into the oven. The apples get cooked first, which keeps them from leaching extra juice into the cheesecake and turning the middle loose. The cream cheese base is mixed until smooth before the eggs go in, and that keeps the filling silky instead of lumpy. The water bath matters here too, because cheesecake needs gentle heat if you want clean slices instead of a cracked top and dry edges.
Below, I’ve included the details that matter most: how to keep the crumble topping nubby instead of sandy, what to watch for in the center of the cheesecake, and the swaps that still give you a dessert worth serving straight from the springform pan.
The apple layer stayed neat instead of running into the cheesecake, and the oat topping kept its crunch even after chilling overnight. Slices came out clean and the cinnamon flavor tasted balanced, not too sweet.
Save this apple crisp cheesecake for when you want a crackly oat topping, a creamy cheesecake center, and a spiced apple layer in one slice.
The Step That Keeps the Cheesecake Layer Smooth, Not Dense
The filling in this dessert needs to be mixed like cheesecake, not whipped like cake batter. If you beat too much air into the cream cheese and eggs, the center puffs, then sinks and cracks as it cools. A smooth, low-speed mix gives you that dense-but-creamy texture that slices cleanly once chilled.
The other place people get into trouble is the apple layer. Raw apples release juice as they bake, and that juice can seep into the filling and make the center loose. Cooking them first pulls off some moisture and concentrates the cinnamon and brown sugar, so the apple flavor stays distinct instead of muddy.
What Each Layer Is Doing in This Apple Crisp Cheesecake
- Graham cracker crumbs — These make a sturdier, more cheesecake-appropriate base than a pastry crust. They should feel like damp sand when mixed with the butter; if they’re too dry, the crust crumbles when sliced.
- Cream cheese — Full-fat cream cheese is the backbone of the filling, and softened blocks mix smoother than whipped tubs. Cold cream cheese leaves tiny lumps that don’t disappear later, so let it warm up before you start.
- Sour cream — This loosens the filling just enough and adds tang so the cheesecake doesn’t taste one-note sweet. Plain Greek yogurt can work in a pinch, but it brings a slightly sharper edge and a less luxurious texture.
- Apples — Use a firm baking apple that keeps some structure after cooking. Softer apples turn to mush in the layer and disappear under the topping.
- Rolled oats — Old-fashioned oats give the topping a nubby, crisp texture. Quick oats break down too much and turn the crumble sandy.
- Cold butter for the topping — This is what creates the craggy crisp bits. If the butter melts into the dry ingredients before baking, you lose the crunchy topping and get a paste instead.
Building the Layers So the Topping Stays Crisp
Pressing and Pre-Baking the Crust
Mix the graham crumbs, sugar, and melted butter until every crumb looks evenly moistened, then press the mixture firmly into the bottom of the springform pan. Bake it for 8 minutes so it sets before the wet filling goes on top. If you skip that short bake, the crust can soften and blend into the cheesecake base instead of staying distinct.
Cooking the Apples First
Cook the diced apples with butter, brown sugar, and cinnamon just until they start to soften and the pan smells caramelized. You want them tender enough to finish in the oven, not fully collapsed. Cool them before layering so they don’t warm the cheesecake batter or start the melting process in the pan.
Mixing the Filling Without Adding Too Much Air
Beat the cream cheese and sugar until smooth, then add the eggs one at a time, mixing just until each disappears. Stir in the sour cream, vanilla, and cinnamon at the end. If you keep the mixer running after the eggs go in, you trap air that expands in the oven and often leads to cracks or a soufflé-like rise.
Building the Crumble and Baking in a Water Bath
Cut the cold butter into the oats, flour, brown sugar, and cinnamon until the mixture forms clumps, not a uniform paste. Scatter it over the apples so it can bake into a craggy top instead of disappearing into the filling. Set the pan in a water bath and bake until the center still has a slight wobble; overbaking is what turns cheesecake grainy and dry.
Maple Pecan Version
Swap the apples for lightly cooked pears if you want a softer fruit layer, and add chopped toasted pecans to the oat topping. The result is a deeper, nuttier dessert with less tartness and a slightly more delicate fruit bite.
Gluten-Free Crust and Crumble
Use certified gluten-free graham-style crumbs for the crust and a 1:1 gluten-free flour blend in the topping. The texture stays close to the original, though the crumble may bake a little more delicately, so let it cool fully before slicing.
Dairy-Free Adjustment
Use dairy-free cream cheese, plant-based butter, and coconut yogurt in place of the sour cream. The cheesecake will still set, but the texture is a touch less rich and the coconut notes may show slightly in the background.
Making It Ahead for a Crowd
Bake the cheesecake a day ahead and chill it overnight before releasing the springform pan. The flavor improves as it rests, and the slices hold their shape better after a full chill than they do when cut the same day.
Storage and Reheating
- Refrigerator: Store covered for up to 5 days. The topping softens a little, but the cheesecake stays cleanly sliceable.
- Freezer: Freeze whole or in slices, well wrapped, for up to 1 month. Thaw in the refrigerator overnight so condensation doesn’t make the crumble soggy.
- Reheating: Cheesecake is best served cold or just barely cool. If you want to take the chill off, let a slice sit at room temperature for 20 to 30 minutes; microwaving can make the filling greasy and the topping lose its texture.
Answers to the Questions Worth Asking
Apple Crisp Cheesecake
Ingredients
Equipment
Method
- Preheat oven to 325F and press the graham cracker crumbs, sugar, and melted butter into a 9-inch springform pan. Bake for 8 minutes, then remove to cool while you prepare the filling.
- Cook the diced apples with 1 tablespoon butter, brown sugar, and cinnamon for 5 minutes, stirring until softened. Cool completely before layering on the cheesecake so the filling stays creamy.
- Beat the softened cream cheese and granulated sugar until smooth. Add eggs one at a time, mixing just until combined, then mix in sour cream, vanilla, and cinnamon.
- Pour the cheesecake filling over the baked crust and top with the cooked apples. Spread evenly so the apple layer covers the surface.
- Combine rolled oats, flour, brown sugar, and cinnamon, then cut in the cold cubed butter until clumpy. Scatter the topping over the apples so you get a golden crisp crown.
- Set the springform pan into a water bath on a sheet pan and bake at 325F for 60-65 minutes until the center is just set. The top should look set while the middle still has a slight jiggle.
- Cool the cheesecake completely at room temperature before refrigerating. Refrigerate for 6 hours, then release from the pan and slice cleanly.


