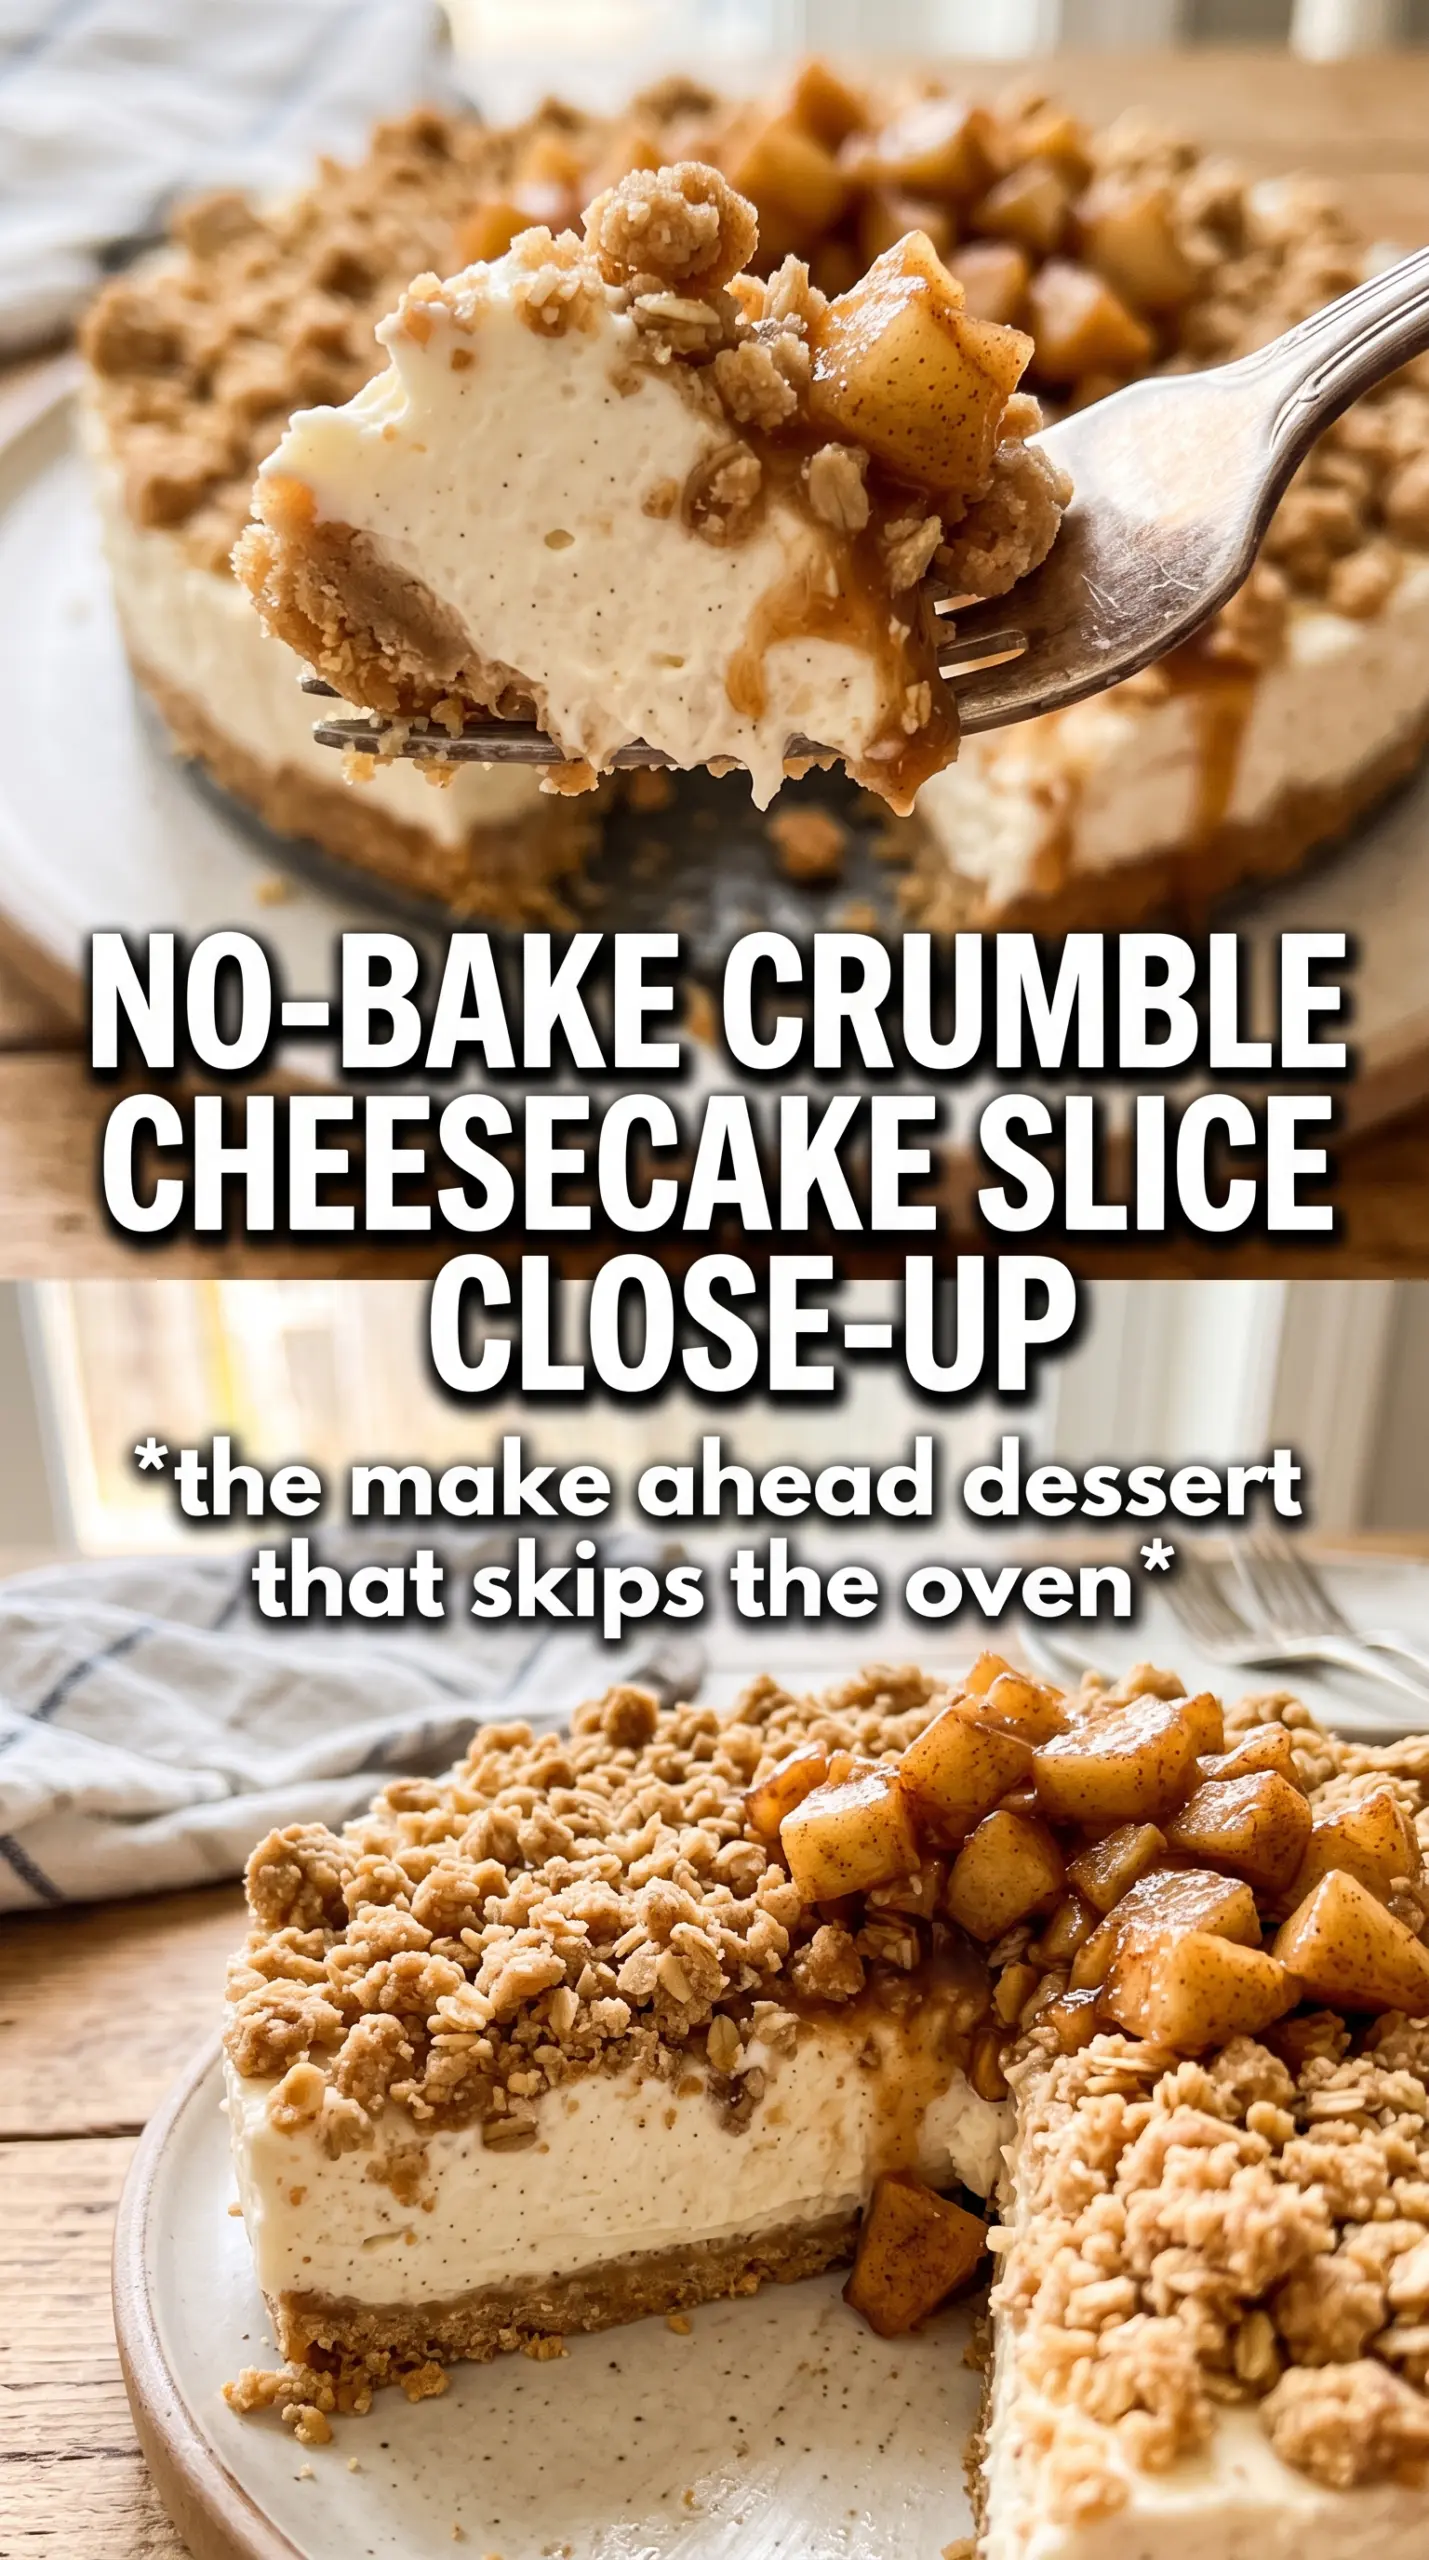
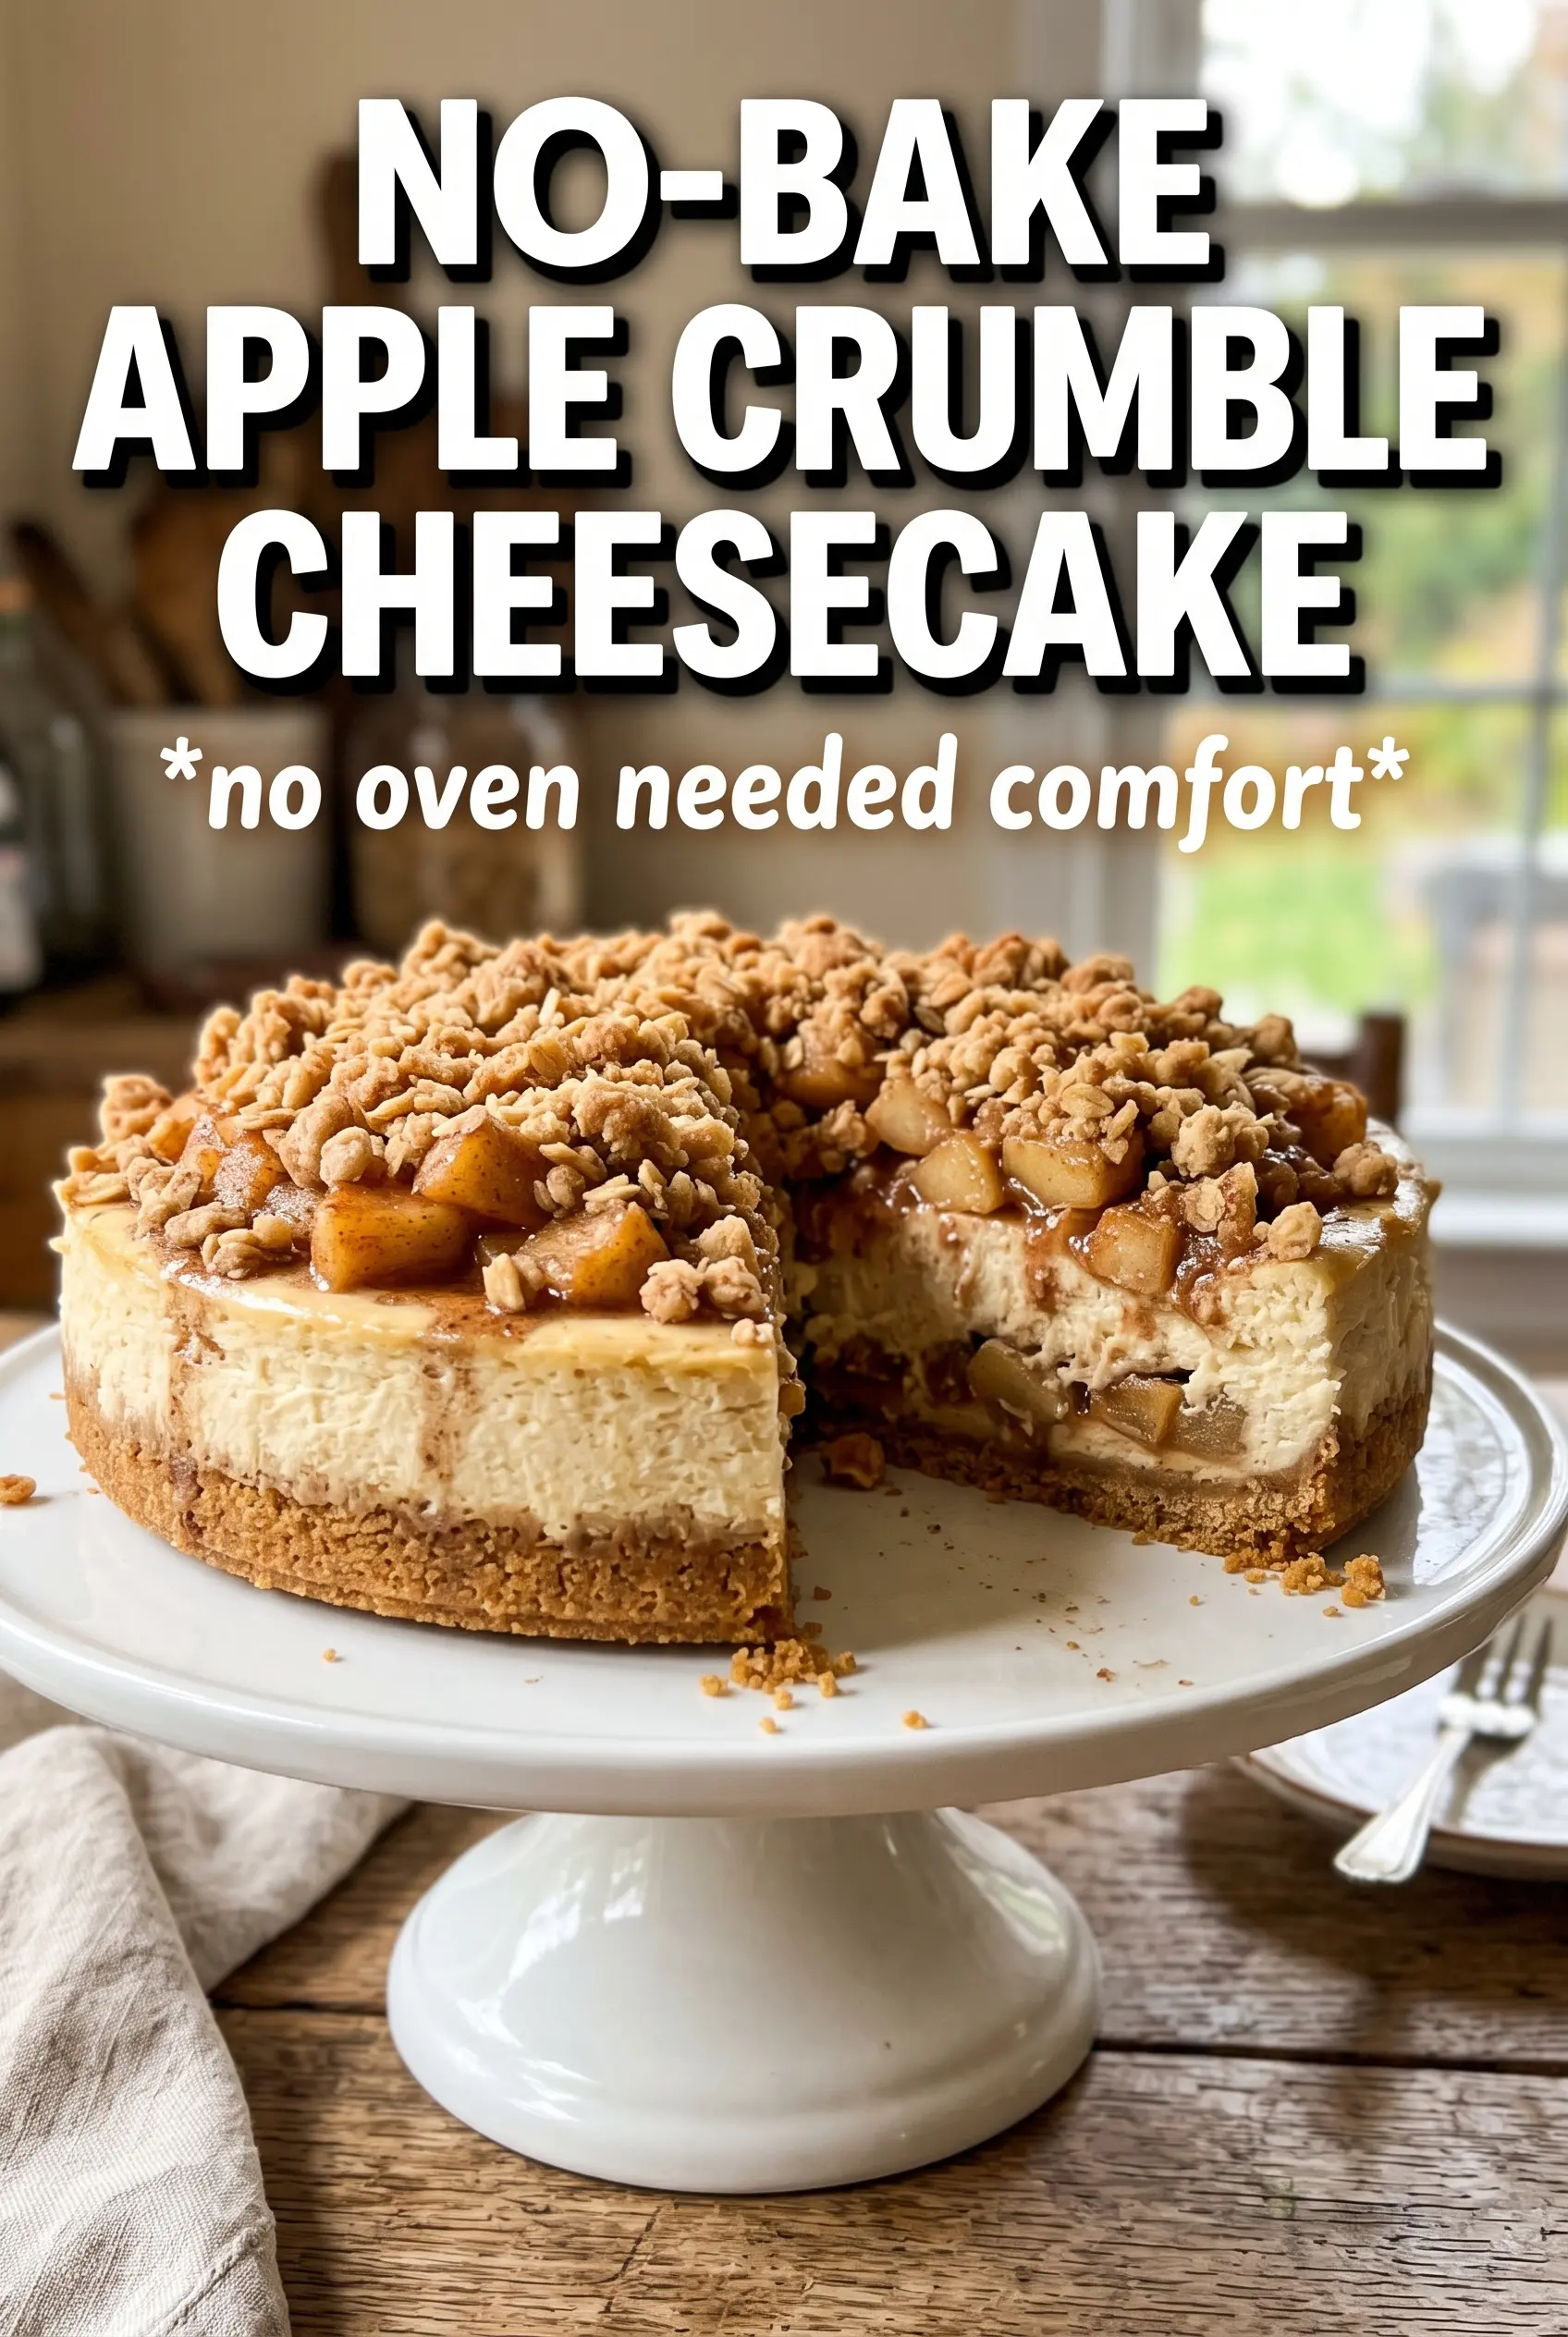
Cold, creamy cheesecake layered over a spiced oat crumble crust has a way of disappearing fast, and this no-bake apple crumble cheesecake earns its spot because every bite gives you contrast. The crust stays sturdy and toasty, the filling sets up smooth and plush, and the apple layer brings just enough tart-sweet brightness to keep the whole dessert from feeling heavy.
The part that makes this version work is the balance of texture and chill time. The crust gets pressed firmly enough to hold together after chilling, and the whipped cream is folded into the cream cheese base for a filling that tastes rich without baking or eggs. A little cinnamon in both the crust and the filling ties the layers together, while nutmeg in the apple topping adds that bakery-style warmth you can smell before the first slice is cut.
Below, I’ve included the little details that matter most here: how to keep the crust from turning crumbly, what to look for when the filling is smooth enough, and the easiest way to get clean slices once the cheesecake has set.
The crust pressed down beautifully and held its shape after chilling. I loved that the apple layer stayed neat instead of sliding off, and the cinnamon in the filling made each bite taste like apple pie and cheesecake together.
Save this no-bake apple crumble cheesecake for the days when you want apple pie flavor, a creamy cheesecake center, and a crunchy oat topping without turning on the oven.
The Chilling Step That Keeps This Cheesecake From Slumping
The biggest mistake with a no-bake cheesecake is rushing the set. If the crust is still soft or the filling hasn’t had enough time to firm up, the whole thing slides when you release the springform pan. This version avoids that by chilling the crust first, then giving the finished cheesecake a long rest so the cream cheese and whipped cream can tighten into clean slices instead of a soft mound.
The other thing that matters is texture inside the filling. Cream cheese needs to be fully smooth before the whipped cream goes in, or you’ll end up with little lumps that never disappear. Fold the whipped cream in gently, but don’t stop too early; streaks mean the filling isn’t evenly mixed yet.
What Each Layer Is Doing in This Dessert
- Rolled oats — These give the crust its nubby, crumble-like texture. Quick oats can work in a pinch, but the finished base will be softer and less defined.
- Flour — This helps the crust hold together once it’s mixed with butter and chilled. Without it, the base tends to fall apart when you cut into the cheesecake.
- Brown sugar — Used in both the crust and the filling, it brings a deeper caramel note that plays nicely with the apples. Light brown sugar is fine; dark brown sugar will make the filling taste a little richer and more molasses-forward.
- Cream cheese — This is the backbone of the filling, so use full-fat blocks, not tub-style spread. Softening it fully before beating is the difference between silky and grainy.
- Heavy cream — Whipped to stiff peaks, it gives the cheesecake enough body to slice after chilling. If it’s underwhipped, the filling won’t hold. If it’s overwhipped, it can turn dense and grainy when folded in.
- Apple pie filling — This keeps the topping easy and gives you tender apples without extra cooking. If you want a brighter homemade taste, use canned filling and stir in extra cinnamon and nutmeg exactly as written.
Building the Layers So Every Slice Holds Together
Pressing the Crumble Base
Mix the oats, flour, brown sugar, cinnamon, and melted butter until every dry spot is moistened and the mixture looks like damp sand with some bigger clumps. Press it firmly into the bottom of a 9-inch springform pan, getting into the edges so the crust isn’t thin in the corners. If you press too lightly, it will crumble when sliced; if you pack it well, it cuts like a proper base after chilling. A 20-minute trip to the refrigerator helps it set before the filling goes on.
Whipping the Filling Until Smooth
Beat the cream cheese first until it’s completely free of lumps, then add both sugars, vanilla, and cinnamon. The mixture should look thick and glossy before the whipped cream is added. Fold in the whipped cream in stages, scraping the bowl as you go, and stop when the filling is uniform with no white streaks left. If you stir too hard, you’ll knock out the air and lose that light cheesecake texture.
Layering the Apples and Crumble
Stir the cinnamon and nutmeg into the apple pie filling so the topping tastes spiced all the way through, not just on top. Spoon it over the cheesecake carefully so the filling underneath stays in place, then scatter the reserved crumble over the apples. This is the moment that gives the dessert its apple-crisp look, so don’t bury the topping under a heavy layer of crumbs. A light scatter is enough to keep the top pretty while still letting the apples show through.
Letting It Set Before Slicing
Refrigerate the cheesecake for at least 6 hours, and overnight is even better if you want the cleanest slices. Use a sharp knife dipped in hot water and wiped dry between cuts for neat edges. If you try to release the springform too soon, the center can slump even if it seems firm on top. Patience pays off here.
Three Ways to Adjust This Cheesecake Without Losing the Good Part
Make It Gluten-Free
Swap the flour in the crust for a 1:1 gluten-free baking blend and check that your oats are certified gluten-free. The crust will still press and chill well, but it may taste a little more delicate and crumbly at the edges, so pack it firmly into the pan.
Use Homemade Apple Filling
If you’d rather cook fresh apples, use tender but not mushy slices and cool them completely before spooning them over the cheesecake. Homemade filling gives you a brighter apple flavor and less syrupy sweetness, but it takes extra time and the topping needs to be thick enough not to seep into the cream layer.
Make It Dairy-Free
Use dairy-free cream cheese and a non-dairy whipping topping that holds stiff peaks. The flavor stays close, but the filling usually sets a little softer than the dairy version, so give it the full chill time and keep it cold right up until serving.
Turn It Into Mini Cheesecakes
Press the crust into muffin liners and portion the filling and apple topping into individual cups. Minis chill faster and are easier to serve at a party, but they won’t have the same dramatic layered slice, so reserve a little crumble for the top of each one.
Storage and Reheating
- Refrigerator: Store covered for up to 4 days. The crumble softens a little over time, but the filling stays sliceable.
- Freezer: Freeze slices tightly wrapped for up to 1 month. Thaw in the refrigerator overnight; the texture is best once thawed slowly.
- Reheating: This dessert is meant to be served cold, not reheated. If it feels too firm straight from the fridge, let it sit at room temperature for 10 to 15 minutes before slicing.
Questions I Get Asked About This Recipe
No-Bake Apple Crumble Cheesecake
Ingredients
Equipment
Method
- Combine rolled oats, flour, brown sugar, and cinnamon in a bowl, then drizzle in melted unsalted butter and toss until evenly moistened. Press the mixture firmly into a 9-inch springform pan.
- Refrigerate the crust for 20 minutes while you prepare the filling. Reserve 1/2 cup of the crust mixture for the crumble topping.
- Beat softened cream cheese, powdered sugar, brown sugar, vanilla, and cinnamon until completely smooth and no lumps remain. Fold in whipped heavy cream until no streaks remain.
- Spread the filling over the chilled crust in an even layer. Smooth the top so the surface sets uniformly.
- Stir cinnamon and nutmeg into the apple pie filling until evenly combined. Spoon the apple topping over the cheesecake in an even layer.
- Scatter the reserved crumble over the apple topping. Refrigerate for 6 hours or overnight before releasing from the springform.


