Blackberry apple crumble lands with that rare mix of soft, tart fruit and a crisp, nubbly topping that holds its texture even after it hits the warm filling. The apples cook down into a tender base while the blackberries burst and turn the juices a deep purple-red, so every spoonful tastes bright at the center and buttery on top.
The balance matters here. Too much sugar and the fruit goes flat; not enough and the blackberries can taste sharp against the oats and brown sugar. Cornstarch keeps the filling from turning watery, and cold butter is what gives the crumble those clumps and crags that bake up into real crunch instead of sandy crumbs.
Below, I’ve included the little things that make this dessert behave: how to keep the topping from melting into the fruit, which apples hold their shape best, and the easiest swaps if you’re working with frozen berries or need a gluten-free version.
The filling bubbled up thick instead of runny, and the oats stayed crisp on top even after sitting on the table for a bit. I used frozen blackberries and it still baked beautifully.
Like this blackberry apple crumble? Save it to Pinterest for the nights when you want bubbling fruit and a crisp oat topping with hardly any fuss.
The Detail That Keeps the Topping Crisp Instead of Soggy
The filling in a crumble can go wrong fast if the topping sinks into the fruit before the oven has a chance to set it. That’s why the fruit goes into the dish already tossed with cornstarch and lemon juice, and the crumble goes on top in loose clumps instead of a packed layer. Those little gaps let steam escape, which keeps the oats from steaming into paste.
The other thing worth watching is the fruit level. Apples and blackberries shrink as they bake, and if you mound the filling too high in a shallow dish, the juices can bubble over before the topping browns. A 9×13 dish gives you enough surface area for even browning, and the 10-minute rest at the end lets the juices thicken before serving.
What the Apples, Blackberries, and Oats Are Each Doing Here
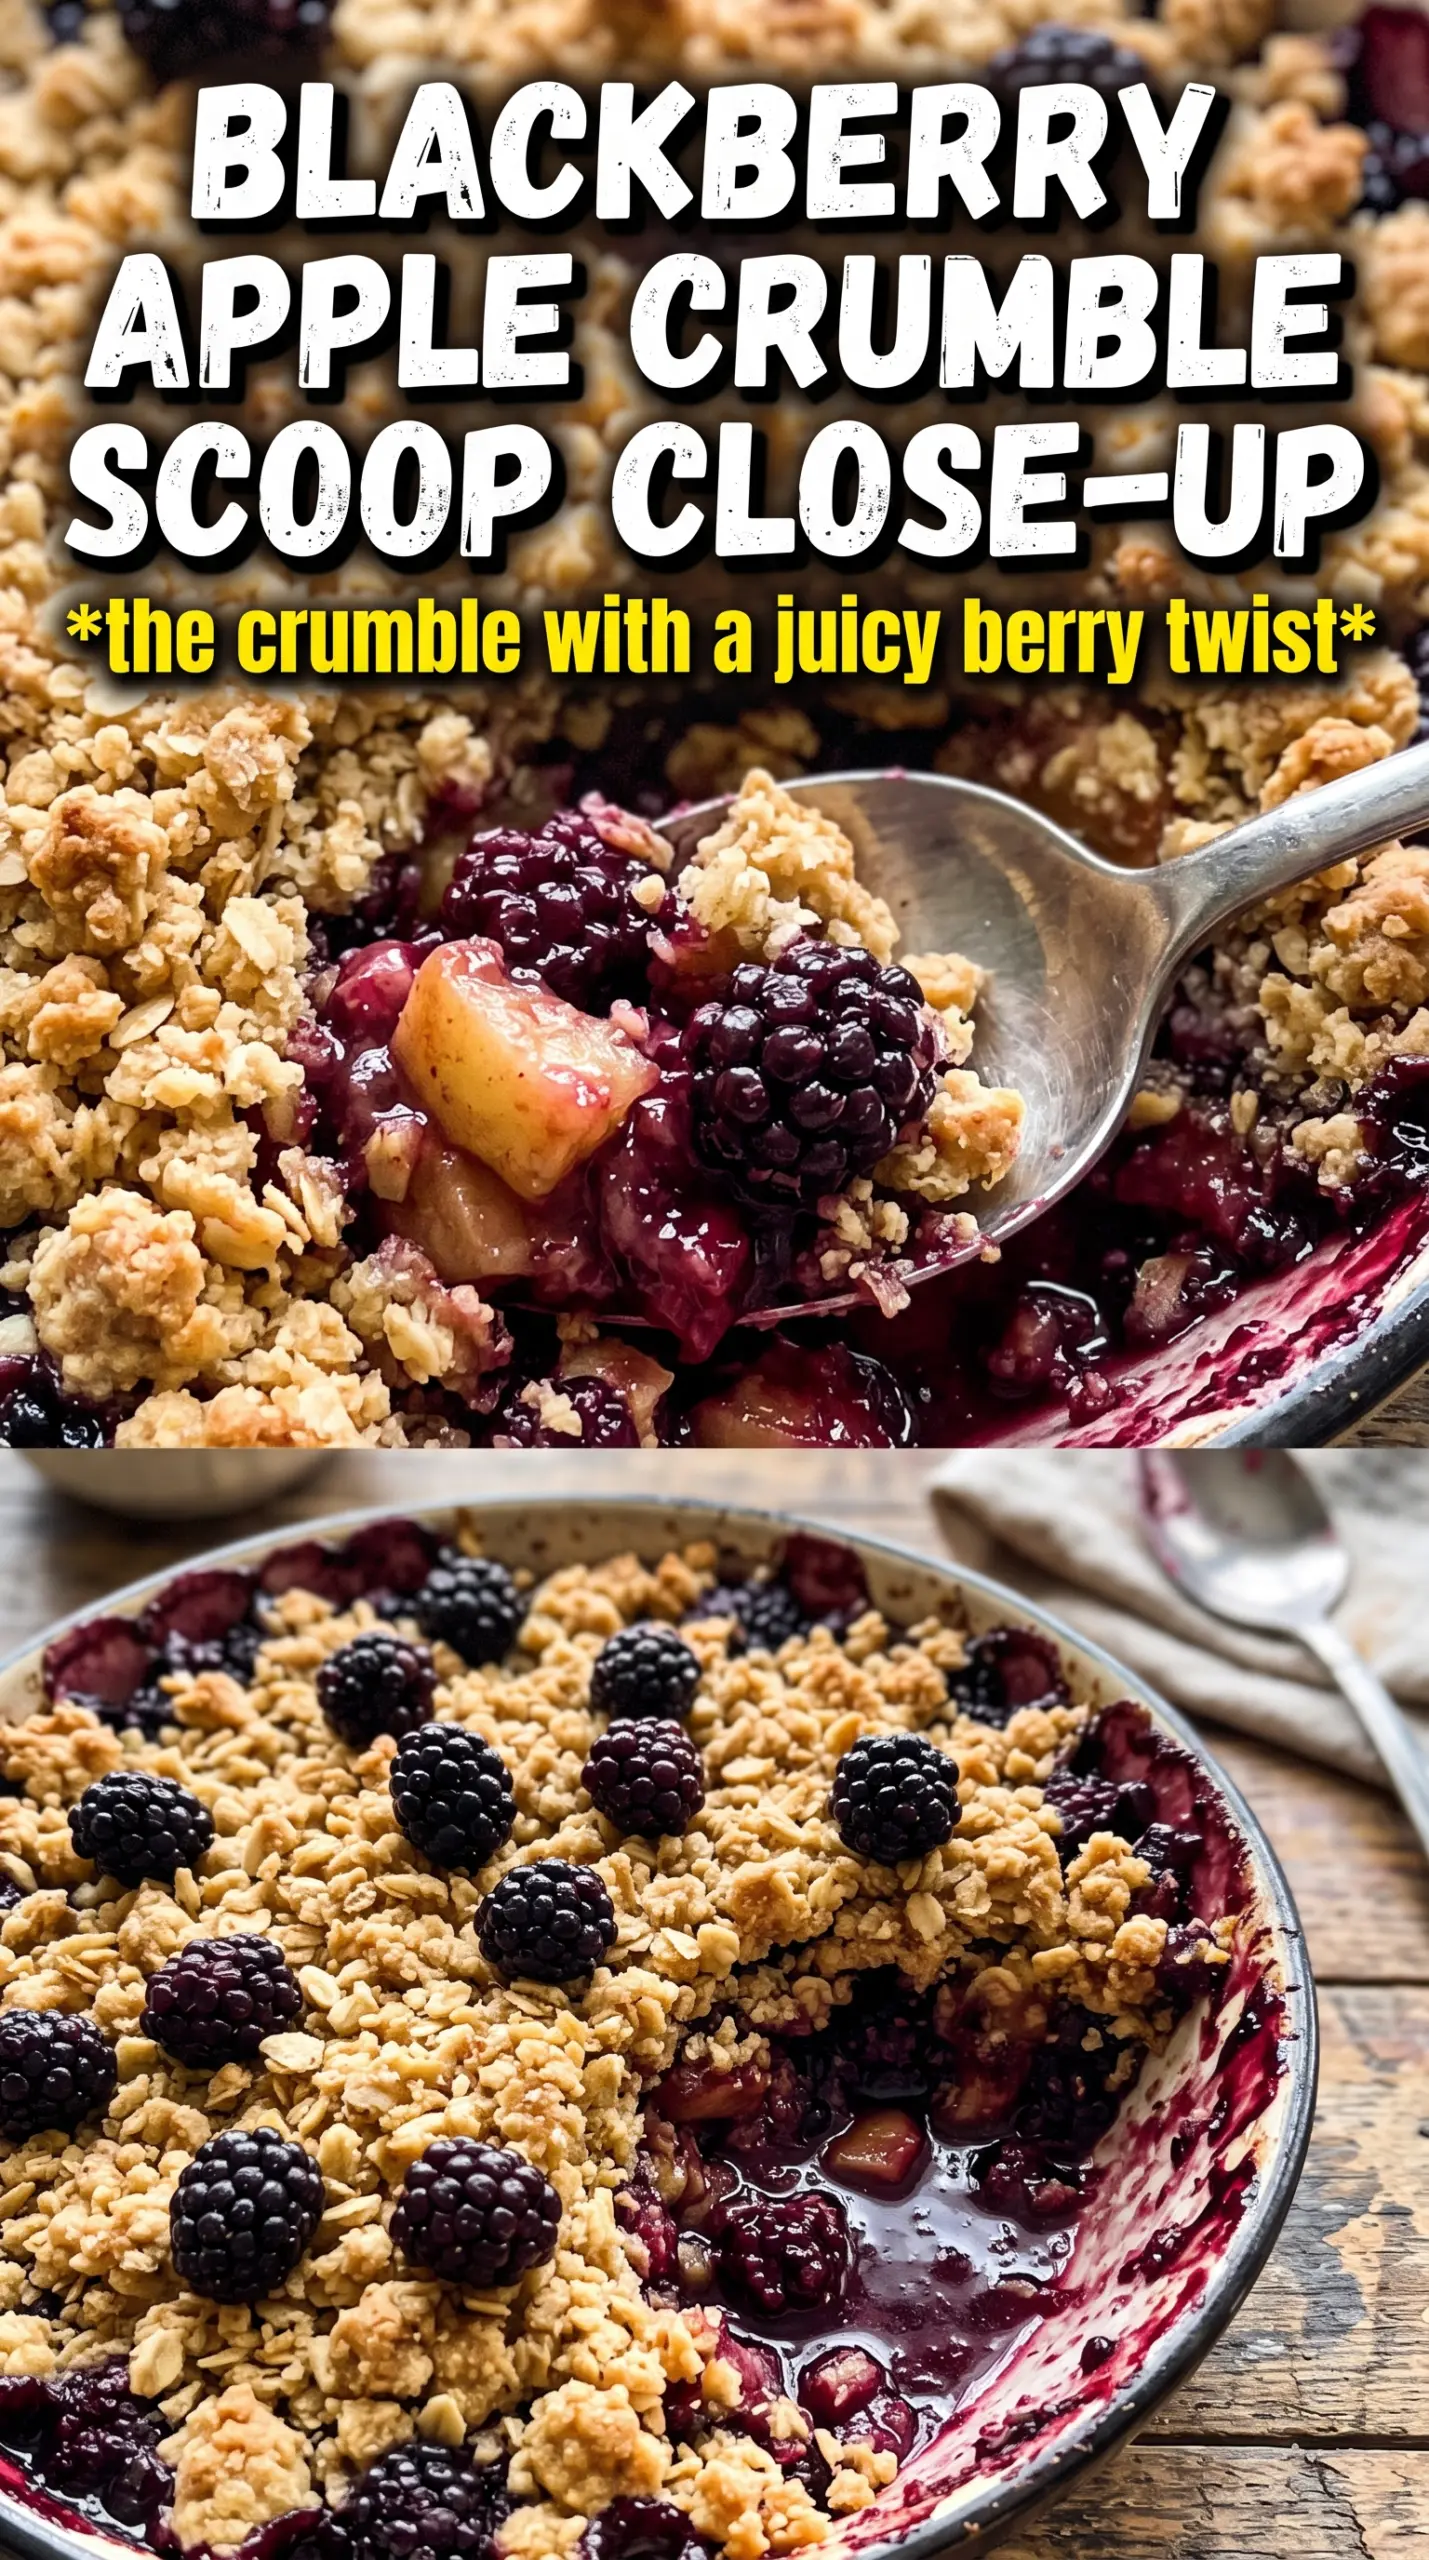
- Apples — Use a firm baking apple so the slices stay defined after 40 minutes in the oven. Granny Smith brings sharper contrast, while Honeycrisp or Braeburn give you a sweeter, softer finish. Very soft apples turn to mush before the topping is done.
- Blackberries — Fresh or frozen both work. Frozen berries don’t need to thaw first; if you do, they’ll leak extra juice and can make the filling looser. The berries should be intact when they go in, because they burst naturally as the crumble bakes.
- Cornstarch — This is what turns the fruit juices into a glossy, spoonable filling instead of a puddle. Flour can thicken too, but it takes longer and can taste dull here. Cornstarch works fast and stays clean-tasting.
- Cold butter — This is what makes the topping crisp and craggy. If the butter softens before baking, you’ll get a denser, more cookie-like top. Cube it cold and cut it in until the mixture forms uneven clumps, not a smooth dough.
- Rolled oats — They give the crumble its chew and keep the topping from feeling sandy. Quick oats can work in a pinch, but the texture is finer and less rustic. Old-fashioned oats hold up better against the fruit steam.
Building the Crumble So It Browns Before the Fruit Overcooks
Preparing the Fruit
Peel and slice the apples into even pieces so they cook at the same rate. Toss them with the blackberries, sugar, cornstarch, lemon juice, and cinnamon until every piece looks lightly coated. The fruit should look glossy, not wet; if you see a pool of juice in the bowl before baking, the berries were very juicy and the cornstarch needs to be mixed in thoroughly so it can catch that liquid in the oven.
Mixing in the Butter
Combine the flour, oats, brown sugar, cinnamon, and salt, then cut in the cold butter until the mixture looks like damp rubble with pieces the size of peas and almonds. That uneven texture matters. If you work it until it looks uniform, it bakes up flat and dry instead of forming a crisp, craggy top. A pastry cutter works well, but your fingertips are fine if you move quickly.
Baking Until the Edges Bubble
Scatter the topping over the fruit without pressing it down. Bake at 375F until the top is golden and you can see the filling bubbling around the edges and in the center, not just at the corners. Those bubbles are the signal that the cornstarch has activated and the fruit has cooked through. Pull it too early and the filling stays loose; overbake it and the topping can start to taste dry.
Letting It Set Before Serving
Rest the crumble for at least 10 minutes before spooning it out. The filling thickens as it cools, and if you cut in immediately, the juices run everywhere instead of settling into that glossy, spoonable middle. Serve it warm with double cream or vanilla ice cream so the topping stays crisp against something cold and rich.
Three Ways to Make This Crumble Fit What You Have
Gluten-Free Crumble Topping
Swap the all-purpose flour for a 1:1 gluten-free baking blend that includes xanthan gum. The texture will still be crisp, but it may brown a little faster, so start checking a few minutes early. Keep the oats certified gluten-free if that matters for your kitchen.
Dairy-Free Version
Use a solid plant-based butter block instead of unsalted butter. Avoid soft tub spreads, which can melt too quickly and make the topping greasy rather than crisp. The flavor stays close to the original, especially once the fruit and brown sugar start bubbling together.
Using All Apples or All Berries
You can make this with just apples or just blackberries if that’s what you have. All apples gives you a gentler, more classic crumble, while all blackberries makes a sharper, juicier dessert that needs the full amount of cornstarch to stay set. If the berries are very sweet, cut the sugar back slightly.
Storage and Reheating
- Refrigerator: Store covered for up to 4 days. The topping softens a little as it sits, but the flavor stays excellent.
- Freezer: Freeze baked crumble in portions or as a whole dish, tightly wrapped, for up to 2 months. Thaw in the refrigerator before reheating so the fruit doesn’t separate.
- Reheating: Warm in a 325F oven until the center is hot and the top crisp again. Microwaving works for speed, but it softens the crumble and makes the topping lose its crunch.
Answers to the Questions Worth Asking
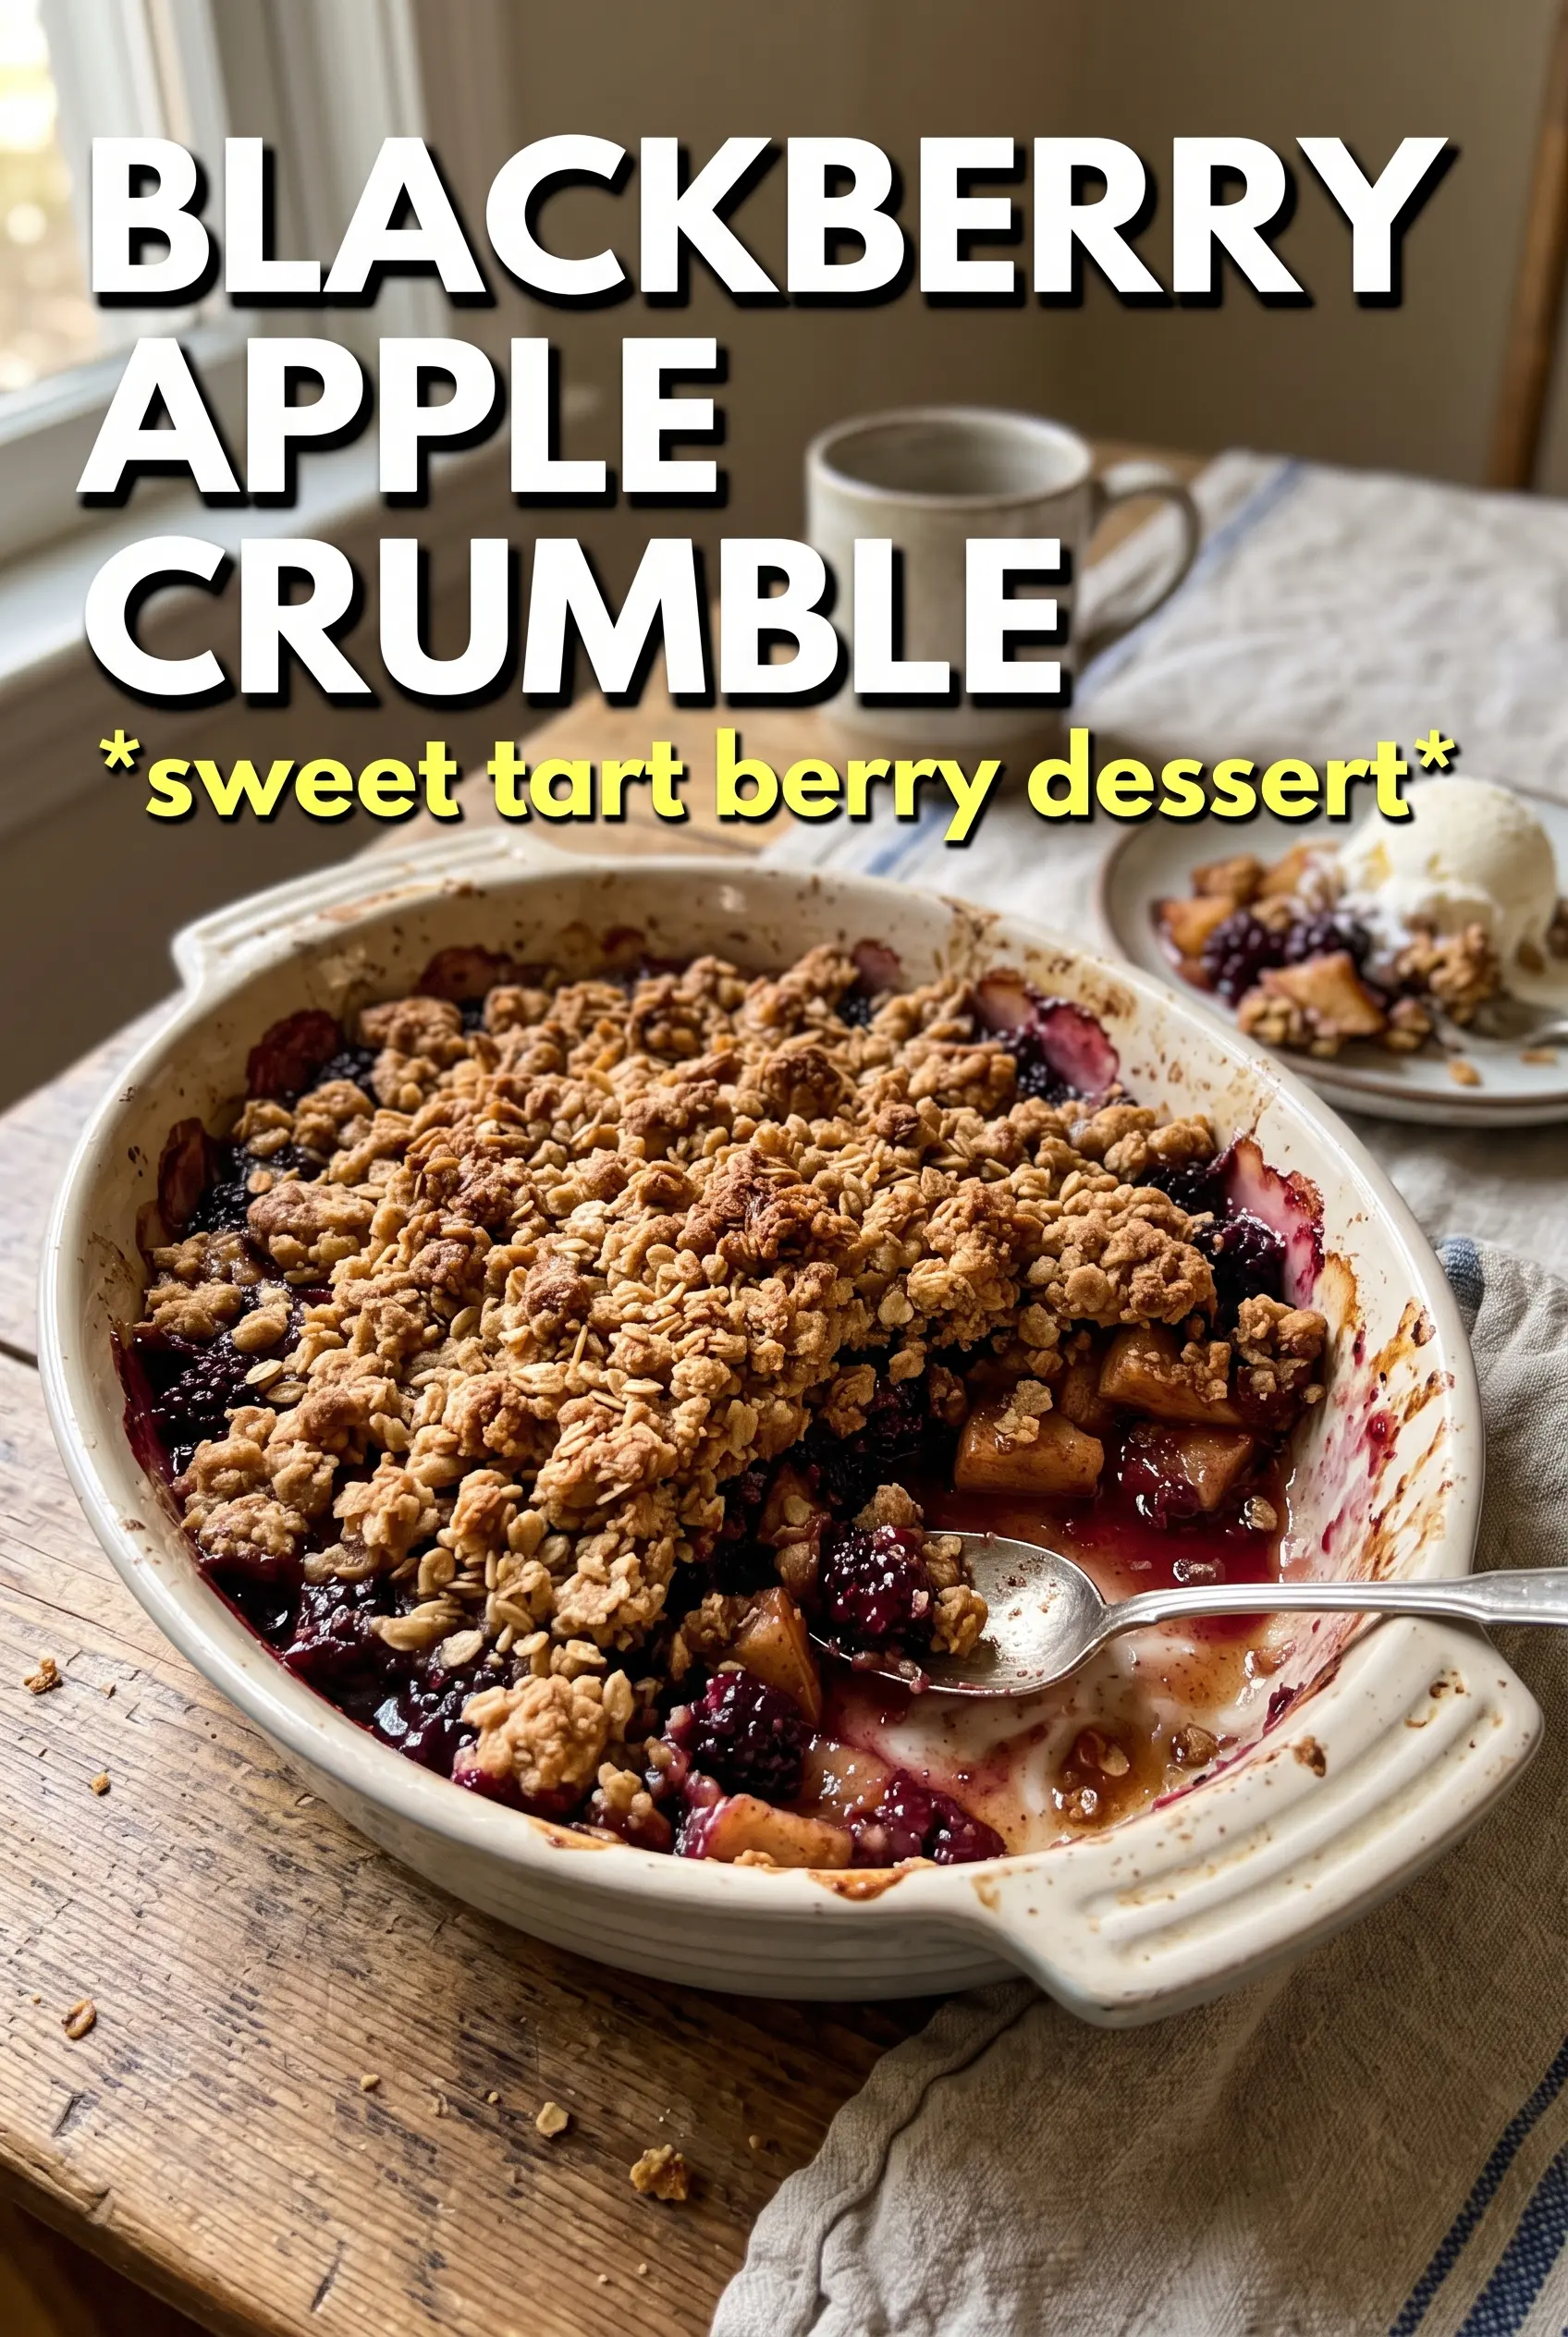
Blackberry Apple Crumble
Ingredients
Equipment
Method
- Preheat the oven to 375F, then grease a 9x13 baking dish so the crumble releases easily.
- Set the baking dish aside while you make the filling and topping.
- Toss the apple slices and blackberries with granulated sugar, cornstarch, lemon juice, and cinnamon, then spread the mixture evenly in the baking dish.
- Arrange the fruit in a single even layer so it bubbles uniformly around the edges.
- Combine flour, rolled oats, brown sugar, cinnamon, and salt, then cut in the cold butter until the mixture looks clumpy rather than sandy.
- Keep the butter cold while mixing so the topping bakes into crisp crumbles.
- Scatter the crumble topping over the fruit, covering it in an even layer.
- Bake for 35-40 minutes at 375F until the topping is golden and the fruit is bubbling at the edges.
- Rest the crumble for 10 minutes after baking so the filling thickens slightly.
- Serve warm with double cream or vanilla ice cream.


