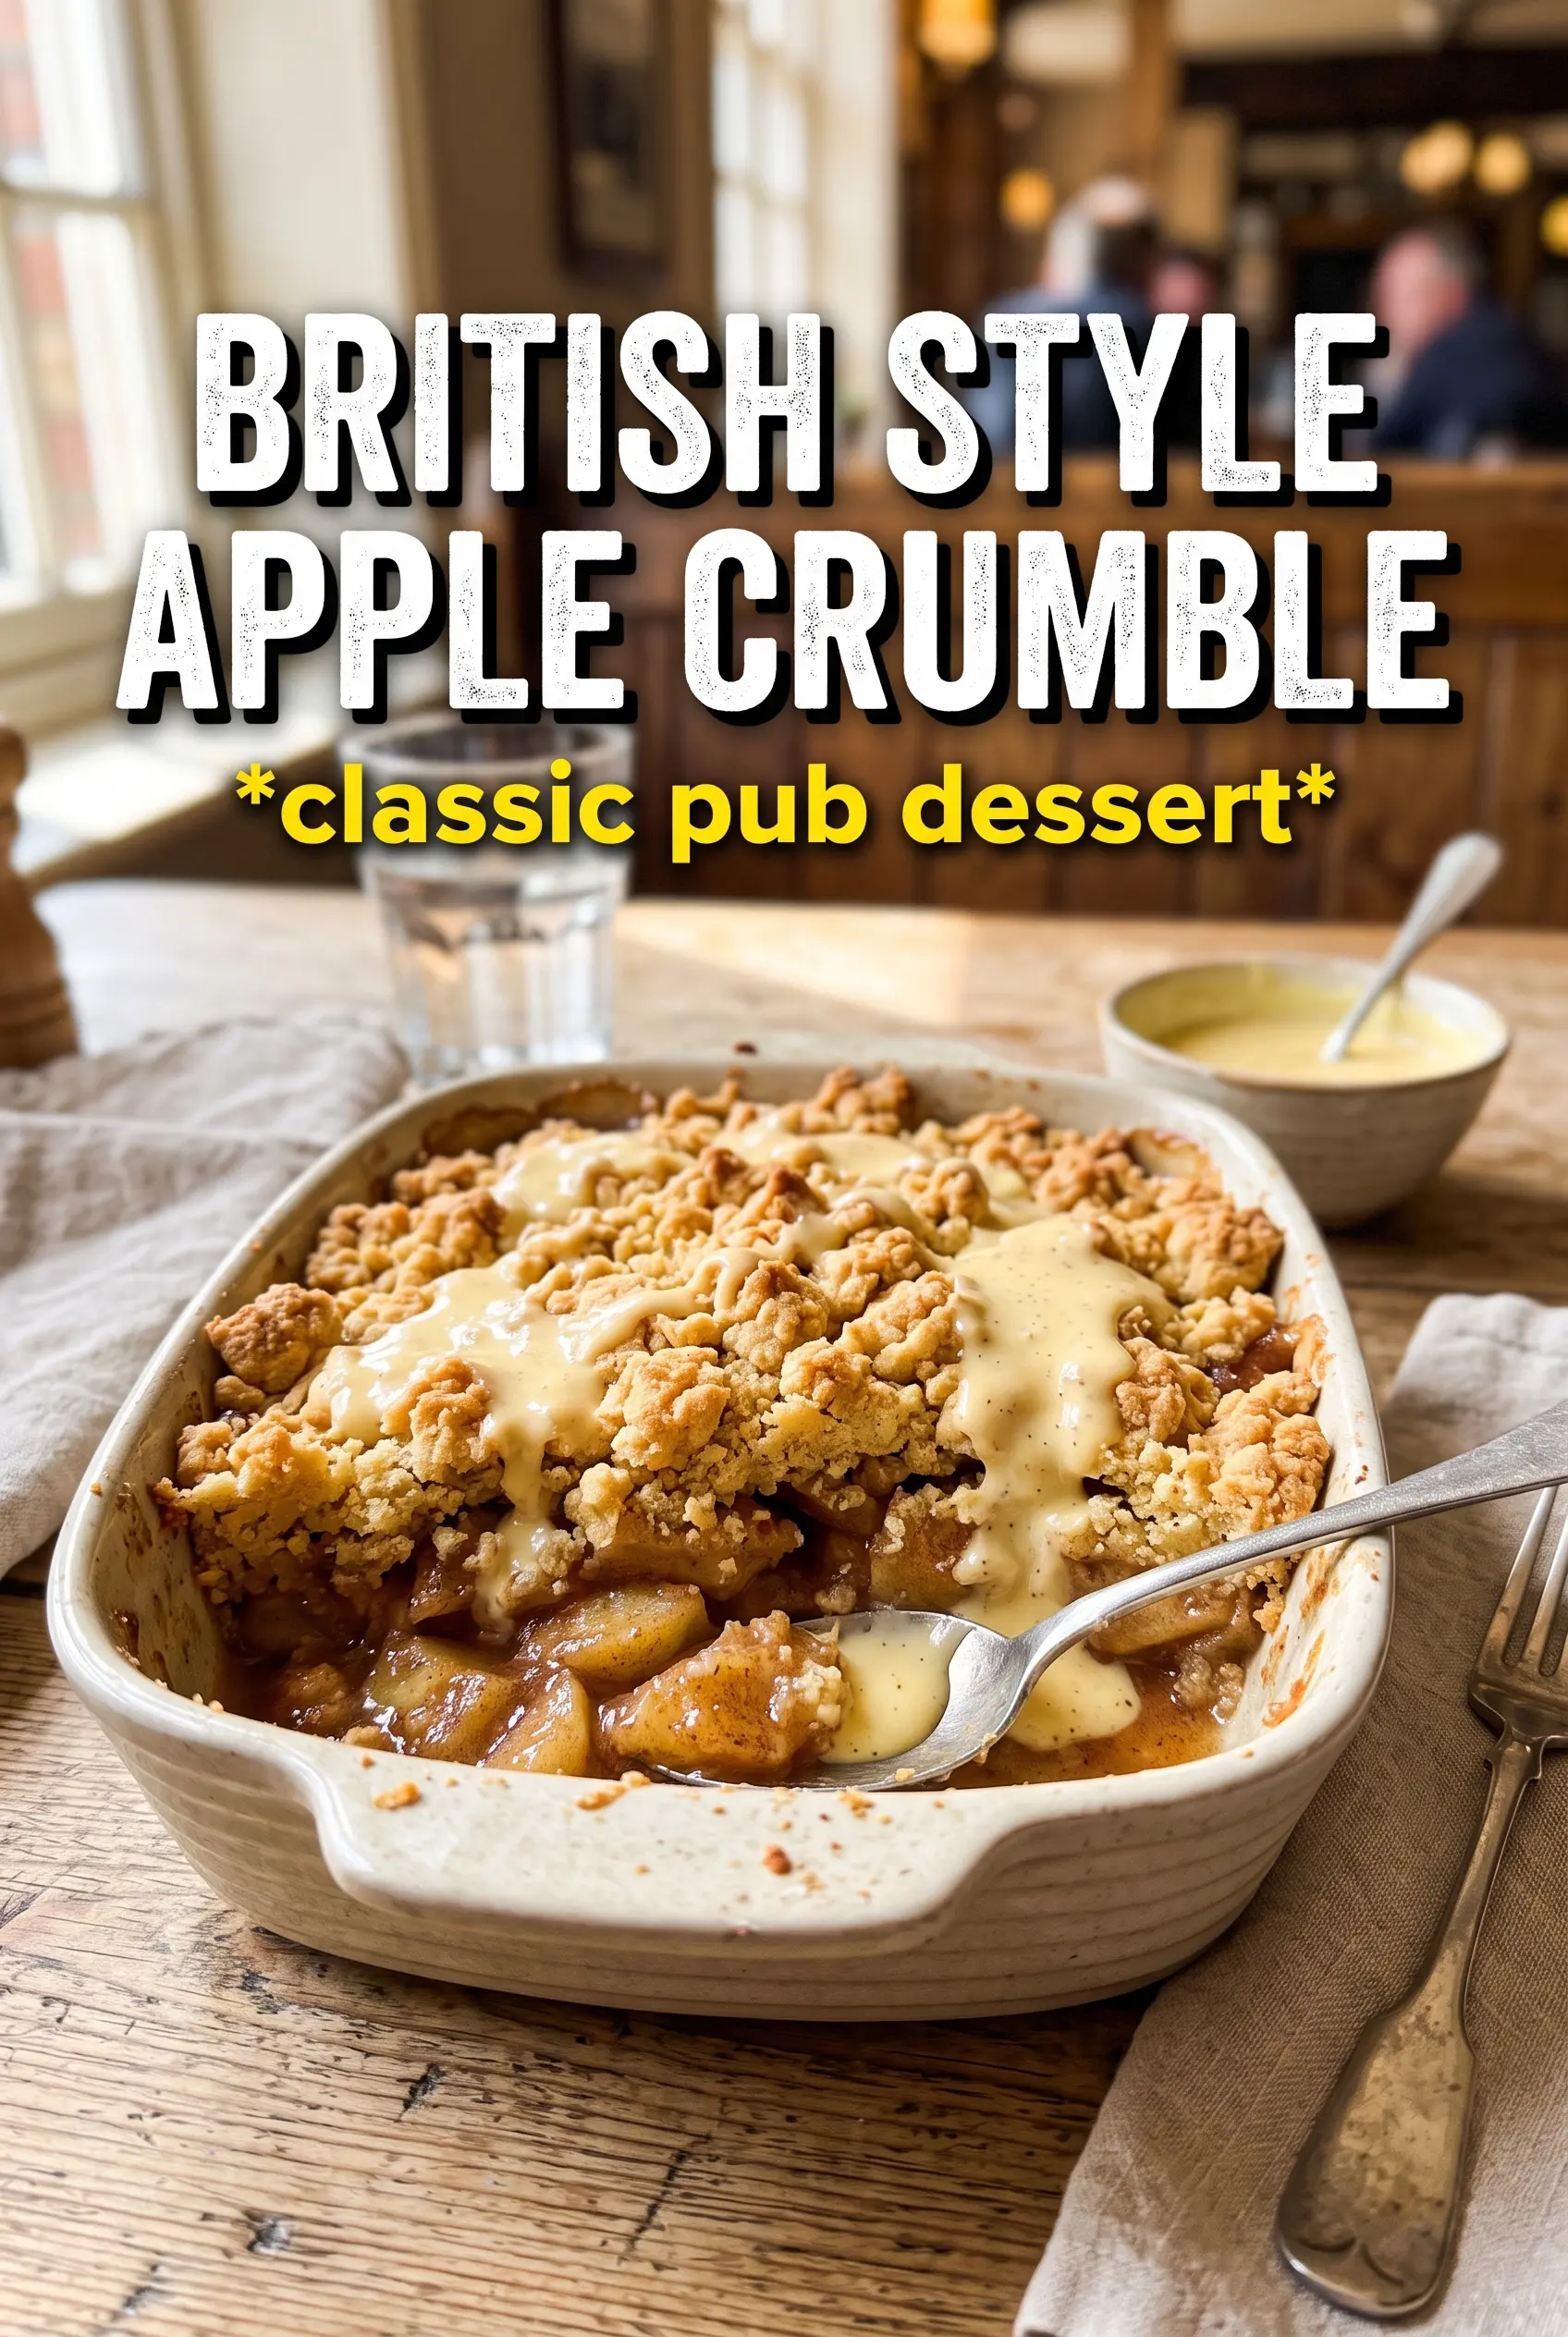
Golden, bubbling apple crumble lands on the table with a crust that shatters under a spoon and a filling that stays soft without turning mushy. The best versions balance sweet fruit, sharp lemon, warm spice, and a topping that bakes up sandy in the middle and crisp at the edges. This one does exactly that, and the addition of pears gives the filling a little extra perfume and a softer, juicier finish.
What makes this crumble work is the way the fruit gets a head start before the topping goes on. A few minutes on the stove pulls out some juice, softens the apples just enough, and helps the sugar dissolve so the bake doesn’t end up dry underneath or watery at the bottom. Cold butter in the crumble is just as important. It creates those uneven crumbs that brown well instead of melting into a paste.
Below, I’ve included the details that matter most: how to keep the topping light, what to do if your fruit is on the tart side, and the small swaps that still keep the crumble tasting like proper British pudding.
The crumble topping stayed crisp even after sitting for a bit, and the apple-pear filling bubbled up just enough around the edges. I loved that the fruit held its shape instead of turning into applesauce.
Save this apple crumble with apples, pears, and a crisp almond topping for the kind of pudding that bakes up golden and bubbling every time.
The Reason the Topping Stays Crisp Instead of Going Soft
The biggest mistake with crumble is packing the topping down too firmly or letting the fruit get too juicy before it bakes. Both lead to a soggy middle. Here, the fruit is cooked just until it starts to soften, then covered with a loose layer of crumb so steam can move through the topping instead of trapping it there. That’s what gives you crunch on top and spoon-soft fruit underneath.
Ground almonds help here more than people expect. They add a little richness and keep the topping from baking up dry and dusty. Demerara or raw sugar gives the surface a better crunch than white sugar, which melts faster and doesn’t leave the same caramelized finish.
What Each Ingredient Is Doing in the Dish
- Apples — Use a firm baking apple if you can. Softer apples collapse too fast and lose their shape before the topping is done. If yours are quite sweet, keep the sugar in the filling modest so the dessert doesn’t tip over into jammy.
- Pears — Pears bring moisture and a softer texture that makes the filling taste rounder. They don’t need long cooking, which is why this recipe works with the apples and pears together rather than trying to force either one to do all the work.
- Cold butter — Cold butter is what gives you crumb, not paste. Rub it in until you still have a mix of fine and pea-sized bits. Those larger bits melt in the oven and create the crunchy ridges that brown beautifully.
- Demerara and light brown sugar — The demerara gives crunch and a light caramel note, while the brown sugar adds deeper flavor and helps the topping color. If you only have one, use all brown sugar for a softer crumble or all demerara for a crisper one.
- Ground almonds — These add body and a subtle nutty taste. They also stop the topping from tasting plain, which matters because crumble has a short ingredient list and every part needs to earn its place.
- Lemon zest and spice — Lemon wakes up the fruit and keeps the filling from tasting heavy. Cinnamon and mixed spice give that familiar British pudding warmth, but don’t overdo them or they’ll drown out the fruit.
Building the Crumble So It Bakes, Not Sits
Softening the fruit first
Melt the butter in an ovenproof pan, then add the sliced apples and pears with the sugar, spice, and lemon zest. Cook them for 5 to 7 minutes, just until they start to give up juice and the edges lose their raw firmness. You’re not cooking them through here; you’re giving them a head start so they finish tender in the oven instead of staying hard while the topping browns. If the pan looks dry, the fruit likely needs a touch more time, not extra liquid.
Rubbing in the butter
Put the flour and cold butter in a bowl and work the butter in with your fingertips until the mixture looks like rough breadcrumbs with a few larger clumps. That mix of sizes matters. Fine crumbs fill the gaps, while the bigger pieces become the crisp, knobbly bits everyone wants from a good crumble. If the butter starts to feel greasy or soft, stop and chill the bowl for a few minutes before finishing.
Spreading and baking without compressing
Scatter the crumble over the fruit and leave it loose. Don’t press it down. A compact topping bakes dense and bready; a loose one lets hot air move through it and keeps it light. Bake until the top is a deep golden color and you can see the fruit bubbling at the edges, which tells you the filling is hot enough and the sugar has properly melted into the juices.
Serving it hot
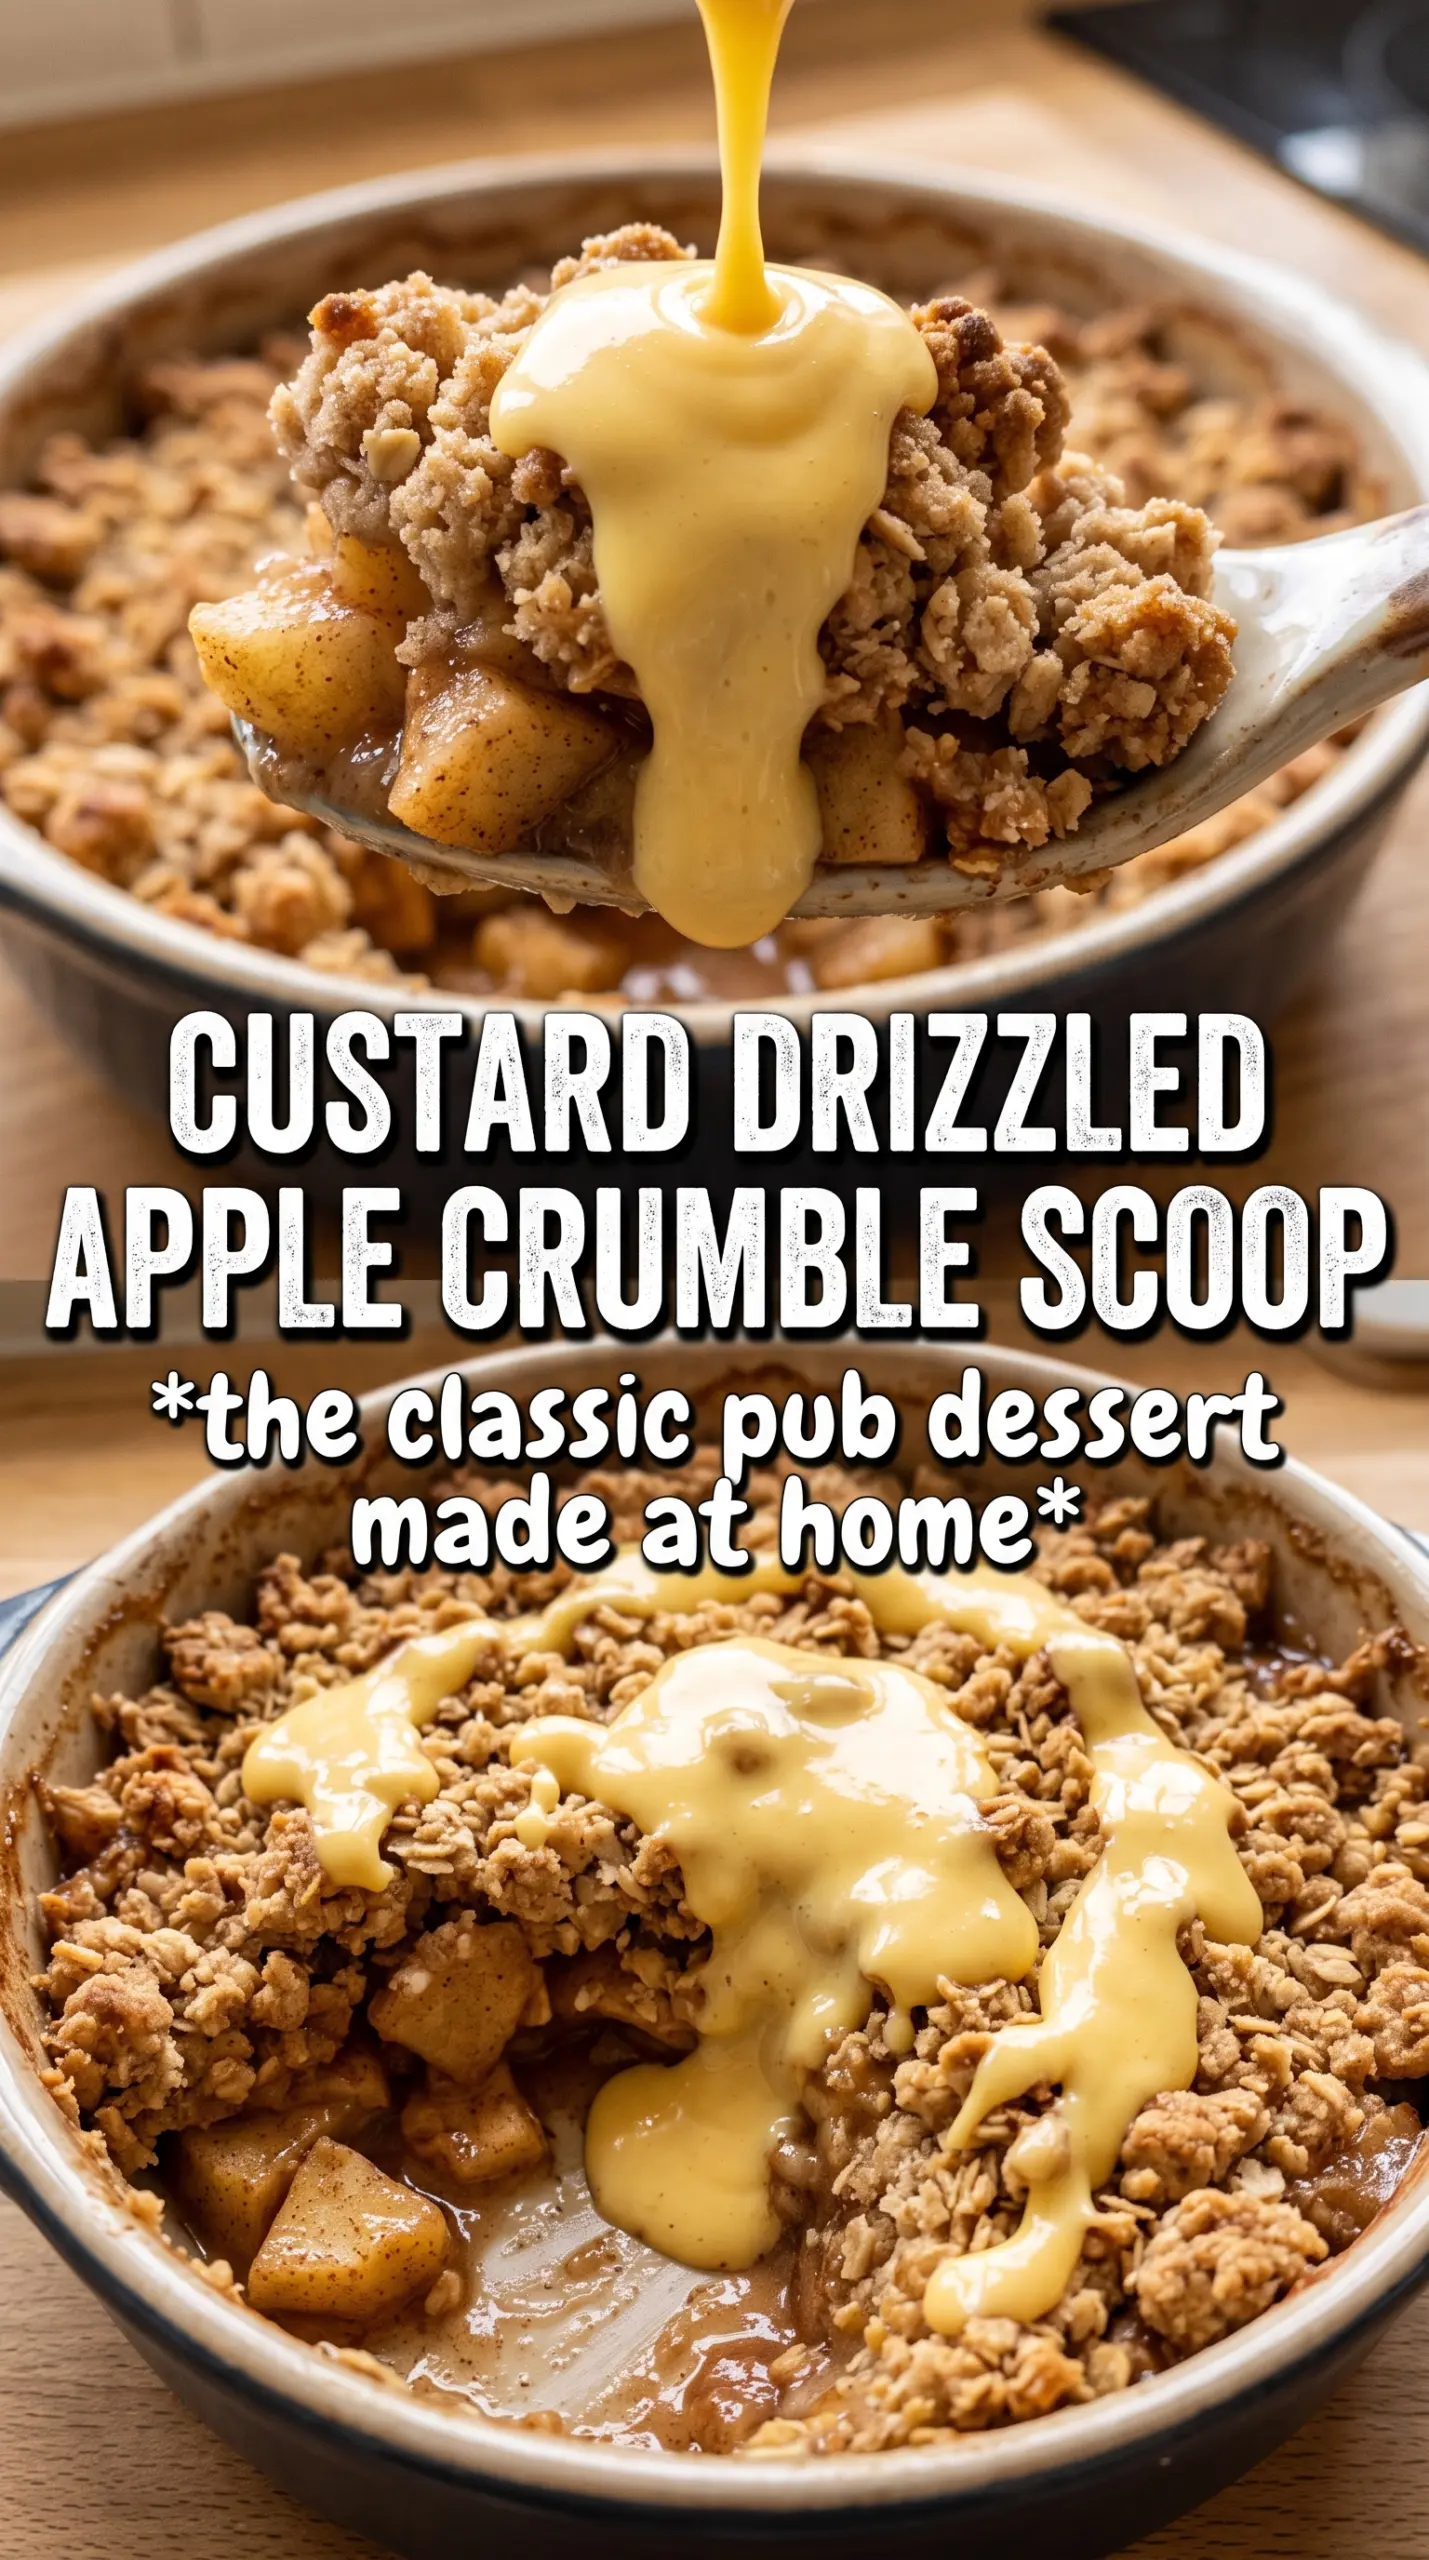
Let the crumble sit for 10 minutes before serving so the juices settle a little. That short rest keeps it from running all over the plate the moment you scoop in. Custard is the classic choice, and warm pouring cream works too. The contrast between hot fruit and cold cream is half the pleasure here.
How to Adapt This Crumble for Different Kitchens and Diets
Make it dairy-free without losing the topping
Use a good plant-based block butter in both the fruit and topping. The fruit base will still soften and perfume properly, and the topping should still brown well as long as the substitute is firm enough to rub in cold. Avoid soft tub spreads, which can make the crumble greasy and flat.
Use all apples if pears aren’t ripe
If your pears are hard or grainy, swap them out for more apples and keep the same total amount of fruit. The result will be a little firmer and less perfumed, but the crumble will still bake well. Choose a mix of sweet and tart apples if you want the filling to taste balanced without extra sugar.
Swap the almonds for oats or leave them out
If nuts aren’t an option, use the same weight of rolled oats for a more rustic topping, or replace the almonds with extra flour for a simpler texture. Oats give more chew and a slightly nuttier taste; extra flour makes the crumble finer and more uniform, but less textured.
Storage and Reheating
- Refrigerator: Keep leftovers covered for up to 3 days. The topping will soften a little as it sits, but the flavor stays excellent.
- Freezer: Freeze baked crumble in portions for up to 2 months. Thaw overnight in the fridge before reheating so the filling warms through evenly.
- Reheating: Warm in a 180C (350F) oven until the center is hot and the topping has crisped again, usually 15 to 20 minutes. The biggest mistake is microwaving it straight through, which turns the topping soft and the fruit watery.


