Individual apple crumbles bake up with bubbling fruit at the bottom and a crisp oat topping that turns deeply golden around the edges of each ramekin. Serving them in single portions changes the whole dessert experience: more crunchy topping per bite, less waiting around for a big pan to cool, and no fighting over the corner pieces because every serving gets its own caramelized crust.
The part that makes these work is cooking the apples briefly before they go into the oven. That quick skillet step starts the thickening process, so the filling turns glossy and jammy instead of watery by the time the crumble is done. Cornstarch needs that heat to activate, and a little lemon juice keeps the apples bright instead of flat. The oat topping stays chunky because the butter goes in cold, which gives you those craggy bits that brown beautifully.
Below, I’ve included the small details that matter here: how to tell when the filling is thick enough before baking, what kind of apples hold up best, and the easiest way to adapt the topping if you need a gluten-free version.
The apples thickened up perfectly on the stove, and the crumble stayed crisp even after the ice cream melted into it. My ramekins came out with those caramelized edges just like I wanted.
Love the caramelized edges and crunchy oat topping in these individual apple crumbles? Save this dessert for the next time you want warm fruit and ice cream in single-serving ramekins.
The Trick to Thick Filling in Small Ramekins
The biggest mistake with apple crumble is leaving the filling too loose before it goes into the oven. In a big baking dish, extra juice has time to evaporate. In individual ramekins, the fruit layer is smaller and the topping can brown before the filling catches up, which is how you end up with a crisp top sitting over soupy apples. Cooking the filling first changes that. The apples soften, the sugar pulls out some juice, and the cornstarch starts doing its job so the mixture lands in the ramekins already thickened.
That pre-cook also helps you control the final texture. You want the apples tender but not collapsing into sauce, with the juices looking glossy and slightly sticky. If the pan still looks watery, give it another minute or two on the heat. The crumble topping should finish around the same time the filling starts to bubble at the edges, not long before it.
What Each Part of the Crumble Is Doing
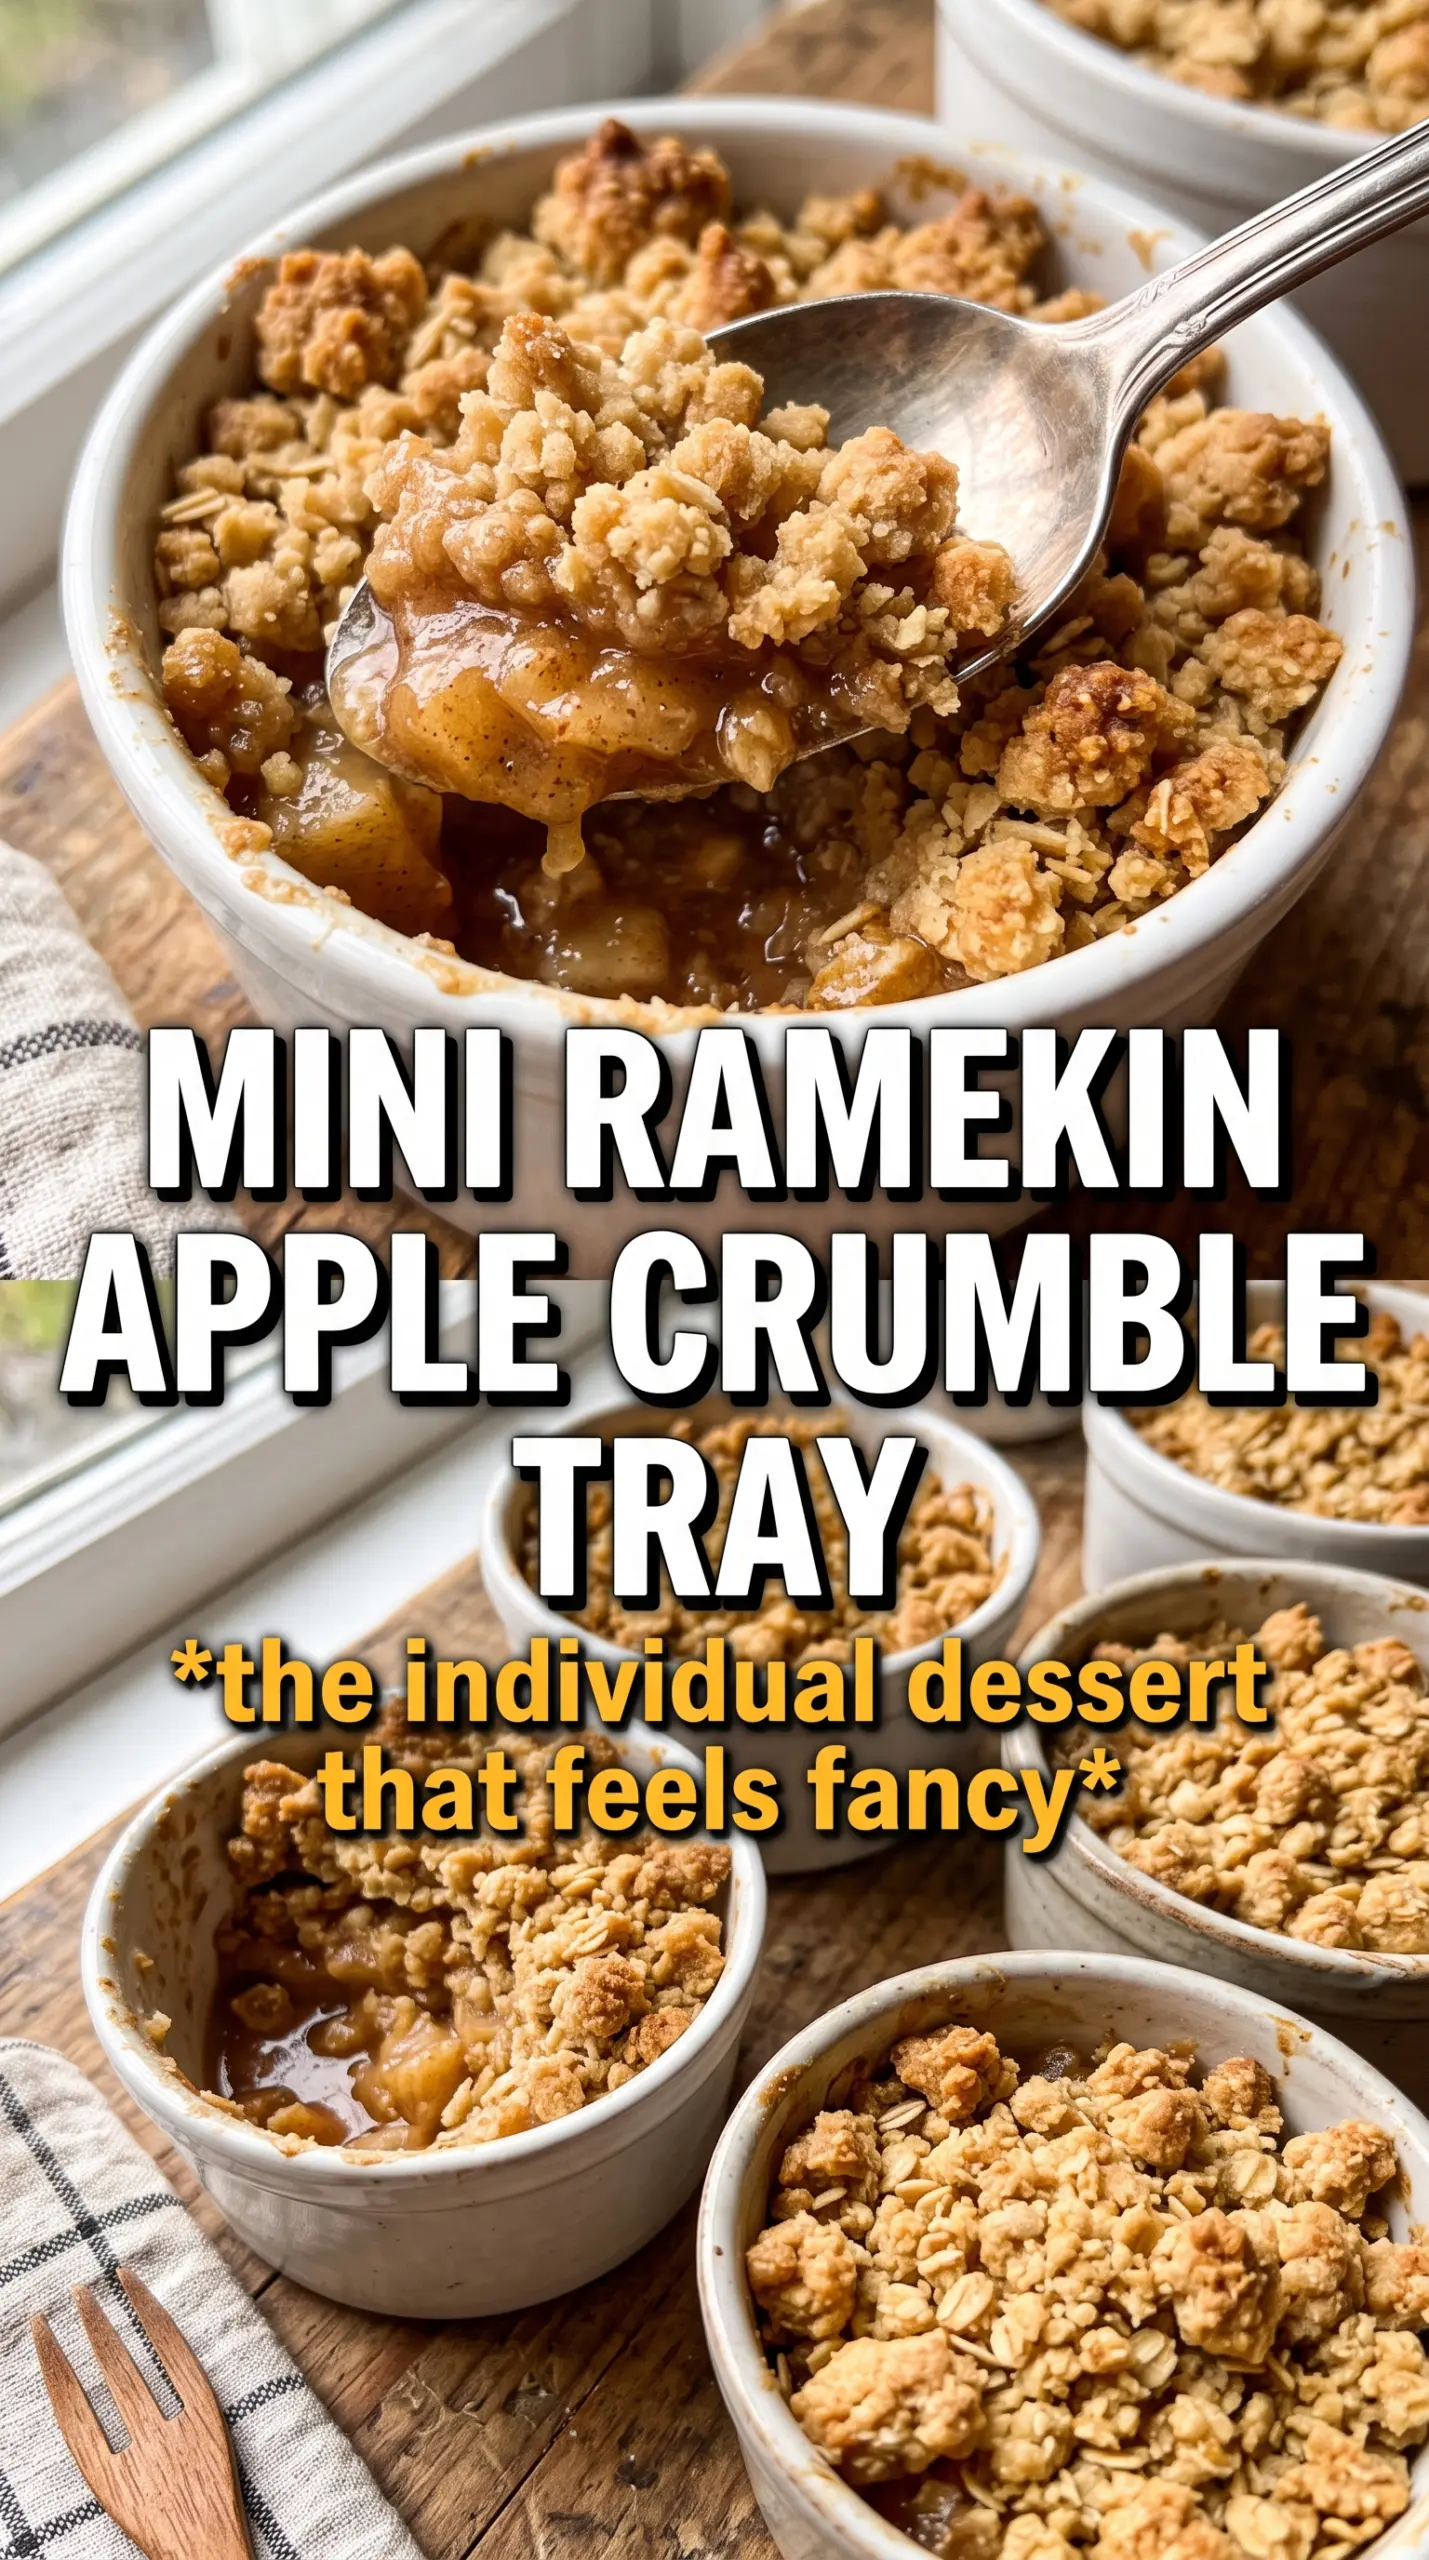
- Apples — Use a firm baking apple if you can. Granny Smith, Honeycrisp, Braeburn, or a mix all work well because they hold their shape instead of turning mushy. Finely dicing them helps them cook quickly and fit neatly into the ramekins.
- Cornstarch — This is what turns the apple juices into a thick filling instead of a puddle. Don’t skip it, and don’t add it after the fruit is already bubbling hard; it works best when it gets heated along with the apples from the start.
- Rolled oats — Old-fashioned oats give the topping its nubby, craggy texture. Quick oats will work in a pinch, but the topping will be denser and less rustic.
- Cold butter — Cold cubes are the difference between a crumbly topping and a sandy one. When the butter stays in little pieces, it melts in the oven and creates those crisp, browned clusters people always go after first.
- Brown sugar — This adds deeper caramel notes than white sugar and helps the topping brown. Light or dark brown sugar both work; dark brown sugar gives a stronger molasses flavor.
Building the Ramekins So the Topping Stays Crisp
Cooking the Apples Just Enough
Start the apple filling in a skillet and cook it over medium heat until the juices look thick and the apples are just starting to soften, about 5 to 7 minutes. You’re not trying to make applesauce here. If you cook them until they’re fully tender on the stove, they’ll go too soft in the oven and lose their shape.
Making the Oat Crumble
Combine the oats, flour, brown sugar, cinnamon, and salt, then cut in the cold butter until the mixture forms chunky clumps. The texture should look uneven, with some finer crumbs and some bigger pieces. If it turns into a paste, the butter got too warm or you worked it too long, and the topping will bake up flat instead of crisp.
Assembling and Baking
Divide the filling among greased ramekins and pile the crumble over the top generously. Set the ramekins on a baking sheet so you catch any bubbling overflow and so they’re easier to move in and out of the oven. Bake until the topping is golden and the filling is visibly bubbling at the edges, because bubbling is the real sign that the cornstarch has finished thickening the fruit.
Make It Gluten-Free
Swap the all-purpose flour for a 1:1 gluten-free baking blend. The topping stays crisp, though it may brown a little faster, so keep an eye on the last few minutes in the oven. The oats should be certified gluten-free if cross-contamination matters.
Make It Dairy-Free
Use a plant-based butter that bakes well and serve with dairy-free vanilla ice cream. The filling will still thicken the same way, but the topping may color a touch more quickly depending on the butter substitute.
Turn It Into One Big Crumble
You can bake the same filling and topping in an 8-inch square baking dish if you don’t need individual servings. Add a few extra minutes to the bake time and watch for the center to bubble. The topping will be a little less dramatic, but the flavor is the same.
Storage and Reheating
- Refrigerator: Store covered for up to 4 days. The topping softens a bit in the fridge, but it still tastes great.
- Freezer: Freeze baked crumbles after they cool completely. Wrap each ramekin well or transfer to freezer-safe containers. The texture of the topping changes slightly after thawing, but it’s still a good make-ahead dessert.
- Reheating: Reheat in a 325F oven until warmed through and the topping crisps back up, usually 12 to 15 minutes. The microwave will heat the fruit faster, but it turns the crumble soft, which is the biggest mistake with leftovers.
Questions I Get Asked About This Recipe
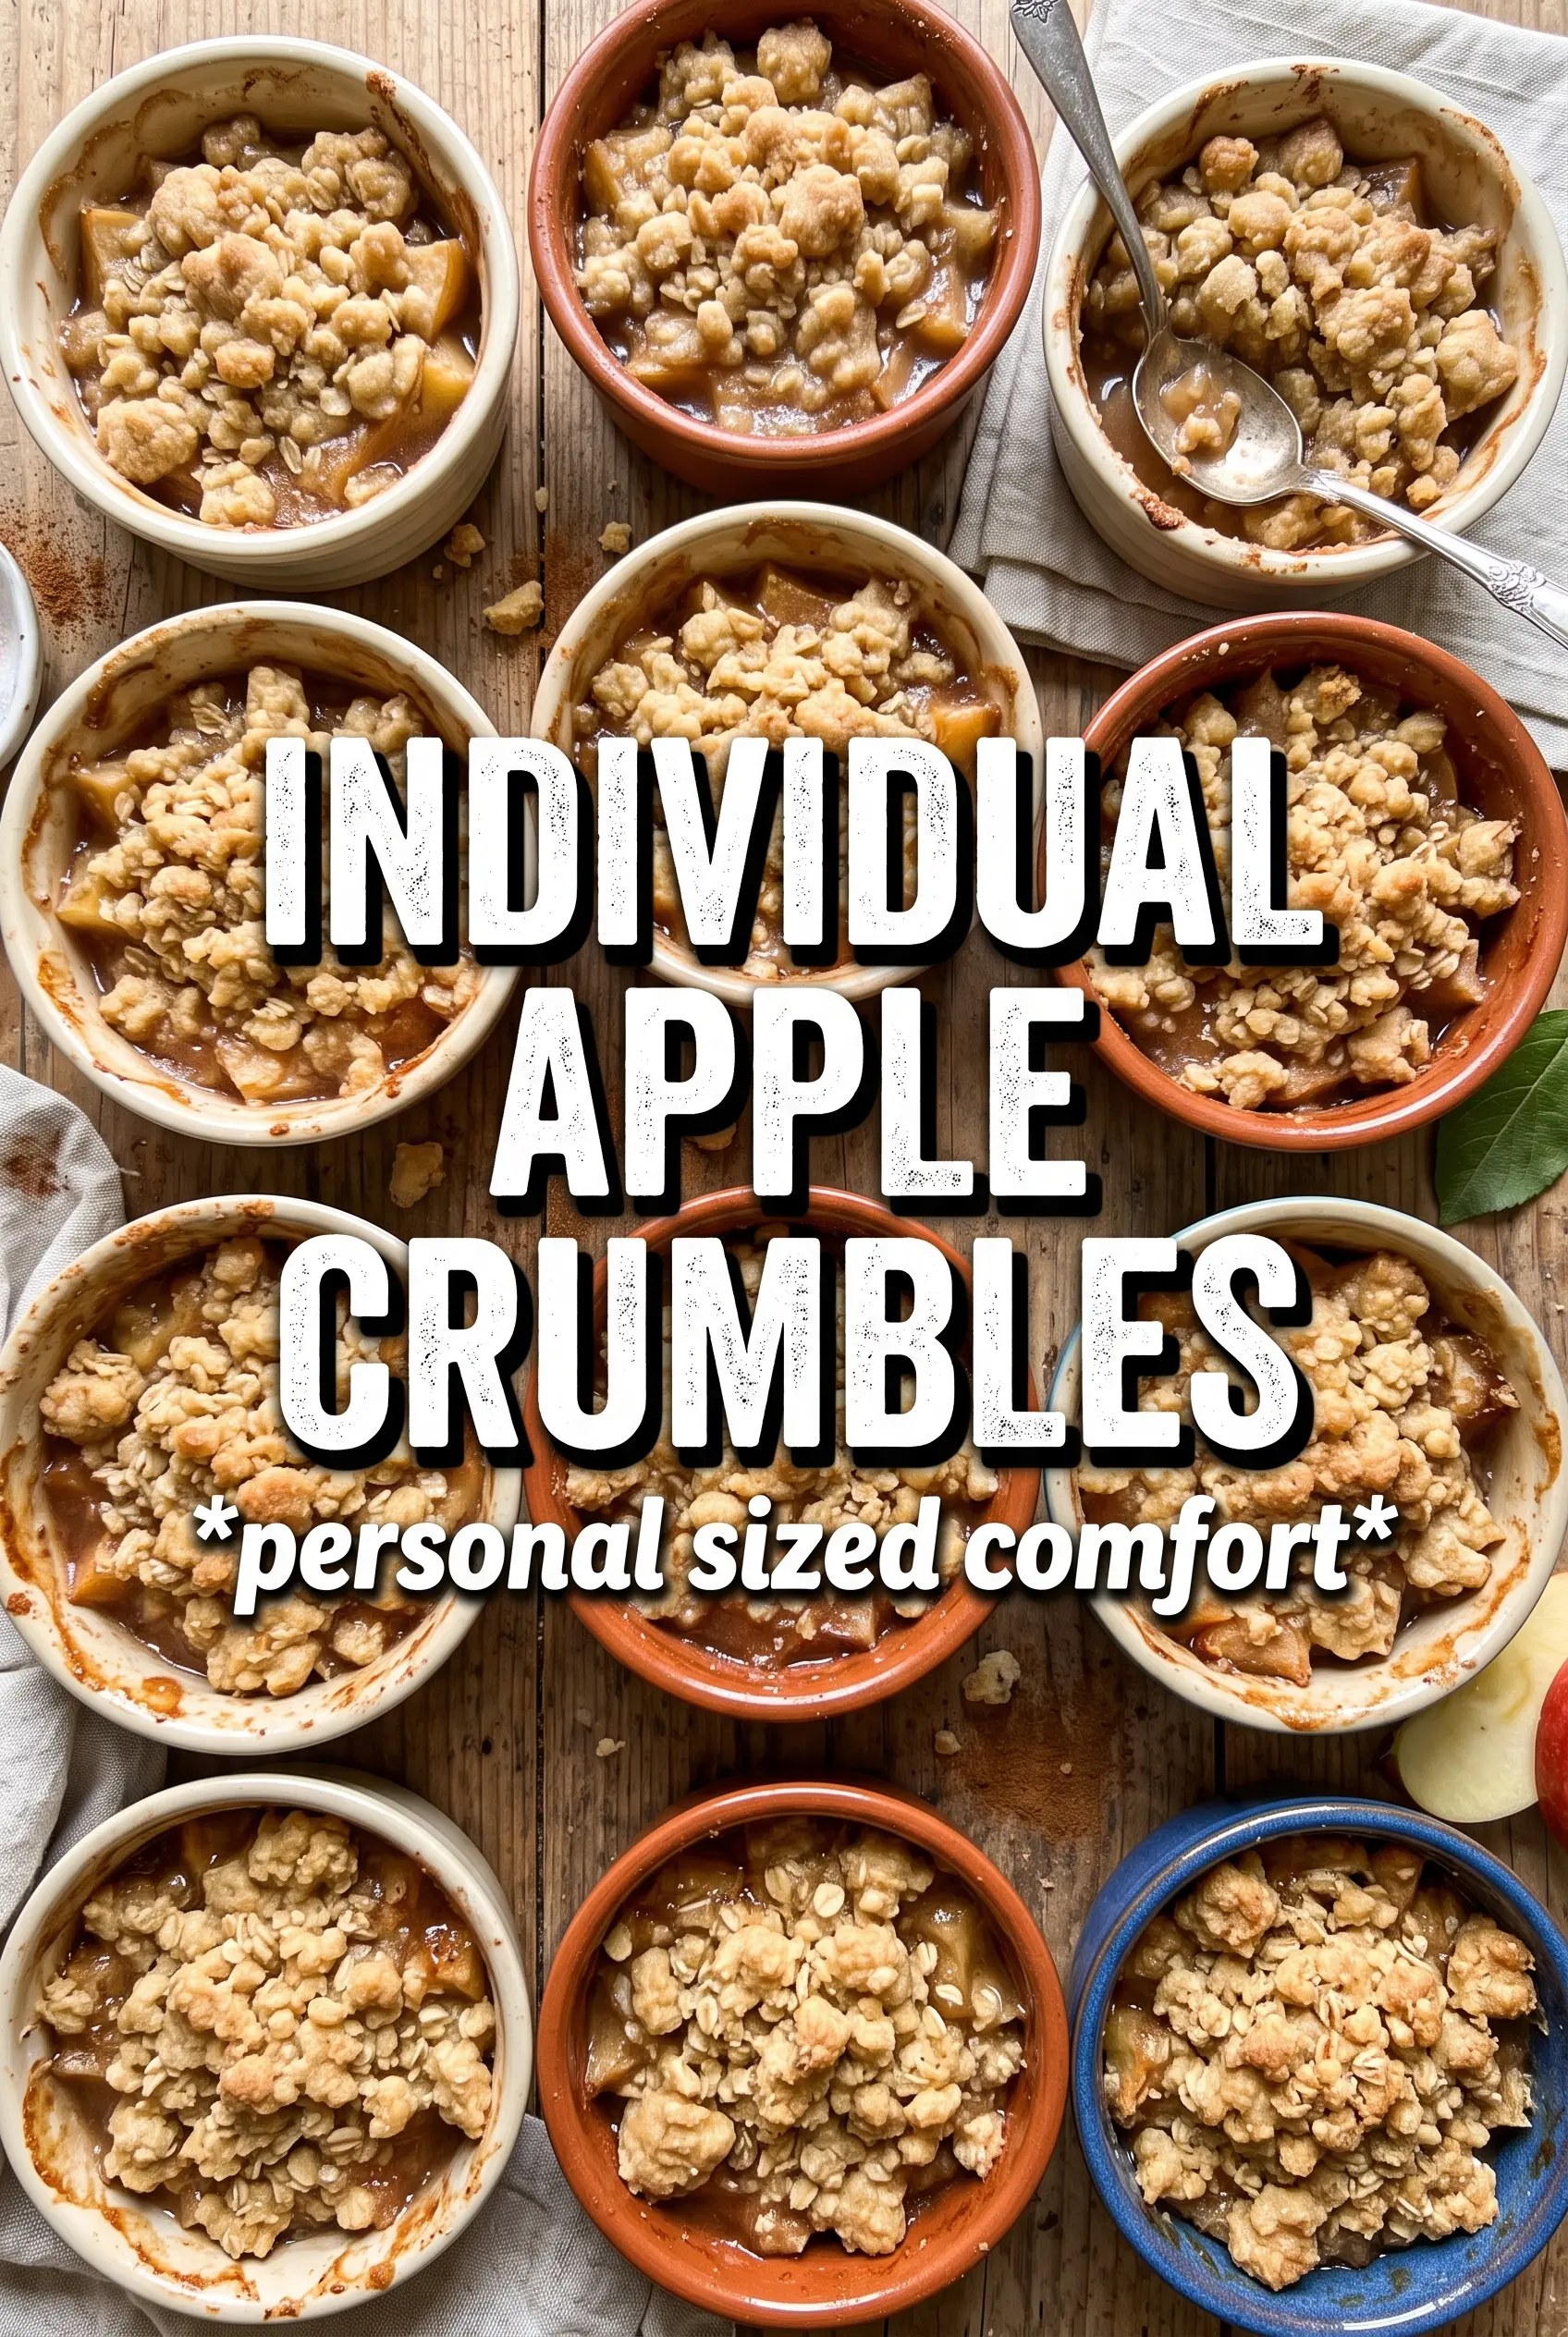
Individual Apple Crumbles
Ingredients
Equipment
Method
- Preheat the oven to 375°F and grease 6 individual ramekins (6-8 oz each).
- Grease the ramekins thoroughly so the crumble releases cleanly after baking.
- In a skillet over medium heat, cook the diced apples with butter, sugar, cinnamon, nutmeg, cornstarch, and lemon juice for 5-7 minutes until thickened. Stir frequently as the mixture turns glossy and starts to bubble slightly.
- Divide the thickened apple filling among the greased ramekins. Spread it so each ramekin has an even layer for consistent bubbling.
- Combine the oats, flour, brown sugar, cinnamon, and salt, then cut in the cold cubed butter until chunky clumps form. The mixture should look like coarse crumbs with bits of butter throughout.
- Top each ramekin generously with the oat crumble. Press lightly so the topping stays put and forms a crisp, golden surface.
- Place the ramekins on a baking sheet and bake at 375°F for 25-30 minutes until the topping is golden and the filling bubbles. You should see active bubbling around the edges.
- Serve warm with vanilla ice cream. Spoon ice cream over the top so it melts into the hot filling and crumble.


