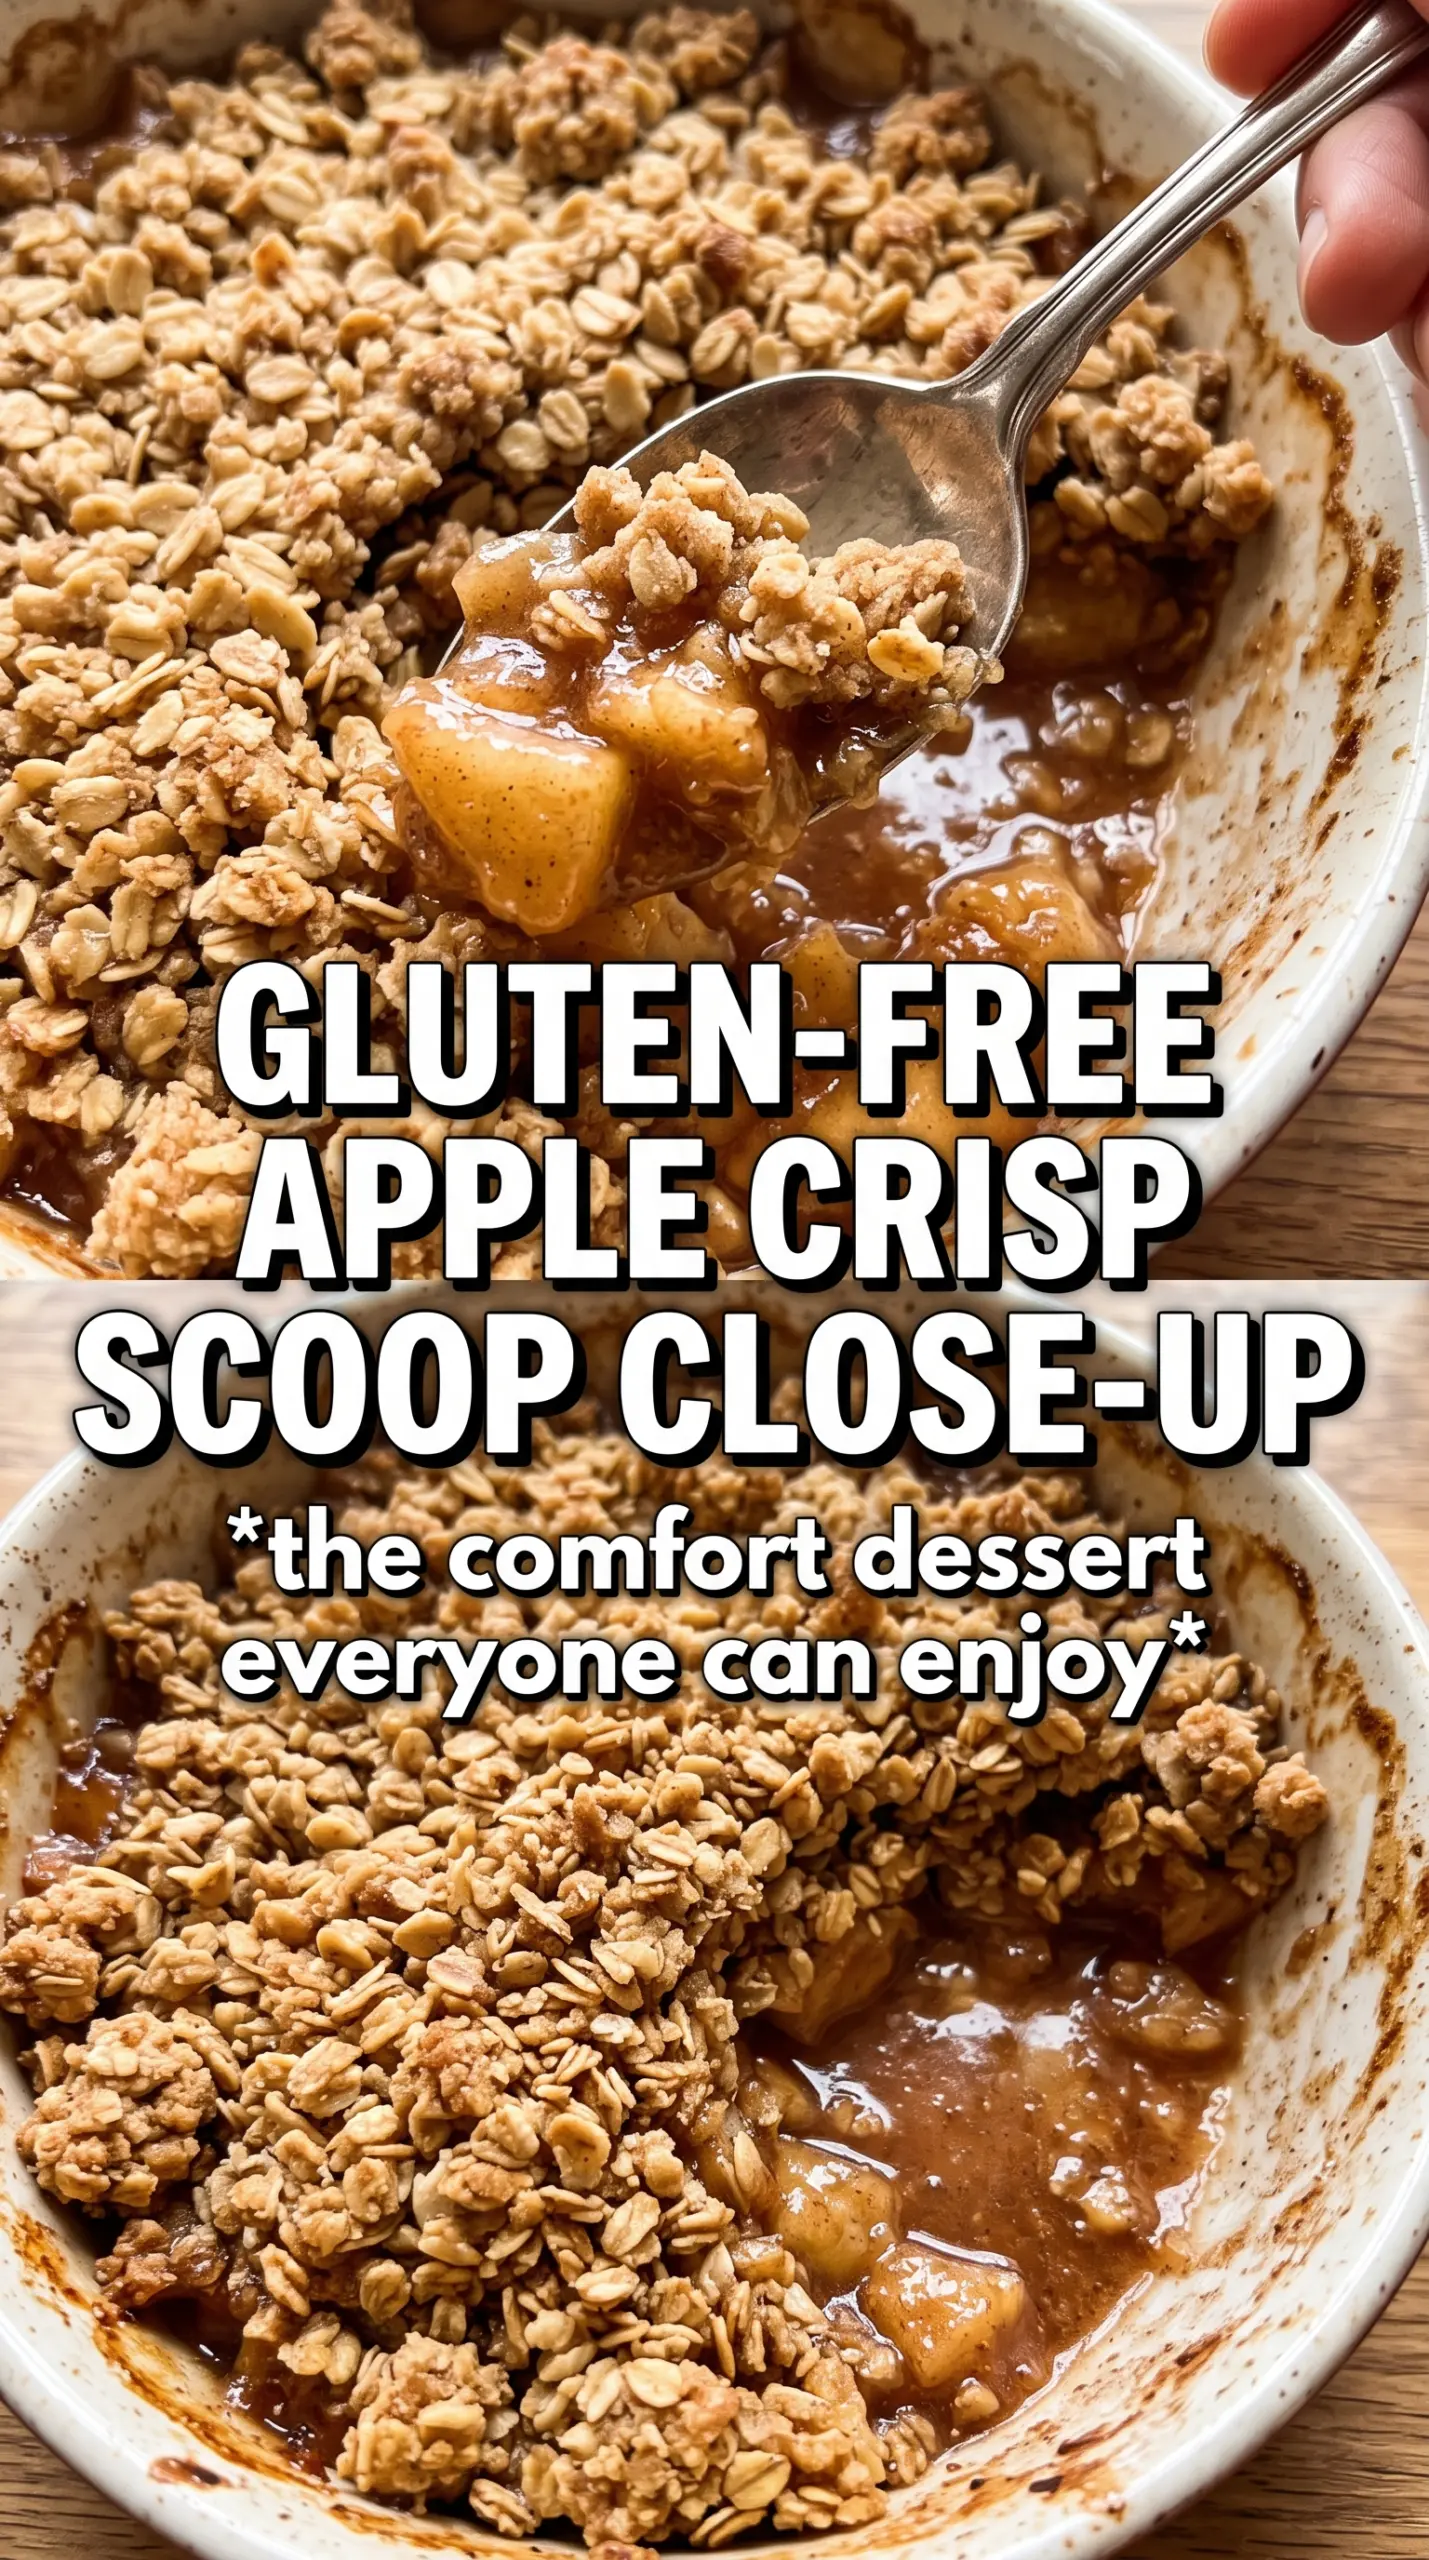
Golden, bubbling gluten-free apple crisp comes out of the oven with a topping that stays crumbly instead of sandy and an apple filling that turns tender without collapsing into mush. The best part is the contrast: soft cinnamon apples underneath, crisp almond-oat crumbs on top, and those browned edges that taste almost caramelized where the butter and sugar meet the pan.
This version works because the topping isn’t relying on one flour alone. Certified gluten-free oats bring chew and structure, almond flour adds richness, and a gluten-free flour blend fills in the gaps so the crumble holds together in little nubbly clusters. Cold butter matters here, too. If it melts before the dish goes into the oven, you lose the sandy-to-crisp transformation that makes a crisp worth making.
Below, I’m walking through the few details that change the outcome: how to keep the apples juicy but not watery, how to get a topping with real crunch, and what to swap if you need this dairy-free.
The topping baked up crisp even on the edges, and the apples thickened into this perfect spoonable filling instead of turning soupy. I used Granny Smith and Honeycrisp like you suggested, and it disappeared after dinner.
Save this gluten-free apple crisp for the nights when you want a bubbling fruit dessert with a crisp almond-oat topping and no guesswork.
The Reason the Crumble Stays Crisp Instead of Turning Gummy
The failure point in a gluten-free crisp is almost always the topping. Oats, almond flour, and a gluten-free blend each behave differently, and if the butter melts too early or the topping is packed down, you end up with a dense layer instead of a craggy crumble. This version keeps the mixture loose and chunky so the butter can create pockets that bake into crisp, browned bits.
The apples matter just as much. Six large apples sound like a lot, but they shrink as they bake and release juice, and the cornstarch is there to thicken that juice into a glossy filling. If your crisp comes out watery, it usually means the fruit layer was underthickened or the dish didn’t bake long enough for the filling to bubble all the way through.
What Each Ingredient Is Actually Doing in the Dish
- Apples — Use firm baking apples so the slices hold some shape after 45 minutes in the oven. A mix of tart and sweet apples gives the filling more depth; all sweet apples can taste flat, while all tart apples can read sharp once baked. Granny Smith, Honeycrisp, and Fuji all work well together.
- Cornstarch — This is what turns the apple juices into a proper filling instead of a puddle at the bottom of the dish. Don’t skip it, and don’t swap in flour one-for-one unless that’s your only option, because cornstarch thickens more cleanly and stays lighter.
- Certified gluten-free oats — These bring the signature crisp texture. Regular oats can be cross-contaminated, so if gluten matters for health reasons, use a certified package.
- Almond flour — It adds richness and helps the topping brown faster than oats alone. Fine almond flour works best; almond meal can make the crumble a little more rustic and less delicate.
- Gluten-free all-purpose flour blend — This fills in the structure and helps the crumble hold together in clumps. A blend that includes xanthan gum is fine here, but you don’t need one that leans heavy or bean-based.
- Cold butter — Cold butter is the difference between a crisp topping and a greasy one. Cube it, work it in quickly, and stop when you still see plenty of uneven bits.
Building the Apple Layer and Topping So They Bake at the Same Pace
Season the apples first
Toss the peeled apple slices with sugar, cinnamon, nutmeg, cornstarch, and lemon juice until every piece looks lightly coated. The sugar starts drawing out moisture right away, so get the apples into the baking dish soon after mixing. If the bowl sits too long, the fruit releases extra liquid before it ever hits the oven, and that can make the filling looser than you want.
Cut the butter into the dry ingredients
Combine the oats, almond flour, gluten-free flour blend, brown sugar, cinnamon, and salt, then cut in the cold butter until the mixture looks like chunky gravel with some pea-sized bits mixed in. Those uneven bits are what bake into crisp clusters. If the topping looks like damp sand, the butter is too warm or you’ve overworked it.
Bake until the filling bubbles through the center
Scatter the crumble evenly over the apples and bake at 375°F until the top is deep golden and you can see bubbling around the edges and through the middle. That bubbling matters more than the clock, because the cornstarch won’t fully thicken until the filling gets hot enough. If the topping browns too fast, lay a loose sheet of foil over the dish for the last 10 minutes.
Let it rest before serving
Give the crisp at least 10 minutes out of the oven. The filling finishes tightening as it cools, and if you dig in immediately, it runs much looser on the plate. That short rest also keeps the topping from collapsing into the fruit the second you scoop it.
How to Adapt This Crisp for Different Diets and Different Apple Bins
Dairy-Free Version
Swap the butter for a firm plant-based butter that behaves like dairy butter when cold. Avoid soft tub spreads, which melt too fast and make the topping greasy instead of crisp. The flavor stays close, and the texture holds up well if the substitute is block-style.
Gluten-Free Without Grit
Keep the oats certified gluten-free and choose a flour blend that isn’t dominated by bean flour. If your blend tastes sandy straight from the bag, it’ll taste that way in the crisp too. A rice-and-starch-based blend usually bakes cleaner in this kind of dessert.
Less Sweet, More Tart
Cut the granulated sugar in the filling down to 1/4 cup if your apples are naturally sweet, or use a tart apple-heavy mix. The crisp topping will still bring plenty of sweetness, so the dessert lands balanced instead of sugary.
Storage and Reheating
- Refrigerator: Store covered for up to 4 days. The topping softens a bit in the fridge, but it still holds up well.
- Freezer: It freezes best after baking and cooling completely. Wrap tightly and freeze for up to 2 months; the topping won’t be as crisp after thawing, but the flavor stays good.
- Reheating: Warm uncovered in a 350°F oven until the center is hot and the topping re-crisps, usually 15 to 20 minutes. The common mistake is microwaving it, which turns the crumble soft and makes the filling loose again.
Answers to the Questions Worth Asking
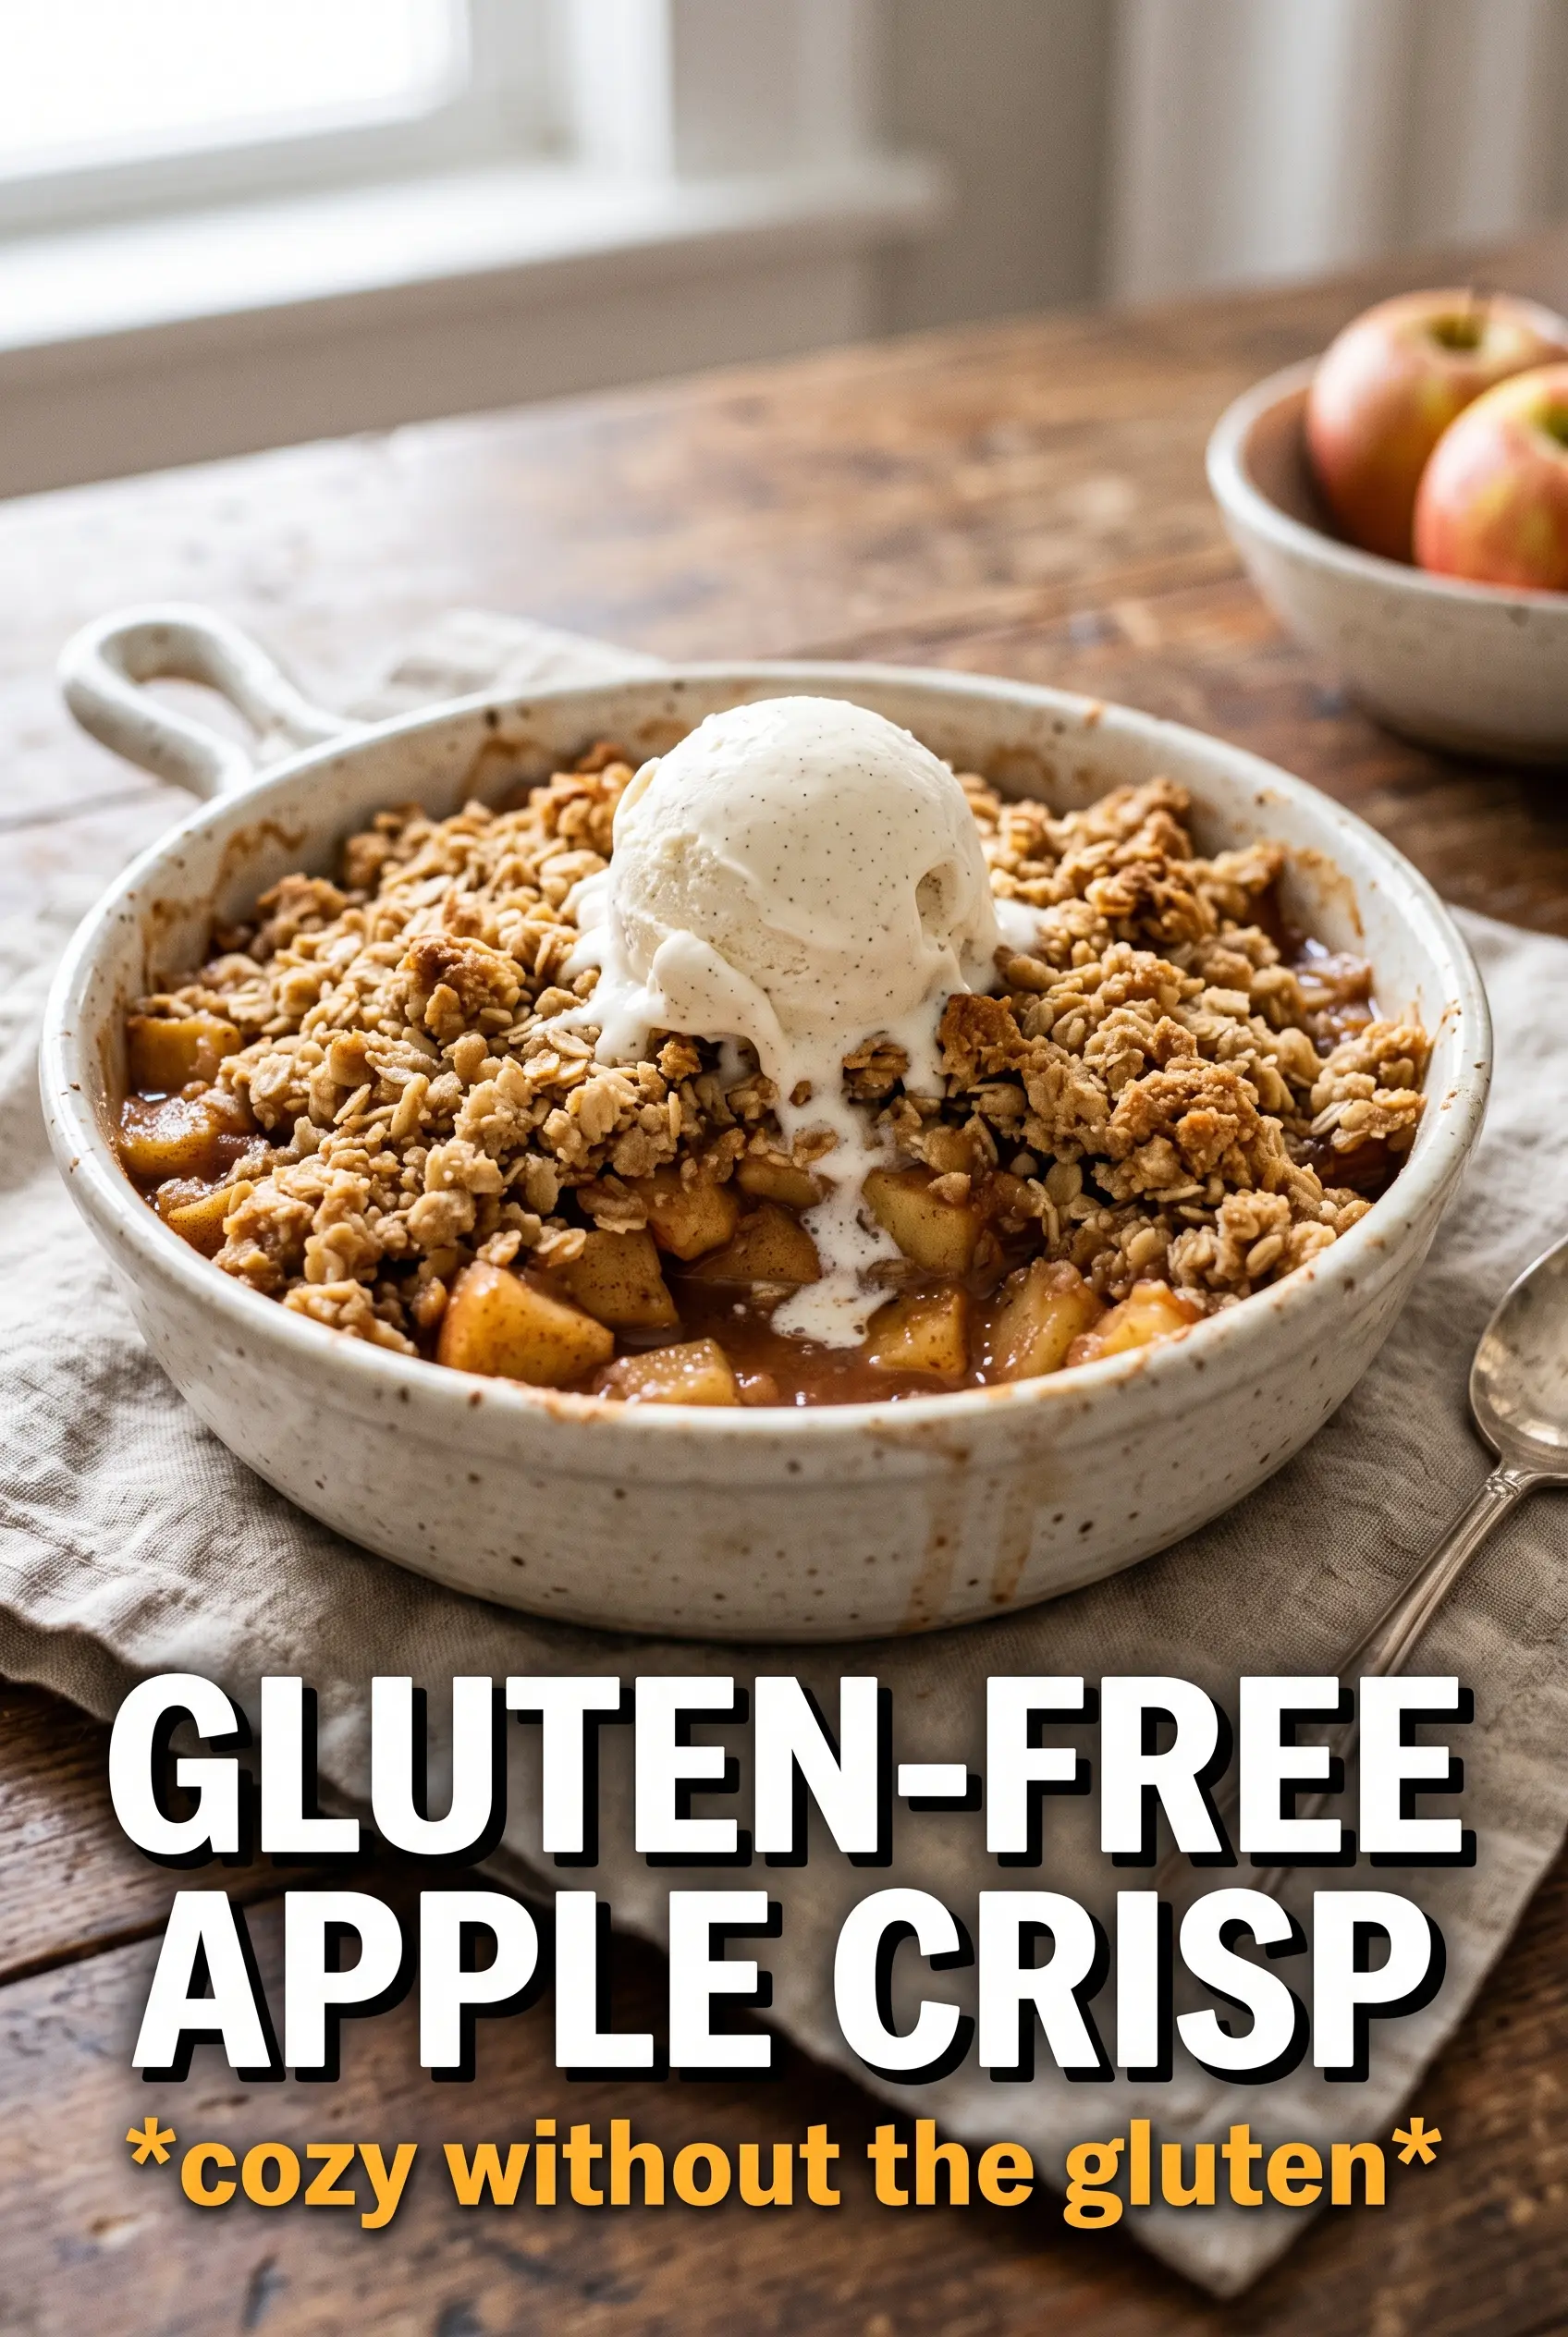
Gluten-Free Apple Crisp
Ingredients
Equipment
Method
- Preheat the oven to 375F, then grease a 9x13 baking dish. Make sure the dish is evenly coated so the crisp releases cleanly.
- Toss the apple slices with granulated sugar, cinnamon, nutmeg, cornstarch, and lemon juice, then spread them into the baking dish. The apples should look evenly coated with dry spices and thickener.
- Combine the certified gluten-free rolled oats, almond flour, gluten-free all-purpose flour blend, brown sugar, cinnamon, and salt in a bowl. Stir until the dry ingredients are evenly mixed.
- Cut the cold unsalted butter into the crumble mixture until chunky clumps form. Pinch-test for texture—clumps should hold together when pressed.
- Scatter the crumble over the apples so the topping covers the surface in an even layer. Leave small apple peeks if you prefer more bubbling.
- Bake for 40-45 minutes at 375F until the topping is golden and the filling is bubbling. Watch for active bubbling around the edges and dry-looking, crisp crumbles on top.
- Rest the apple crisp for 10 minutes before serving. The filling will thicken slightly so each scoop holds its shape.


