Fruit crisp topping is what turns a pan of baked fruit into dessert with real texture. The best version bakes up in rough, buttery clumps that stay crunchy on top while the fruit bubbles underneath, and it should taste like brown sugar, cinnamon, and toasted oats in every bite. When it’s done right, you get that contrast that keeps people spooning out “just a little more” from the pan.
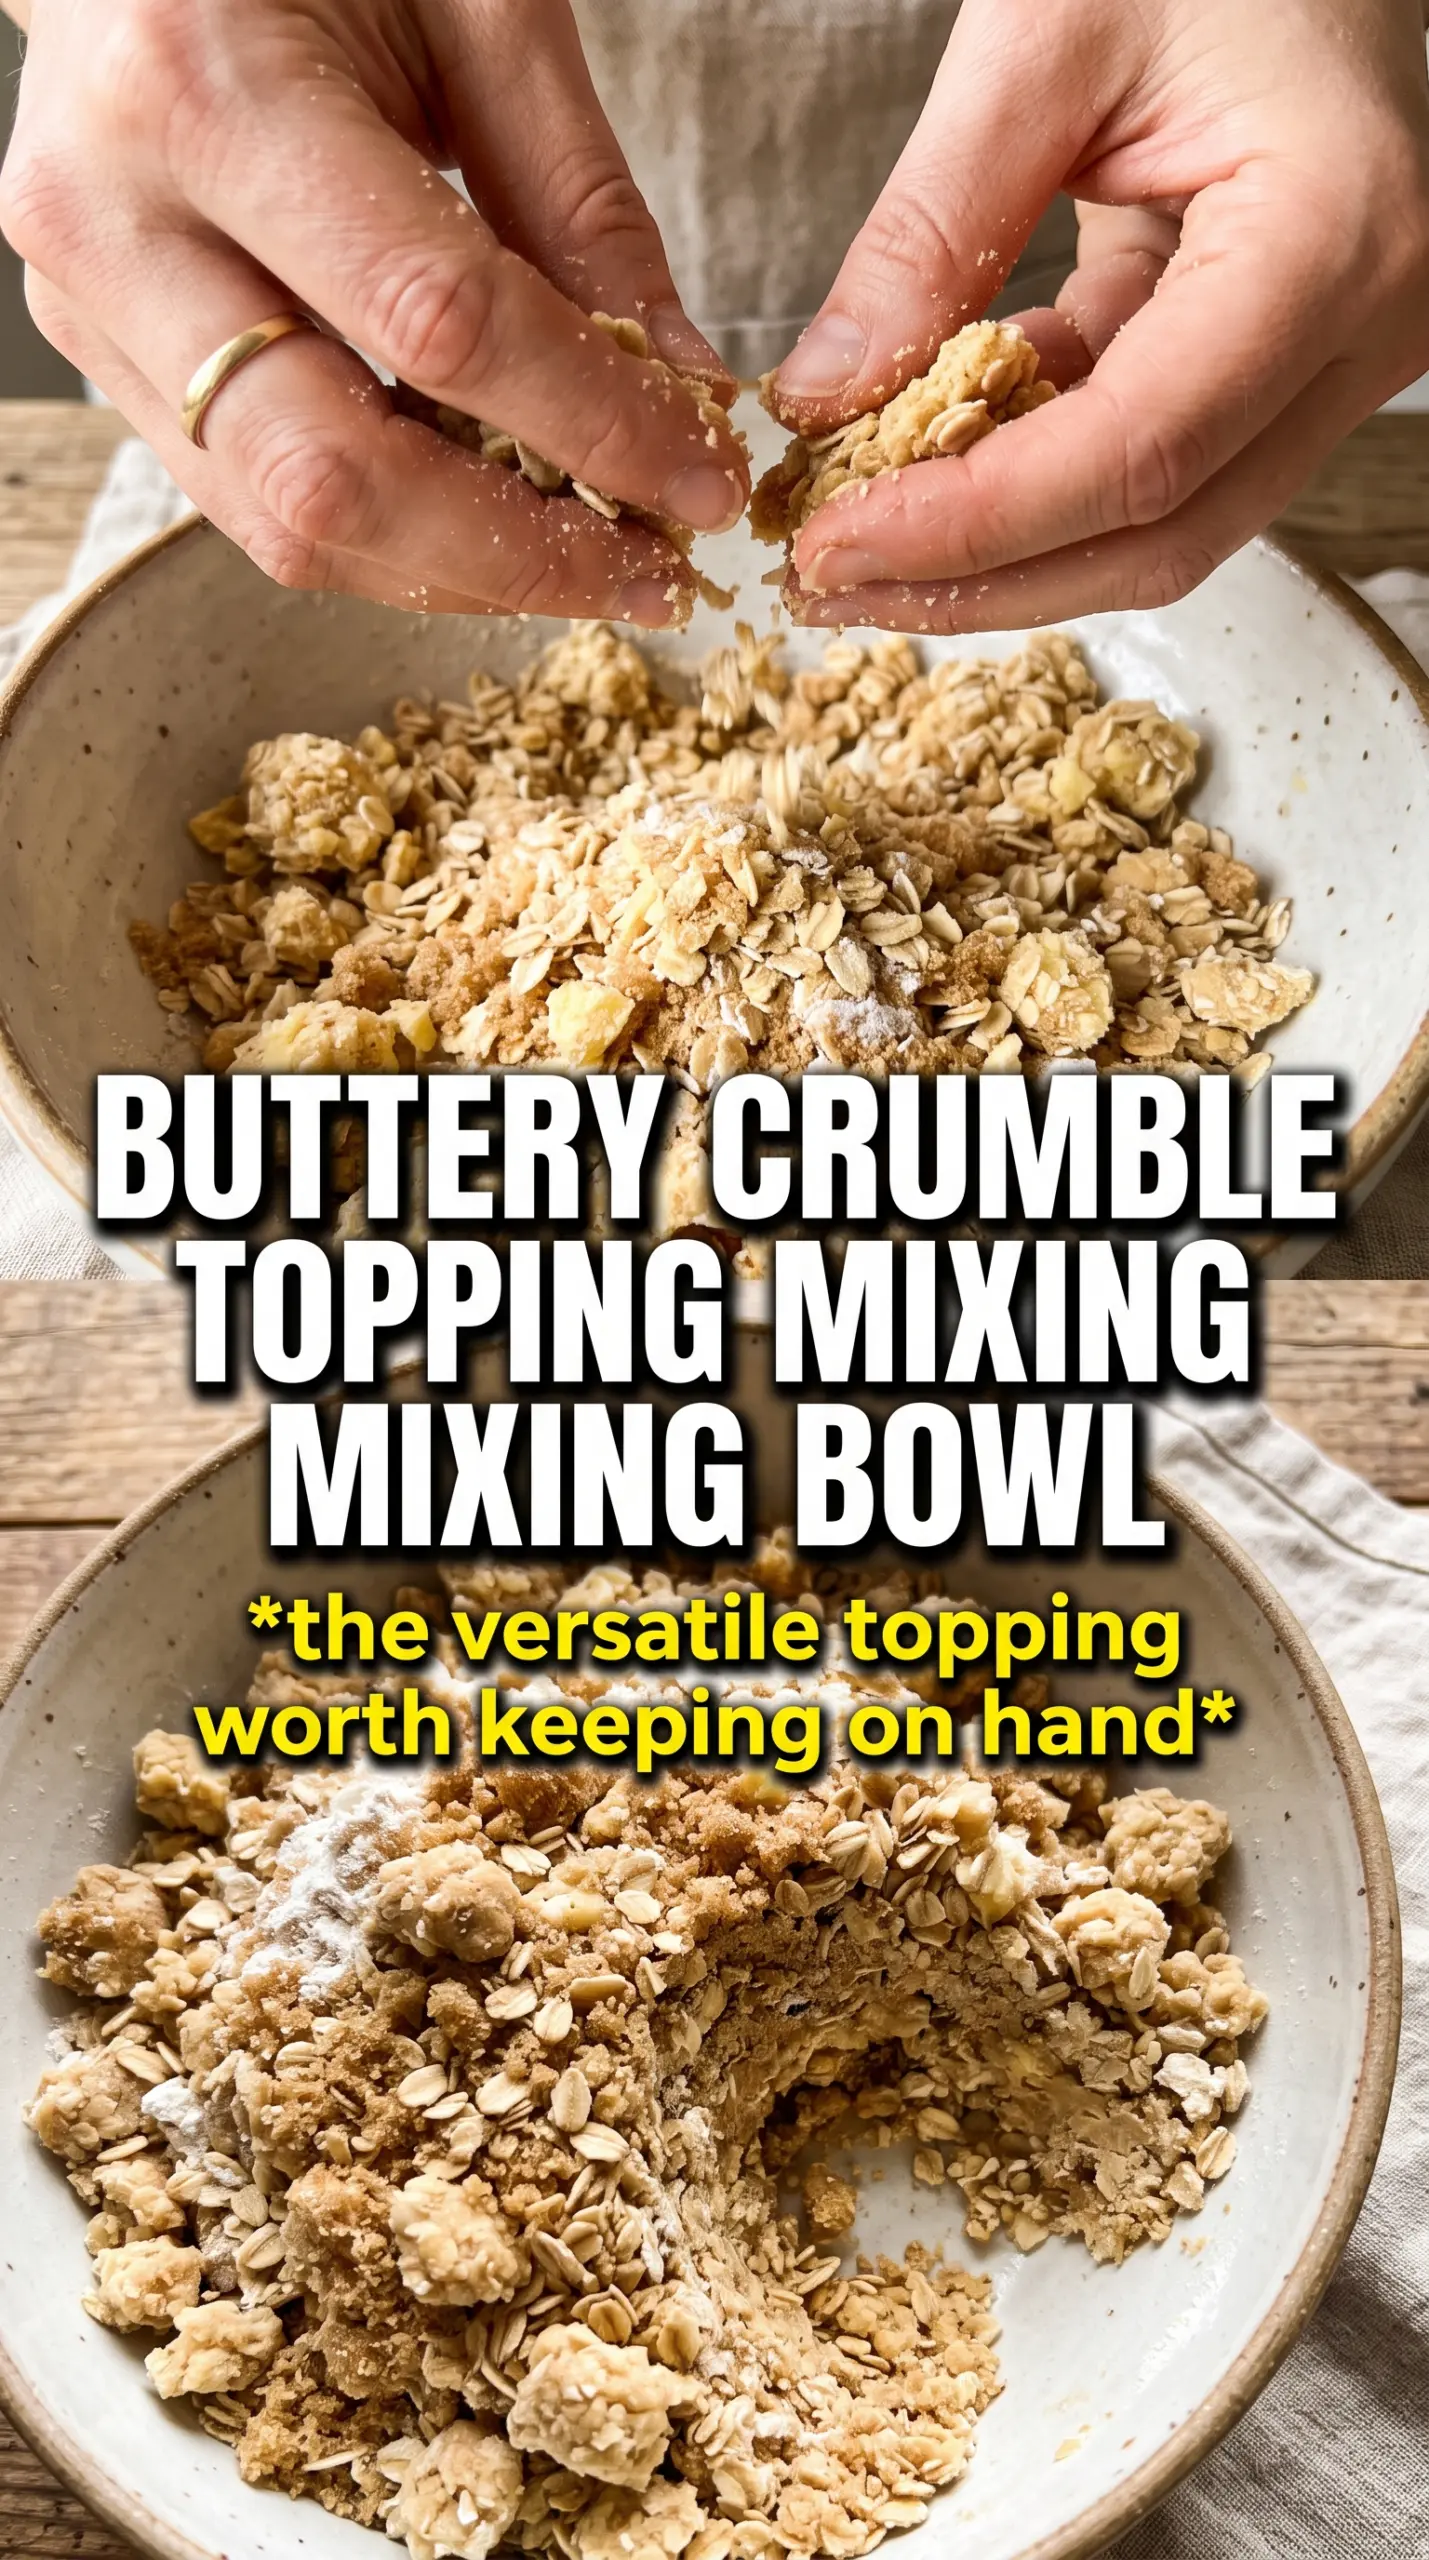
The trick is keeping the butter cold and stopping before the mixture turns sandy. You want uneven pieces on purpose: some fine crumbs, some pea-sized bits, and a few bigger chunks that melt into crisp, golden pockets in the oven. That’s what gives the topping its craggy look and keeps it from baking into a flat, cookie-like layer.
Below, I’m sharing the texture cues I use every time, plus the easiest way to make this ahead if you want to keep a stash in the fridge or freezer for last-minute crisps.
The topping baked up in big buttery clumps instead of turning dusty, and it stayed crisp even after sitting on the peaches for a bit.
Save this fruit crisp topping for the next pan of baked peaches, apples, or berries when you want big buttery clumps and a cinnamon-oat crunch.
The Reason Crisp Toppings Stay Crunchy Instead of Turning Pasty
A good crisp topping has enough flour to bind, enough oats to give it structure, and enough butter to create those irregular, golden pockets that bake into crunch. The mistake most people make is overmixing until the whole bowl looks like damp sand. That gives you a uniform layer that bakes up dense instead of craggy.
Cold butter is what changes the game here. As it melts in the oven, it leaves behind little gaps and layered bits that turn crisp, while the brown sugar helps the topping set into clusters instead of scattering into crumbs. If the butter starts to smear or soften too much while you mix, pop the bowl in the fridge for 10 minutes before baking. That one pause keeps the texture from going flat.
What Each Ingredient Is Actually Doing in the Crumble
- Rolled oats — These give the topping its rustic chew and keep the crumble from baking into a fine powder. Quick oats work in a pinch, but they make a tighter, softer topping.
- All-purpose flour — Flour is the binder that helps the topping clump and brown. A gluten-free 1:1 flour blend works, but the texture will be a little more delicate and less nubby.
- Brown sugar — This brings moisture, caramel notes, and that deep golden color. Light or dark brown sugar both work; dark brown sugar gives a richer, almost molasses edge.
- Cold unsalted butter — Butter is the structure and the flavor. Use it cold and cubed so it coats the dry ingredients unevenly; softened butter will smear and make the topping greasy.
- Cinnamon and nutmeg — These don’t just add spice, they help the topping taste warm and toasted even before it goes into the oven. Nutmeg is small in quantity here, but it makes the whole thing read as homemade.
- Chopped nuts or shredded coconut — Nuts add extra crunch, and coconut adds a little chew and toastiness. Both are optional, but if you use them, keep the pieces fairly small so the topping still piles and bakes evenly.
Mix It Just Enough for Clumps, Then Stop
Building the Dry Base
Start by combining the oats, flour, sugars, spices, and salt in a large bowl. You want everything evenly distributed before the butter goes in so the cinnamon and sugar don’t clump in one spot. If you’re adding nuts or coconut, toss them in here too so they get coated and toast evenly in the oven.
Working in the Butter
Add the cold butter and break it in with your fingertips, two forks, or a pastry cutter. Stop when the mixture looks like uneven pebbles with some larger clumps still hanging together. If it turns into a uniform meal with no visible butter bits, you’ve gone too far and lost the texture that makes crisp topping crisp.
Knowing When It’s Ready
The finished mixture should hold together when you squeeze a handful, then fall apart when you nudge it. That’s the sweet spot. If it feels dry and dusty, it needs a little more mixing. If it feels greasy or paste-like, the butter warmed up too much, and chilling it briefly helps before you scatter it over the fruit.
How to Adapt This Topping for Different Crisps and Dietary Needs
Gluten-Free Crisp Topping
Swap the all-purpose flour for a 1:1 gluten-free baking blend and keep the oats certified gluten-free. The texture stays close to the original, though the clumps may be a little more delicate and slightly less chewy.
Nutty, More Toasted Version
Add the chopped nuts for a deeper crunch and a more roasted flavor, especially with apples or pears. Walnuts and pecans both work well, but keep the pieces fairly small so the topping still spreads over the fruit without falling apart.
Dairy-Free Version
Use a solid plant-based butter block instead of spreadable margarine. You want something that behaves like butter when cold, or the topping can bake up soft and greasy instead of crisp.
Make-Ahead and Freezer Storage
Store the uncooked topping in an airtight container in the refrigerator for up to 5 days or freeze it for up to 3 months. If you freeze it in a flat bag, you can break off chunks and scatter them over fruit straight from frozen; that helps the topping bake up extra crisp instead of clumping into one heavy layer.
Storage and Reheating
- Refrigerator: Keep the uncooked topping covered for up to 5 days. It may firm up in the fridge, which is exactly what you want.
- Freezer: Freeze in an airtight container or zip-top bag for up to 3 months. Break up any big slabs before using so it sprinkles evenly over the fruit.
- Reheating: This topping is meant to be baked on fruit, not reheated by itself. If a baked crisp softens, a few minutes in a 375°F oven brings the topping back; microwaving is what makes it soggy.
Answers to the Questions Worth Asking
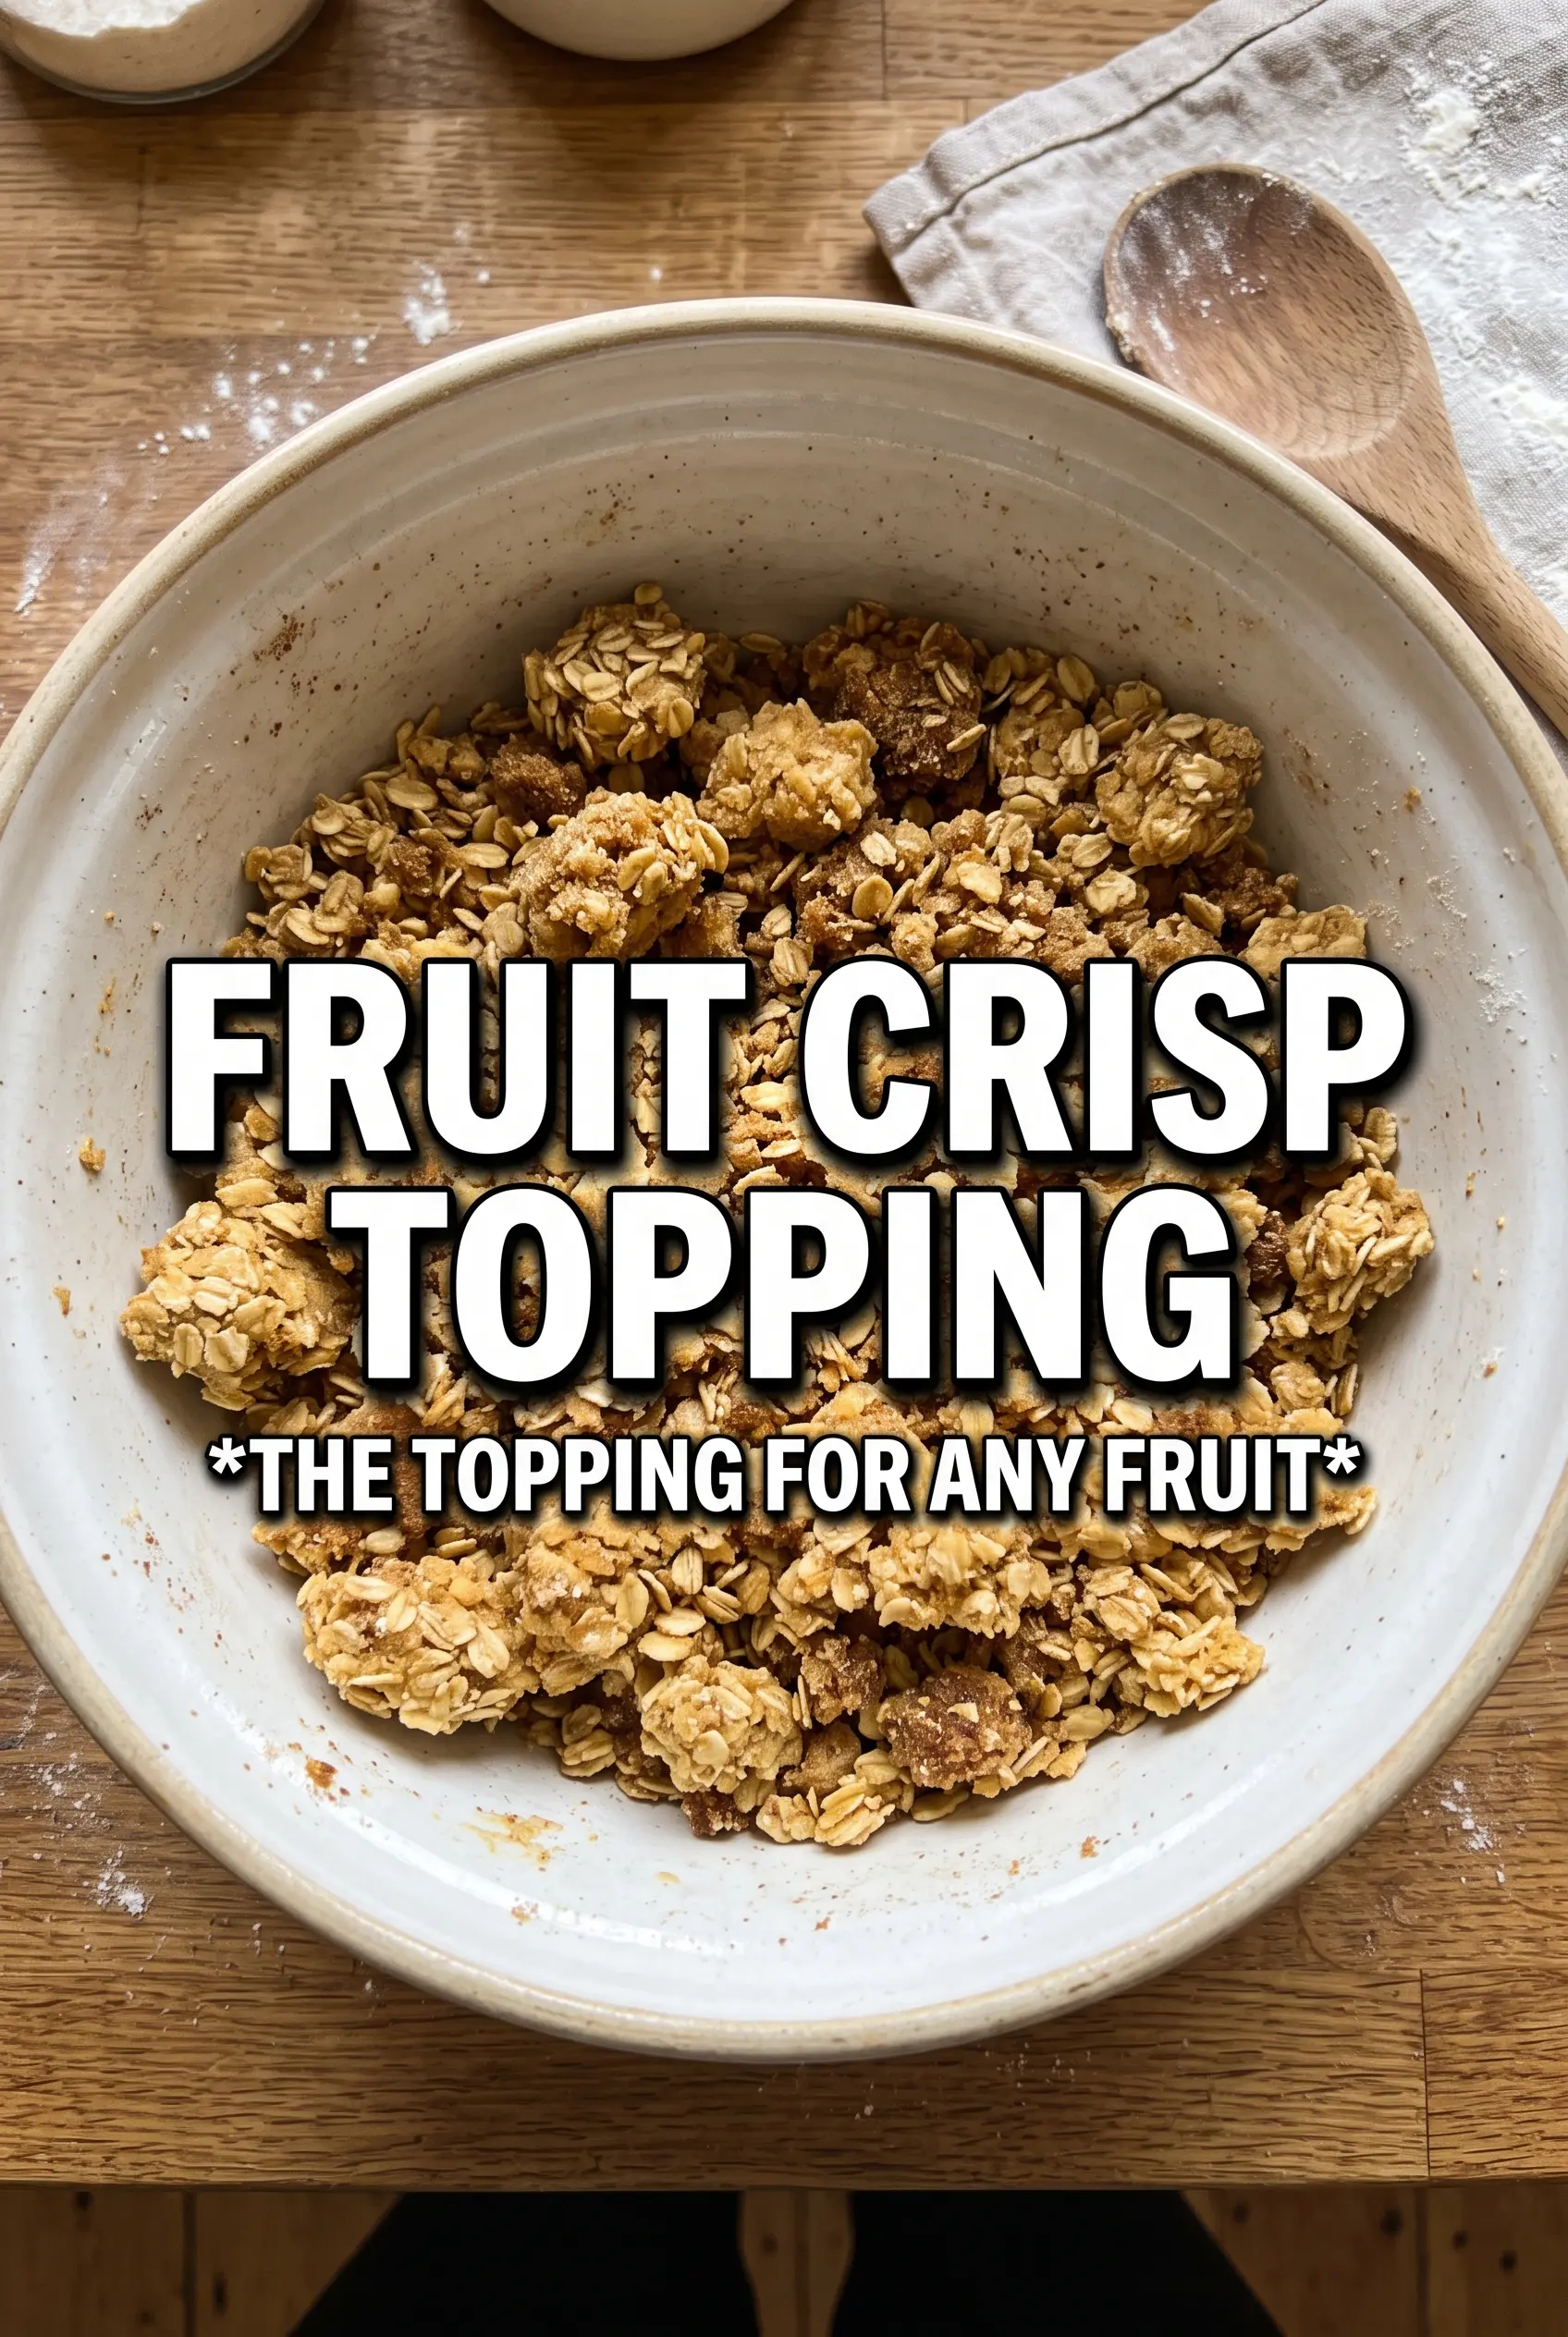
Fruit Crisp Topping
Ingredients
Equipment
Method
- Combine rolled oats, all-purpose flour, brown sugar, granulated sugar, cinnamon, nutmeg, and salt in a large bowl until evenly mixed.
- Add chopped nuts and shredded coconut, if using, and toss to distribute throughout the dry mix.
- Add the cold cubed unsalted butter and work it in with your fingertips, two forks, or a pastry cutter until large chunky clumps form, leaving some pea-sized butter pieces.
- Use the topping immediately over your prepared fruit filling, or refrigerate in an airtight container up to 5 days, or freeze up to 3 months.
- Bake the crisp over the fruit filling at 375°F for 35-45 minutes, until the top is deeply golden and crunchy.


