Flaky, golden apple pie only looks simple from the outside. The best ones slice cleanly, hold their shape, and still give you that soft, cinnamon-spiced filling that runs just enough when the knife goes in. This version does that balance well: a double crust that bakes up crisp instead of soggy, and apples that stay distinct instead of collapsing into jam.
The trick is in the apple mix and the resting time. Granny Smith brings the sharpness and structure, while Honeycrisp gives you sweetness and a little juiciness without turning mushy. Tossing the filling with cornstarch and letting it sit before baking pulls out excess liquid so the bottom crust doesn’t steam itself soft. Baking hot at first sets the crust fast, then lowering the temperature gives the apples time to tenderize all the way through.
Below, I’ll walk through the small decisions that make the biggest difference, from keeping the filling from leaking to getting that cinnamon-sugar finish on top. If you’ve had pie go watery or bland before, the notes here will help you fix both.
The filling set up beautifully and the bottom crust stayed crisp, even after sitting out for dessert. The cinnamon-sugar top baked into the prettiest golden finish.
Save this classic apple pie for the crisp double crust, cinnamon sugar top, and clean-slicing filling.
The Reason Most Apple Pies Turn Watery Before the Crust Catches Up
The filling in apple pie usually fails for one reason: the apples release liquid faster than the crust can set. If you dump raw apples straight into the shell, that juice pools at the bottom and you end up with a pale, soggy base instead of a pie that slices cleanly. Letting the apples sit with sugar, spices, and cornstarch gives the mixture time to draw out moisture before it ever goes into the oven.
That rest is doing important work. The cornstarch starts binding the juice, the sugar pulls more of it out, and draining off the excess liquid before baking keeps the filling from turning loose and runny. The initial high heat also matters because it firms the bottom crust quickly, which gives you a better chance at that crisp edge all the way through.
What the Apples, Spice, and Thickener Are Each Doing Here
- Granny Smith apples — These keep their shape and bring the tart backbone that keeps the pie from tasting flat. If you swap in all sweet apples, the filling can lean soft and one-note. Honeycrisp balances them out, but I wouldn’t use only very juicy apples here unless you like a looser filling.
- Cinnamon, nutmeg, and allspice — Cinnamon does most of the work, but the nutmeg and allspice make the filling taste like apple pie instead of just sweet fruit. Freshly ground nutmeg helps, but a regular jar works fine here. The key is not overdoing it; the apples should still taste like apples.
- Cornstarch — This is the thickener that sets the filling after baking. Flour can work in a pinch, but it gives a cloudier, slightly heavier filling and doesn’t thicken quite as cleanly. Toss it in evenly so every slice has the same texture instead of one loose center and one gummy edge.
- Lemon juice — A small amount wakes up the flavor and keeps the apples from tasting dull. It also helps slow browning while you assemble the pie. Don’t skip it unless the apples are already very tart.
- Butter — The little dice of butter melt into the filling and give you pockets of richness. It’s not there for thickening, just for finish and flavor. Cold butter is fine, but diced butter distributes better than one big lump.
- Pie crust — Homemade gives you the flakiest edges, but a good refrigerated crust absolutely works. The important thing is keeping it cold until it hits the oven. Warm dough shrinks and blurs the crimp.
Building the Pie So the Crust Stays Crisp
Mixing and Resting the Filling
Toss the sliced apples with the sugars, spices, cornstarch, and lemon juice until every piece looks coated. Then let the bowl sit for 15 minutes. The apples will slump a little and the mixture will become glossy as the juices start to collect, which is exactly what you want. If there’s a lot of liquid at the bottom of the bowl, drain it off before filling the crust or the pie will bake up wet underneath.
Filling the Shell Without Packing It Tight
Pile the apples into the bottom crust and mound them in the center. Don’t press them down hard; tightly packed fruit blocks steam from moving through the pie and can leave you with uneven texture. Dot the top with butter before the second crust goes on so the richness melts through the filling as it bakes.
Crimping, Venting, and Baking Hot First
Seal the top crust, crimp the edges, and cut steam vents so the filling can bubble without blowing the top apart. Brush with egg wash and scatter the cinnamon sugar over the surface for color and crunch. Bake at 425F first to set the crust, then lower the heat to 375F so the apples finish softening without burning the top. The pie is done when the crust is deep golden and the filling is bubbling through the vents, not just hot in the center.
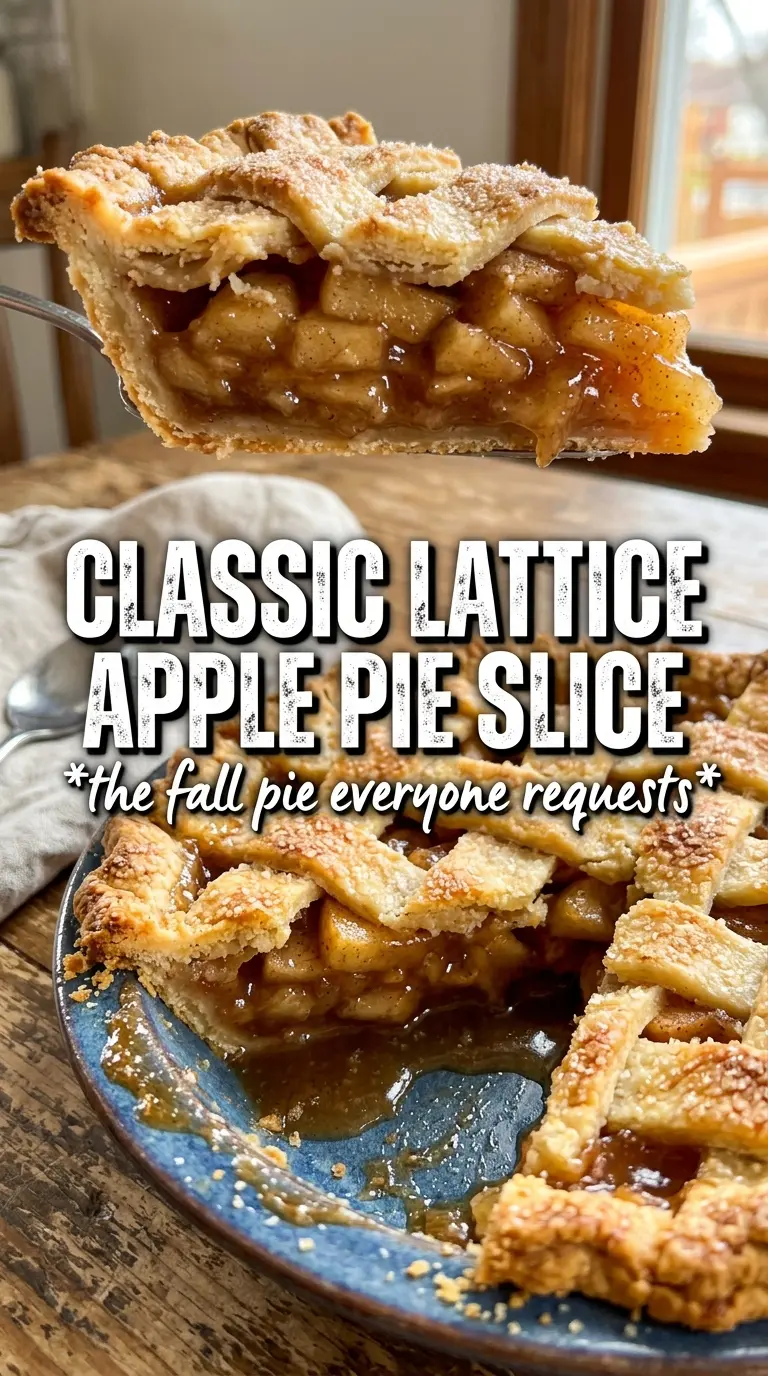
Make it with a lattice top
A lattice top gives the filling more venting and makes it easier to judge doneness, since you can see the bubbles moving through the fruit. Cut the same dough into strips and weave them over the filling, then brush and sugar the top as written. You’ll get a slightly more rustic look and a little less top crust, which lets the apple flavor come through more directly.
Make it dairy-free
Swap the butter in the filling for a plant-based butter and use a dairy-free pie crust. The pie will still bake up with good structure, though the flavor will be a little less rich. Keep the butter substitute cold and use the same amount so it melts into the apples in the same way.
Make it gluten-free
Use a gluten-free pie crust and keep the filling exactly the same. Cornstarch already does the thickening work here, so the filling itself is naturally gluten-free. The one thing to watch is the crust texture; gluten-free dough can brown faster, so check the edges near the end of baking and shield them if needed.
Use all Granny Smith for a tarter pie
If you like a sharper filling, use all Granny Smith apples and keep the sugar as written. The pie will be firmer and more tart, with less natural juice, so it usually slices a little more cleanly. The tradeoff is a less rounded sweetness, which is why I like the Granny Smith and Honeycrisp mix best.
Storage and Reheating
- Refrigerator: Keep covered for up to 4 days. The crust softens a little after day one, but the filling stays nicely set.
- Freezer: Apple pie freezes well baked or unbaked. Wrap it tightly and freeze for up to 2 months; thaw in the fridge before reheating or baking so the center doesn’t stay icy.
- Reheating: Warm slices in a 325F oven until the crust crisps back up and the filling is hot, about 10 to 15 minutes. Microwaving softens the crust and turns the top soggy, which is the fastest way to lose what makes this pie good.
Questions I Get Asked About This Recipe
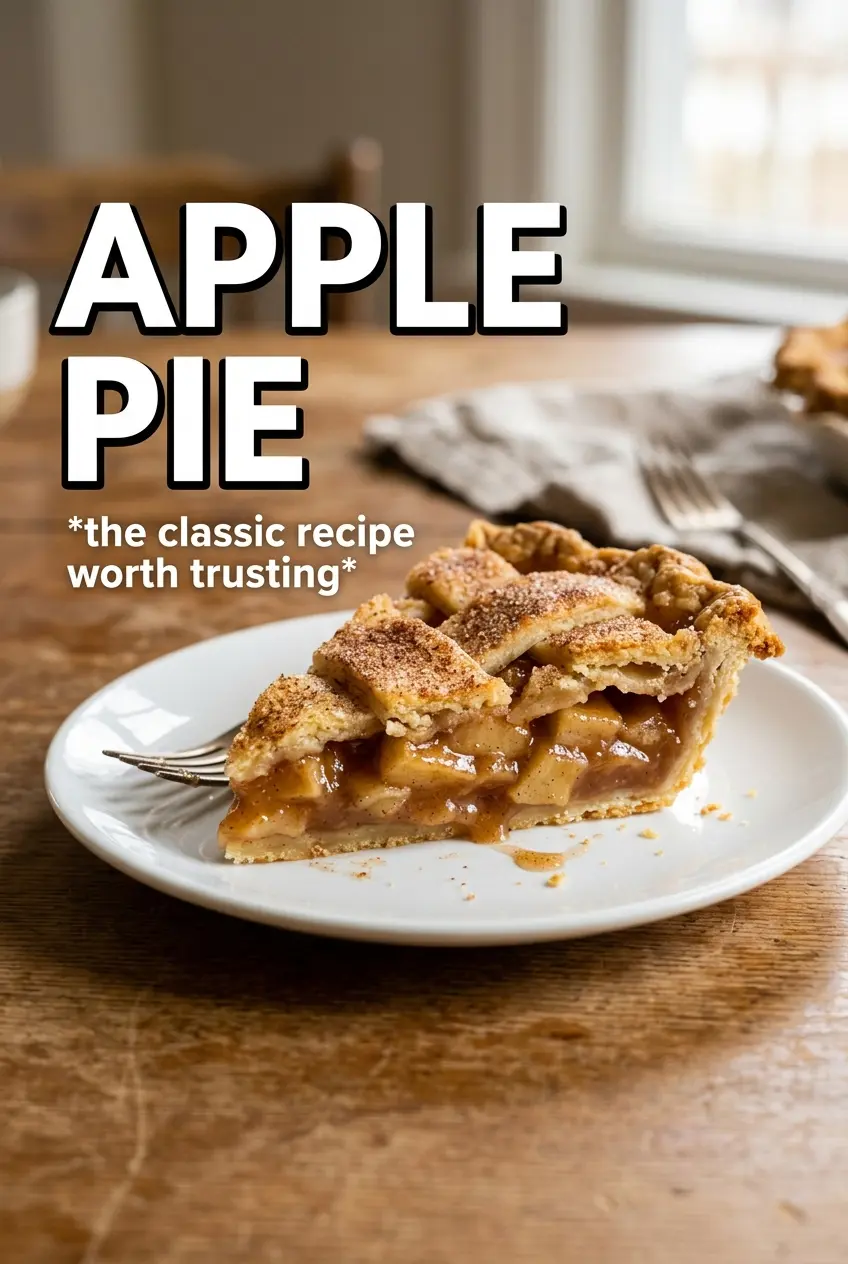
Apple Pie
Ingredients
Equipment
Method
- Preheat the oven to 425°F and fit one pie crust into a 9-inch pie dish.
- Set the lined dish aside while you prepare the filling.
- Toss sliced apples with granulated sugar, brown sugar, cinnamon, nutmeg, allspice, cornstarch, and lemon juice, then let sit for 15 minutes.
- Drain any excess liquid, then pile the apple filling into the bottom crust, mounding in the center.
- Dot the filling with diced unsalted butter.
- Top with the second crust, crimp the edges, and cut steam vents in the top.
- Brush the crust with egg wash and sprinkle with cinnamon sugar.
- Bake for 25 minutes at 425°F until the crust begins to set and turns lightly golden.
- Reduce the oven to 375°F and bake 30–35 more minutes until the crust is deep golden and the filling bubbles.
- Cool the pie at least 2 hours before slicing so the filling fully thickens.


