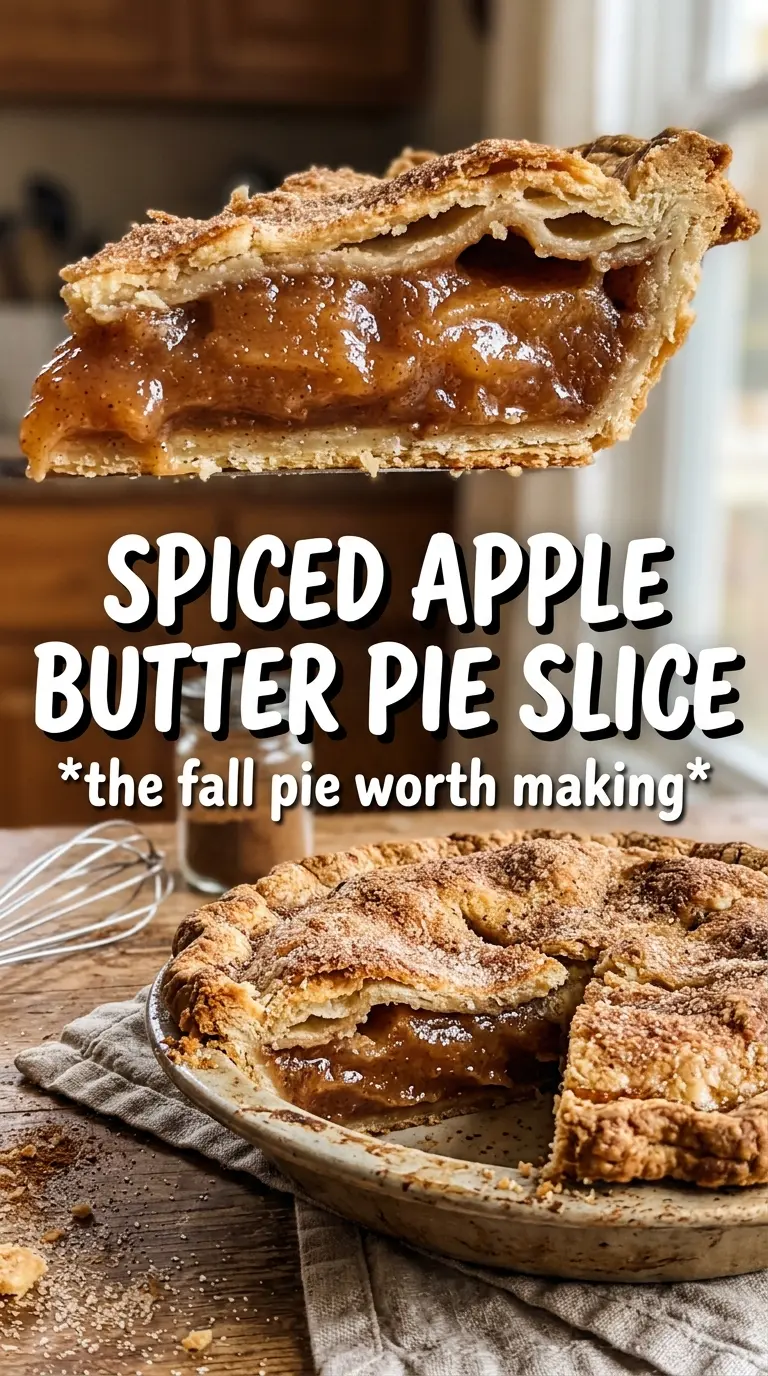
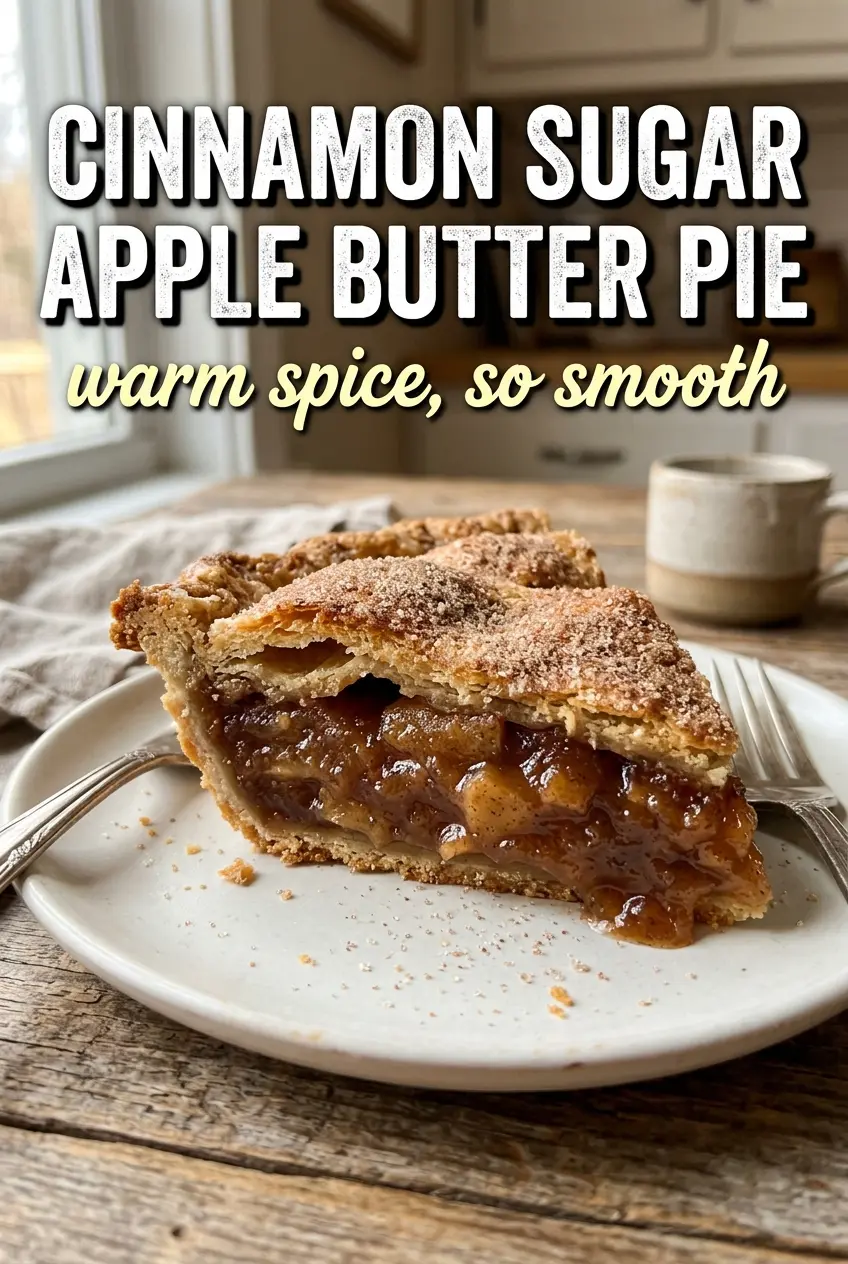
Cinnamon sugar apple butter pie bakes into a sliceable, spoonable center wrapped in a flaky crust that stays crisp where it should. The apple butter gives the filling a deep, cooked flavor from the start, and the fresh apples keep it from tasting one-note or overly sweet. What you get is a pie that eats like the best parts of apple pie and apple butter toast at the same time.
The trick is layering the apple butter under the apples instead of mixing everything together. That keeps the filling bold and concentrated, while the cornstarch catches the juices from the fresh fruit and thickens them as the pie bakes. The other small win is the cinnamon-sugar top crust, which turns the whole pie into something a little more fragrant and a little more polished without adding any extra work.
The filling set up beautifully and the top crust stayed crisp even after cooling. I loved how the apple butter gave it that deep spiced flavor without needing a ton of extra sugar.
Pin this cinnamon sugar apple butter pie for the days when you want a flaky double-crust dessert with a thick spiced filling and a sugar-dusted top.
The Part That Keeps This Pie From Turning Watery
Apple pie fillings usually fail in one of two ways: the fruit leaks too much juice, or the filling tastes flat because the apples and spices never really meld. This pie avoids both problems by starting with apple butter, which already has that slow-cooked apple depth, then adding fresh apples for structure. The cornstarch only has one job here: thicken the released juices into a glossy filling instead of a soupy one.
The other detail that matters is the cooling time. If you cut this pie while it’s still hot, the filling will run because the starch hasn’t fully set. One hour is the bare minimum, and a little longer is even better if you want the slices to hold cleanly.
What Each Ingredient Is Actually Doing in This Pie
- Apple butter — This is the backbone of the filling. It brings concentrated apple flavor and body that fresh apples alone can’t match, so don’t swap in plain applesauce unless you want a looser, milder pie.
- Fresh apples — These give the pie texture and keep the filling from becoming jammy. Slice them thin and evenly so they soften at the same rate; thick chunks can stay firm while the rest turns soft.
- Cornstarch — This thickens the juices from the apples and helps the filling slice cleanly. If you use flour instead, the filling will look a little cloudier and won’t set quite as sharply.
- Refrigerated pie crusts — They keep this pie practical and still bake up flaky if you handle them cold. If you use homemade crust, chill it well before assembling so the bottom stays tender instead of shrinking.
- Egg wash and cinnamon sugar — This finishes the top with shine, crunch, and extra spice. Brush the crust first, then sprinkle the sugar so it sticks and doesn’t slide off in the oven.
Building the Layers So the Filling Sets and the Crust Stays Crisp
Fitting the Bottom Crust
Press one crust into a 9-inch pie dish and let it settle into the corners without stretching it. If you pull the dough tight, it shrinks back in the oven and the filling can start to leak at the edges. Keep the dough cold while you work; warm crust loses its structure before it ever hits the oven.
Tossing the Apples With the Spices
Mix the sliced apples with both sugars, cinnamon, nutmeg, cornstarch, and lemon juice until every slice looks lightly coated. The cornstarch should cling to the fruit, not sit in dry patches at the bottom of the bowl. If you see clumps, toss a little longer so the thickener distributes evenly.
Layering the Filling
Spread the apple butter over the bottom crust in an even layer, then pile the apples on top. That separation keeps the apple butter from disappearing into the fruit and gives you a deeper flavor in every bite. Dot the apples with the diced butter before covering; those little pieces melt into the filling and help it taste richer.
Sealing and Finishing the Top
Lay the second crust over the filling, crimp the edges, and cut steam vents before brushing on the egg wash. If you skip the vents, steam builds under the crust and can blow out the sides or leave the top soggy. Finish with the cinnamon sugar while the egg wash is still tacky so the topping bakes into a crisp, fragrant shell.
Baking Until the Filling Is Bubbling
Bake at 375°F until the crust is deeply golden and you can see filling bubbling through the vents. That bubbling is your signal that the cornstarch has activated and the center has thickened enough to set later. If the top browns too quickly, lay a loose piece of foil over it for the last part of the bake.
How to Adapt This Pie Without Losing the Good Parts
Make it dairy-free
Use a dairy-free pie crust and swap the butter dots for a plant-based butter block. The filling still bakes up rich, but the flavor will be a touch less round than with real butter.
Use all homemade crust
A homemade crust gives you more flavor and a better shatter when you cut into the pie. Keep it cold, and chill the assembled pie briefly before baking so the bottom crust holds its shape.
Add a sharper apple edge
Mix in one tart apple, like Granny Smith, with sweeter apples if you want more contrast against the apple butter. The pie tastes brighter and less candy-sweet, especially if your apple butter is on the sweet side.
Gluten-free version
Use a gluten-free pie crust that bakes well on its own and check that your cornstarch is certified gluten-free if needed. The filling itself already works naturally without gluten, so the crust is the only real swap.
Storage and Reheating
- Refrigerator: Store covered for up to 4 days. The crust softens a little after day one, but the filling stays flavorful.
- Freezer: Freeze baked pie well wrapped for up to 2 months. Thaw overnight in the refrigerator before reheating so the crust doesn’t get soggy from condensation.
- Reheating: Warm slices in a 325°F oven until heated through. The oven keeps the crust crisp; the microwave will make the pastry limp.
Questions I Get Asked About This Recipe
Cinnamon Sugar Apple Butter Pie
Ingredients
Equipment
Method
- Preheat the oven to 375F and place a rack in the center. Fit one pie crust into a 9-inch pie dish and leave the edges to support crimping later.
- Toss the sliced apples with granulated sugar, brown sugar, cinnamon, nutmeg, cornstarch, and lemon juice until evenly coated. Let the mixture sit briefly so the cornstarch starts to hydrate.
- Spread the apple butter evenly over the bottom crust. Layer the spiced apple slices over the butter in an even mound.
- Dot the top of the apple layer with diced unsalted butter. Place the second crust on top and crimp the edges to seal.
- Cut steam vents in the top crust to allow bubbling filling to escape. Brush the top with egg wash so the crust browns well.
- Mix the remaining cinnamon and sugar and sprinkle it over the top crust. Make sure the coating covers the center and vents.
- Bake for 45-50 minutes at 375F until the crust is deeply golden and the filling is bubbling through the vents. Move the pie to a sheet pan during baking for stable browning.
- Cool the pie at least 1 hour before slicing. This resting time sets the thick apple butter filling so it holds together.


