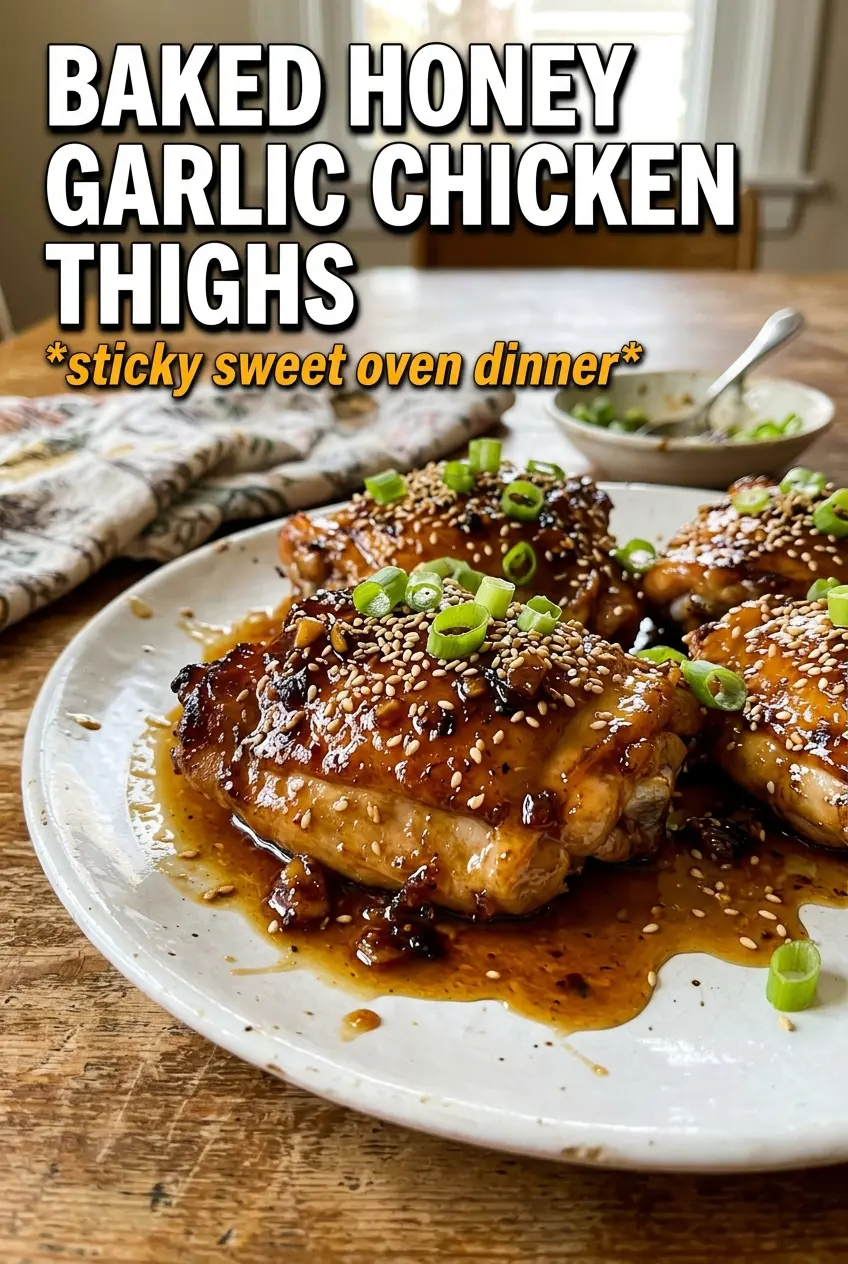
Sticky, glossy baked honey garlic chicken thighs hit that sweet spot between weeknight-easy and dinner-worthy. The skin turns deeply golden in the oven while the sauce reduces around it, clinging to every bite instead of pooling thinly in the pan. You get sweet honey, plenty of garlic, a little tang from vinegar, and enough salt from soy sauce to keep the whole dish balanced.
The trick is in the order of operations. A short marinade gives the chicken a head start on flavor, but the real work happens once the thighs go into a hot oven skin-side up. That high heat helps the fat render and the glaze caramelize, which is what gives you those sticky edges and spoonable pan juices. If you’ve ever ended up with pale chicken and a watery sauce, it usually means the oven wasn’t hot enough or the pan was crowded.
Below you’ll find a few practical notes on getting the glaze right, choosing substitutions that won’t flatten the flavor, and handling leftovers without losing that glossy finish.
The glaze caramelized right on the chicken and the garlic didn’t burn. I basted once and the sauce was thick enough to coat the thighs instead of running all over the dish.
Keep these baked honey garlic chicken thighs handy for nights when you want sticky glaze, crisp skin, and almost no cleanup.
The Secret to Getting the Glaze Sticky Instead of Watery
The biggest mistake with honey garlic chicken is treating the sauce like a marinade and expecting it to behave like a glaze on its own. Honey loosens in the oven before it tightens up, so if the chicken is crowded or the pan runs cool, the juices dilute everything and you end up with a thin, pale sauce. A hot oven and skin-side-up placement let the thighs baste themselves while the surface reduces into a lacquer.
Chicken thighs are the right cut here because they forgive a little extra time and stay juicy while the skin crisps. Bone-in pieces also give you a better buffer against overcooking than boneless thighs would. The broil at the end is short on purpose; it’s there to finish the caramelization, not to cook the chicken through.
- Skin-on thighs — The skin renders and turns crisp while protecting the meat underneath. Boneless thighs will still work, but you’ll lose that crackly top and some of the pan richness.
- Honey — This is what gives the glaze its shine and stickiness. Darker honey adds a stronger note; lighter honey stays cleaner and lets the garlic lead.
- Apple cider vinegar — A small amount keeps the glaze from tasting flat. Lime juice can work in a pinch, but vinegar holds up better in the oven.
- Soy sauce — It seasons the chicken and deepens the color. Low-sodium soy sauce is fine if that’s what you keep on hand; just don’t replace it with plain salt and expect the same depth.
Getting the Chicken to Brown Without Burning the Garlic
Building the Marinade
Whisk the honey, minced garlic, soy sauce, olive oil, vinegar, red pepper flakes, and black pepper until the honey loosens and the mixture looks glossy. The goal is a unified sauce, not a broken oily pool, because the chicken needs every part of that seasoning in contact with the skin. If the garlic is minced too finely, it can scorch faster under high heat, so keep the pieces small but not paste-like.
Marinating for a Head Start
Let the chicken sit in the marinade for at least 30 minutes in the refrigerator. That short rest is enough to season the surface without making the skin soggy, which is the problem with long wet marinades on skin-on chicken. If you have more time, you can go a few hours, but once you pass that point the garlic starts to dominate and the skin loses some of its ability to crisp.
Roasting Hot and Skin-Side Up
Arrange the thighs in a baking dish with the skin facing up and spoon some of the marinade over the top. Bake at 425°F until the chicken is mostly cooked and the skin is taking on color, then baste with the pan juices so the top gets a fresh coat of glaze. If the pan is packed too tightly, the thighs steam instead of roast, so leave a little space between them.
Finishing the Glaze
After the second bake, the sauce should look darker, thicker, and slightly sticky around the edges. A quick broil finishes the caramelization, but watch it closely because honey goes from bronzed to burnt fast. Pull the pan the moment the surface looks lacquered and the chicken reads done at the bone.
How to Adapt These Honey Garlic Chicken Thighs for Different Kitchens
Dairy-Free and Naturally Gluten-Free
This recipe is already dairy-free, and it can be gluten-free if you use a gluten-free soy sauce or tamari. That swap keeps the same salty backbone and glossy finish, so nothing important gets lost in the texture or flavor.
Boneless Thighs for Faster Dinner
Boneless thighs shave a few minutes off the bake time and slice neatly for serving, but they won’t hold onto as much pan sauce as bone-in thighs. Start checking them early so they stay juicy and pull them the moment the center is cooked through.
Less Heat, Same Sticky Finish
Leave out the red pepper flakes if you want a milder glaze. The chicken still tastes full and balanced because the honey, garlic, and soy sauce carry the dish; you’re only removing the little back-of-the-throat kick.
Storage and Reheating
- Refrigerator: Store for up to 4 days in an airtight container. The skin softens in the fridge, but the flavor deepens.
- Freezer: Freeze cooked thighs for up to 2 months. Wrap them tightly and include a little of the pan sauce so the meat doesn’t dry out.
- Reheating: Warm covered in a 350°F oven until heated through, then uncover for a few minutes to bring back some texture. Microwaving works in a pinch, but it softens the skin and can make the glaze slide off.
Questions I Get Asked About This Recipe
Baked Honey Garlic Chicken Thighs
Ingredients
Equipment
Method
- Whisk honey, garlic, soy sauce, olive oil, apple cider vinegar, red pepper flakes, and black pepper in a bowl until smooth and glossy.
- Keep the marinade ready so it can be used right away for flavor coating.
- Place chicken thighs in the refrigerator and marinate for at least 30 minutes, turning once if possible for even coverage.
- Before baking, let the chicken rest briefly at room temperature while the oven heats, so the glaze coats and caramelizes evenly.
- Preheat oven to 425F, arrange chicken skin-side up in a baking dish, and spoon the marinade over the top.
- Bake for 25 minutes, then baste with the pan juices so the skin stays moist and the glaze thickens.
- Bake 10 more minutes until the chicken is golden and the sauce looks caramelized and sticky, with visible browned garlic pieces.
- Broil for 2 minutes to intensify the glaze color, watching closely to prevent burning.
- Garnish with fresh thyme and sesame seeds immediately after baking so they stay aromatic and lightly toasted.


