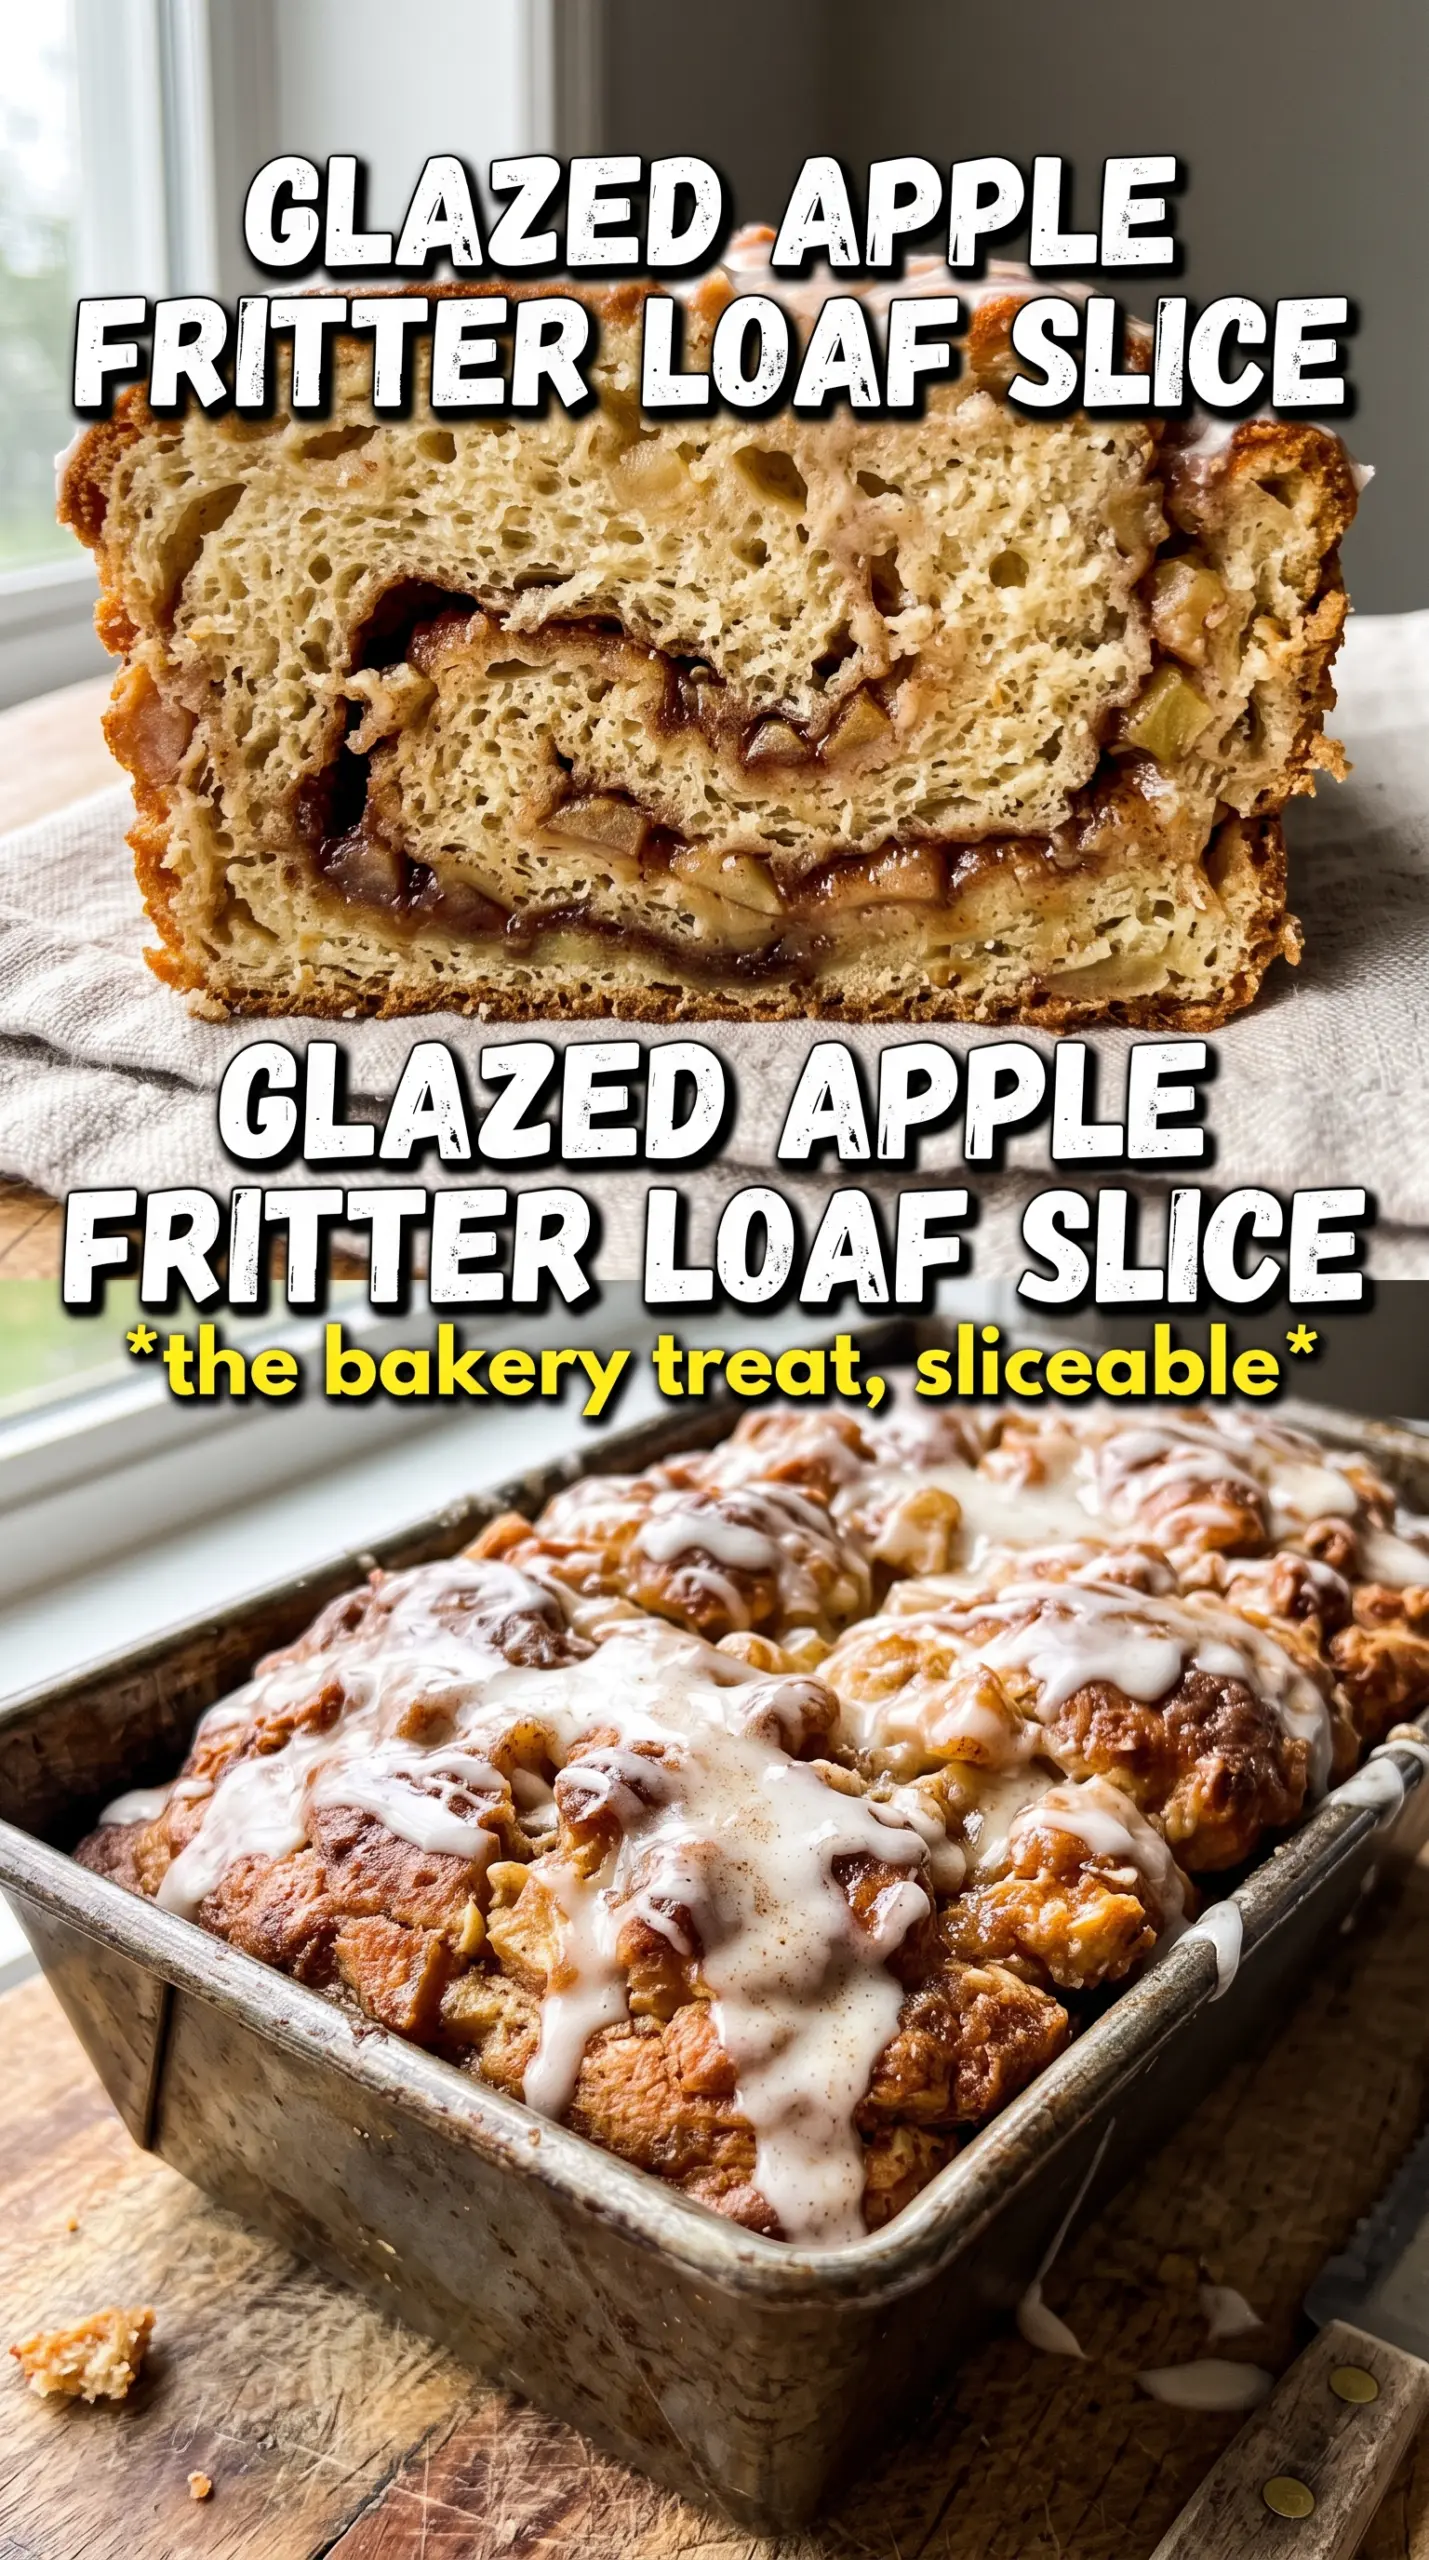
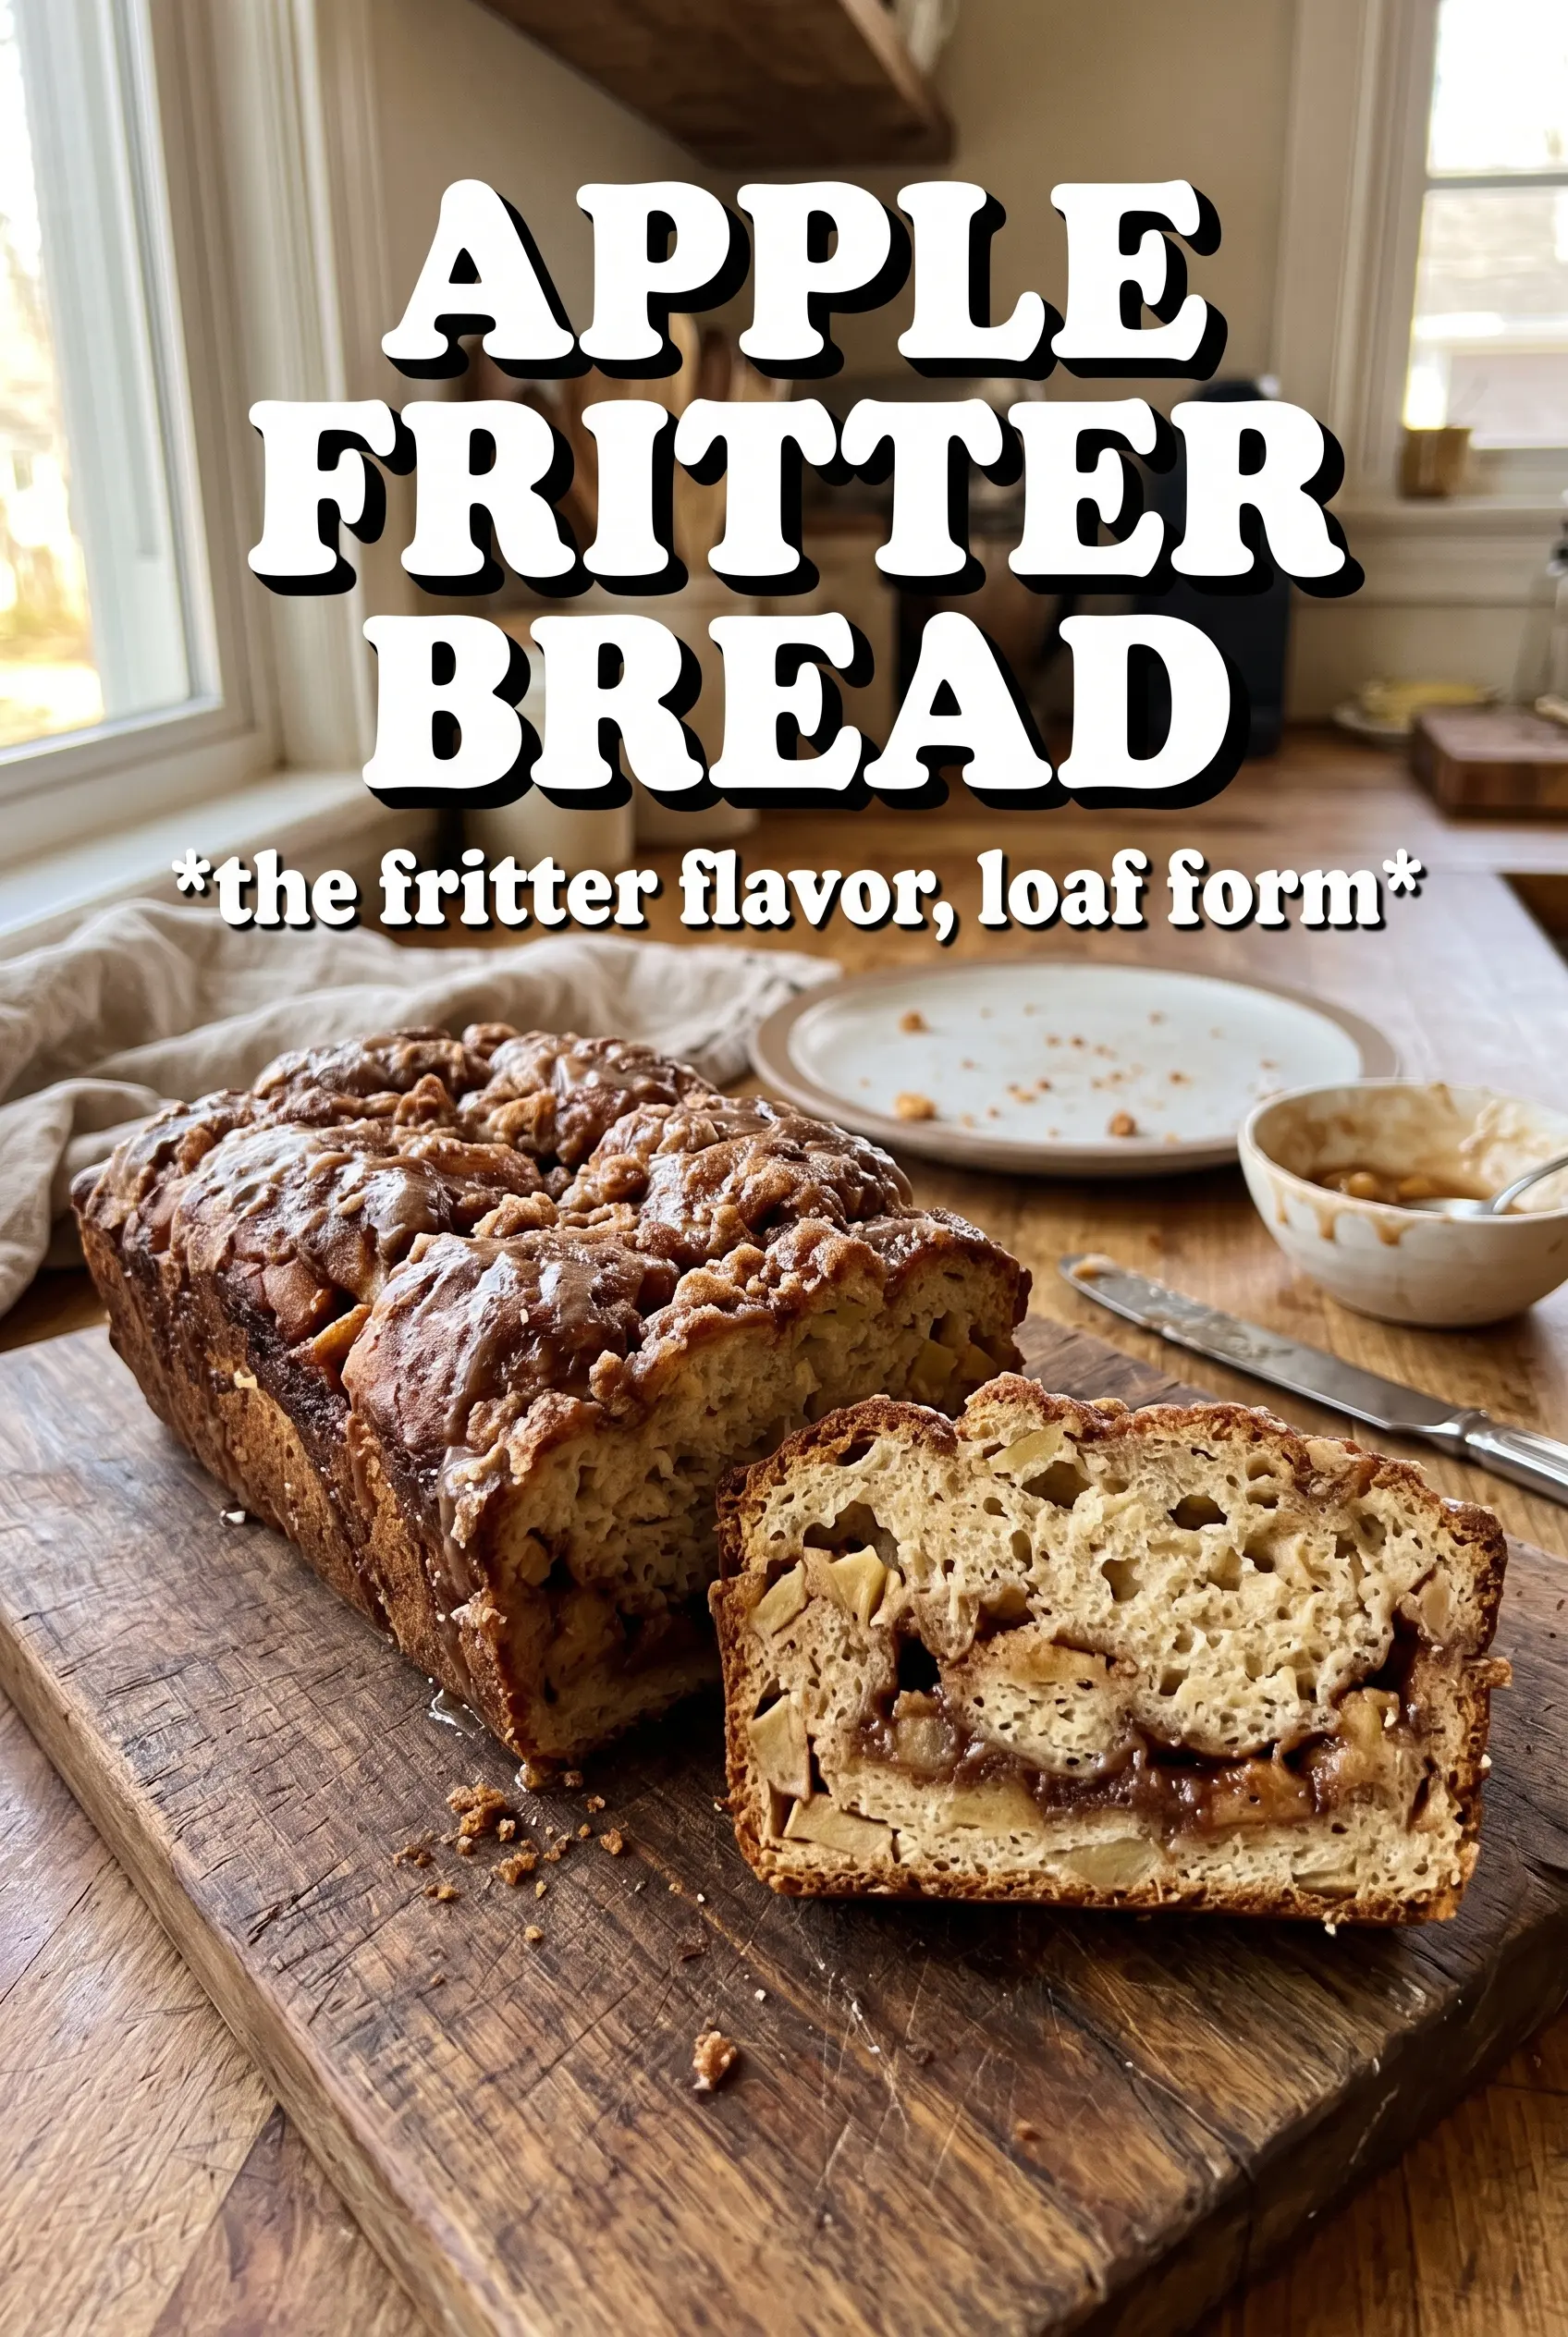
Apple fritter bread bakes up with a tender, cake-like crumb, pockets of cinnamon apples, and a glossy vanilla glaze that settles into the top just enough to make each slice feel like something from the bakery case. It has the same warm, spiced apple flavor people love in a fritter, but in a loaf you can slice cleanly for breakfast, snack time, or an afternoon coffee break.
The trick is cooking the apples first. Raw diced apples can leak too much juice in the oven and leave the center wet, but a quick skillet cook with butter, brown sugar, and cinnamon softens them and concentrates the flavor before they ever hit the batter. I also like alternating the dry ingredients with the milk so the loaf stays light instead of tough.
Below, I’ll walk you through the part that matters most: how to layer the batter and apples so you get those ribboned slices instead of a muddy middle. I’ve also included a few swaps and storage notes so the loaf stays just as good the next day.
The apples stayed soft but not mushy, and the glaze soaked into the top without making the loaf soggy. I followed the cooling step and the slices held together perfectly.
Save this apple fritter bread for the mornings when you want a soft cinnamon loaf with caramelized apples and a thick vanilla glaze.
The Reason This Loaf Stays Tender Instead of Dense
Quick breads can go heavy fast when the batter gets overmixed or the fruit adds too much moisture. This loaf avoids both problems by cooking the apples first and folding the batter just until the flour disappears. That means the crumb sets up like a proper breakfast bread instead of turning gummy around the fruit.
The other thing that matters here is the balance of leaveners. Baking powder gives the loaf lift, while a little baking soda helps the brown sugar in the apple filling taste deeper and rounder. If your apples are left raw, they keep releasing steam in the oven and the middle can sink; the short stovetop cook fixes that before it starts.
- Cooked apples — These soften enough to tuck into the loaf without tearing the crumb apart. A quick pan cook also evaporates excess moisture, which keeps the bread from collapsing in the center.
- Butter and sugar — Creaming the butter with granulated sugar gives the loaf structure and helps the finished slice feel plush instead of oily. Don’t rush this step; the mixture should look pale and fluffy.
- Milk — Whole milk keeps the crumb rich and tender. Lower-fat milk works, but the loaf won’t taste as soft or round.
- Cinnamon — It belongs in both the batter and the apple filling, but the filling does the heavier lifting. That double layer is what makes every bite taste like an apple fritter instead of plain sweet bread.
What Each Ingredient Is Doing in the Pan
- All-purpose flour — Standard AP flour gives the loaf enough structure to hold the apple layer without getting tough. Bread flour is too strong here and makes the crumb chewy.
- Butter — Use real unsalted butter, softened to room temperature, so it creams smoothly with the sugar. Cold butter won’t trap air properly, and melted butter changes the texture into something more like pound cake.
- Brown sugar for the filling — This brings molasses depth and helps the apples glaze as they cook. Light or dark brown sugar both work; dark brown sugar gives a deeper caramel note.
- Apples — Firm, tart apples hold their shape best. Granny Smith is my first choice, but Honeycrisp or Pink Lady also work if you want a slightly sweeter loaf.
- Vanilla — Vanilla in both the batter and the glaze ties the whole loaf together. Don’t skip it; it softens the sharpness of the cinnamon and keeps the glaze from tasting flat.
Layering the Loaf So the Apples Stay in the Middle
Cooking the apple filling first
Start with diced apples, butter, brown sugar, and cinnamon in a skillet and cook just until the apples soften and the sugar looks syrupy. You’re not trying to make applesauce; the pieces should still hold shape. Let the filling cool completely before layering it into the batter, because warm fruit can melt the butter in the loaf and create a dense, wet pocket.
Building the batter
Cream the butter and sugar until the mixture looks lighter in color and a little fluffy around the edges of the bowl. Add the eggs one at a time, then the vanilla. Alternate the dry ingredients with the milk and stop mixing as soon as the flour disappears; if you beat it smooth, the loaf turns tight and tough instead of tender.
Assembling and swirling
Spread half the batter into the pan, then spoon the cooled apple mixture over it in an even layer. Cover with the rest of the batter and run a knife through once or twice in gentle figure-eights. If you over-swirl, the apple layer disappears into the batter and you lose those distinct ribbons that make each slice look so good.
Baking until the center sets
Bake at 350°F until the top is golden and a toothpick comes out clean or with just a few moist crumbs from the bread, not wet batter. If the top browns before the center finishes, tent it loosely with foil for the last stretch. Let the loaf cool in the pan for about 15 minutes before lifting it out; that short rest helps it set so the glaze doesn’t slide off.
How to Adapt This Loaf Without Losing the Apple Fritter Feel
Dairy-Free Version
Use a plant-based butter that bakes well and swap the whole milk for an unsweetened non-dairy milk. The loaf will still rise and slice nicely, though the flavor is a little less rich and the crumb a touch less plush.
Gluten-Free Swap
A 1:1 gluten-free baking blend can work here if it includes xanthan gum. The loaf may need a few extra minutes in the oven, and the crumb will be slightly more delicate, but the apple-cinnamon layers still come through.
Turning It Into Muffins
Spoon the batter and apple filling into lined muffin cups and reduce the bake time to around 18 to 22 minutes. You’ll get more glaze per bite and a lighter texture, but you’ll lose the pretty sliceable swirl that makes the loaf version special.
Storage and Reheating
- Refrigerator: Store covered for up to 4 days. The glaze stays soft, but the crumb firms up a little after the first day.
- Freezer: Freeze the unglazed loaf or individual slices tightly wrapped for up to 2 months. Add the glaze after thawing so it stays smooth.
- Reheating: Warm slices in the microwave for 10 to 15 seconds or in a low oven until just heated through. Don’t blast it on high heat or the bread dries out before the apples warm up.
Answers to the Questions Worth Asking
Apple Fritter Bread
Ingredients
Equipment
Method
- Preheat oven to 350F, then grease a 9x5 loaf pan.
- Set the pan aside while you cook and cool the apple filling.
- Cook diced apples with butter, brown sugar, and cinnamon in a skillet for 5 minutes, until softened.
- Cool the cinnamon apple mixture completely before assembling the bread.
- Beat softened butter and granulated sugar until fluffy, about 1-2 minutes.
- Add eggs and vanilla extract, then beat until smooth.
- Whisk together flour, baking powder, baking soda, salt, and cinnamon.
- Alternate adding the dry mixture and whole milk to the butter mixture until just combined.
- Pour half the batter into the loaf pan.
- Layer all the cinnamon apple mixture over the batter.
- Top with the remaining batter.
- Swirl gently with a knife to create a marbled cinnamon-apple effect.
- Bake for 55-60 minutes at 350F, until a toothpick comes out clean.
- Cool the loaf for 15 minutes in the pan before glazing.
- Drizzle generously with vanilla glaze made from powdered sugar, milk (2-3 tbsp), and vanilla.


