Apple dump cake bakes into one of those old-school desserts that disappears fast because it hits every texture at once: tender spiced apples underneath, a crisp buttery crust on top, and little caramelized edges around the pan that people fight over. Served warm with melting vanilla ice cream, it lands somewhere between cobbler and cake, but with almost no effort and no mixing bowl to clean up.
The trick is keeping the layers separate. The apple filling goes in first, the dry cake mix stays dry on top, and the butter slices need to cover as much surface area as possible so the topping bakes into a real crust instead of a powdery layer. If you leave gaps in the butter, you’ll get dry patches. If you stir everything together, you lose the contrast that makes dump cake worth making in the first place.
Below you’ll find the small details that matter most, including how to get the top evenly browned, when pecans are worth adding, and what to do if you want the filling a little more spiced or a little more buttery.
The butter slices melted right through the cake mix and the top came out crisp instead of soggy. Mine bubbled at the edges at 43 minutes, and it was perfect with vanilla ice cream.
Save this apple dump cake for a no-fuss dessert with crisp buttery topping and warm spiced apples.
The Reason the Topping Stays Crisp Instead of Turning Gummy
Dump cake looks casual, but the texture depends on a few things going right. The biggest mistake is stirring the cake mix into the filling, which turns the dessert into a thick, pasty layer instead of a buttery crumble. The second mistake is leaving dry spots of mix on top. Those patches stay powdery because they never get enough fat to bake properly.
Butter placement is the whole game here. Thin slices melt more evenly than big chunks, so the cake mix gets hydrated across the surface instead of only in a few spots. Once the fruit starts bubbling, the steam finishes cooking the dry bits underneath the butter and helps the top set into a crisp, golden crust.
- Apple pie filling — Canned filling keeps this dessert fast and reliable. It already has the right softness, so you’re only seasoning and baking, not cooking apples from scratch.
- Yellow or spice cake mix — Yellow cake mix gives a classic buttery base, while spice cake mix pushes the warm apple flavor a little further. Either one works; spice cake just leans heavier on cinnamon and clove notes.
- Butter — Unsalted butter is best here because you control the salt level in the finished dessert. Slice it thin so it melts across the whole pan instead of pooling in a few spots.
- Pecans or walnuts — Optional, but they add a toasted crunch that plays well with the soft filling. If you skip them, the cake is still complete; if you use them, scatter them evenly so they toast instead of sinking into one corner.
Building the Layers So the Cake Mix Bakes, Not Stays Dusty
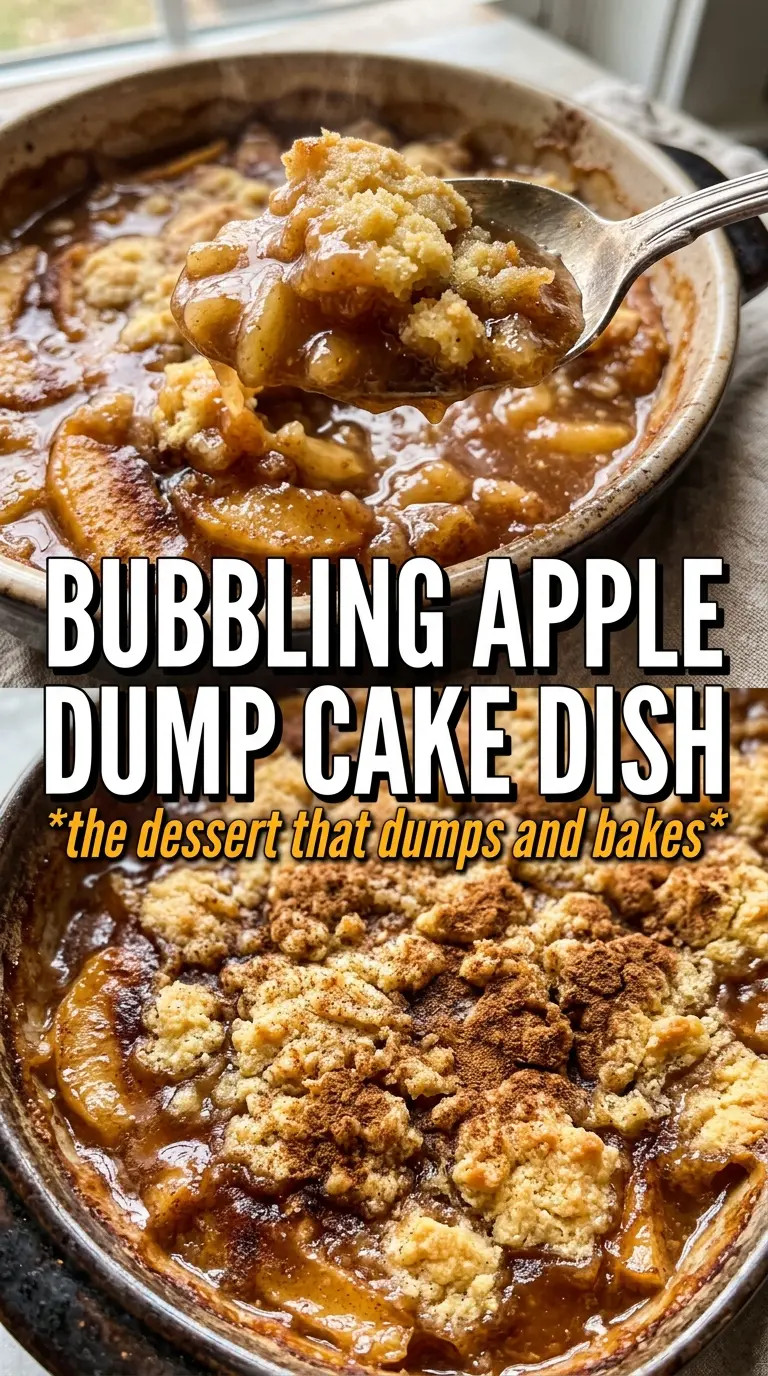
- Apple pie filling — Spoon it into the dish and spread it all the way to the corners. A level layer helps the topping bake evenly, and stirring in the cinnamon and nutmeg here keeps the spices from clumping on top.
- Cake mix — Use the dry mix straight from the box. Don’t add the eggs, oil, or liquid on the package; this recipe depends on the dry mix soaking up butter and fruit steam during baking.
- Butter slices — Thin slices matter more than exact measurements on the pan. If needed, overlap them a little to cover missed spots, especially near the edges where dry mix tends to linger.
- Vanilla ice cream — Not part of the bake, but it changes the whole dessert. The cold cream melts into the hot apples and softens the crisp topping just enough with each spoonful.
The Part of the Bake That Decides the Texture
Layering the Filling
Start by spreading the apple pie filling in an even layer in a greased 9×13 dish, then stir in the cinnamon and nutmeg right in the pan. That keeps the fruit seasoned without dirtying another bowl, and it prevents pockets of spice from baking into one hot bite. If the filling is piled up in the center, the topping over that spot can stay pale while the edges overbake.
Keeping the Cake Mix Dry
Pour the dry cake mix over the apples and spread it gently so it reaches the edges. Don’t press it down. You want a loose, even blanket, not a packed layer, because the butter needs room to move through the mix as it melts. If the mix gets compressed, the finished top can turn dense instead of crumbly.
Covering Every Inch With Butter
Arrange the butter slices across the entire surface of the cake mix, overlapping as needed. This is the difference between a crisp top and a dusty one. If there’s a dry patch after you’ve covered the pan, add another small slice there rather than hoping it will somehow bake itself out. Bake until the top is deeply golden and the filling is bubbling around the edges; that bubbling is the sign the fruit layer is hot enough and the cake mix has had enough time to set.
Serving While the Edges Are Crisp
Let the cake sit for a few minutes after it comes out of the oven so the filling settles a bit. Then scoop it warm and serve with vanilla ice cream. If you cut in too soon, the filling will run more than it should, but if you wait too long, the topping loses some of that just-baked crunch.
Three Ways to Adjust the Pan Without Losing the Point
Spice Cake for a Deeper Apple Flavor
Swap the yellow cake mix for spice cake if you want the warm notes to go further. It makes the dessert taste a little more like an apple cobbler crossed with a quick spice cake, and it works especially well if your filling is on the sweeter side.
Nut-Free Version
Leave out the pecans or walnuts and nothing else needs to change. The cake still bakes up crisp on top as long as the butter covers the dry mix, so the nuts are a texture add-on, not a structural ingredient.
Dairy-Free Swap
Use a plant-based baking butter stick instead of dairy butter. It won’t taste exactly the same, but it still helps the cake mix hydrate and brown. Skip tub-style spreads; they often contain more water and can leave the topping softer.
Storage and Reheating
- Refrigerator: Store covered for up to 4 days. The topping softens after the first day, but the flavor holds up well.
- Freezer: It freezes, though the texture turns softer after thawing. Wrap individual portions tightly and freeze for up to 2 months for the best result.
- Reheating: Warm in a 325F oven until heated through. Microwaving works in a pinch, but it softens the top fast, so the oven gives you a better shot at bringing back some crispness.
Answers to the Questions Worth Asking
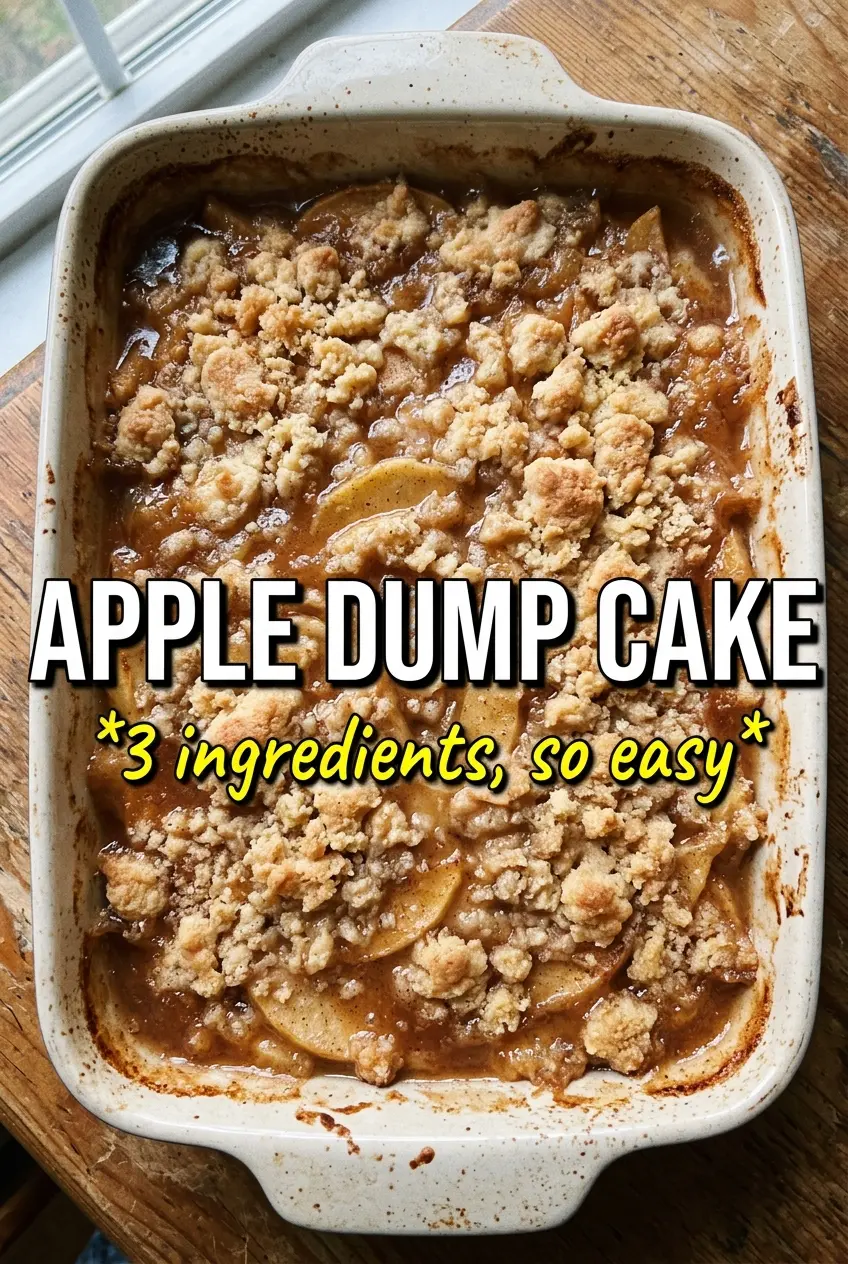
Apple Dump Cake
Ingredients
Equipment
Method
- Preheat the oven to 350°F and grease a 9x13 baking dish. Use an even coat so the cake releases cleanly after baking.
- Spread the apple pie filling across the bottom of the dish, then stir in the cinnamon and nutmeg. Distribute spices so every bite has warm, spiced flavor.
- Dump the dry cake mix evenly over the apple filling and do not stir. Keep the top dry so it bakes into a crisp, crumbly layer.
- Arrange the thin butter slices in a single layer over the entire surface of the dry cake mix. Cover every inch so the topping crisps and turns deeply golden.
- Scatter chopped pecans or walnuts over the top if using. Let the nuts sit on the surface for toasted crunch in the baked crumble.
- Bake for 40-45 minutes at 350°F until the top is deeply golden and crispy. The apple filling should bubble around the edges when it’s ready.
- Serve the dump cake warm with vanilla ice cream. Spoon from the center to show the tender apple filling beneath the crisp top.


