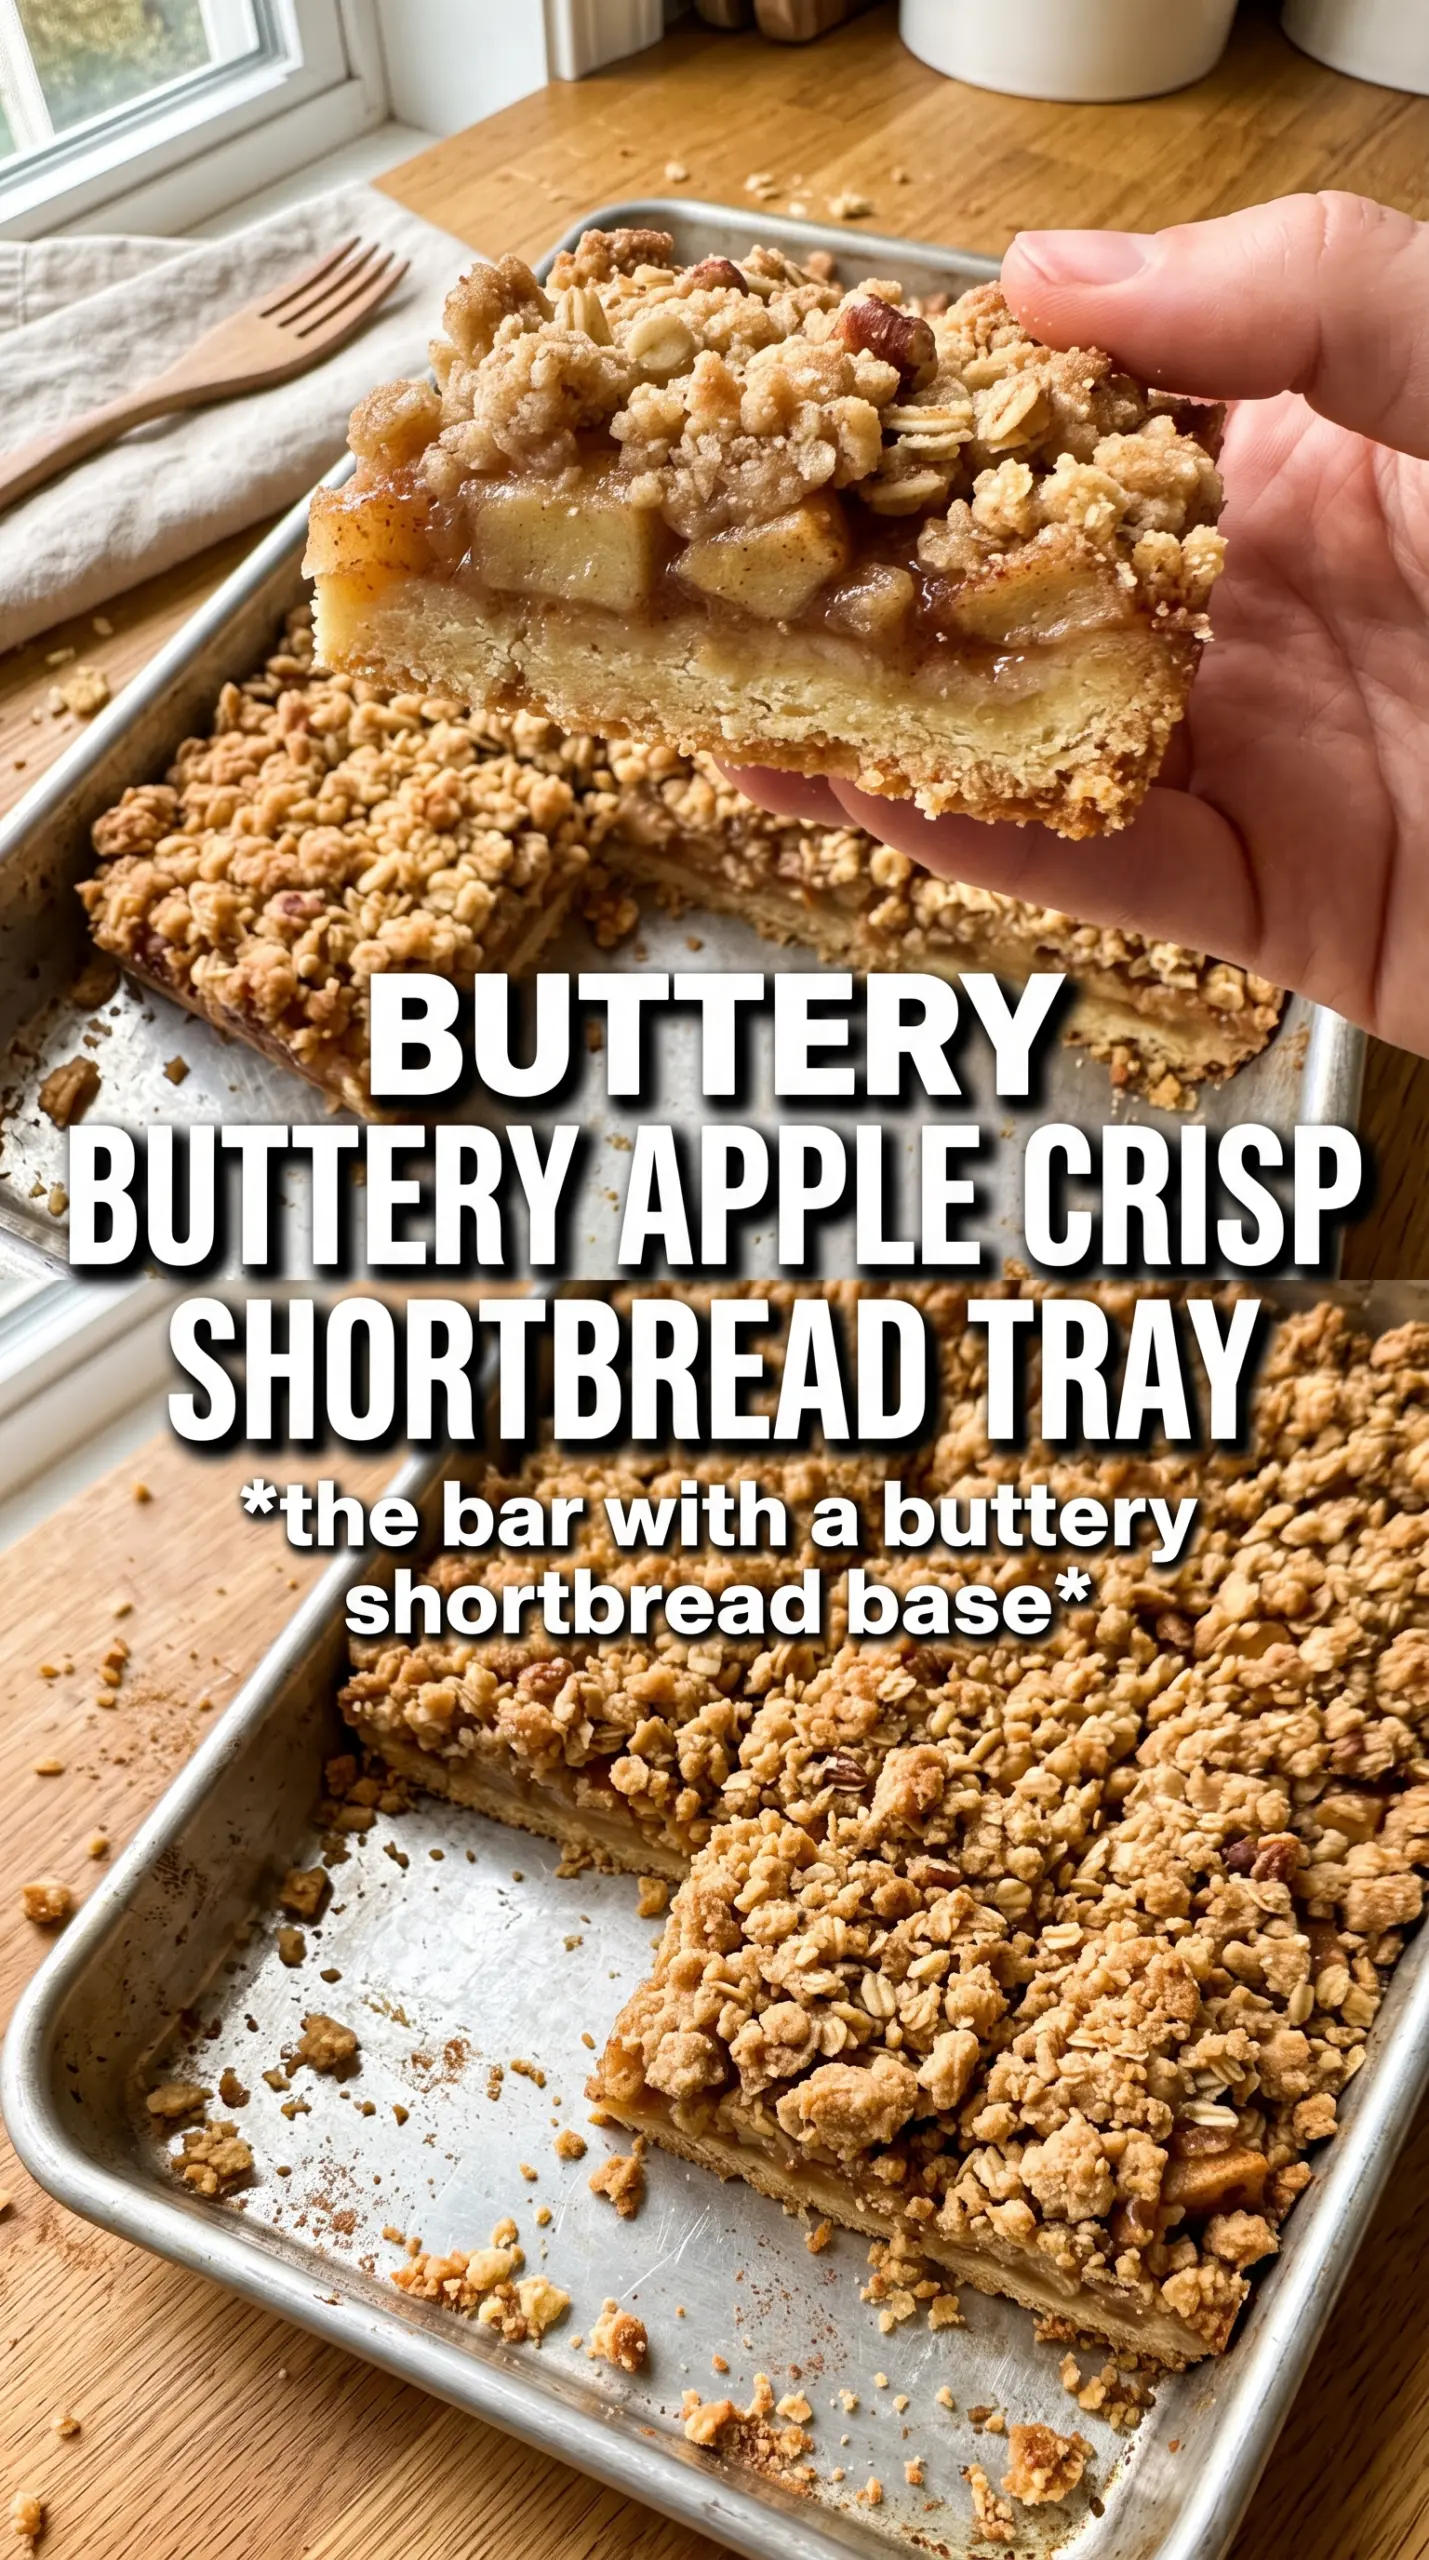
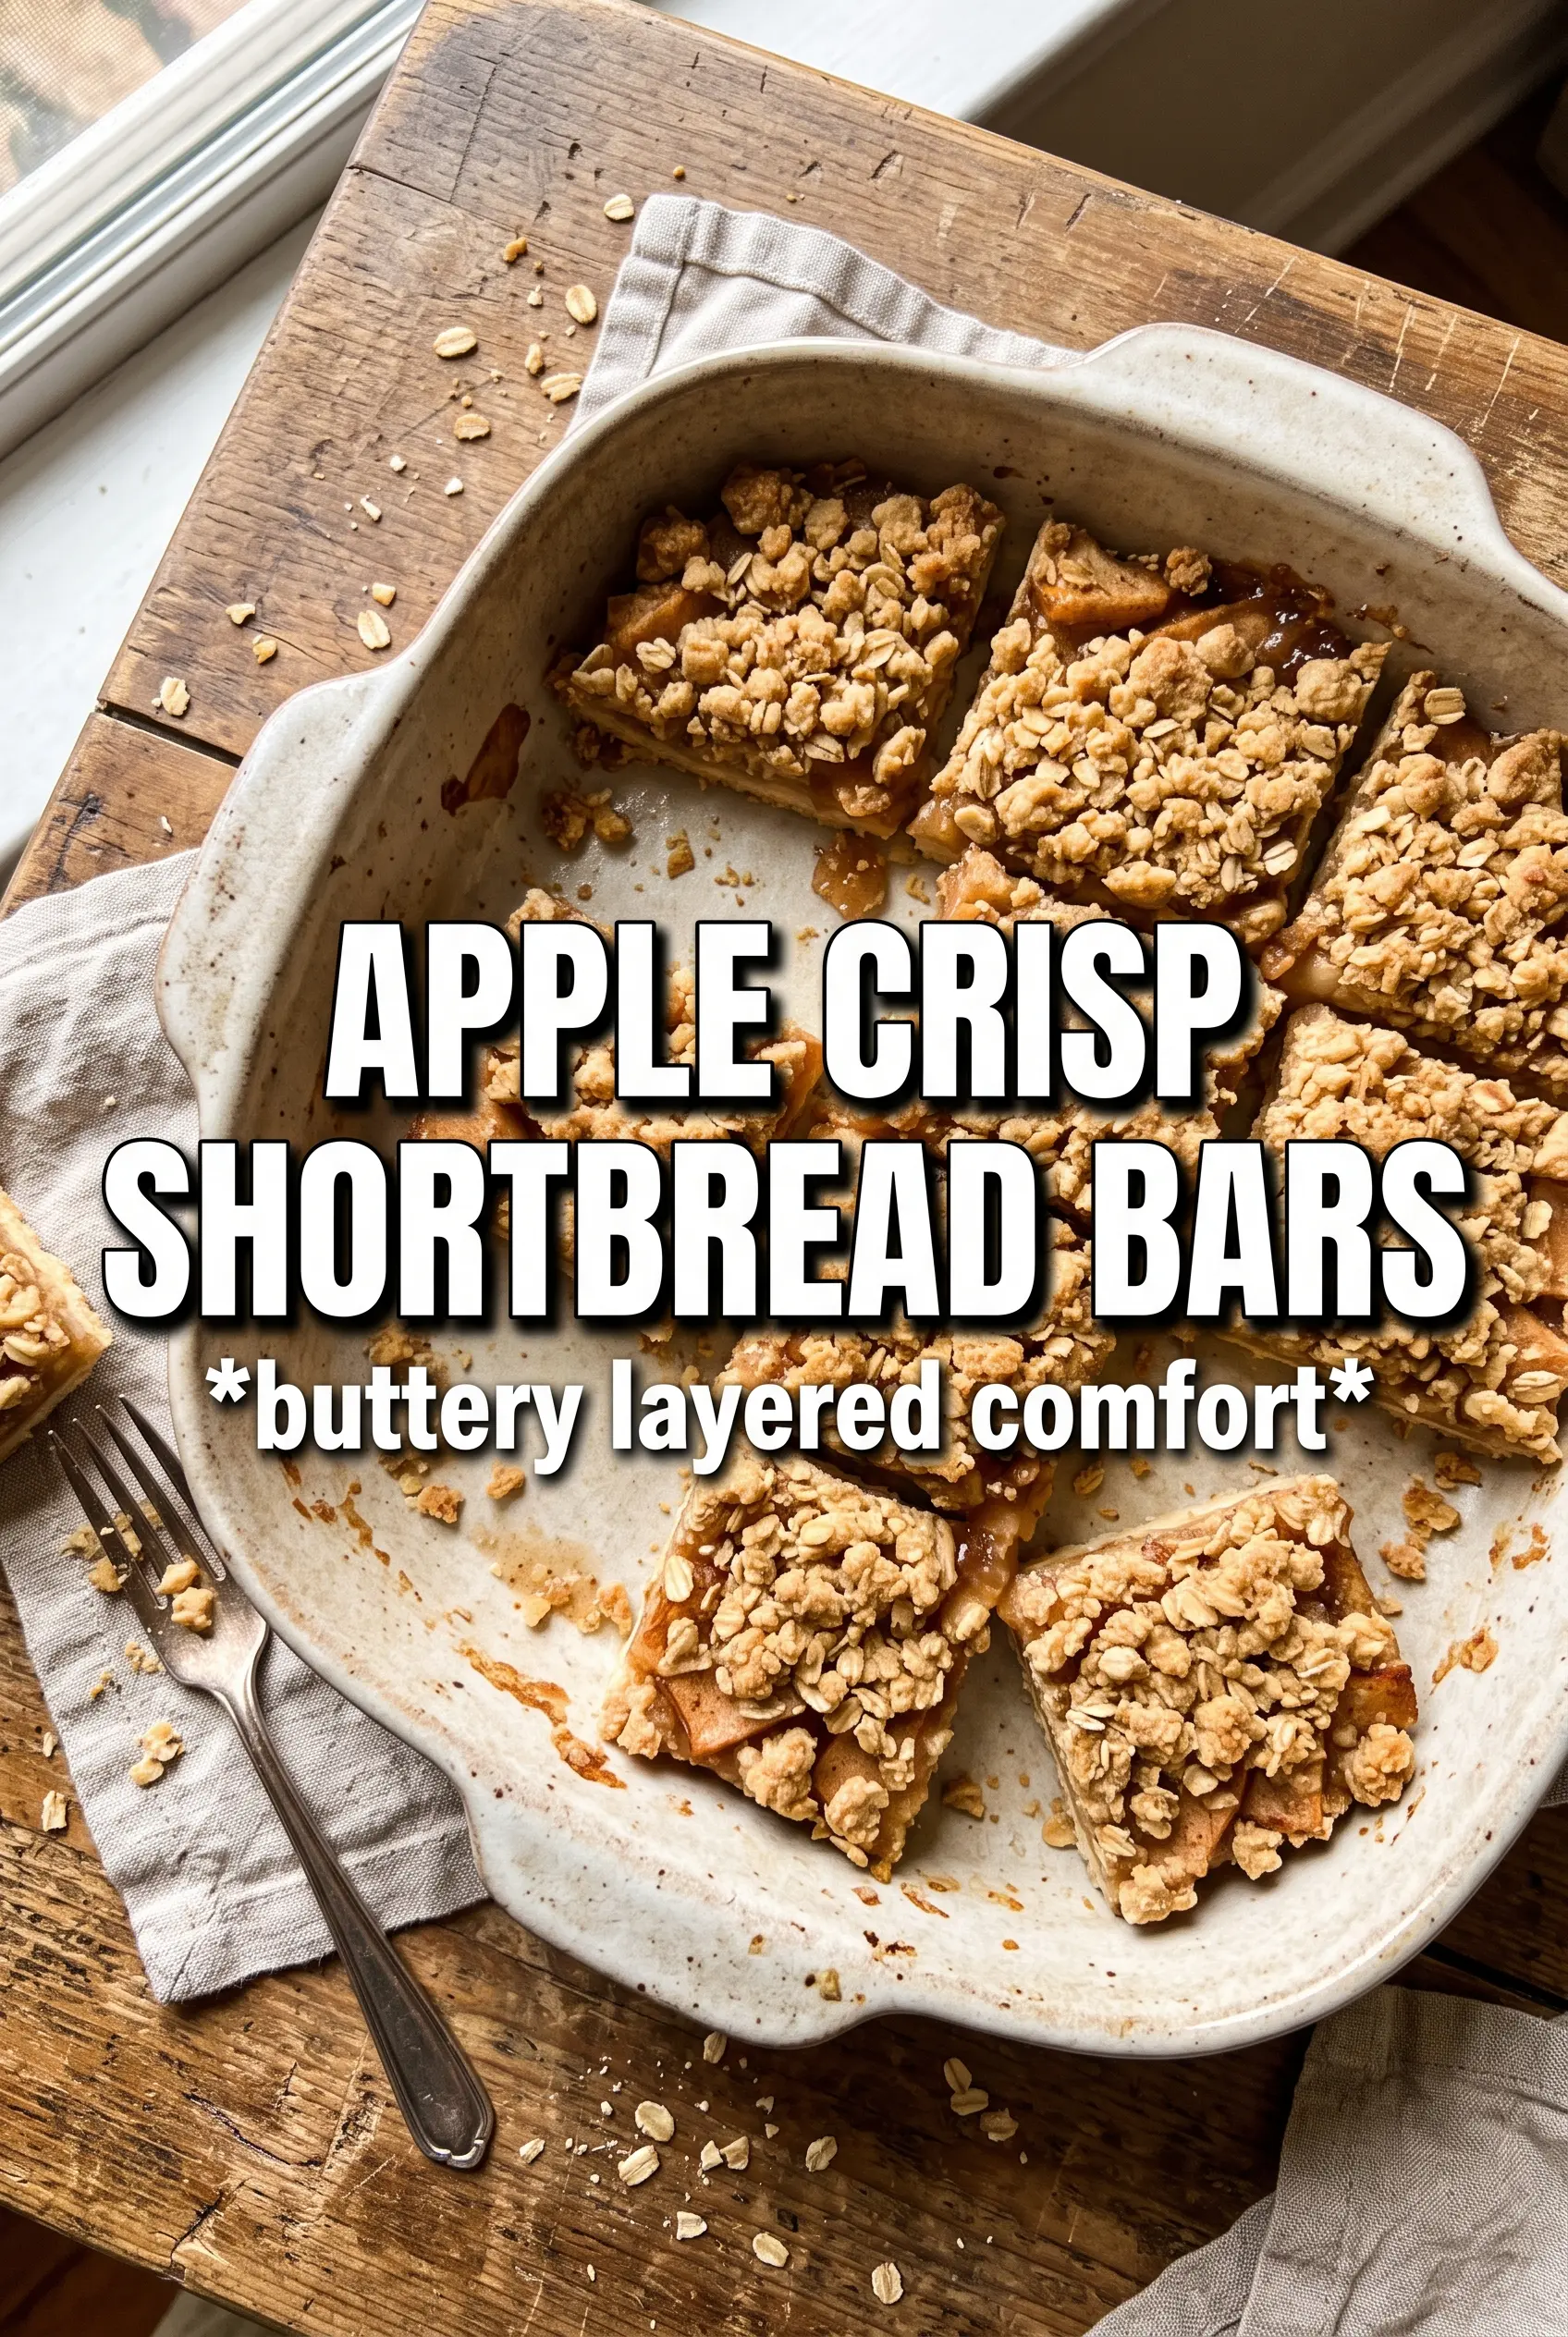
Buttery shortbread, tender spiced apples, and a crisp oat crumble all stack into one bar that cuts cleanly and tastes like an apple crisp you can eat with your hands. The base stays sturdy enough to hold the filling, but it still melts at the edges once it cools, which is what makes these bars feel special instead of just sweet.
The trick is using the same mixture for both the crust and the topping, then pre-baking the base long enough that it doesn’t turn soggy under the apples. Cold butter matters here. It keeps the crumble light and sandy instead of turning the whole pan into a dense sheet, and the cornstarch in the apples helps the filling thicken into slices that hold together instead of running everywhere.
You’ll find the exact layering order below, plus the small cooling step that makes the difference between neat bars and a messy pan. I also added a few swaps that work if you’re out of an ingredient or want to shift the texture a little.
The shortbread layer baked up firm and buttery, and the apples set just enough that the bars sliced cleanly after cooling. The caramel on top took it over the edge.
Save these apple crisp shortbread bars for when you want a crisp oat topping, tender baked apples, and a caramel finish in one pan.
The Part That Keeps the Bars from Going Soggy
The mistake most apple bars make is treating the crust and topping like separate jobs when they need to work together. This recipe uses one mixture for both, which keeps the texture consistent and gives you that familiar crisp-and-chewy contrast without a fussy extra step. Pre-baking the base is what protects it. If you skip that short bake, the apples release juice straight into the bottom layer and you lose the clean bar shape.
Cold butter is the other piece that matters. It creates little pockets in the crumble as it melts, which is what gives the topping a loose, crisp finish instead of a packed, cookie-like layer. Press the base firmly enough that it holds, but don’t compact it like a pie crust or it will turn hard once cooled.
What Each Ingredient Is Actually Doing in These Bars
- Rolled oats — These give the topping its nubby, crisp texture and keep the bars from tasting like plain shortbread. Quick oats will work in a pinch, but the crumble will be finer and a little less rustic.
- Cold unsalted butter — This is what turns the base mixture into a proper crumbly dough. If the butter is soft, the mixture gets pasty and dense instead of sandy and crisp, so cube it straight from the fridge and cut it in quickly.
- Brown sugar — It brings moisture and a deeper caramel note to the crust. Granulated sugar won’t give you the same soft chew in the base, so I wouldn’t swap it unless you have to.
- Apples — Use a firm baking apple that holds its shape, not a mealy one that turns to sauce. If you want a sharper filling, mix tart apples with a sweeter variety so the bars don’t taste one-note.
- Cornstarch — This thickens the juices as the apples bake, which is what keeps the filling from slipping apart when you slice the bars. Flour can thicken too, but cornstarch gives a cleaner set.
- Lemon juice — A small splash keeps the apples from tasting flat and helps them stay bright as they bake. It doesn’t make the bars sour; it wakes up the filling.
Building the Layers So the Filling Sets Cleanly
Mixing the Crumble
Combine the flour, oats, brown sugar, cinnamon, and salt first, then cut in the cold butter until you have coarse crumbs with some pea-sized pieces still visible. That uneven texture is what bakes into a crisp topping. If the mixture looks like damp sand with no larger bits, you’ve overworked it and the finished bars will be tighter and less flaky.
Pressing and Pre-Baking the Base
Press most of the mixture into the parchment-lined pan in an even layer, then bake it just until it looks set and slightly dry on top. You’re not looking for deep color yet. The goal is structure, because the apples need a base that can take their moisture without collapsing.
Layering the Apples
Toss the sliced apples with sugar, cinnamon, nutmeg, cornstarch, and lemon juice until every slice is lightly coated and the cornstarch disappears. Then spread them over the hot crust in an even layer. If the apples are piled thickly in one corner, that area will stay wet while the rest bakes properly, so take the extra minute to level them out.
Finishing the Bake
Scatter the reserved crumble over the apples and bake until the topping is golden and the fruit is bubbling at the edges. That bubbling is your signal that the cornstarch has activated and the filling is thickening. Pull the pan too early and the bars will look done but slice like jam.
Cooling Before You Cut
Let the pan cool completely before lifting out the bars. This is the part people rush, and it’s the reason the slices fall apart. As the bars cool, the filling firms up and the shortbread base settles into a clean, cuttable layer. Drizzle with caramel after slicing so it stays glossy instead of soaking into the crumble.
Three Ways to Make These Bars Fit What You Have
Gluten-Free Version
Swap the all-purpose flour for a good 1:1 gluten-free blend that includes xanthan gum. The bars will still hold together, but the crumble may bake a little more delicately, so let them cool fully before slicing.
Dairy-Free Swap
Use a plant-based butter that bakes well and stays solid when chilled. The flavor will be a little less rich than the original, but the texture stays close if you keep the butter cold and don’t let the mixture soften while you’re working.
Make Them More Tart
Use a mix of tart and sweet apples, leaning heavier on the tart ones if you want the filling to taste brighter. You’ll need the same amount of sugar, but the bars will cut the sweetness and taste more like classic apple crisp.
Storage and Reheating
- Refrigerator: Store covered for up to 4 days. The topping softens a little in the fridge, but the bars still slice well.
- Freezer: These freeze well. Wrap individual bars tightly and freeze for up to 2 months, then thaw in the fridge before serving.
- Reheating: Warm a bar in a 300F oven for 8 to 10 minutes if you want the crumble to crisp back up. The microwave works, but it softens the topping and makes the shortbread less defined.
Answers to the Questions Worth Asking
Apple Crisp Shortbread Bars
Ingredients
Equipment
Method
- Preheat the oven to 375°F and line a 9x13 pan with parchment so the bars lift out easily after baking.
- Mix the all-purpose flour, rolled oats, brown sugar, cinnamon, and salt, then cut in the cold cubed butter until the mixture looks crumbly.
- Reserve 1 cup of the crumb mixture for the topping and press the remaining mixture firmly into the prepared pan to form an even base.
- Bake the base for 12 minutes, until it looks set and lightly golden at the edges.
- Toss the apple slices with granulated sugar, cinnamon, nutmeg, cornstarch, and lemon juice until the apples are evenly coated.
- Layer the coated apples over the hot base in an even layer so they cook through uniformly.
- Scatter the reserved crumble over the apples so the top bakes into an even oat-streusel layer.
- Bake for 30-35 minutes at 375°F until the topping is golden and the apples are bubbling around the edges.
- Cool the bars completely before slicing so the layers hold their shape and the filling thickens.
- Drizzle with caramel sauce to serve, letting it run slightly into the crumble for a glossy finish.


