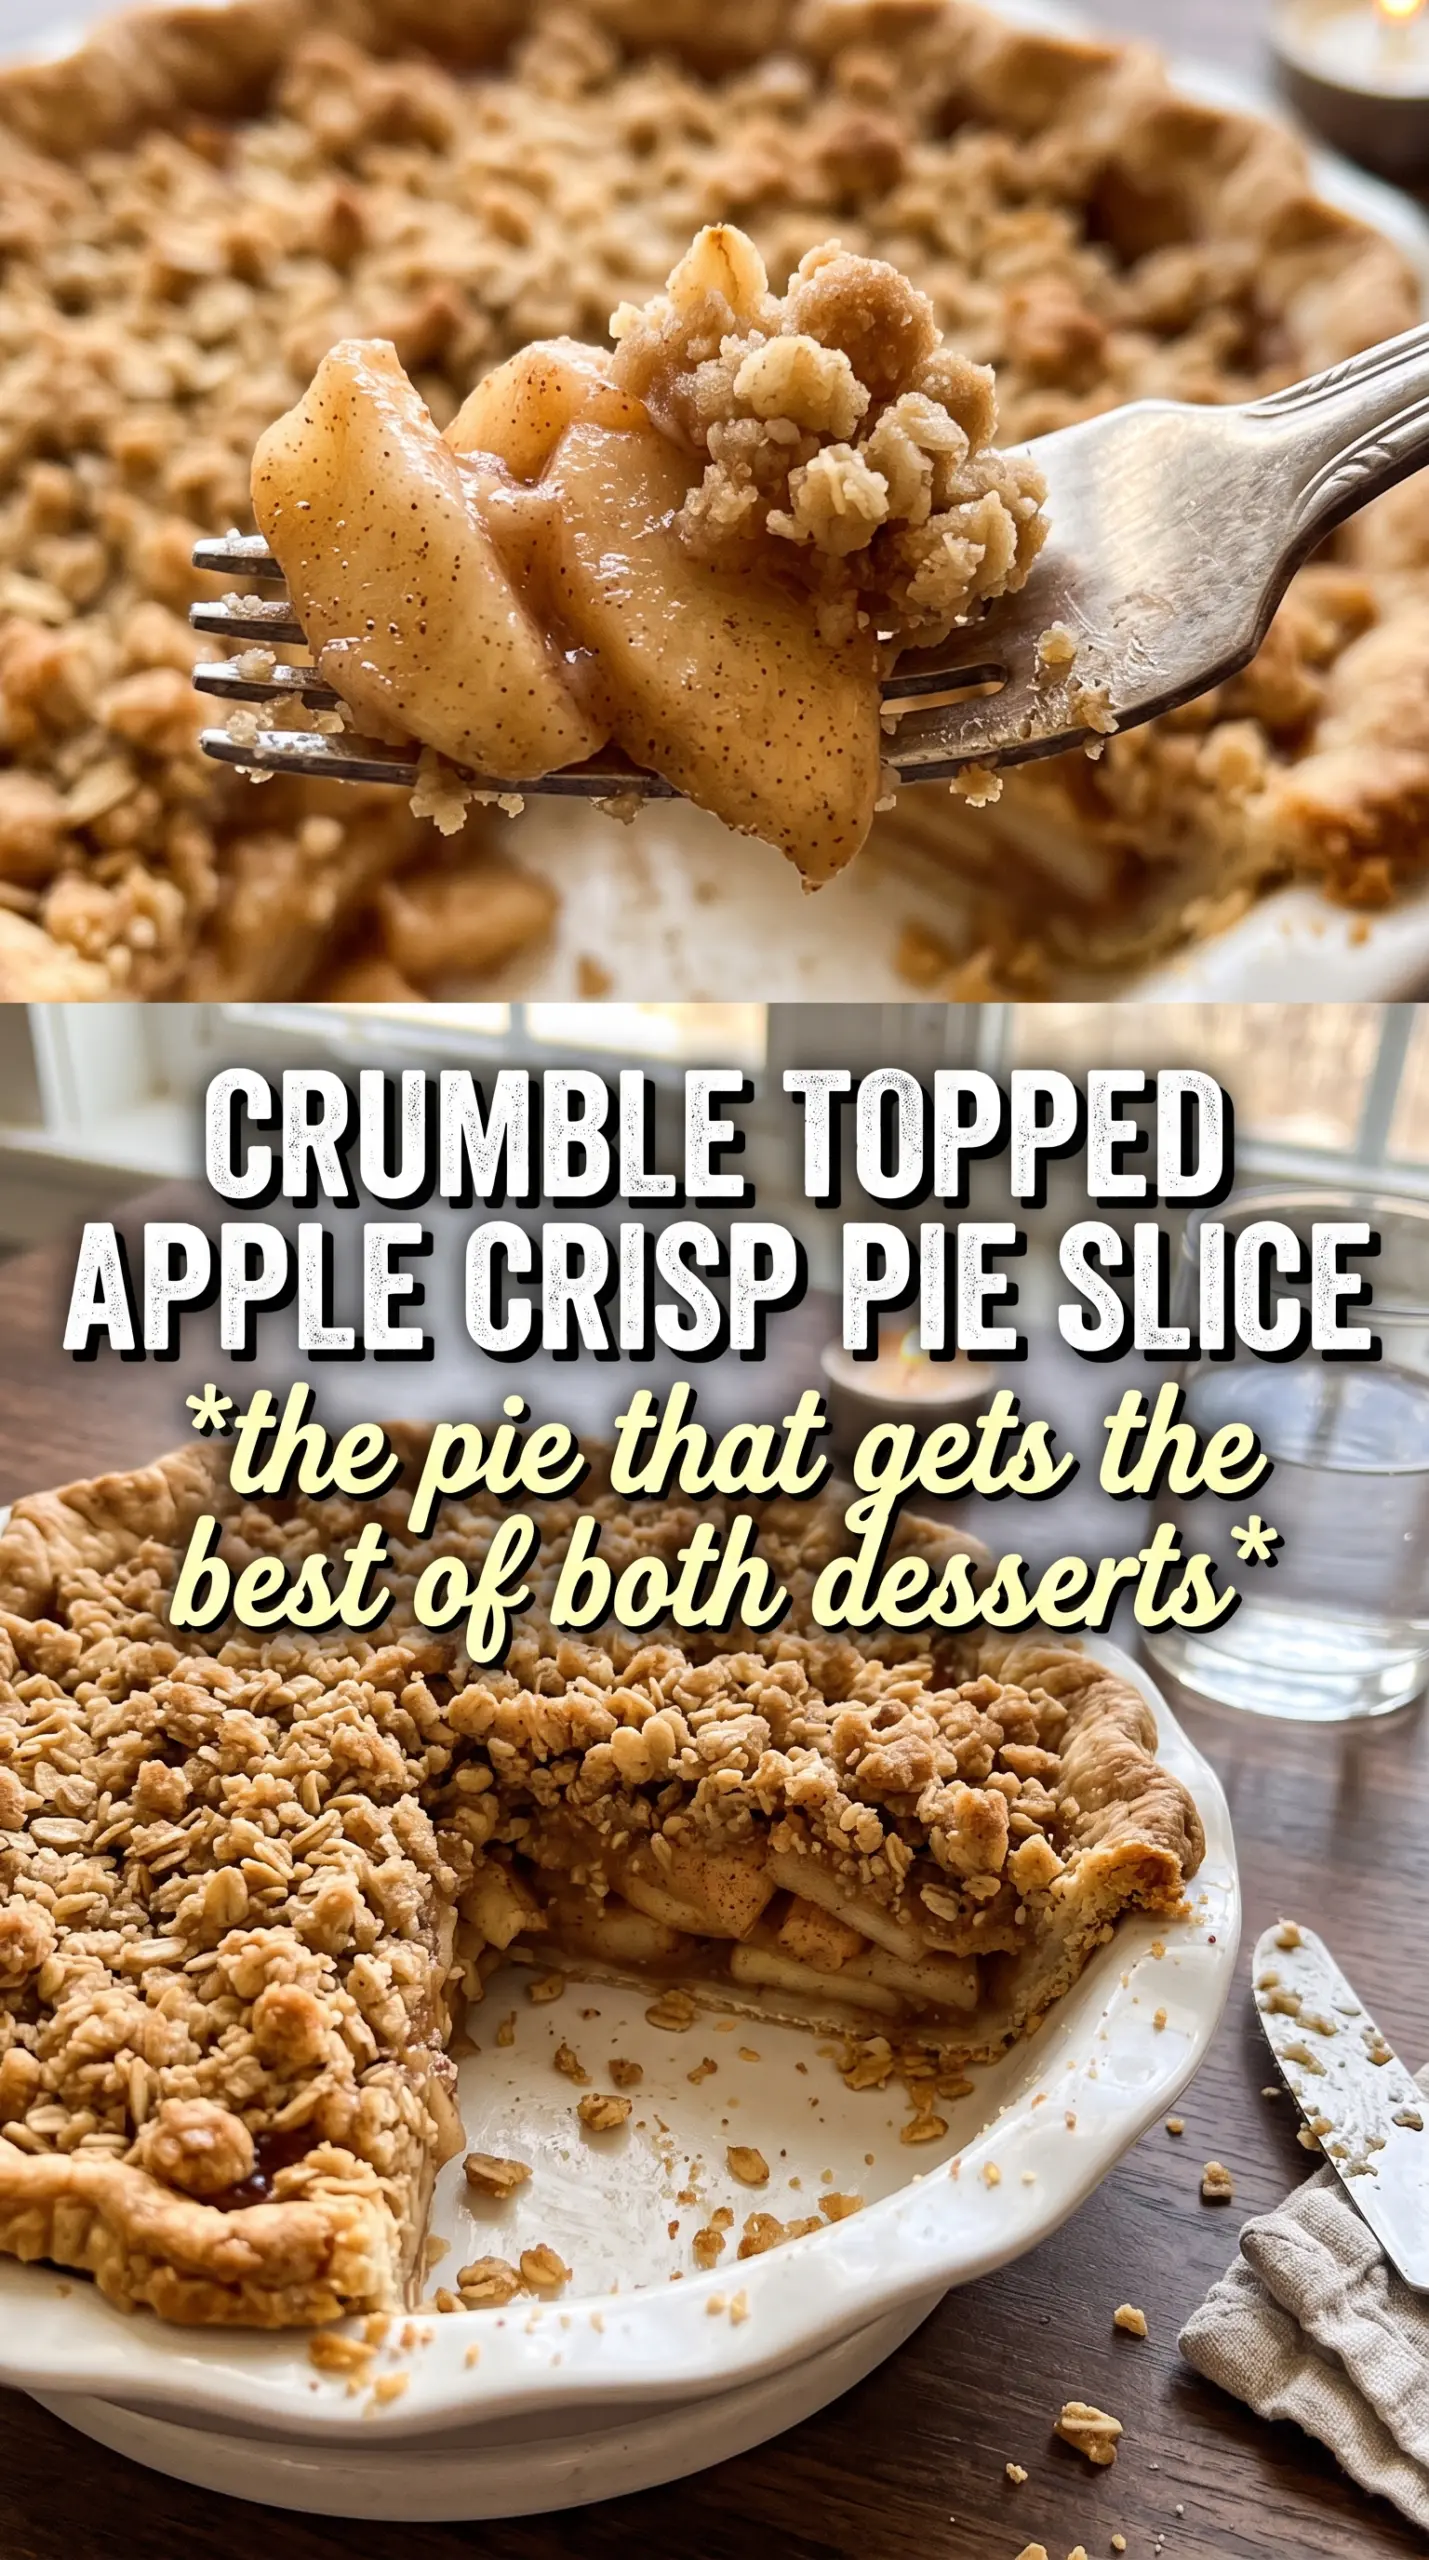
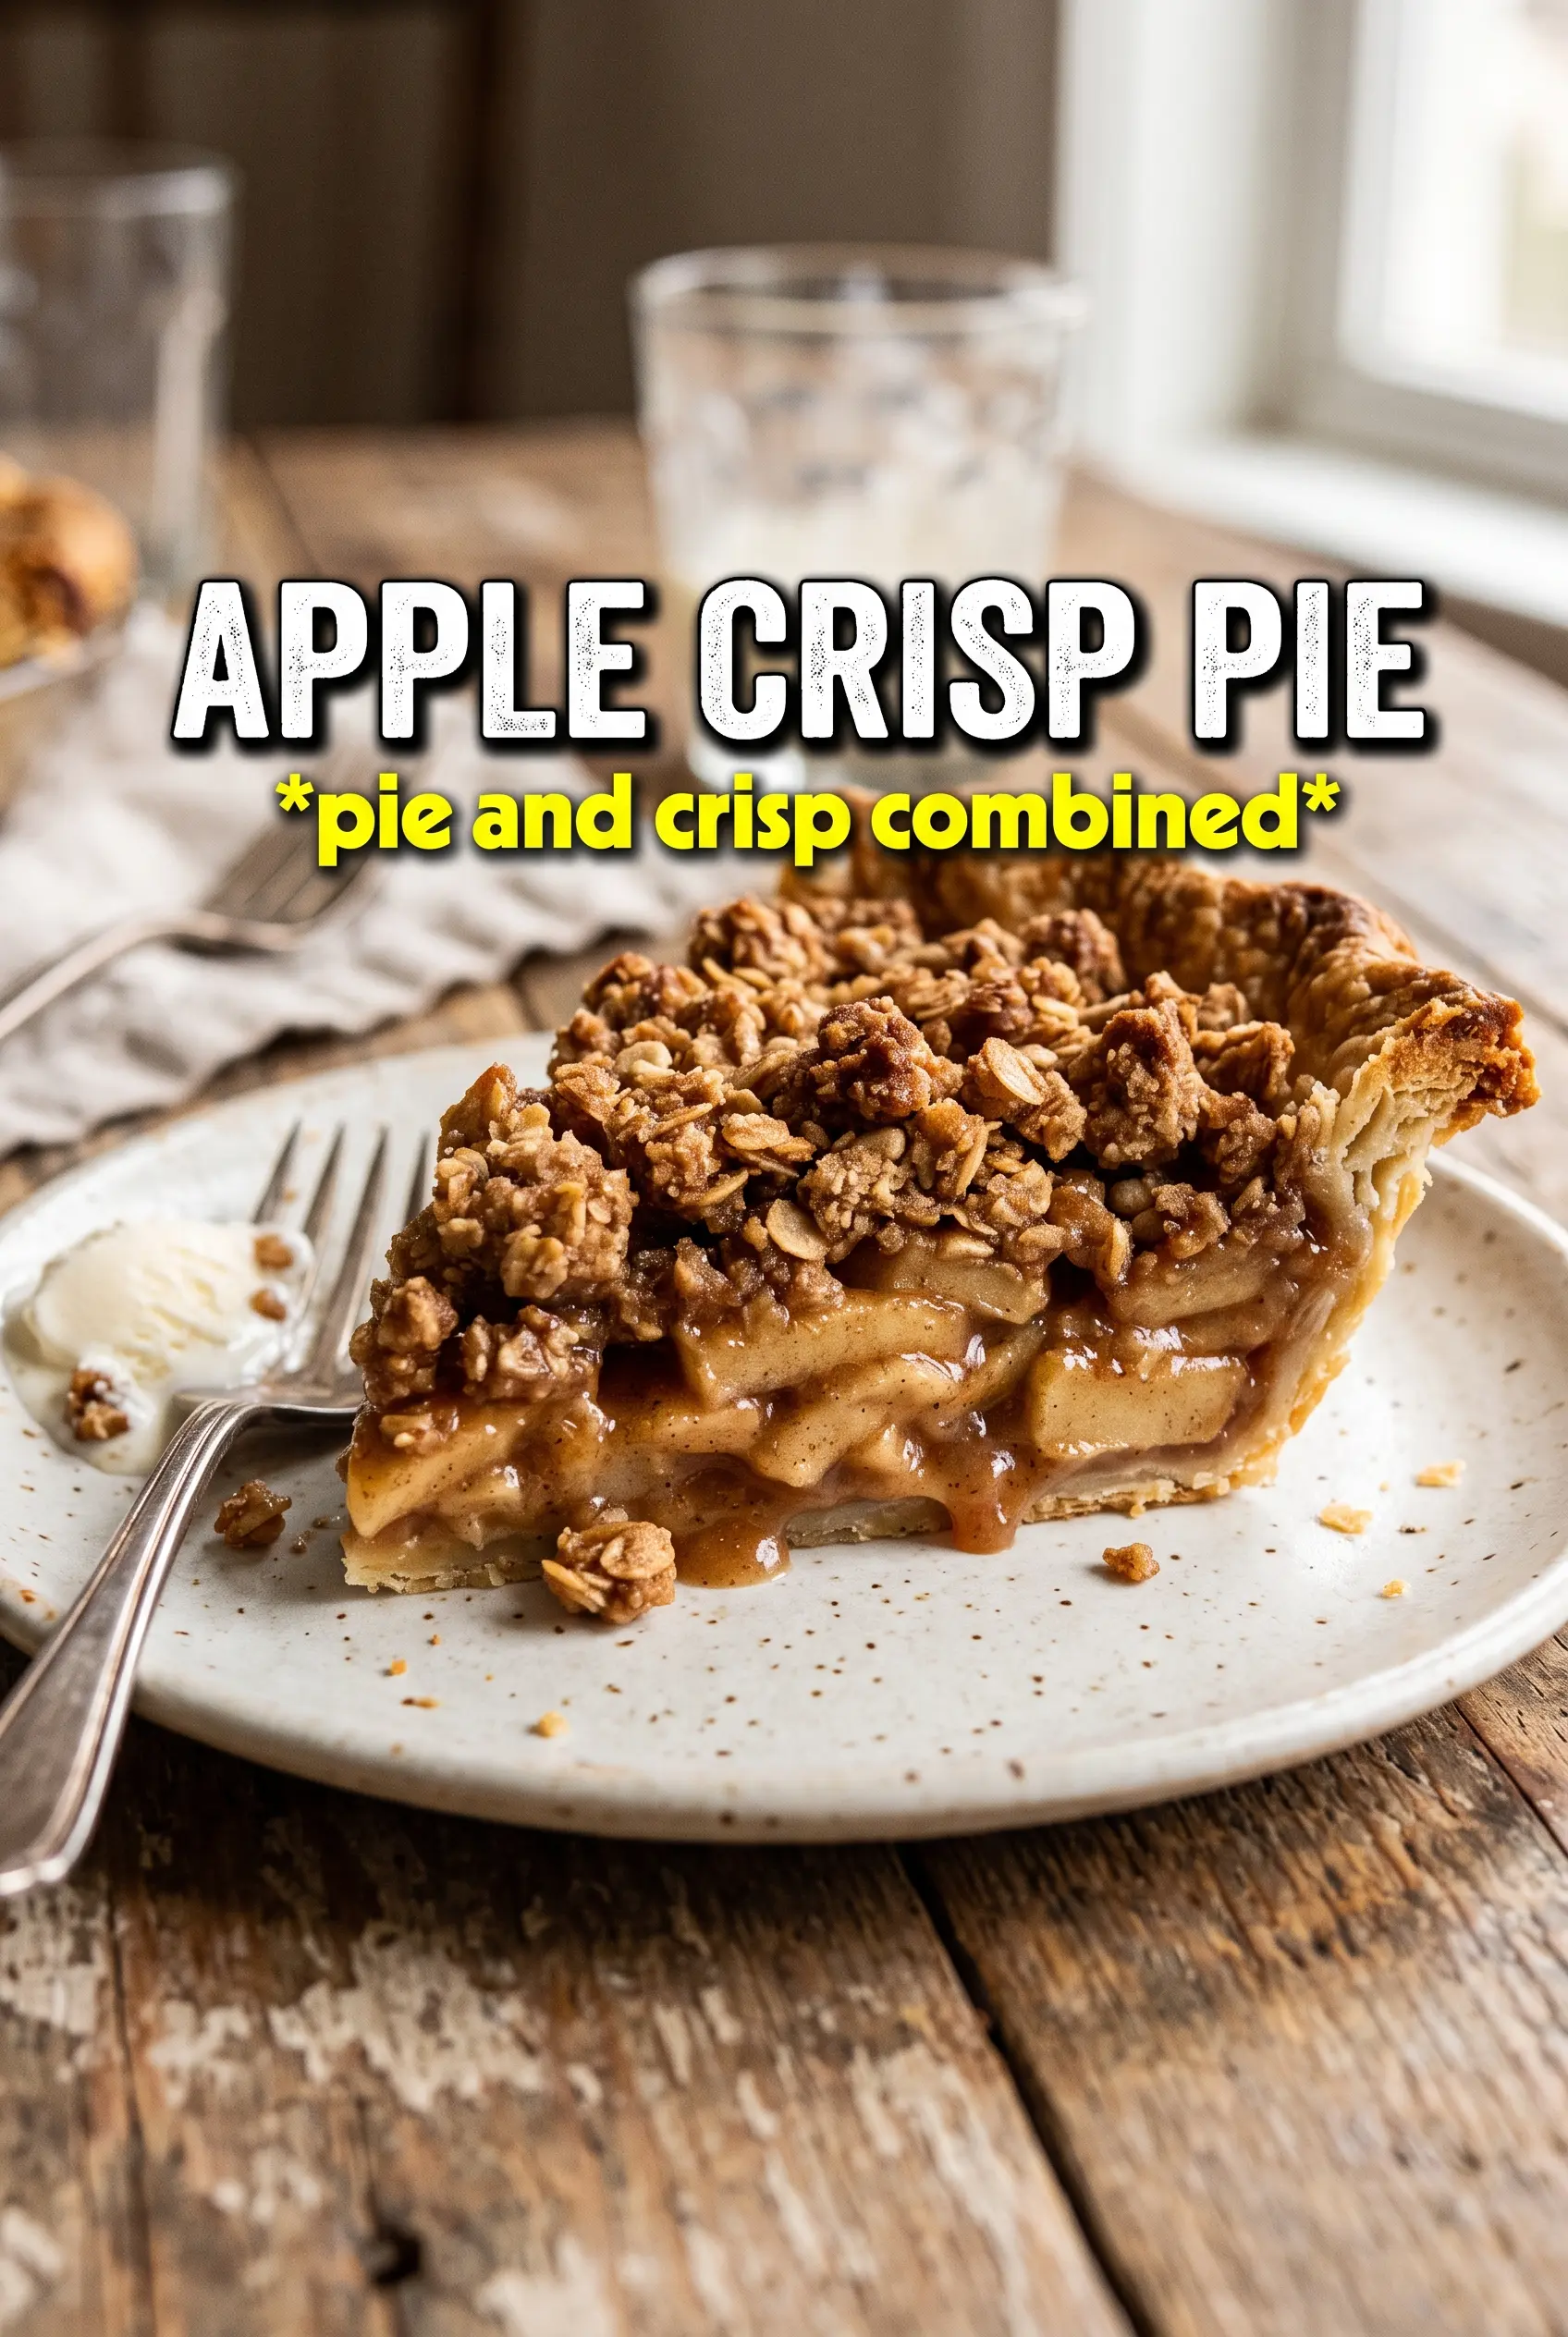
Apple Crisp Pie gives you the best parts of two desserts in one pan: a flaky bottom crust, soft cinnamon apples, and a thick oat crumble that bakes into deep golden clumps. The top stays nubbly and crisp while the filling bubbles up around the edges, so every slice has a little bit of everything instead of one flat texture.
The trick here is building enough structure in the filling before it goes into the oven. Cornstarch thickens the juices as the apples bake, and the caramel sauce adds a rounded sweetness that keeps the fruit from tasting one-note. Cold butter is just as important in the crumble topping; once it melts, it leaves behind those larger, craggy bits that brown well and stay crisp instead of turning sandy.
I also like how forgiving this pie is. If your apples vary a little in tartness or you want a heavier crumble, the recipe still holds together. The notes below walk through the parts that matter most, including the one step that keeps the filling from turning runny.
The filling set up beautifully and didn’t run all over the plate. I loved the way the oat topping stayed crunchy even after the caramel drizzle.
Save this Apple Crisp Pie for the dessert nights when you want bubbling caramel apples under a crisp oat topping.
The Part That Keeps the Filling from Going Soupy
Apple pie fillings usually fail in one of two ways: the apples turn bland and dry, or the juices leak out and puddle under the crust. This version avoids both by using cornstarch with a good amount of fruit and by baking long enough for the filling to actually bubble. That bubbling matters. It tells you the cornstarch has reached the heat it needs to thicken properly.
The other smart move is mounding the apples high in the shell. They shrink as they bake, and if you start with a flat layer, the pie can sink and leave you with a shallow filling under a heavy topping. The caramel also helps here because it blends into the juices and gives the filling a silkier texture without making it cloying.
- Apples — Use firm baking apples that hold their shape. A mix of sweet and tart apples is best because the tart ones keep the filling lively while the sweeter ones soften into a richer base.
- Cornstarch — This is the thickener that keeps the juices in the pie instead of on the plate. Flour won’t set quite as cleanly here, so cornstarch is the better choice.
- Caramel sauce — Use a good jarred caramel if that’s what you have; it melts right into the apples. A thick, spoonable sauce works better than a runny ice-cream topping.
- Cold butter — It matters most in the topping. Cold cubes create those crisp clumps instead of a dusty crumble that disappears in the oven.
What Each Ingredient Is Actually Doing in This Recipe
- Primary ingredient (the star) — Quality matters most. Choose the best you can find.
- Cooking medium (oil, butter, or broth) — This carries flavors and prevents dryness.
- Seasonings (salt, pepper, spices, herbs) — Layer flavors so nothing overpowers. Build depth gradually.
- Aromatics (garlic, onion, herbs) — Cook with fat to bloom flavors. Become the foundation.
- Supporting ingredients — Complement the main ingredient without overpowering it.
- Sauce or liquid (if applicable) — Brings flavors together. Balance richness with acid.
- Acid (lemon, vinegar, wine, or other) — Brightens and prevents flat-tasting results.
- Final finish (garnish, glaze, or sauce) — Prevents one-dimensional taste and adds visual appeal.
Building the Oat Crumble So It Stays Crisp
Coating the Apples Evenly
Toss the sliced apples with the sugars, cinnamon, nutmeg, cornstarch, lemon juice, and caramel until every piece looks lightly coated. You want the cornstarch distributed before the fruit goes into the shell, or you’ll get pockets of thin juice that never thicken properly. The apples should look glossy, not wet and sloshy. If they start releasing a lot of liquid while they sit, get them into the crust right away.
Cutting in the Butter
Work the cold butter into the oat mixture until you have a mix of sandy bits and larger clumps. Those bigger clumps are what give the top its crisp, craggy texture. If the butter softens too much, the topping melts into a uniform layer and bakes up flat. Stop mixing when the flour is coated and the mixture holds together when squeezed.
Baking Until the Center Bubbles
Let the pie bake until the topping is deeply golden and the filling is bubbling around the edges. That bubbling is the cue that the center has thickened too, not just the outside ring. If the top browns too fast, tent it loosely with foil after about 40 minutes. Pull it too early and the filling will look set on top but run as soon as you cut it.
Ways to Adjust the Pie Without Losing the Texture
Make it gluten-free
Swap the all-purpose flour in the crumble for a good 1:1 gluten-free blend. The topping will still brown and crisp, though it may bake a little more delicately, so let it cool before slicing. Keep the oats certified gluten-free if you need the entire dessert to be safe for gluten-free guests.
Use pears with the apples
Replace up to half of the apples with firm pears for a softer, more fragrant filling. Pears break down a little faster, so keep the chunks on the larger side and don’t overbake. The pie will taste a little more floral and a little less sharp.
Make it dairy-free
Use a plant-based butter with a firm texture, not a soft tub spread. You need something that behaves like cold butter so the topping forms clumps and browns properly. The flavor shifts slightly, but the crunch and structure stay intact.
Storage and Reheating
- Refrigerator: Store covered for up to 4 days. The topping softens a little after the first day, but the flavor stays strong.
- Freezer: This pie freezes well after baking. Wrap it tightly once cooled, freeze for up to 2 months, and thaw in the refrigerator before reheating.
- Reheating: Warm slices in a 325°F oven until heated through. The microwave will soften the crumble too much, so use the oven if you want that topping to crisp back up.
Answers to the Questions Worth Asking
Apple Crisp Pie
Ingredients
Equipment
Method
- Preheat the oven to 375F. Fit the pie shell into a deep-dish pie plate and crimp the edge decoratively.
- Toss the apple slices with granulated sugar, brown sugar, cinnamon, nutmeg, cornstarch, lemon juice, and caramel sauce until evenly coated. Pile the apples into the shell, mounding well so the filling sits high in the center.
- Combine rolled oats, all-purpose flour, brown sugar, cinnamon, and salt in a bowl. Cut in the cold cubed unsalted butter until large clumps form, with visible buttery streaks.
- Pile the crumble generously over the apples, pressing very gently so it mostly stays crumbly on top. Leave some apple edges visible under the crumble for bubbling.
- Bake for 60-65 minutes until the crumble is deeply golden and the filling bubbles at the edges. After 40 minutes, tent loosely with foil if browning too quickly.
- Drizzle with extra caramel right before serving for glossy caramel streaks. Serve warm so the filling is syrupy and the crumble stays crisp.


