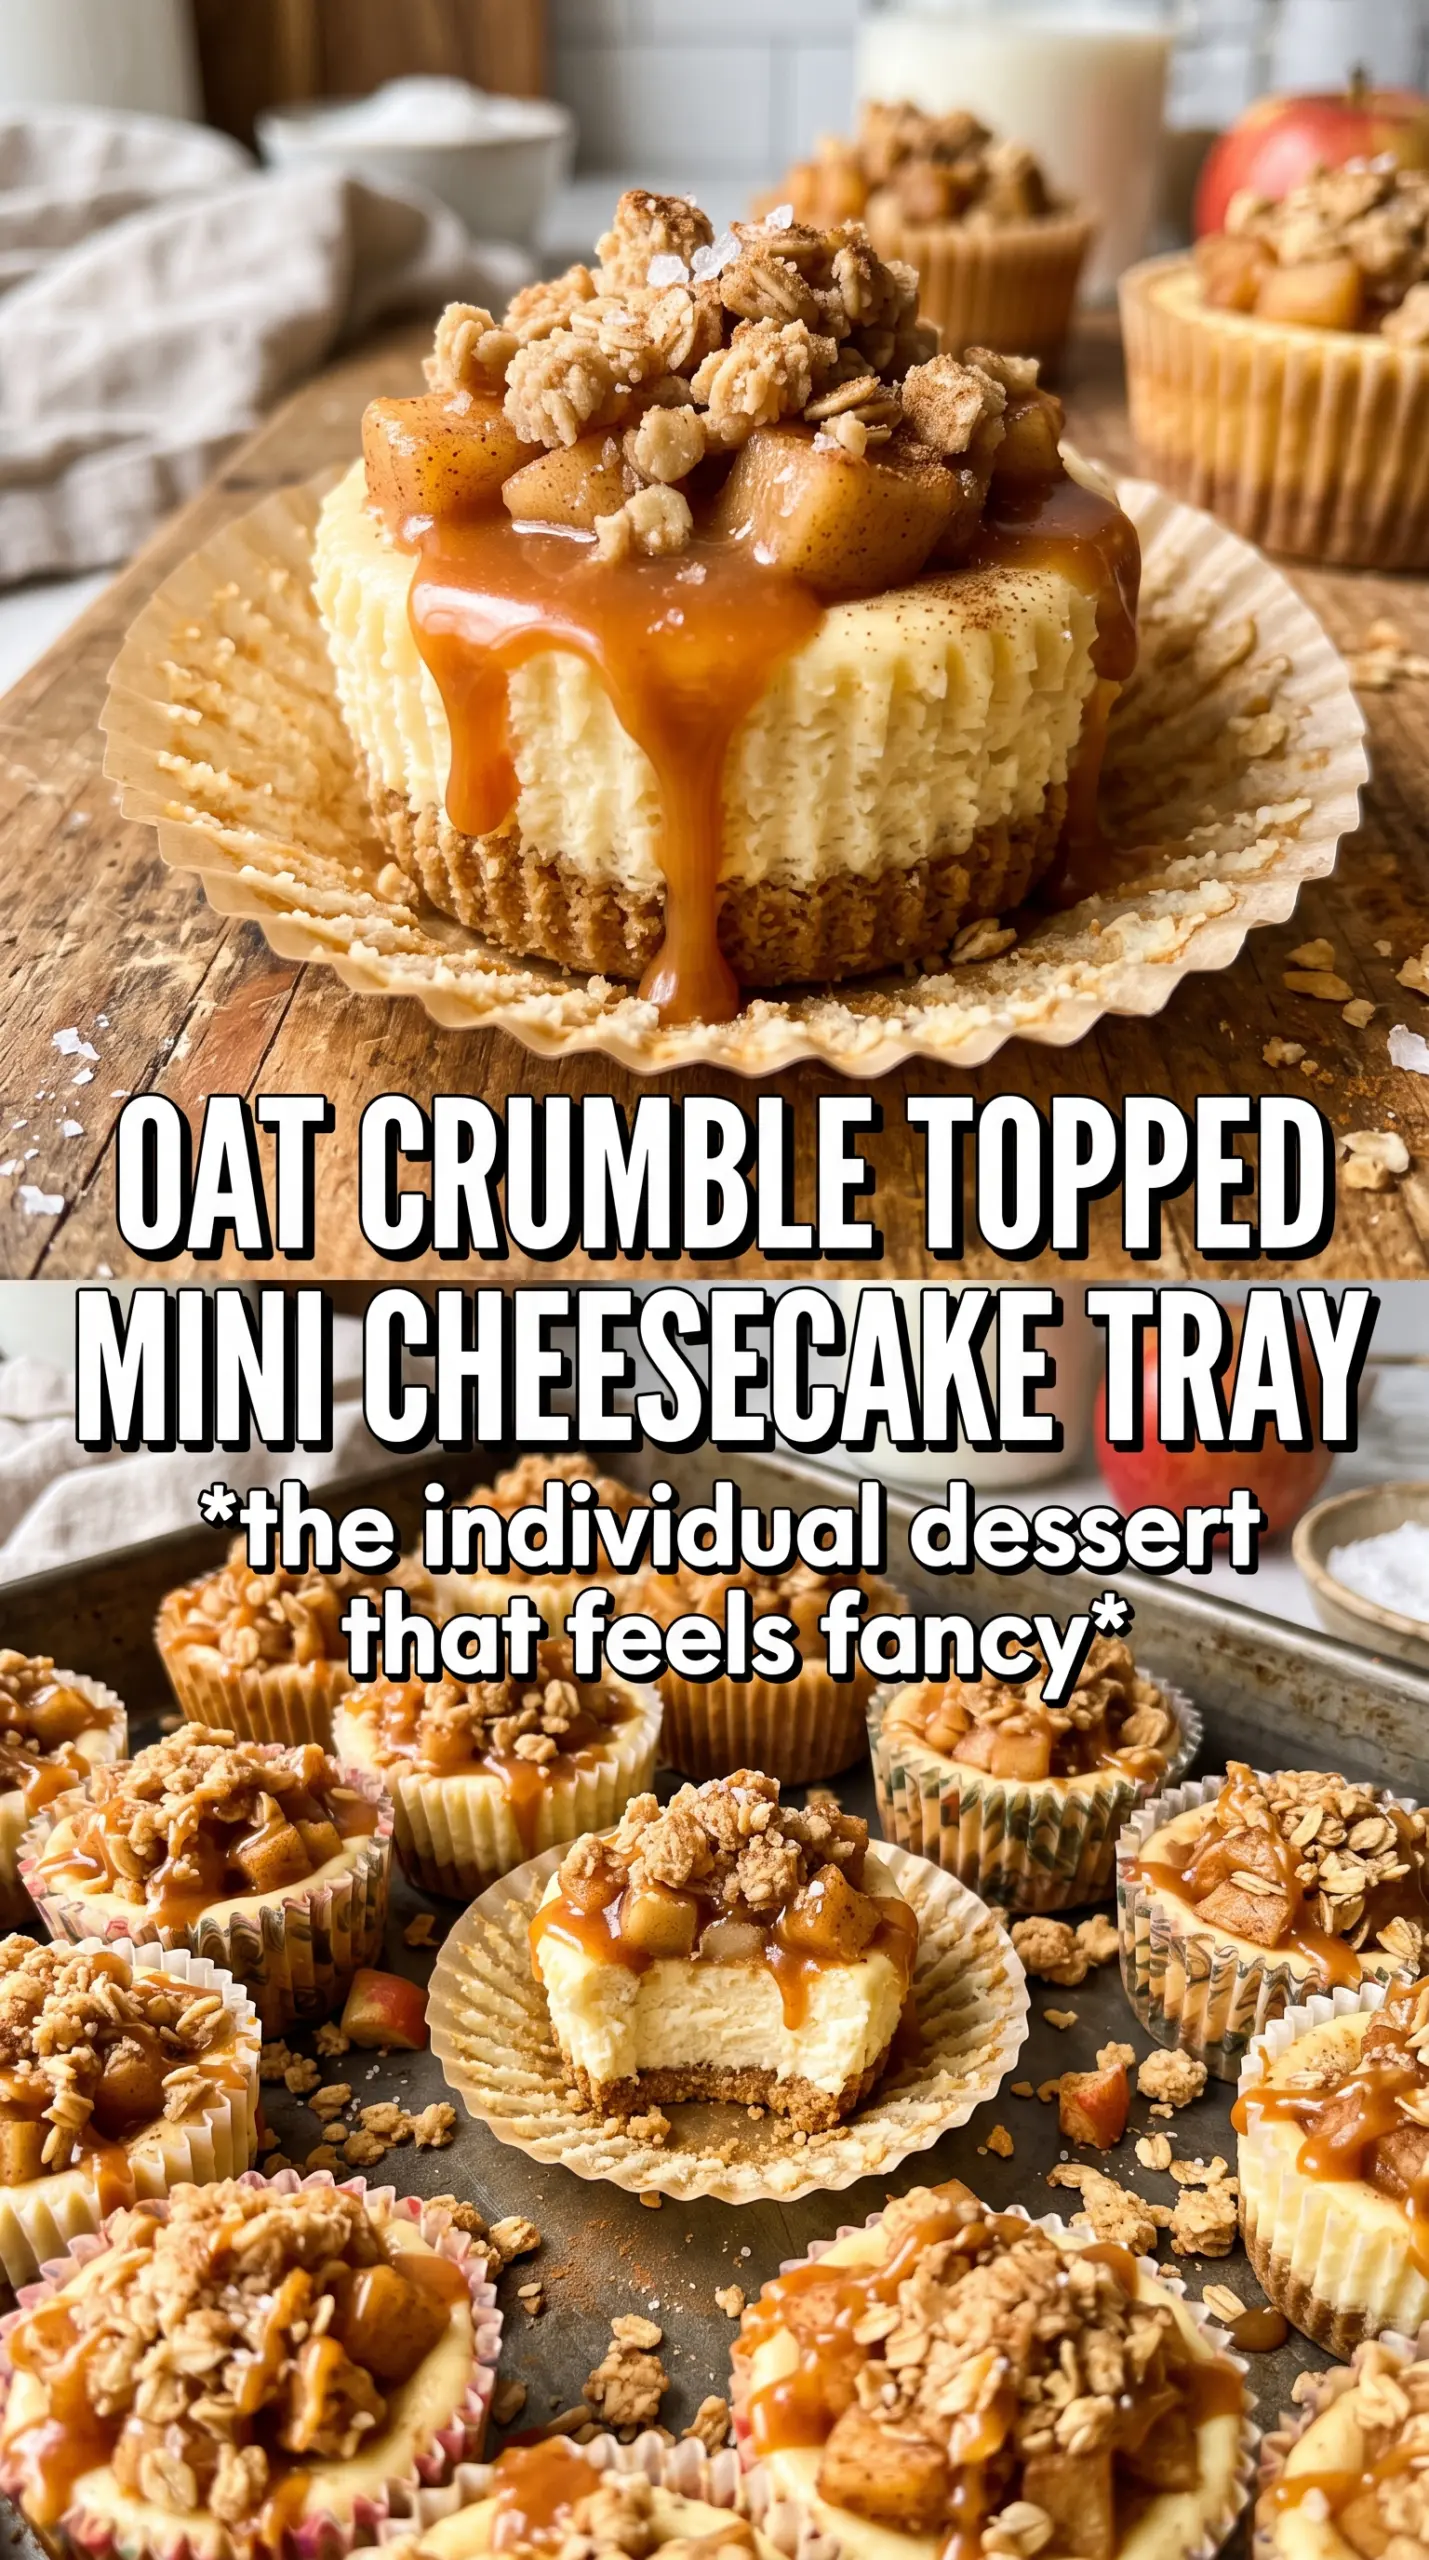
Apple Crisp Mini Cheesecakes bring together three textures that never get old: a firm graham crust, a smooth cinnamon cheesecake center, and a buttery oat crumble on top. The first bite gives you cool creaminess, soft spiced apples, and just enough crunch to keep every forkful interesting. Because they’re baked in a muffin tin, each one sets up neatly and chills into a tidy little dessert that’s easy to serve without slicing.
What makes this version work is the way each layer is handled on its own before it goes into the oven. The crust gets a quick bake so it stays crisp under the filling. The apples are cooked just long enough to soften and deepen in flavor, but not so long that they turn mushy. And the cheesecake batter stays smooth because the cream cheese is softened first, which keeps the filling from turning lumpy once the eggs go in.
Below, I’m walking through the small details that keep these mini cheesecakes from cracking, sinking, or going soggy. You’ll also find a few smart swaps and the storage notes you’ll want if you’re making them ahead for a party or holiday dessert tray.
The cheesecake layer set up perfectly and the apple filling stayed tender instead of watery. I loved that the oat topping stayed crisp even after chilling overnight.
Save these apple crisp mini cheesecakes for when you want a chilled dessert with a buttery crumble top and clean, bakery-style portions.
The Crust Needs a Head Start, or It Stays Sandy
The biggest mistake with mini cheesecakes is treating the crust like an afterthought. If the crumb mixture goes into the liners too loose, it never turns into a clean base; it just becomes sandy under the filling. Press it firmly enough that it looks compact and slightly glossy from the butter, then give it those five minutes in the oven so the crust sets before the cheesecake batter goes on top.
The second issue is moisture. Apples release juice as they bake, and if they go in raw, that moisture can bleed into the cheesecake and soften the crust. Cooking them first concentrates the cinnamon and brown sugar and keeps the texture tender instead of watery. That one small step makes these taste layered instead of muddled.
What Each Layer Is Doing in These Mini Cheesecakes
- Graham cracker crumbs — These give you the classic cheesecake base with enough structure to hold up under the filling. Crush them finely so the crust packs evenly; big chunks make it crumbly instead of stable.
- Cream cheese — This is the backbone of the filling, and it needs to be softened all the way through before you beat it. Cold cream cheese leaves little lumps that never fully disappear, even after baking.
- Sour cream — This keeps the filling tangy and plush. Greek yogurt can work in a pinch, but sour cream gives a smoother, richer finish and bakes with less risk of graininess.
- Apples — Use a firm baking apple if you can, because you want pieces that hold their shape after a quick cook. Softer apples can work, but they tend to break down faster and turn the topping mushy.
- Cold butter for the crumble — Cold butter is what gives the oat topping those little nubby clusters. If it melts before baking, the topping turns dense instead of crisp.
Building Each Mini Cheesecake So the Layers Stay Distinct
Pressing and Prebaking the Crust
Mix the graham crumbs, melted butter, and sugar until every crumb looks moistened, then press the mixture firmly into the liners. A flat-bottomed measuring cup works well here because it compacts the crumbs without tearing the paper liners. Bake just until the crust smells toasty and looks set; you’re not trying to brown it deeply, only give it enough structure to support the filling.
Cooking the Apples Down First
Cook the diced apples with butter, brown sugar, and cinnamon until they soften and the pan looks mostly dry. You want the apples tender at the edges but still holding their shape in small cubes. If they still look glossy and wet, they’ll leak into the cheesecake and loosen the top layer while it bakes.
Mixing the Filling Without Overworking It
Beat the cream cheese and sugar until smooth before adding anything else. Once the eggs go in, mix just until combined; too much air gives you puffed cheesecakes that sink as they cool. The batter should look thick, satin-smooth, and free of streaks before you spoon it into the crusts.
Baking Until Just Set
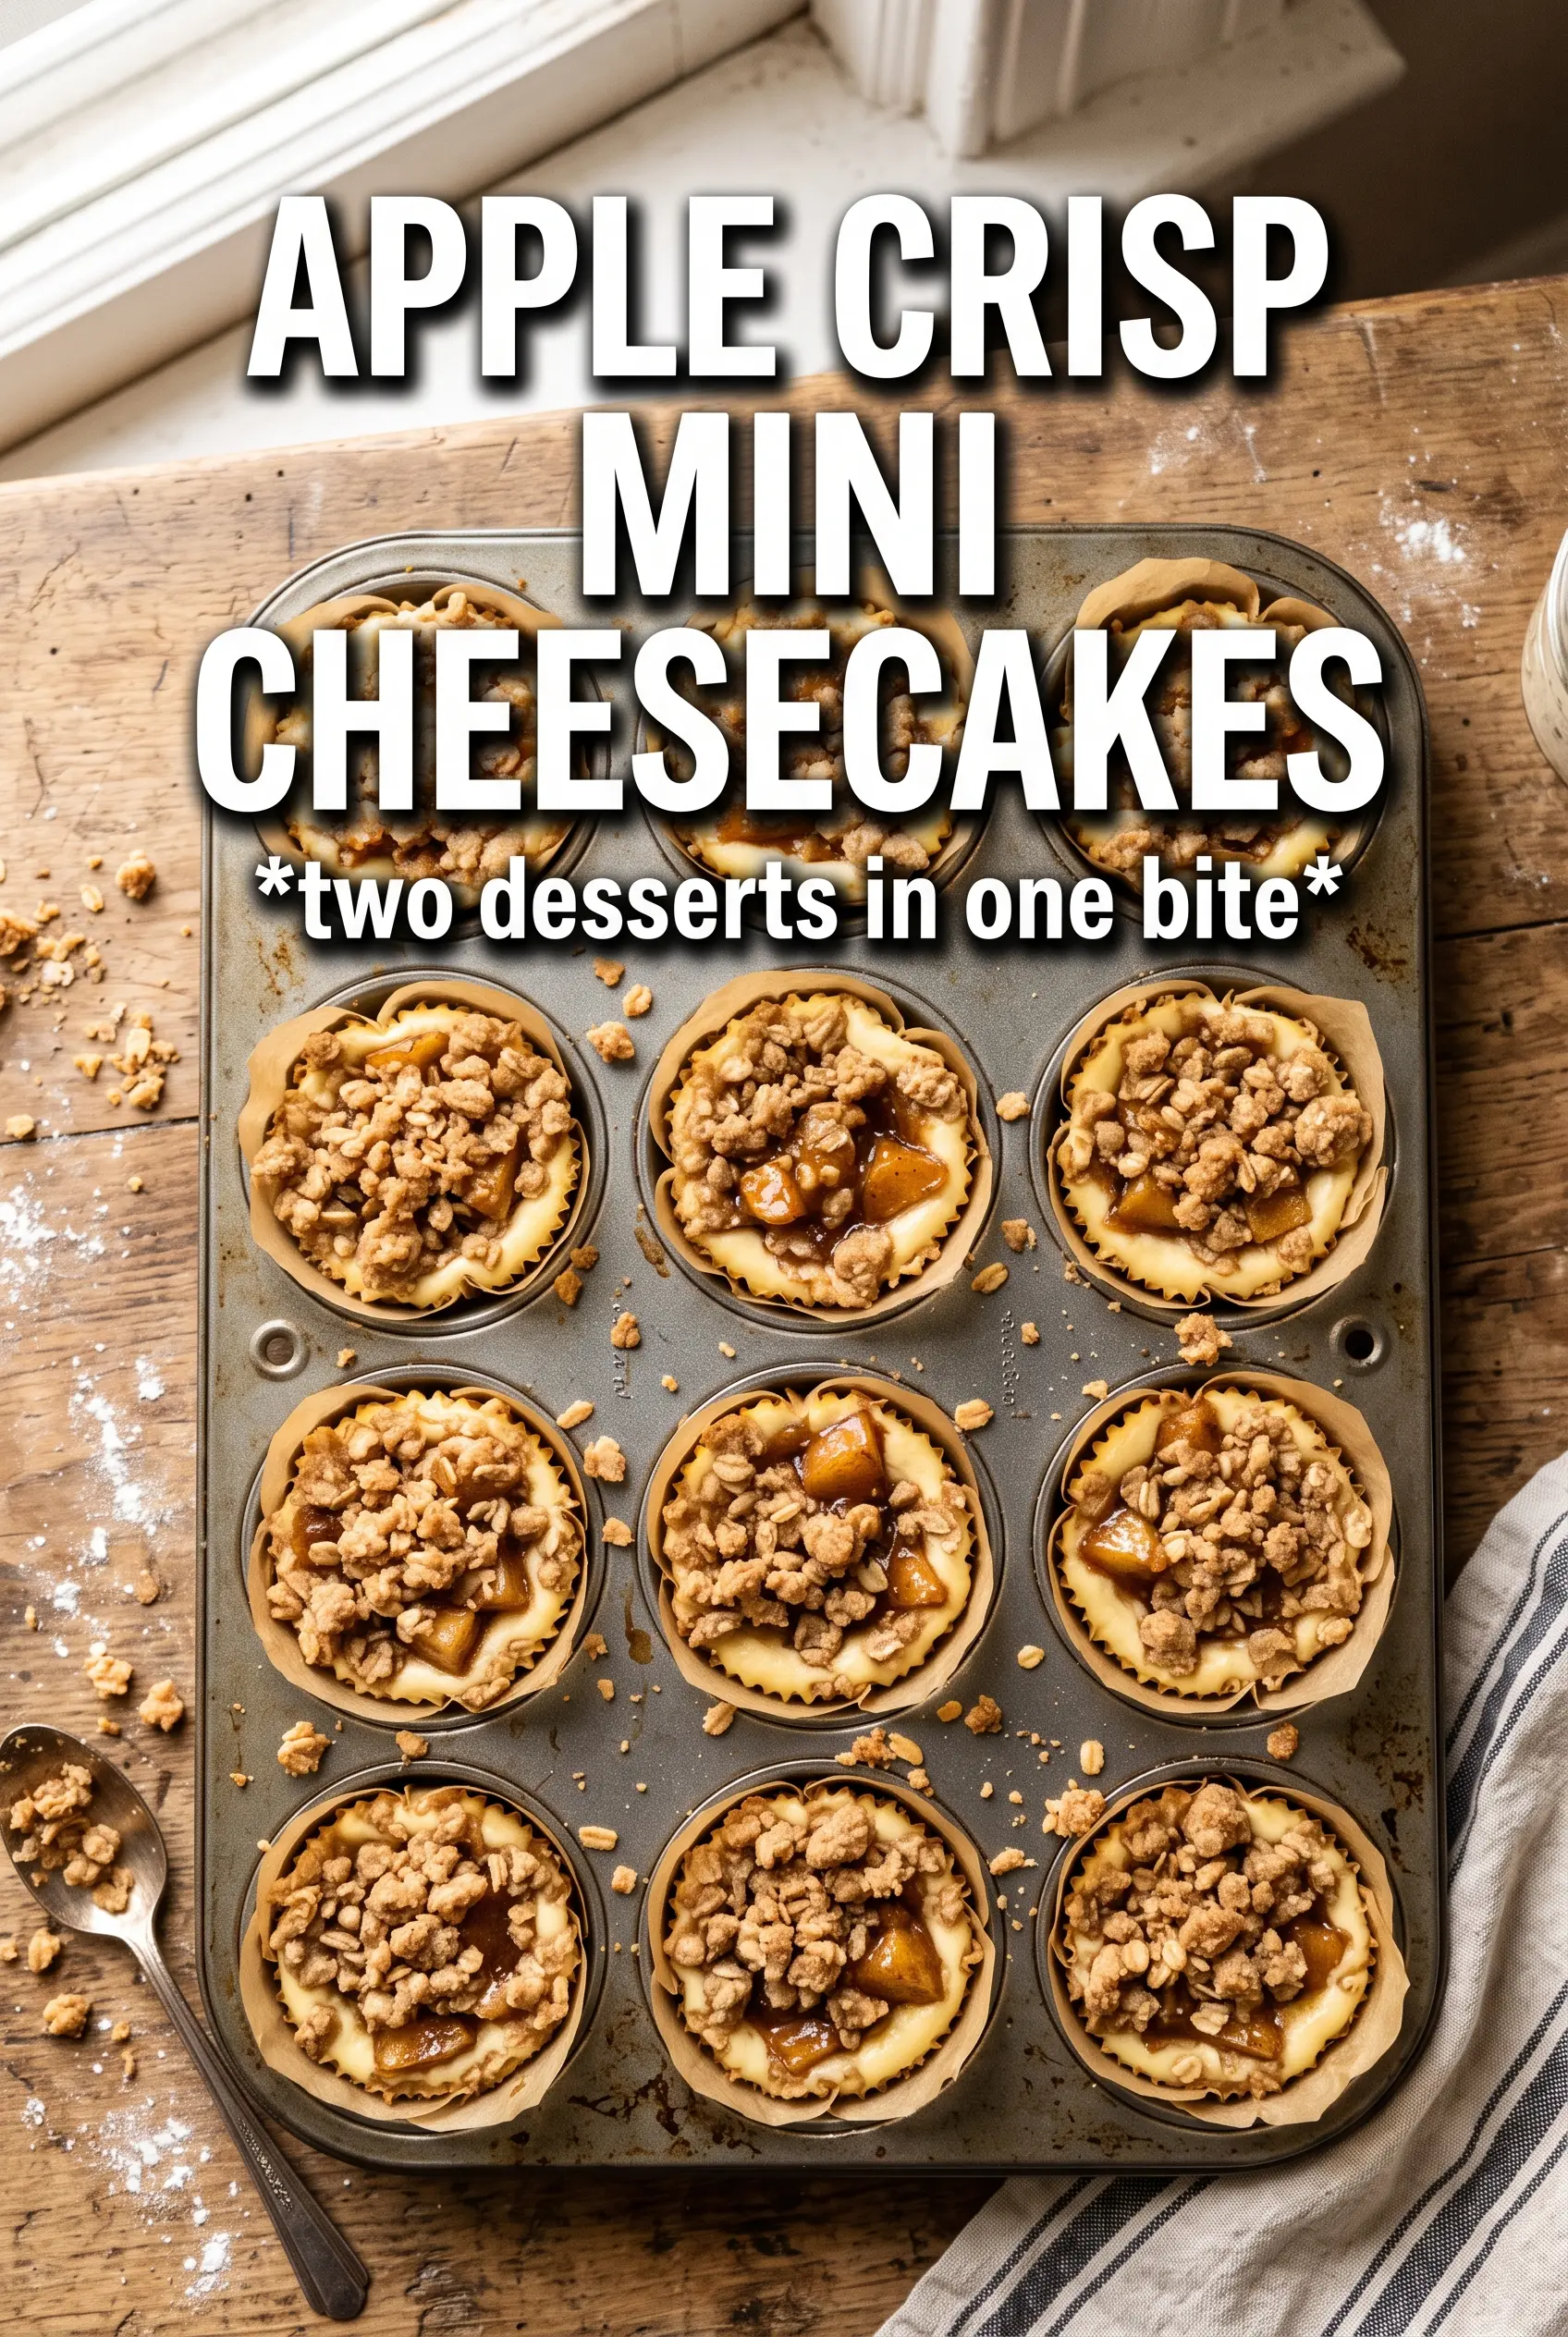
Spoon the filling over the crusts, add the cooked apples, then finish with the crumble. Bake until the centers look set around the edges but still have the slightest wobble in the middle when the pan is nudged. If you wait until they’re completely firm in the oven, they’ll overbake and turn dry after chilling.
Maple Walnut Crumble
Swap the brown sugar in the topping for maple sugar or add a little pure maple syrup to the apples for a deeper, warmer sweetness. The result tastes a little more autumn-forward and the crumble browns a touch faster, so keep an eye on it near the end of baking.
Gluten-Free Version
Use gluten-free graham-style crumbs for the crust and replace the flour in the crumble with a 1:1 gluten-free baking blend. The texture stays close to the original, though the topping may be a little more delicate once chilled.
Dairy-Free Adaptation
Use plant-based cream cheese, dairy-free butter, and a dairy-free sour cream alternative. The filling won’t be quite as rich, so chill the cheesecakes fully before serving; they need that time to firm up properly.
Storage and Reheating
- Refrigerator: Store covered for up to 4 days. The crumble softens a little, but the flavor holds up well.
- Freezer: These freeze well. Chill completely, wrap each cheesecake tightly, and freeze for up to 1 month. Thaw overnight in the refrigerator.
- Reheating: Serve these cold or just slightly cool. If you want the crumble to taste fresher, let them sit at room temperature for 15 to 20 minutes before serving instead of reheating them, which can loosen the filling.
Questions I Get Asked About This Recipe
Apple Crisp Mini Cheesecakes
Ingredients
Equipment
Method
- Preheat oven to 325F and line a 12-cup muffin tin with cupcake liners. Keep the tin ready for filling so the cheesecake batter goes in quickly.
- Combine graham cracker crumbs, melted unsalted butter, and sugar, then press firmly into each liner. Bake for 5 minutes until lightly set and fragrant, then cool briefly.
- Cook diced apples with butter, brown sugar, and cinnamon for 5 minutes until softened. Spread the apples out to cool so they don’t melt the cheesecake filling.
- Beat cream cheese and granulated sugar until smooth. Scrape the bowl and beat again until no lumps remain.
- Add eggs, sour cream, vanilla, and cinnamon, then mix until just combined. Stop when the batter looks uniform and glossy, with no streaks.
- Fill each crust with cheesecake mixture and top with the cooked apples. Aim for even amounts so the mini cheesecakes finish at the same time.
- Make the mini crumble by combining oats, flour, brown sugar, cinnamon, and cold butter until it looks like coarse sand. Scatter the crumble over each cheesecake so the tops stay crowned while baking.
- Bake for 20-22 minutes until the centers are just set but still slightly soft. Cool to room temperature before chilling.
- Refrigerate for 3 hours to fully set the texture. Slice or lift out from liners cleanly once firm.


