Apple Crisp Bites give you everything people love about apple crisp in a neat little package: buttery shortbread, soft cinnamon apples, and a nubby oat topping that bakes up golden and crisp. The best part is the contrast. You get a tender base, a jammy center, and a crumbly top in one bite, with no spoon required.
This version works because the apple filling is cooked before it goes into the cups. That step keeps the apples from shrinking too much in the oven and gives the cornstarch time to thicken the juices so the shortbread stays crisp instead of soggy. Cold butter shows up twice here, once in the crust and again in the topping, and that keeps both layers tender and sandy rather than greasy.
Below, I’ve included the details that matter most: how to keep the shells from puffing, what kind of apples hold their shape, and the one topping cue that tells you the bites are ready to come out of the oven.
The apple filling thickened up perfectly and the little crusts stayed crisp even after cooling. I brought these to a party and people kept grabbing them before I could set the caramel out.
Save these Apple Crisp Bites for the nights when you want all the flavor of apple crisp in a crisp little handheld dessert.
The Trick to Keeping the Bottom Crisp Instead of Soggy
The mistake with mini apple desserts is usually moisture. Raw apples release juice as they bake, and in a small cup that juice can sink straight into the crust before the top has time to set. Cooking the filling first changes that. The apples soften, the sugar dissolves, and the cornstarch starts thickening the juices before they ever hit the shell.
That also gives you control over the texture. You’re not guessing whether the apples will finish inside the oven. They already should be tender with just a little bite left, because they’ll cook a bit more during baking. If the filling looks loose in the pan, keep cooking until it turns glossy and thick enough to mound on a spoon.
What Each Ingredient Is Actually Doing in These Little Tarts
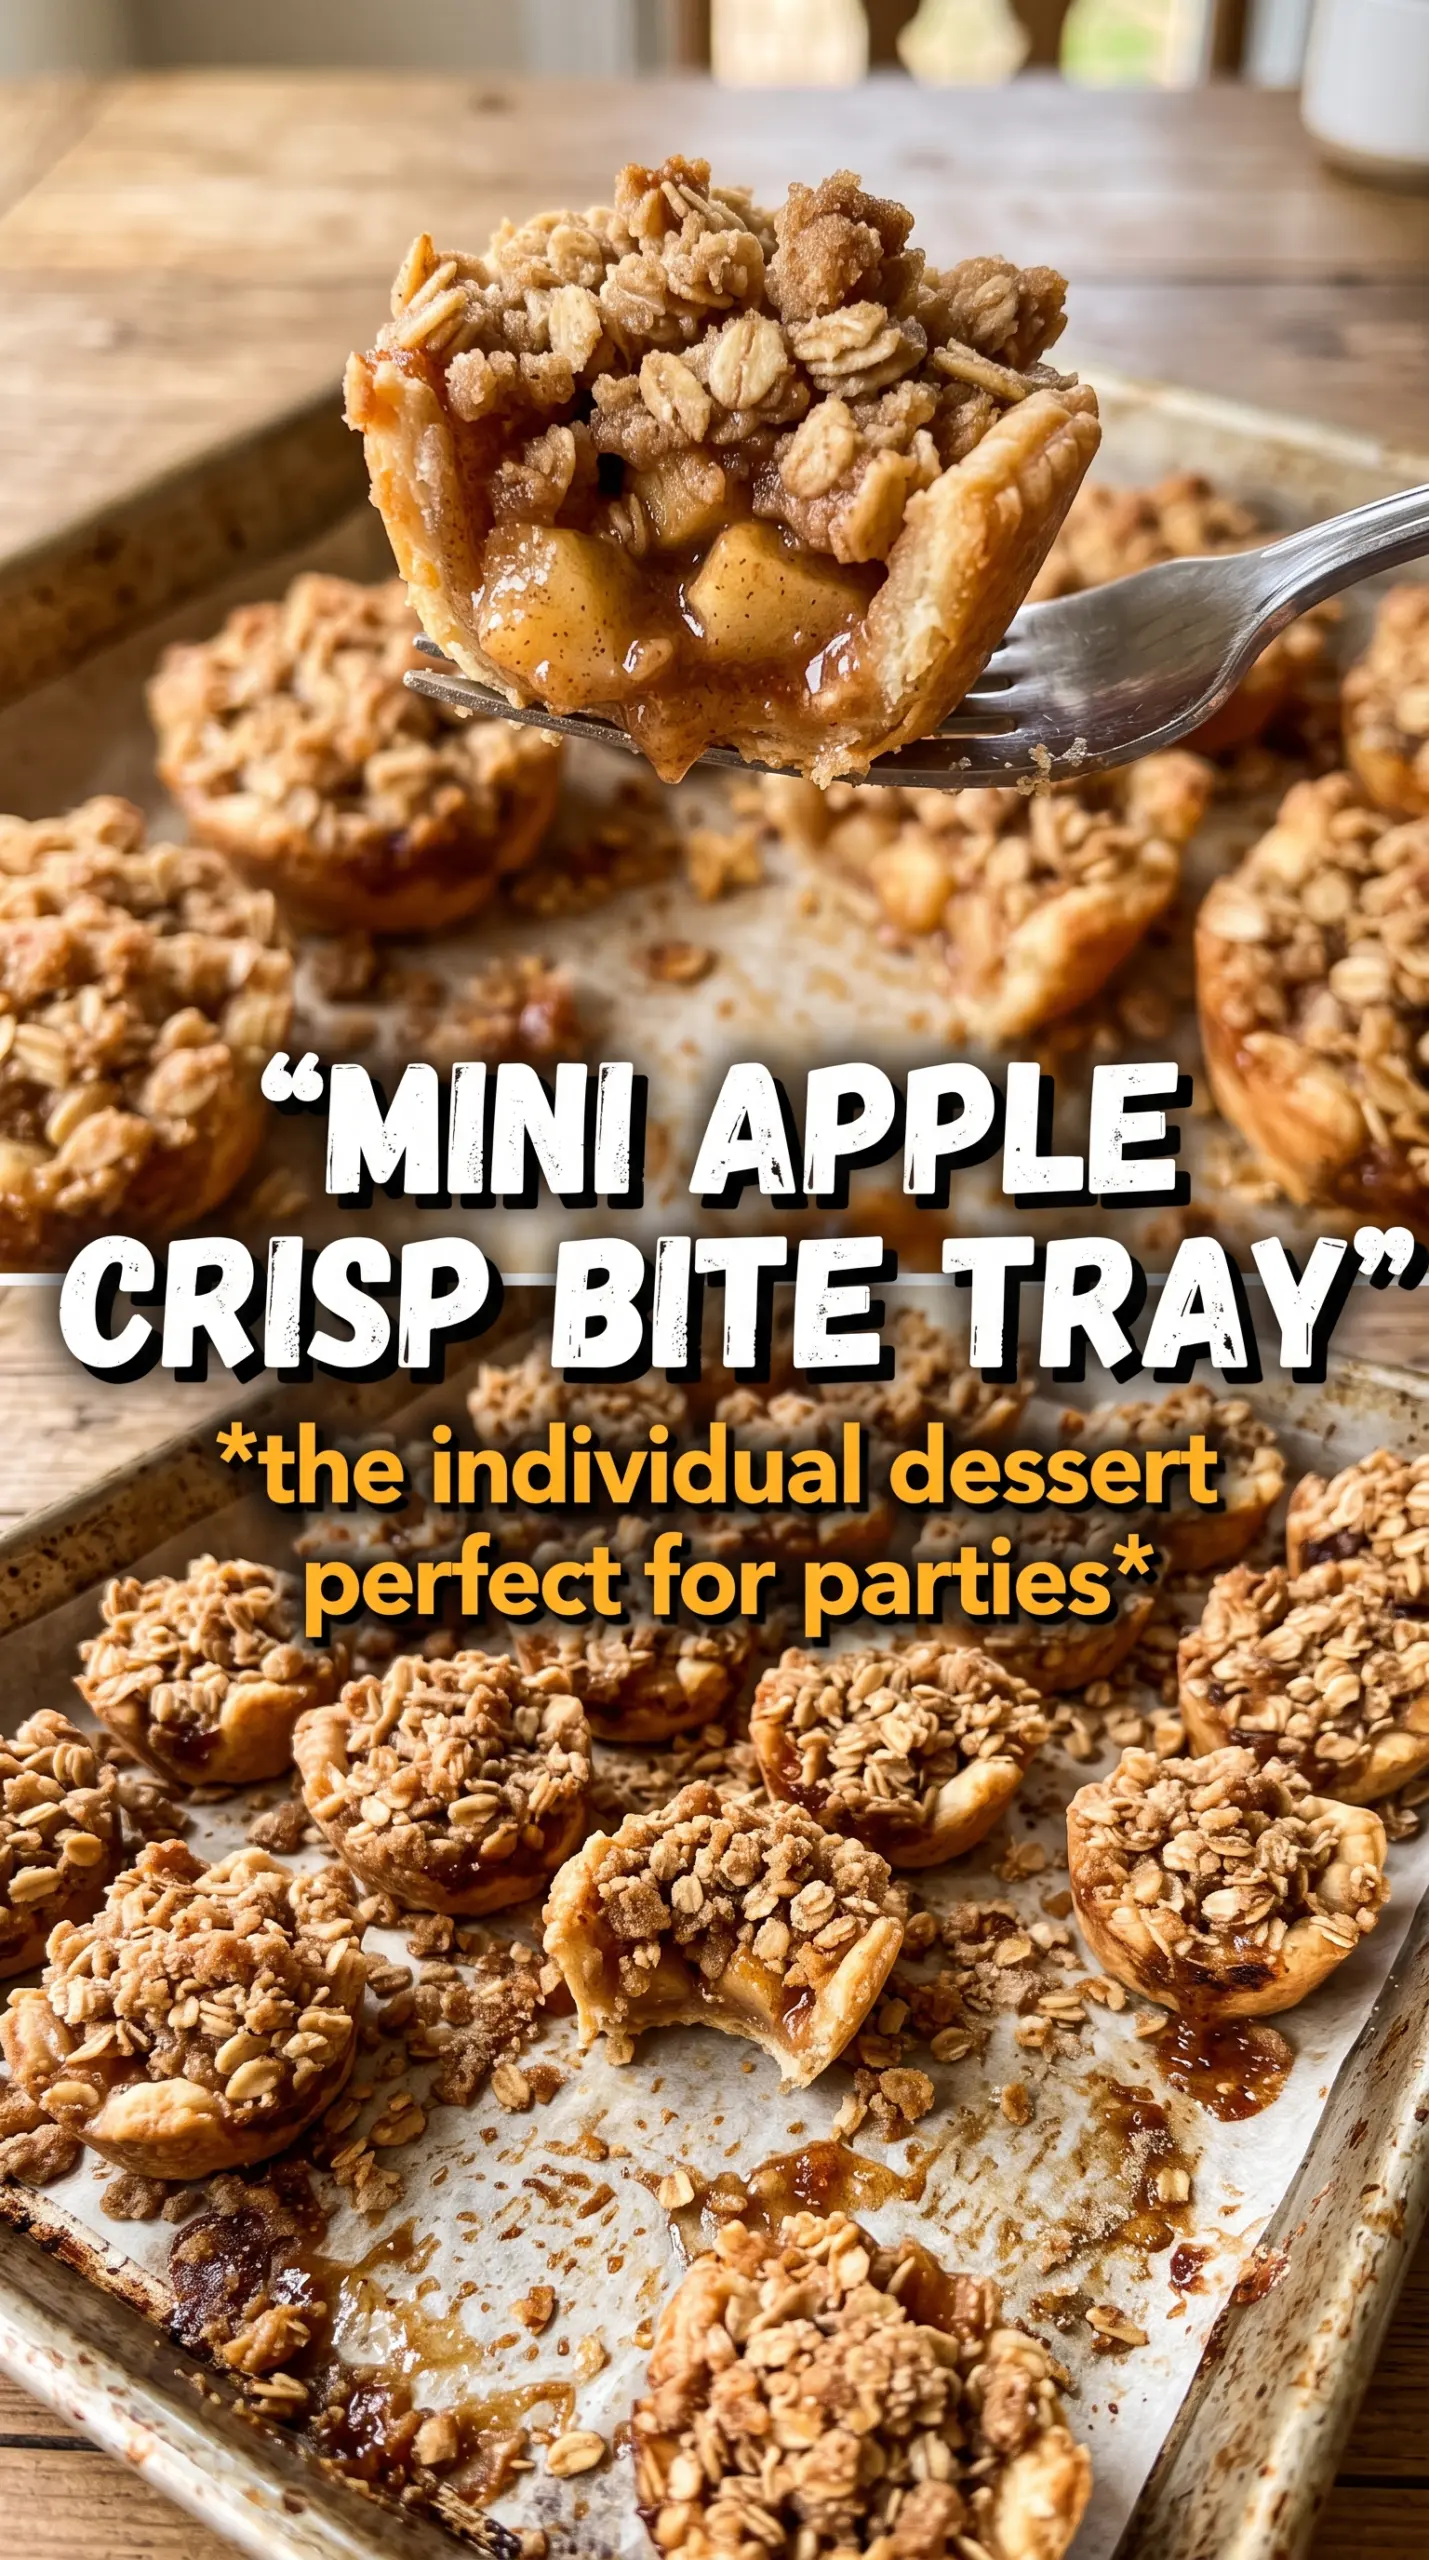
- Cold butter — This is what gives both the crust and the topping their tender, crumbly texture. If the butter gets too soft before baking, the shortbread turns greasy and the oat topping melts into paste instead of staying clumpy.
- Powdered sugar in the crust — It blends into the flour more smoothly than granulated sugar and helps the cups bake up delicate and short. You can’t swap in regular sugar one-for-one and expect the same texture.
- Firm apples — Use apples that hold their shape, like Honeycrisp, Pink Lady, or Granny Smith. Soft apples break down too fast and can make the filling muddy. Peel them and dice them small so the bites are easy to eat in one or two bites.
- Cornstarch — This is the difference between a filling that stays put and one that leaks. It needs a few minutes of heat to activate, so don’t pull the apples off the stove while the juices still look thin.
- Rolled oats — They give the topping its crisp, craggy look. Quick oats work in a pinch, but the texture is finer and less distinct.
Building the Layers So Each Bite Holds Together
Forming the Shortbread Shells
Start with the flour, powdered sugar, and salt, then cut in the cold butter until the mixture looks like coarse crumbs with a few pea-size bits left. Add the ice water a little at a time. You want the dough to just hold together when pinched, not turn sticky or smooth. Press it into the mini muffin cups and bring it slightly up the sides, because a thin shell is more likely to crack when you fill it.
Cooking the Apple Filling
Cook the apples with butter, brown sugar, cinnamon, nutmeg, and cornstarch over medium heat until the pieces look glossy and the liquid has thickened. You’re looking for a spoonable filling, not a wet pan of apples. If there’s still a puddle at the bottom, keep cooking for another minute or two. That moisture is what causes the crust to soften later.
Making the Crumble Topping
Work the cold butter into the oats, flour, brown sugar, and cinnamon until you get irregular clumps. Some pieces should be tiny, and some should be the size of small peas. That uneven texture is what bakes into a crisp top. If it looks sandy all the way through, the topping will bake up flat instead of crunchy.
Assembling and Baking
Fill each cooled shell with a small spoonful of apple filling, then scatter the oat mixture over the top. Don’t pack the topping down; it needs air pockets to crisp up. Bake until the edges are golden and the crumble looks set and deeply toasted. If the topping still looks pale in the center, give it a few more minutes. The caramel goes on after baking, once the bites have cooled just enough to hold their shape.
How to Adapt These Apple Crisp Bites for Different Needs
Make Them Gluten-Free
Use a 1:1 gluten-free flour blend in both the crust and the topping. The texture will be a little more delicate, so let the bites cool fully before trying to lift them from the pan. Rolled oats are naturally gluten-free if they’re certified, which keeps the crumble intact.
Go Dairy-Free
Swap the butter for a plant-based butter stick that’s meant for baking. Soft tub spreads tend to have too much water and can make both the crust and topping less crisp. The flavor stays close, but the crust may brown a little faster, so watch the oven near the end.
Use Pears Instead of Apples
Firm pears can stand in for the apples if you want a softer, sweeter filling. Keep the same method, but cook them carefully because pears break down faster. The filling will taste lighter and a little more floral, and the caramel drizzle works especially well here.
Storage and Reheating
- Refrigerator: Store in an airtight container for up to 4 days. The topping will soften a little, but the flavor stays good.
- Freezer: Freeze the baked bites without caramel sauce for up to 2 months. Freeze in a single layer first, then move them to a container so they keep their shape.
- Reheating: Warm in a 325F oven for 8 to 10 minutes. The oven brings the crust back to life; the microwave makes the topping limp.
Answers to the Questions Worth Asking
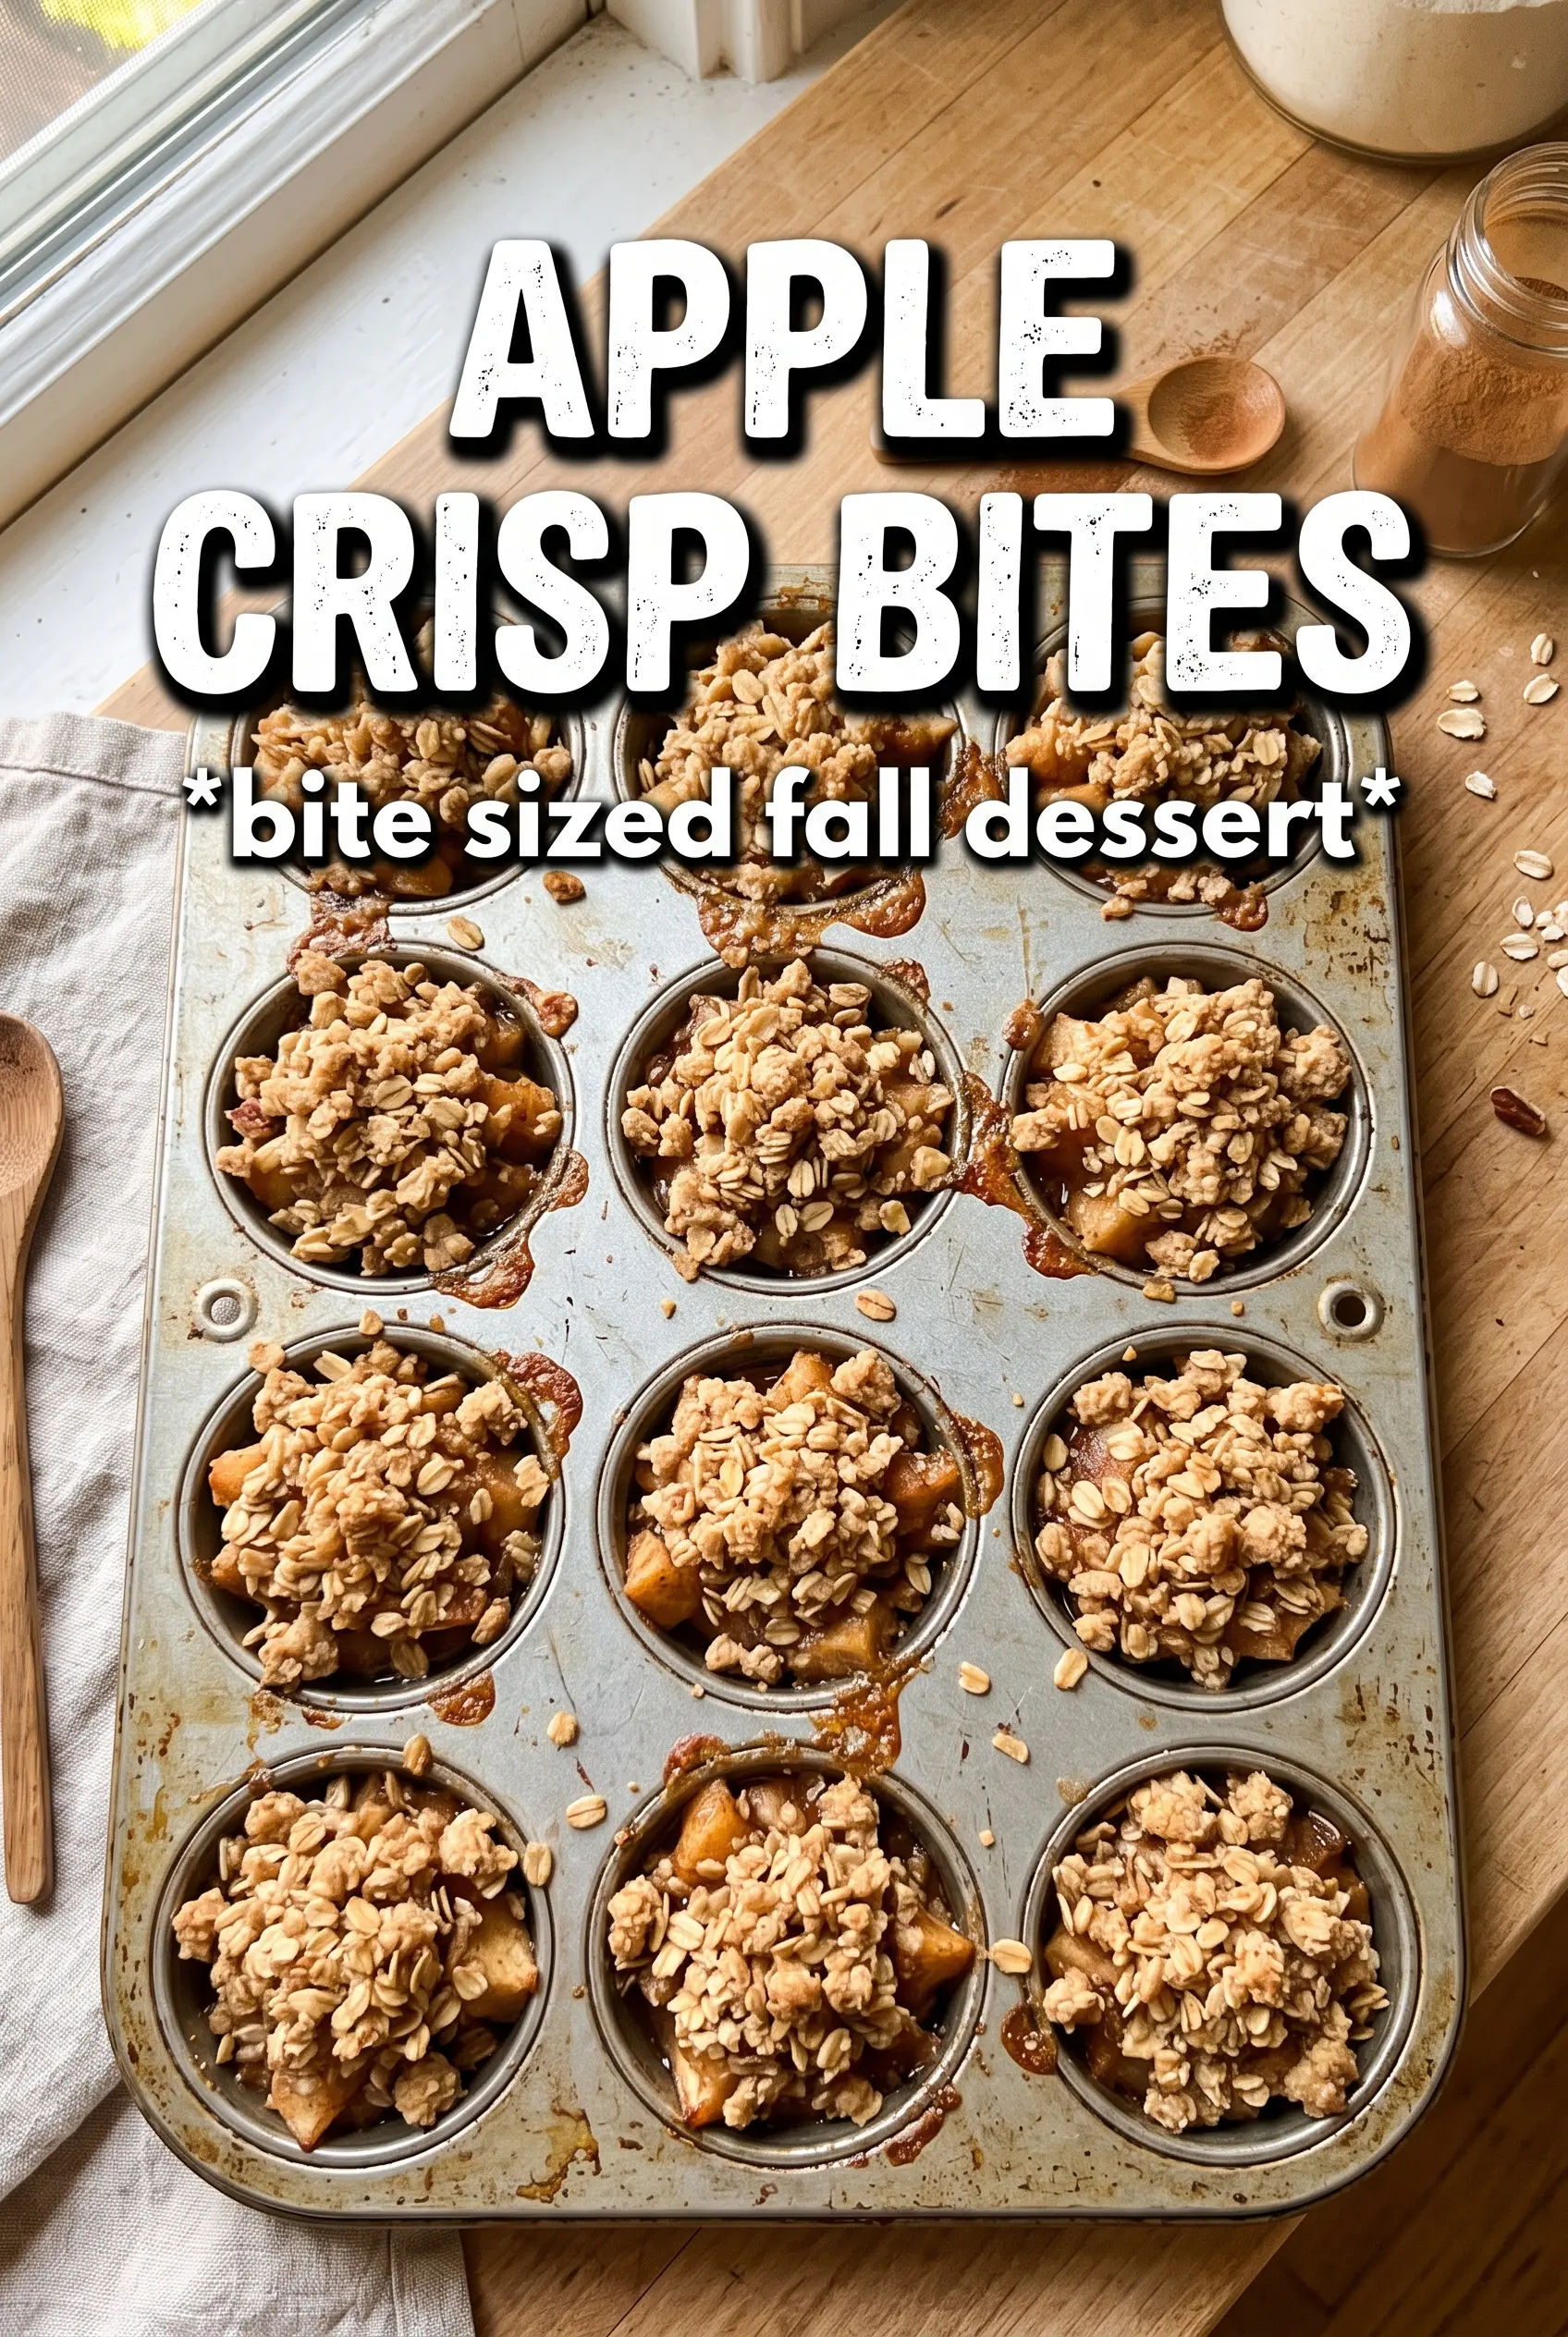
Apple Crisp Bites
Ingredients
Equipment
Method
- Preheat oven to 375F and grease a 24-cup mini muffin tin so the shortbread shells release cleanly.
- Combine all-purpose flour, powdered sugar, and salt, then cut in cold unsalted butter until the mixture looks like fine crumbs.
- Add ice water 1 tablespoon at a time and press the dough into mini muffin cups to form a shell, using your fingertips to smooth the bottom and sides.
- Sauté diced apples with butter, brown sugar, cinnamon, nutmeg, and cornstarch for 5-7 minutes until thickened and glossy, stirring often.
- Let the apple filling cool until warm, not hot, so it won’t soften the shortbread shells.
- Mix rolled oats, flour, brown sugar, and cinnamon, then cut in cold butter until clumpy oat crumble forms.
- Fill each shortbread cup with apple filling and top with oat crumble so every bite has a crisp layer.
- Bake for 18-20 minutes at 375F until the cups are golden and the oat topping looks toasted.
- Drizzle caramel sauce over the warm apple crisp bites right after baking so it sets lightly on top.


