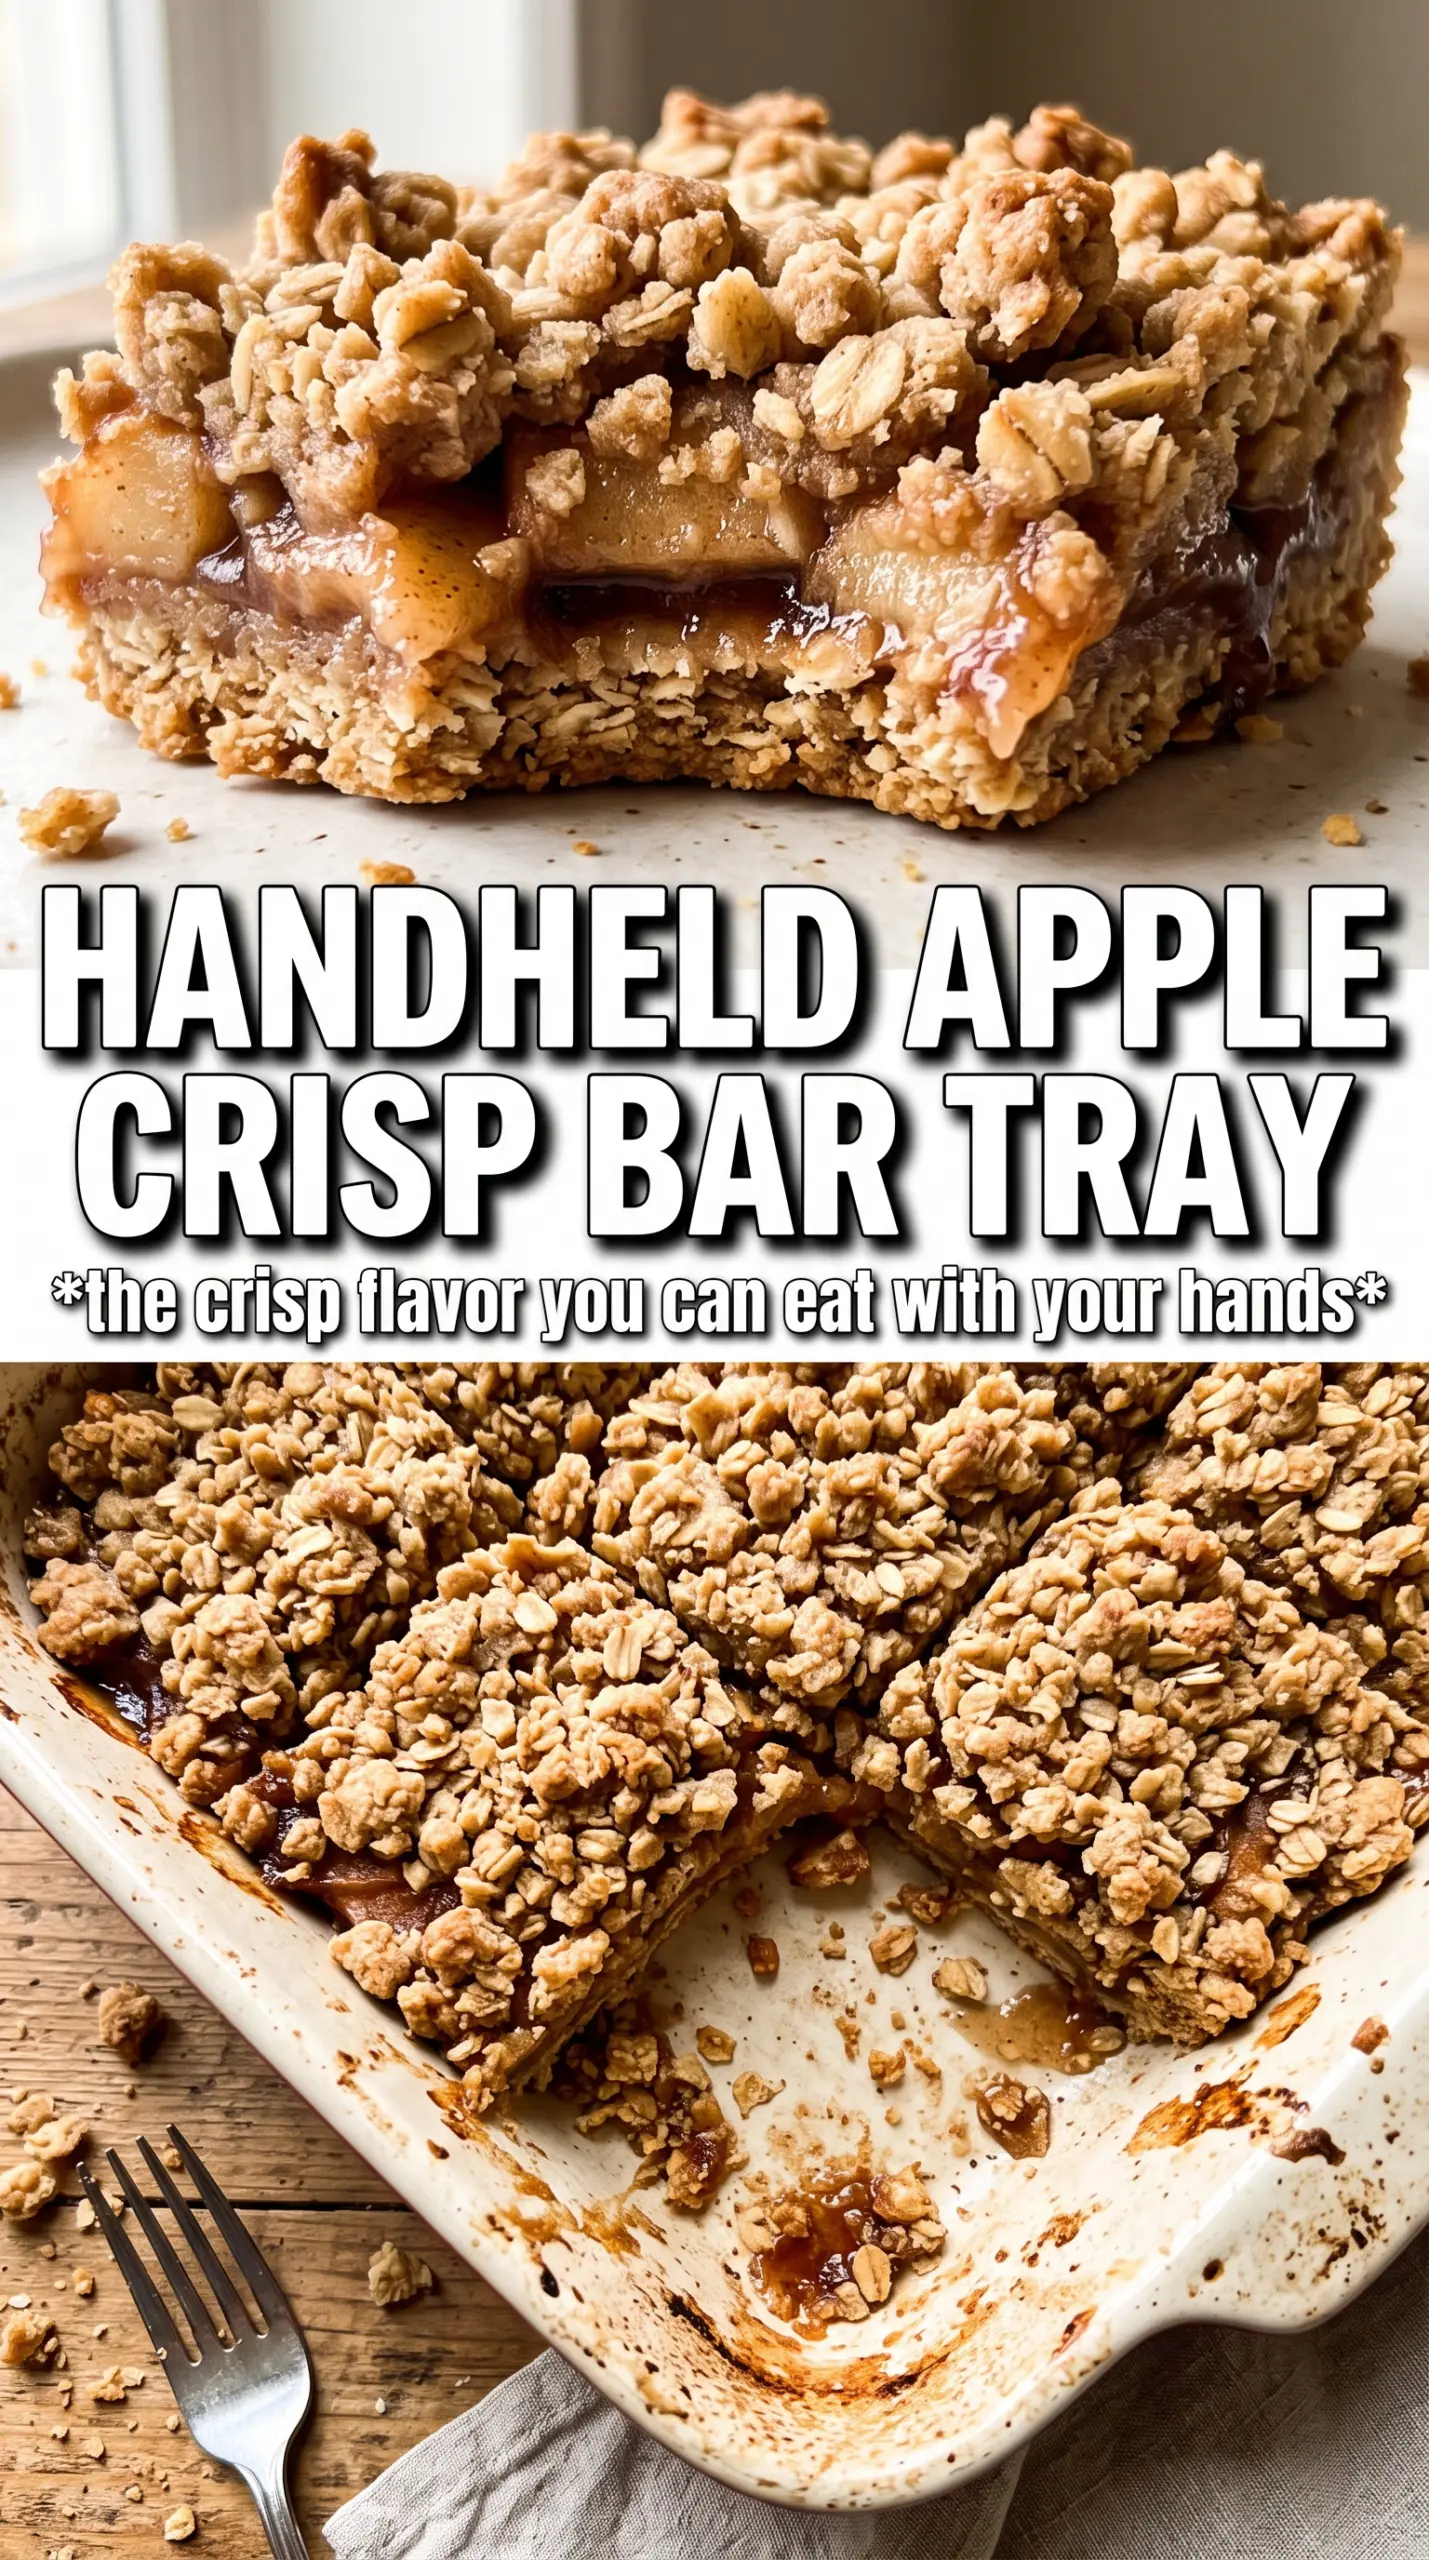
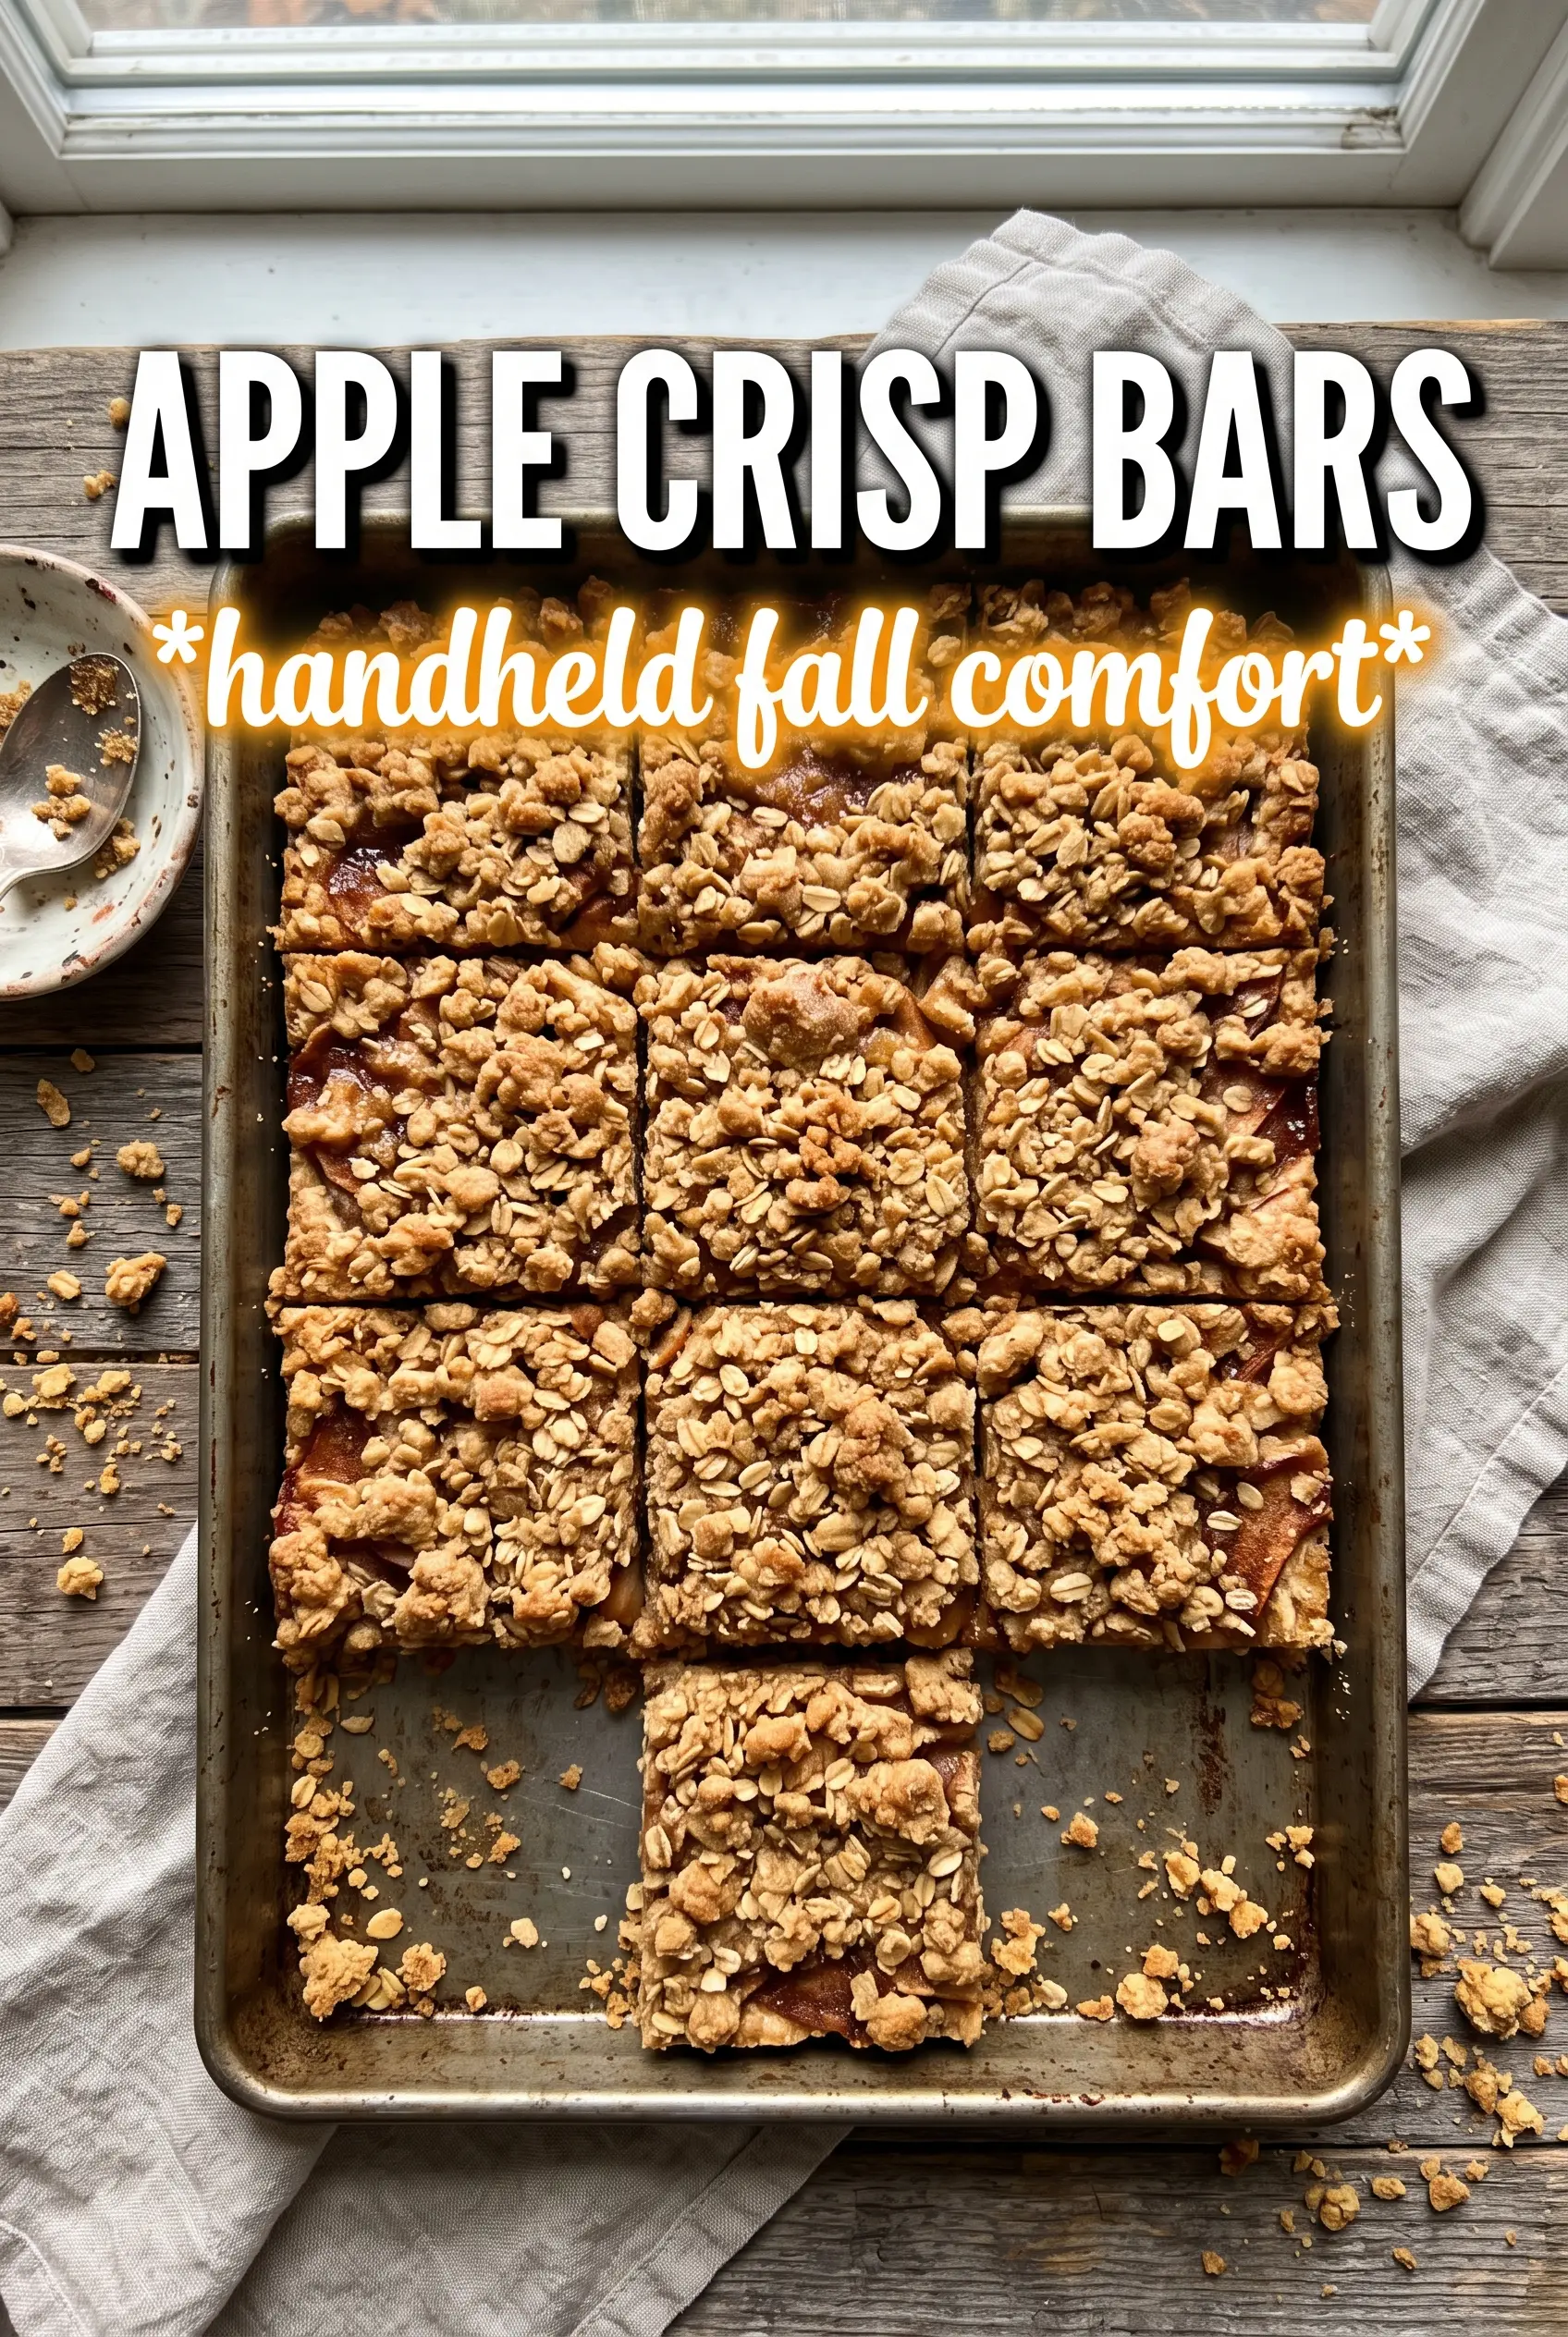
Apple crisp bars deliver everything people love about a classic apple crisp, just in a form you can pick up and eat without a spoon. The base bakes into a sturdy oat shortbread, the filling turns jammy and spiced, and the crumble on top stays sandy and crisp instead of going soft. Once they cool, the layers slice cleanly and hold their shape, which makes them just as good for a lunchbox treat as they are on a dessert tray.
The key is baking the bottom layer before the apples go in. That quick head start keeps the crust from turning soggy under the fruit juices, and it gives the bars enough structure to support the filling. A little cornstarch in the apples matters too; it catches the moisture released during baking and turns it into a thick, glossy filling instead of a loose puddle.
Below, I’ve included the one step that keeps the bars from falling apart when you cut them, plus a few smart swaps if you want to adjust the fruit or make them dairy-free.
The base baked up firm and the apple layer thickened perfectly, so the bars sliced cleanly after cooling. I used Honeycrisp and the cinnamon really came through without making them too sweet.
Save these apple crisp bars for the days when you want a sturdy oat crumble and a thick cinnamon-apple center in one neat slice.
The One Step That Keeps the Bottom Layer from Going Soft
Most apple bar recipes run into the same problem: the fruit juices soak straight into the crust before the filling has time to set. Prebaking the bottom two-thirds of the oat mixture gives the bars a firmer foundation, and it changes the whole texture of the finished dessert. You end up with a bottom layer that tastes toasted and sturdy, not damp and cakey.
Press that first layer in firmly and evenly. If it’s patchy or loose, the apples will settle into the weak spots and the bars won’t slice well. The baked base should look set around the edges and pale golden across the top before the filling goes on.
- Rolled oats — These give the bars their chew and that classic crisp texture. Quick oats turn softer and more compact, so the crumble loses some of its bite.
- Brown sugar — It brings moisture and a caramel note that works better here than plain white sugar. Dark brown sugar makes the bars richer and a little deeper in flavor.
- Butter — Melted butter coats the oats and flour evenly, which is what helps the topping bake into crumbles instead of dry floury bits. If you only have salted butter, use it and reduce the added salt a bit.
- Apples — Finely diced apples cook evenly and pack into a tighter layer, which is what gives these bars their clean slice. A mix of tart and sweet apples works best; if you only have one type, use a firm baking apple so the filling doesn’t go mushy.
- Cornstarch — This is what turns the apple juices into a thick filling. Flour can work in a pinch, but it won’t set as cleanly or stay as glossy.
What Each Ingredient Is Actually Doing in This Recipe
- Primary ingredient (the star) — Quality matters most. Choose the best you can find.
- Cooking medium (oil, butter, or broth) — This carries flavors and prevents dryness.
- Seasonings (salt, pepper, spices, herbs) — Layer flavors so nothing overpowers. Build depth gradually.
- Aromatics (garlic, onion, herbs) — Cook with fat to bloom flavors. Become the foundation.
- Supporting ingredients — Complement the main ingredient without overpowering it.
- Sauce or liquid (if applicable) — Brings flavors together. Balance richness with acid.
- Acid (lemon, vinegar, wine, or other) — Brightens and prevents flat-tasting results.
- Final finish (garnish, glaze, or sauce) — Prevents one-dimensional taste and adds visual appeal.
Building the Layers So the Bars Slice Cleanly
Mixing the Crumble
Stir the oats, flour, brown sugar, cinnamon, and salt together first so the spices distribute evenly before the butter goes in. Then drizzle in the melted butter and toss until every dry bit looks lightly moistened and sandy. If you see dry flour at the bottom of the bowl, keep tossing; those dry pockets bake into weak, crumbly spots in the finished bars.
Pressing and Prebaking the Base
Press two-thirds of the oat mixture into a parchment-lined 9×13 pan with firm, even pressure. Use the bottom of a measuring cup if your fingers keep lifting the mixture back up. Bake it just until it looks set and lightly golden, because this is a head start, not a full bake.
Cooking the Apple Layer
Toss the diced apples with sugar, cinnamon, nutmeg, cornstarch, and lemon juice until every piece looks coated. The mixture should look a little wet but not watery; the cornstarch starts working as soon as it hits the juice. Spread the apples over the hot base while it’s still warm so the filling begins to settle into place right away.
Finishing the Crumble Top
Scatter the remaining oat mixture over the apples without pressing it down. You want loose crumbles, not a packed lid, because those open spaces let steam escape and keep the top crisp. Bake until the topping is deep golden and you can see the filling bubbling up around the edges.
Make Them Dairy-Free with One Swap
Use melted coconut oil or a plant-based butter in place of the butter. Coconut oil gives the crumble a slightly firmer set and a hint of coconut flavor, while vegan butter keeps the taste closest to the original. Either way, let the bars cool completely so the topping has time to firm up.
Use Pears Instead of Apples
Firm pears can stand in for half or all of the apples, but they soften faster, so keep the dice small and don’t overbake. The filling comes out a little silkier and sweeter, which works nicely with a touch more lemon juice for balance.
Gluten-Free Version
Swap the all-purpose flour for a 1:1 gluten-free baking blend. The texture stays close to the original as long as the blend contains xanthan gum or another binder, and the oats are certified gluten-free if you need strict avoidance.
Storage and Reheating
- Refrigerator: Store covered for up to 4 days. The topping softens a little after day one, but the flavor holds up well.
- Freezer: These freeze well once fully cooled. Cut into bars, wrap individually, and freeze in a sealed container for up to 2 months.
- Reheating: Warm a bar in the microwave for 10 to 15 seconds or in a 300F oven for about 8 minutes. Reheat just until the center is no longer cold; too much heat makes the crumble turn hard instead of crisp.
Answers to the Questions Worth Asking
Apple Crisp Bars
Ingredients
Equipment
Method
- Preheat oven to 375F. Line a 9x13 pan with parchment for easy lifting.
- Combine rolled oats, all-purpose flour, brown sugar, cinnamon, and salt in a large bowl. Drizzle melted butter over and toss until the mixture looks evenly moistened.
- Press 2/3 of the oat mixture firmly into the prepared pan. Bake for 10 minutes.
- Toss apples with granulated sugar, cinnamon, nutmeg, cornstarch, and lemon juice until evenly coated. Spread the mixture over the hot base.
- Scatter the remaining oat crumble over the apples in an even layer. Bake for 30 more minutes, until the topping is golden and the filling bubbles.
- Cool completely before slicing into bars. The layers will set up as they cool.


