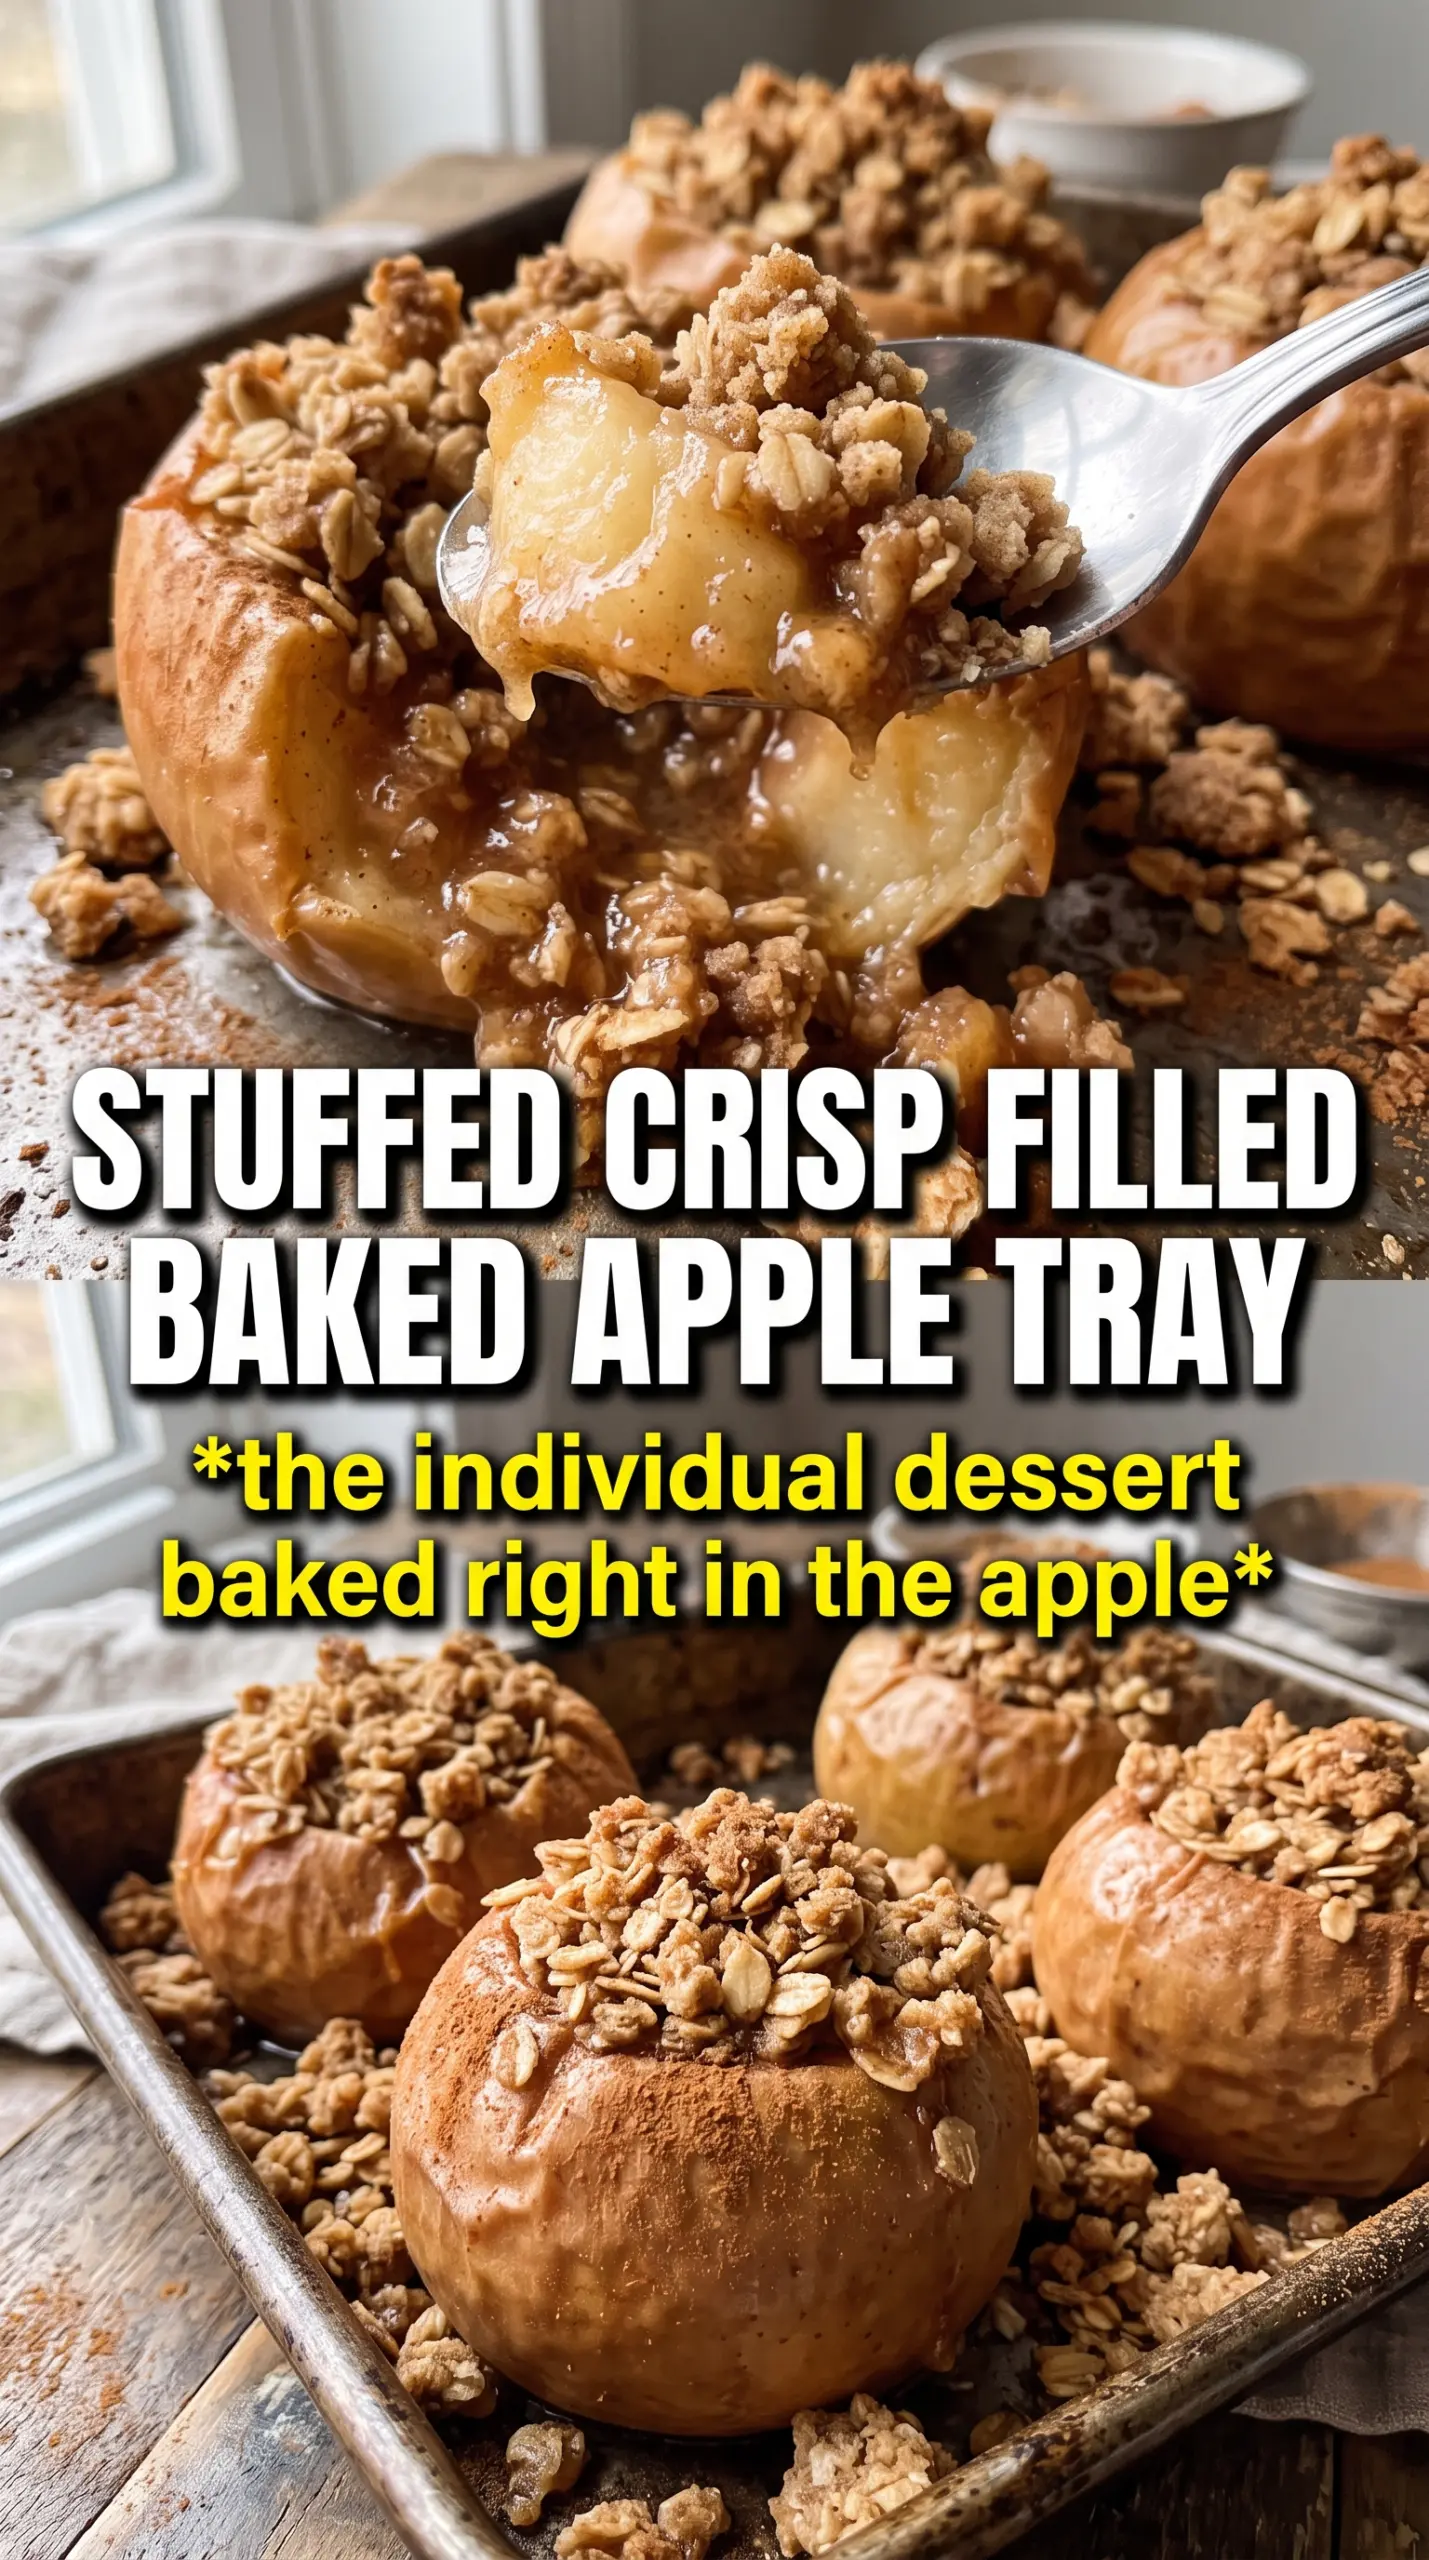
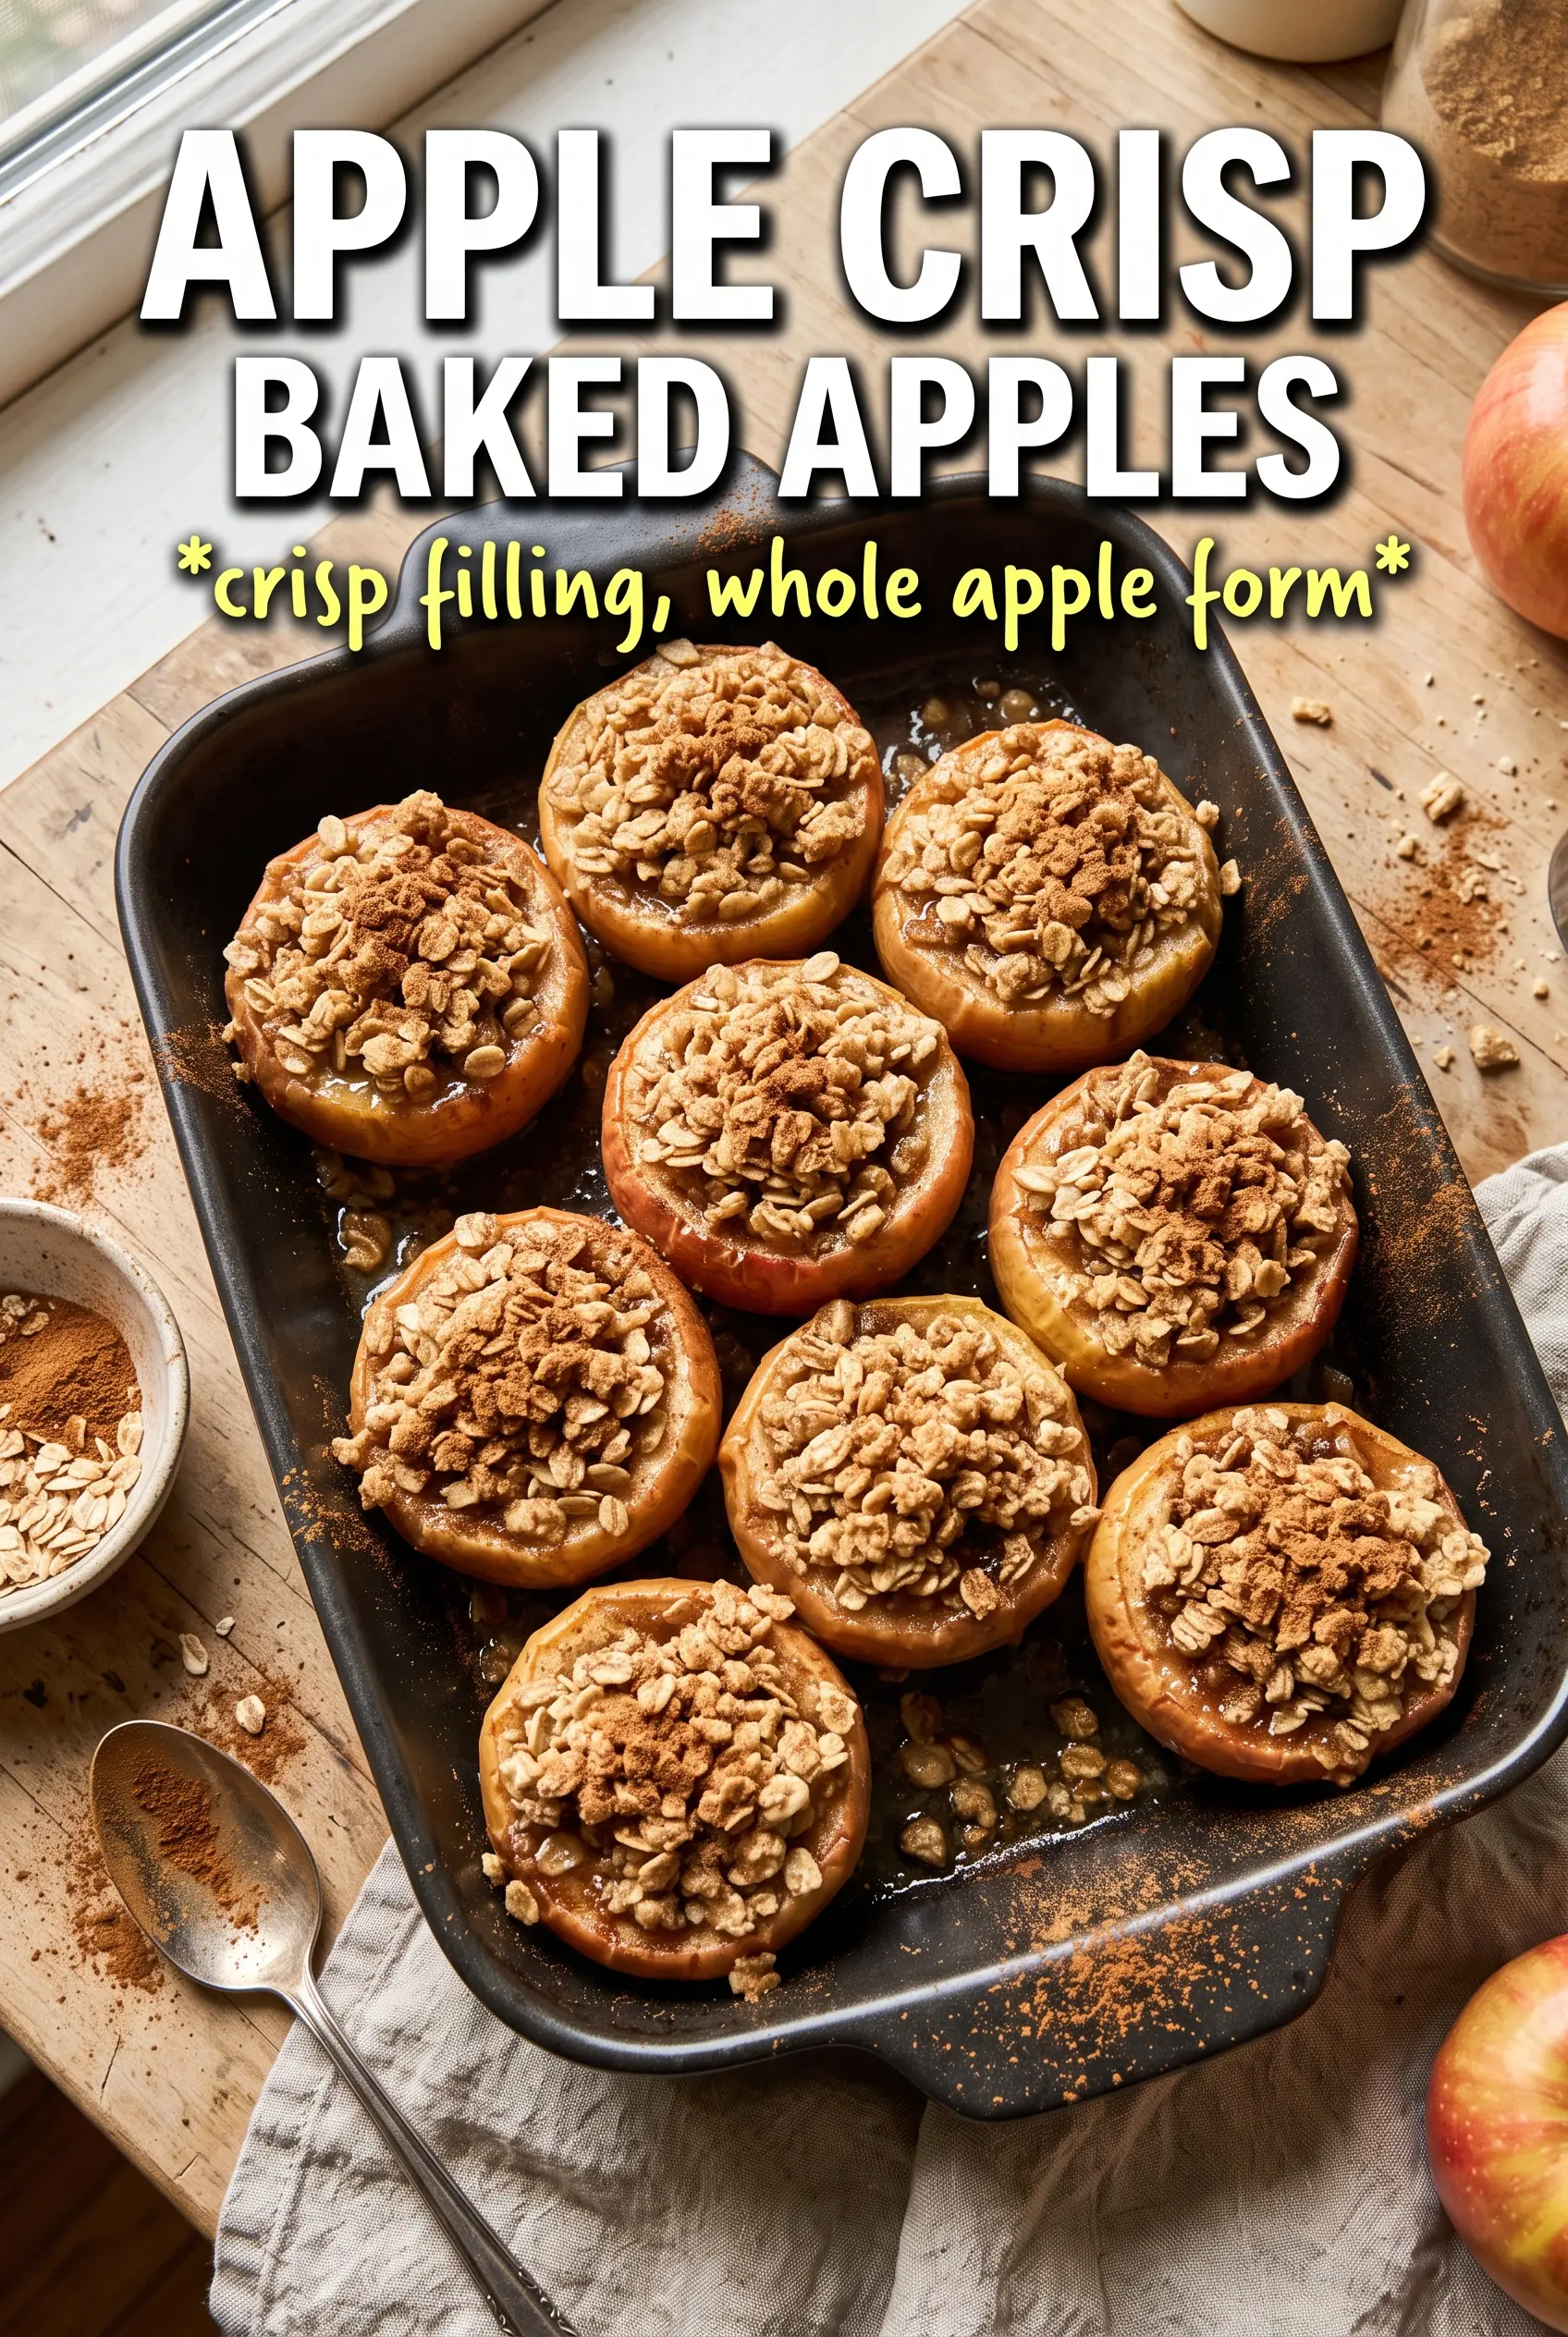
Apple Crisp Baked Apples hit that sweet spot between a baked dessert and a warm apple crisp, but with a little more character on the plate. The apples soften until tender but still hold their shape, and the oat crumble on top turns golden and nubby with just enough crunch to contrast the caramelized fruit underneath. A scoop of vanilla ice cream melting into the hot cider at the bottom makes every spoonful taste like the best part of apple pie, minus the fuss of a crust.
The trick is keeping the apples intact while hollowing out enough space for the filling. Leave the bottom uncut so the brown sugar and butter stay inside the fruit instead of leaking into the dish, and use cold butter in the crumble so it bakes up in clumps instead of dissolving into sandy crumbs. The splash of apple cider in the pan does more than keep things from drying out; it turns the juices into a light sauce as the apples bake.
Below, I’ll walk through the little details that keep these from collapsing, plus the best apple choices and a few smart swaps if you need to work with what’s in your kitchen.
The topping stayed crunchy while the apples turned perfectly tender, and the little pool of cider at the bottom tasted like apple pie filling. I used Braeburns and they held up beautifully without getting mushy.
Like these Apple Crisp Baked Apples? Save them for the nights when you want a warm dessert with tender apples and a crunchy oat topping.
The Part That Keeps the Apples From Turning to Mush
The biggest mistake with baked apples is treating them like they all cook at the same pace. Some varieties collapse fast, especially if they’re small or overly ripe, and once the flesh gives out, the filling sinks and the bottom tears. Honeycrisp and Braeburn both hold their shape well here, which is what lets the crisp topping stay perched on top instead of disappearing into the fruit.
Leaving the bottom intact matters just as much. If you core too deep, the butter and sugar melt straight into the pan and the apple loses its structure before the center softens. The goal is a tender apple with enough firmness left to cut cleanly and hold a spoonful of crumble.
- Honeycrisp or Braeburn apples — These stay sturdy in the oven and give you a tart-sweet base that doesn’t go mealy. If you use a softer apple like McIntosh, shorten the bake a little and expect a looser texture.
- Rolled oats — They keep the topping nubby and crisp. Quick oats will work in a pinch, but the topping gets tighter and less craggy.
- Cold butter — Cold butter is what makes the crumble clump and brown instead of melting into paste. Cube it first, then cut it in until you still see pea-size bits.
- Apple cider — This adds a little sweetness and helps create those bubbling juices at the bottom of the dish. Water works if that’s what you have, but cider gives the finished dessert a deeper apple note.
What Each Ingredient Is Actually Doing in This Recipe
- Primary ingredient (the star) — Quality matters most. Choose the best you can find.
- Cooking medium (oil, butter, or broth) — This carries flavors and prevents dryness.
- Seasonings (salt, pepper, spices, herbs) — Layer flavors so nothing overpowers. Build depth gradually.
- Aromatics (garlic, onion, herbs) — Cook with fat to bloom flavors. Become the foundation.
- Supporting ingredients — Complement the main ingredient without overpowering it.
- Sauce or liquid (if applicable) — Brings flavors together. Balance richness with acid.
- Acid (lemon, vinegar, wine, or other) — Brightens and prevents flat-tasting results.
- Final finish (garnish, glaze, or sauce) — Prevents one-dimensional taste and adds visual appeal.
Building the Crumble So It Stays Crisp on Top
Getting the Apples Ready
Core the apples from the top and stop before you punch through the bottom. A melon baller or small spoon works well because it gives you a neat cavity without shredding the flesh. Leave about 1 1/2 inches of apple wall around the edge so the fruit can soften without losing its shape.
Mix the brown sugar and cinnamon for the cavity filling, then tuck a pinch into each apple with a small piece of butter. That little pocket melts into the center and seasons the fruit from the inside out. If the apples lean or wobble in the baking dish, slice a thin piece from the bottom only if needed to help them sit flat, but don’t cut so far that the filling escapes.
Cutting the Butter Into the Topping
Combine the oats, flour, brown sugar, cinnamon, nutmeg, and salt, then work the cold butter in until the mixture looks like damp gravel with a few larger clumps. Those clumps are what turn into the best crunchy bits after baking. If the butter gets too soft, the topping bakes up dense instead of crisp, so stop once the mixture holds together when squeezed.
Pack the crumble into the cavities first, then mound the rest over the tops. A little spillover is fine; it creates the golden edges people fight over. The topping should look generous before it goes into the oven because it settles as the apples soften.
Baking Until Tender, Not Collapsed
Pour the apple cider into the baking dish before the apples go in so the pan starts with a little steam and prevents scorching. Bake at 375°F until the apples are tender when pierced with a paring knife and the topping is deeply golden, usually 35 to 40 minutes. If the crumble is browning before the apples are ready, lay a loose sheet of foil over the top for the last 10 minutes.
Serve them right away while the topping is crisp and the juices are still bubbling. That’s when the contrast is best: soft fruit, crunchy oats, and a warm syrup underneath.
Three Ways to Change the Pan Without Losing the Point
Dairy-Free Version
Swap the butter for a firm plant-based butter stick. Use one that stays solid when cold so the topping still clumps; soft tub spreads tend to melt too fast and make the crumble sandy. The flavor stays close, and the texture is still crisp if the substitute is kept cold.
Gluten-Free Crumble
Use a gluten-free all-purpose blend in place of the flour and certified gluten-free oats. The topping bakes up with the same rustic crunch, though some blends brown a little faster, so keep an eye on the last 10 minutes.
Extra Cinnamon and Pecan Topping
Add 1/2 cup chopped pecans to the crumble for a little more crunch and a toasted, buttery note. The nuts make the topping feel closer to a classic crisp, but they also brownen faster, so don’t push the bake past the point where the apples are tender.
Make It Ahead for Dessert Guests
You can prep the apples and crumble separately a few hours ahead, then assemble and bake right before serving. If the apples sit cut for too long, their edges dry out and the filling can turn watery, so keep them covered until baking time.
Storage and Reheating
- Refrigerator: Store leftovers covered for up to 4 days. The topping softens, but the flavor stays good.
- Freezer: Freeze fully baked apples individually wrapped for up to 2 months. The texture turns softer after thawing, so I prefer this only if you don’t mind a less crisp finish.
- Reheating: Warm in a 350°F oven until heated through, about 15 minutes. The oven helps the topping re-crisp; the microwave will make it soggy and flatten the crumble.
Questions I Get Asked About This Recipe
Apple Crisp Baked Apples
Ingredients
Equipment
Method
- Preheat oven to 375F and pour apple cider into the bottom of a baking dish.
- Core apples from the top, leaving the bottom intact, to create a cavity about 1-1/2 inches wide.
- Mix brown sugar and cinnamon for the cavity filling, then place a pinch into each apple followed by a piece of butter.
- Combine rolled oats, flour, brown sugar, cinnamon, nutmeg, and salt, then cut in cold butter until clumpy.
- Pack the crumble into and over the top of each apple.
- Bake 35-40 minutes, until the apples are tender and the crumble is golden.
- Serve immediately with vanilla ice cream and caramel sauce.


