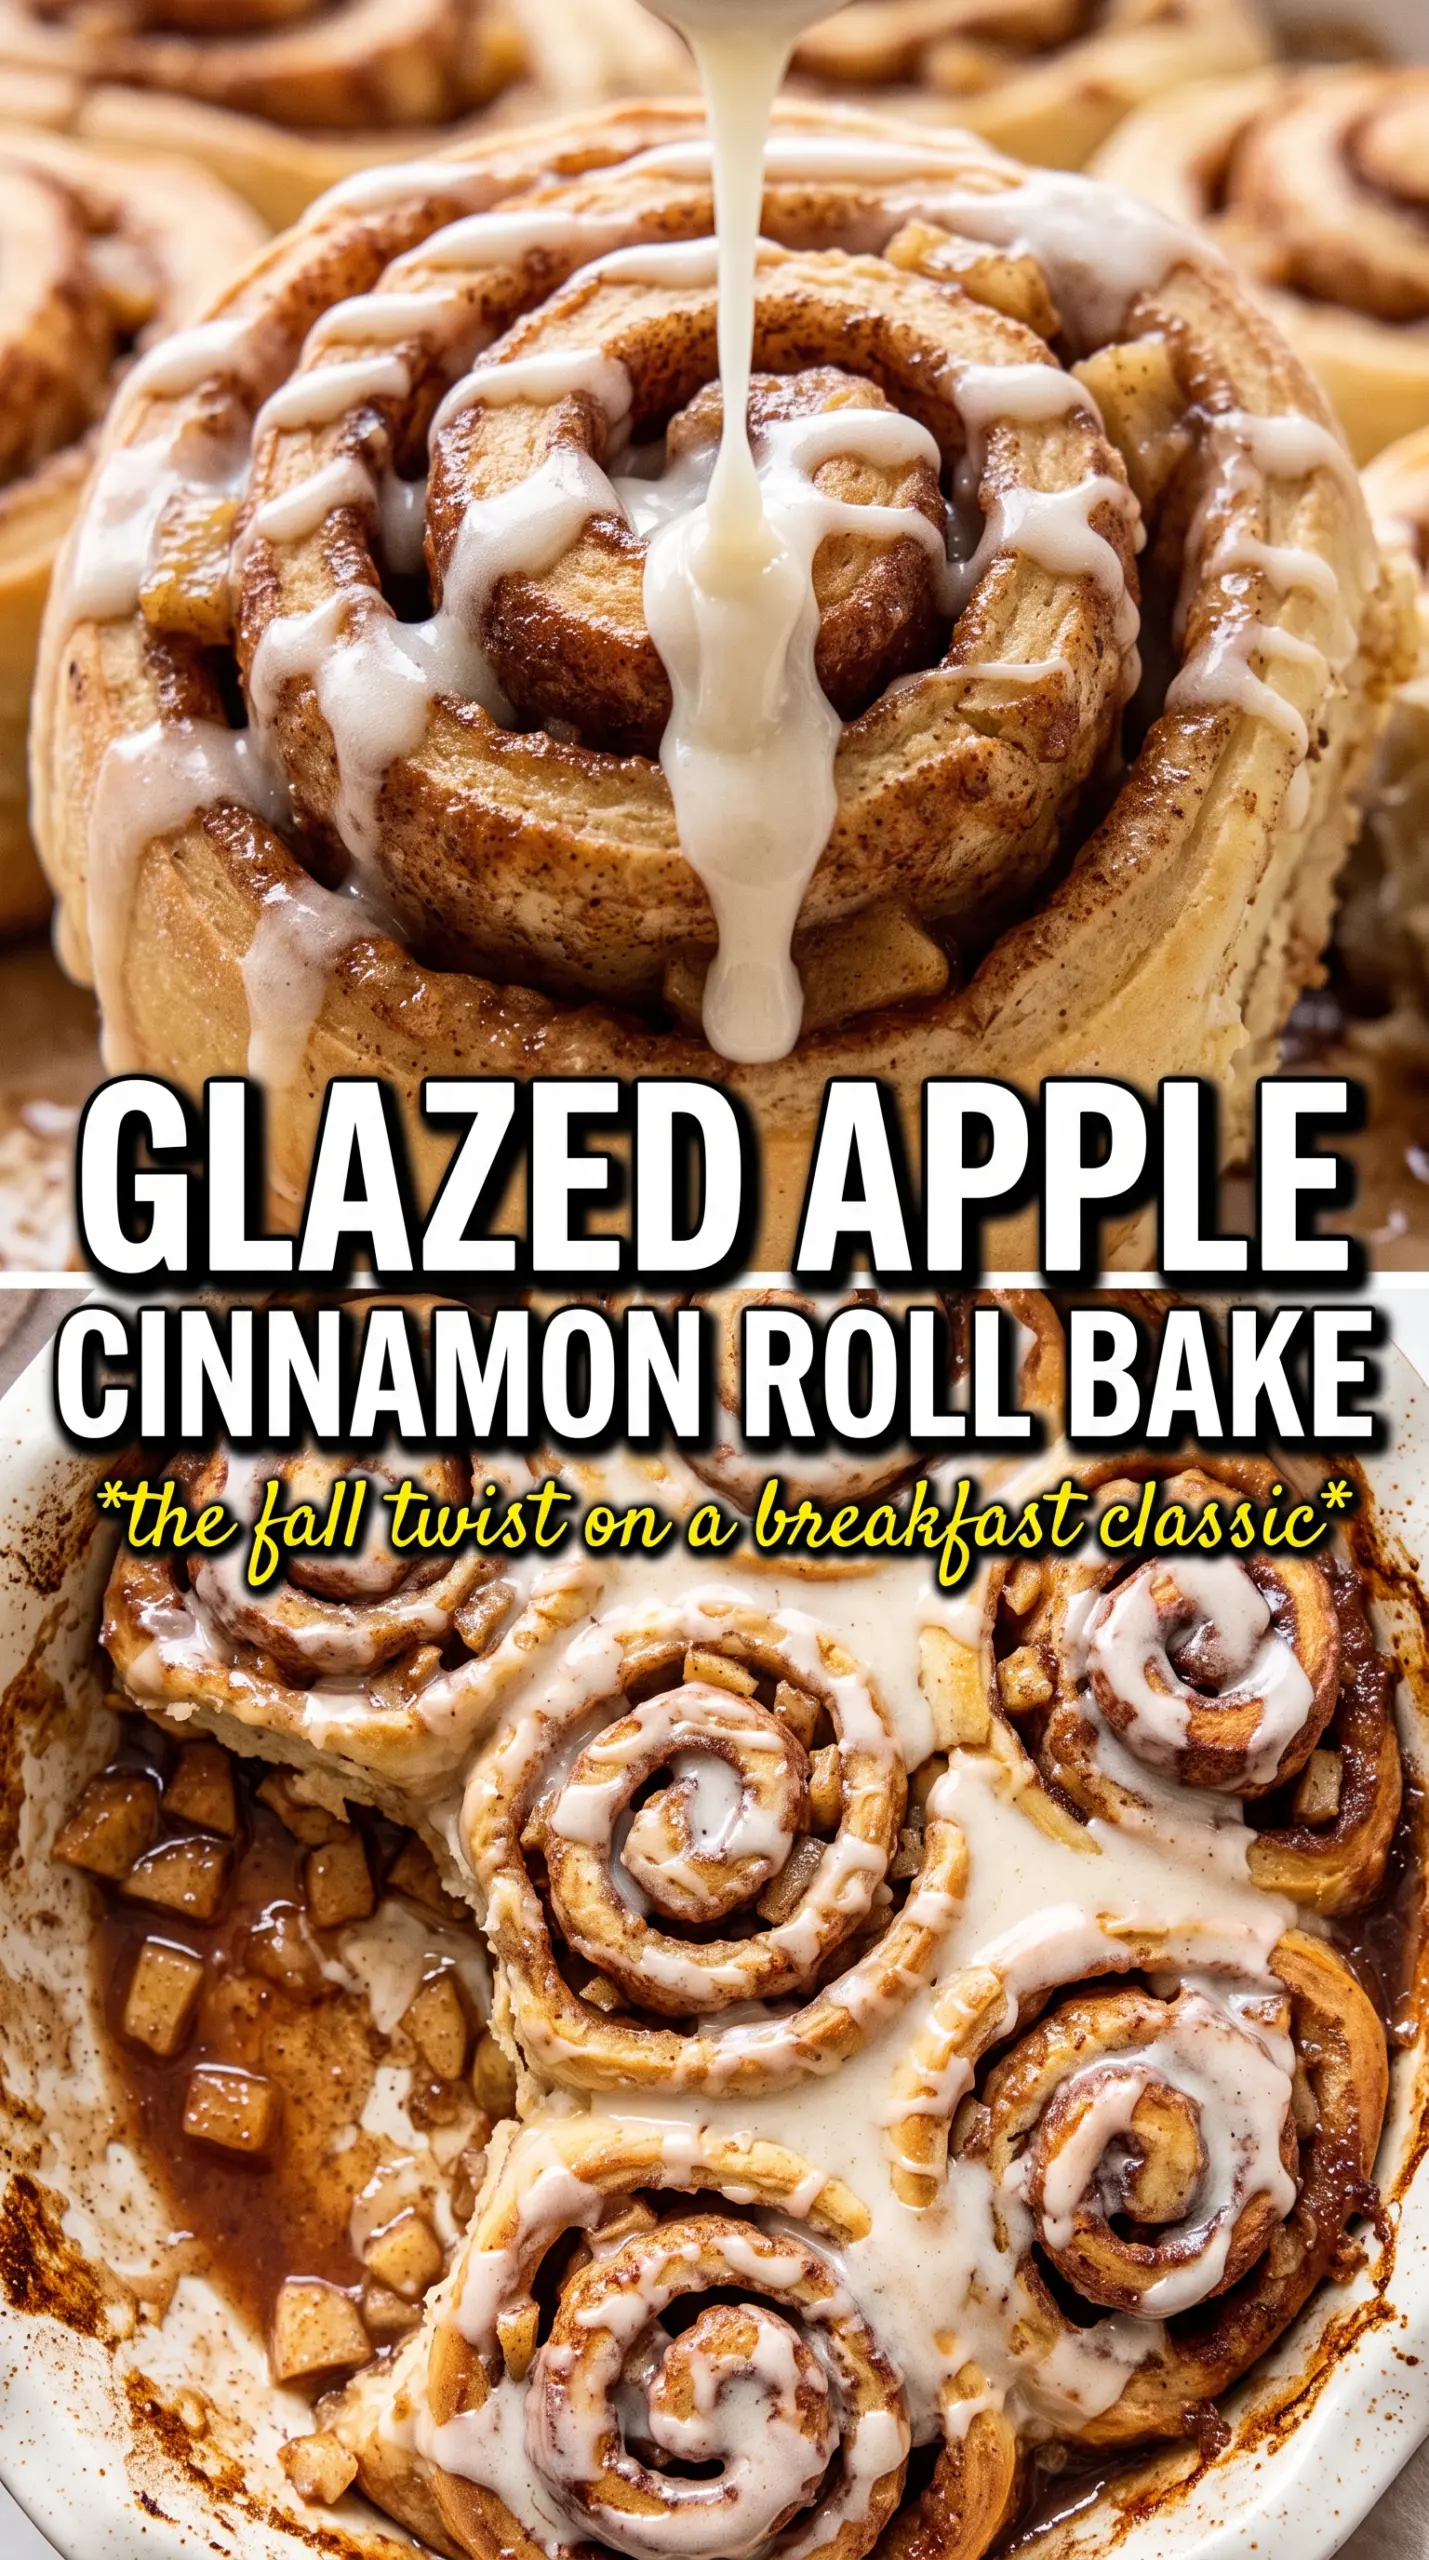
Soft, pillowy apple cinnamon rolls are the kind of breakfast that disappear fast, especially when the filling turns jammy and the glaze melts into all those spirals. The apples stay tender without turning watery, the dough bakes up light instead of dense, and every bite gives you that sweet cinnamon warmth with just enough tang from the cream cheese glaze to keep it balanced.
The trick is cooking the apple filling before it goes into the dough. Raw apples release too much moisture in the oven, which can leave the center gummy and make the swirls slip apart. A quick skillet cook with butter, brown sugar, cinnamon, and nutmeg concentrates the flavor and gives you that caramelized edge that tastes like it came from a bakery case.
Below, I’m walking through the places where this recipe succeeds or fails: getting the dough to rise properly, cooling the filling so it doesn’t melt the butter in the dough, and cutting neat rolls that bake evenly. Those small steps matter here, and they’re the difference between decent cinnamon rolls and the ones people ask for again.
The apple filling thickened up beautifully and stayed tucked inside the rolls instead of leaking all over the pan. I also loved that the centers baked through without getting doughy, and the cream cheese glaze was just the right amount of tangy.
Save these apple cinnamon rolls for the morning you want tender spirals, caramelized apple filling, and cream cheese glaze in every bite.
The Reason the Apple Filling Goes in the Skillet First
The biggest mistake with fruit-filled rolls is treating the apples like a dry cinnamon-sugar layer. Apples need a little time on heat to lose some water and pick up flavor before they go into the dough. If you skip that step, the filling turns loose in the oven and can leave you with soggy bottoms and gaps in the swirl.
Cooking the apples with butter, brown sugar, cinnamon, and nutmeg changes the whole texture. The sugar draws out moisture, the butter carries the spices, and the filling thickens as it cools. Let it cool completely before assembling. Warm filling softens the dough and makes the rolls harder to cut cleanly.
What Each Ingredient Is Actually Doing in These Rolls
- Warm milk — This activates the yeast and gives the dough a softer crumb than water would. Keep it around 110F; if it’s hot enough to feel uncomfortable on your finger, it can slow or kill the yeast.
- Active dry yeast — This gives the rolls their lift and fluffy structure. Fresh yeast matters here; if your yeast doesn’t foam in the milk after 5 minutes, start over before you waste the flour.
- Butter in both parts of the recipe — Melted butter in the dough adds richness, and butter in the filling helps the apples glaze instead of dry out. You can use salted butter in a pinch, but cut back the added salt a little.
- Apples — Choose firm baking apples that hold their shape, like Honeycrisp, Granny Smith, or Fuji. Softer apples break down too fast and disappear into the filling.
- Cream cheese — This gives the glaze that tangy, bakery-style finish. Full-fat cream cheese gives the smoothest glaze; reduced-fat versions can turn thinner and a little grainy.
Getting the Dough, Filling, and Bake Time to Work Together
Wake Up the Yeast
Stir the warm milk and yeast together, then leave it alone for about 5 minutes. You want a foamy surface and a little bloom around the edges, which tells you the yeast is active. If nothing happens, the milk was probably too hot or the yeast is too old, and the dough won’t rise properly no matter how long you wait.
Build the Soft Dough
Add the sugar, melted butter, eggs, vanilla, flour, and salt, then mix until the dough comes together and feels soft, not sticky-wet. Knead for about 8 minutes until it looks smooth and elastic. If it tears instead of stretching, keep kneading; underworked dough bakes up dense instead of pillowy.
Cook and Cool the Apple Filling
Cook the diced apples with butter, brown sugar, cinnamon, and nutmeg for 5 to 7 minutes until the pieces soften and the pan looks glossy, not watery. You’re aiming for tender apples with a thickened syrup clinging to them. Spread the filling on a plate and let it cool all the way down before you use it.
Roll, Slice, and Let Them Puff
Roll the dough into a 12×18 inch rectangle and spread the cooled filling evenly over the surface, leaving a little clean border on one long edge so the log seals well. Roll tightly from the long side so the swirls stay compact, then cut into 12 equal rolls with a sharp knife or unflavored dental floss. After arranging them in the pan, let them rise until they look puffy and touch each other; that second rise is what gives you soft edges and a light center.
Bake Until the Centers Are Set
Bake at 375F until the tops are golden and the rolls spring back lightly when touched, usually 22 to 25 minutes. If the tops brown too fast before the centers are done, lay a loose sheet of foil over the pan for the last few minutes. The goal is baked through and tender, not dry.
Finish With the Glaze While Warm
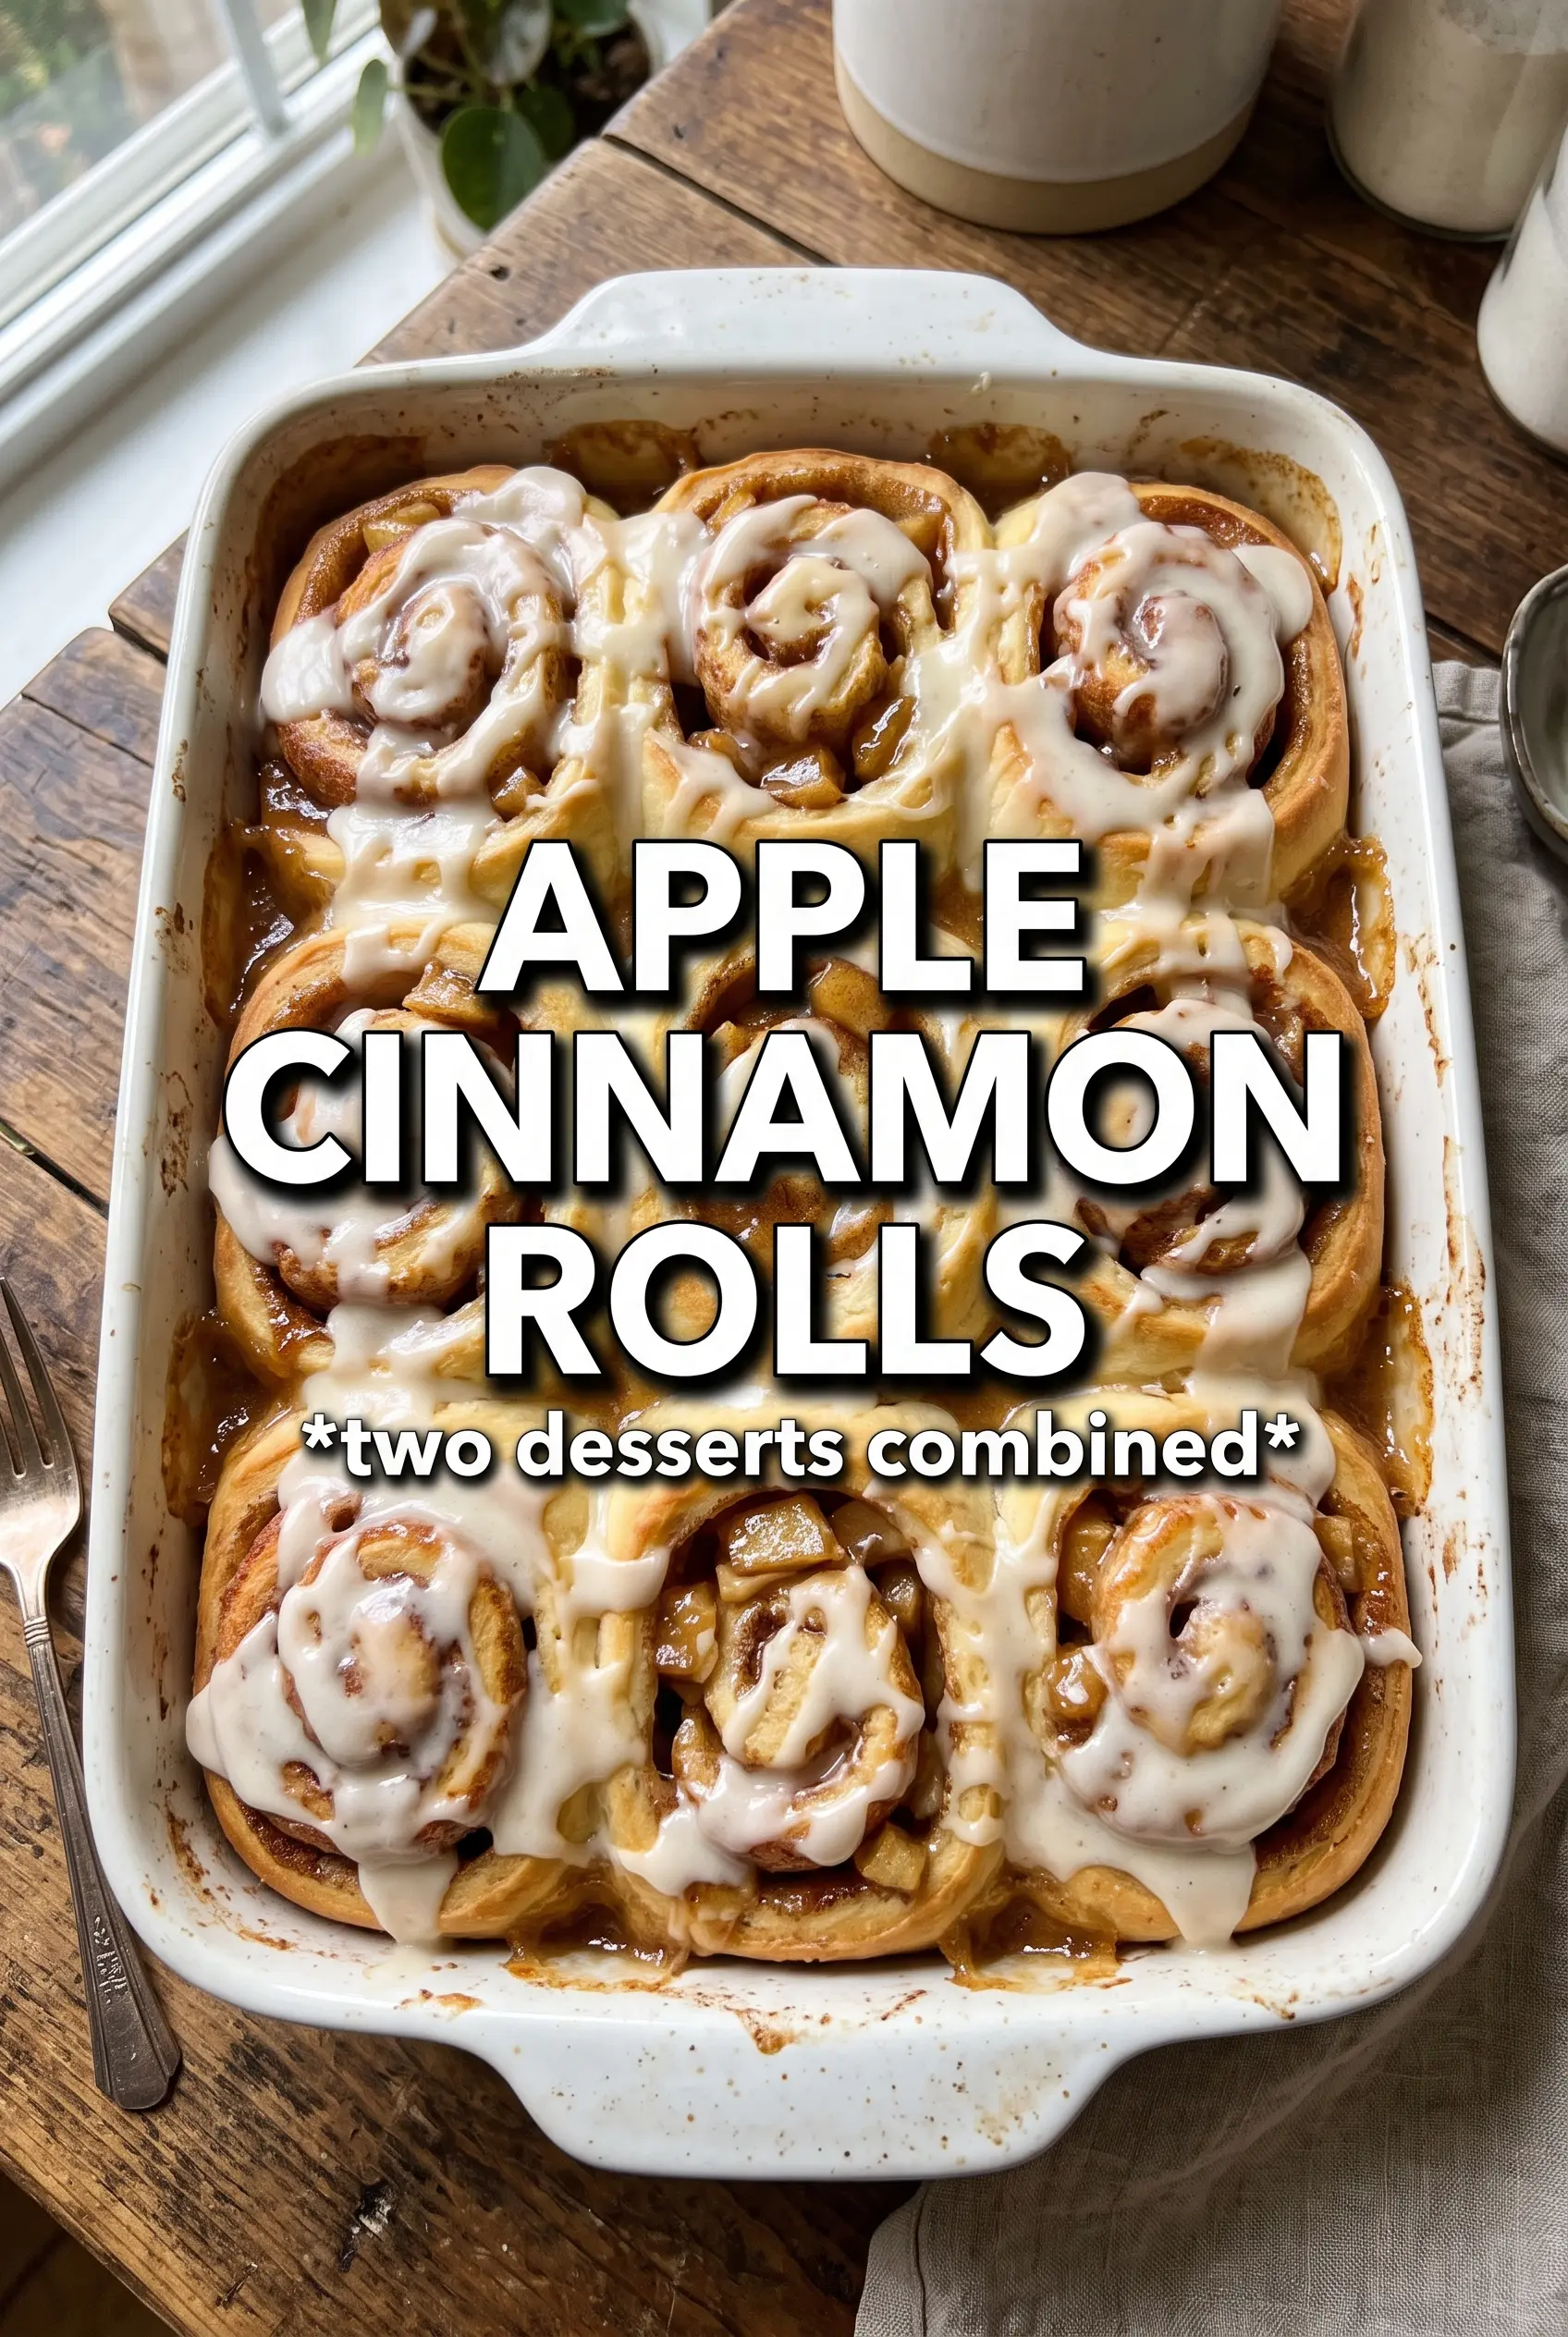
Beat the cream cheese, powdered sugar, milk, and vanilla until smooth, then drizzle it over the rolls while they’re still warm. Warm rolls help the glaze melt into the swirls without disappearing completely. If the glaze seems too thick, add a teaspoon of milk at a time until it falls from the spoon in a slow ribbon.
Small Changes That Still Keep the Rolls Tender
Make Them Ahead for a Slow Morning
Assemble the rolls, cover the pan tightly, and refrigerate overnight before the second rise. In the morning, let them sit at room temperature until puffy before baking. The cold proof deepens the flavor and makes breakfast feel easy.
Dairy-Free Version
Swap in an unsweetened plant milk and use a good dairy-free butter for both the dough and filling. For the glaze, use a dairy-free cream cheese alternative, but expect a slightly softer set and a lighter tang. The texture stays close if the butter substitute is one that bakes well.
Use Pears Instead of Apples
Firm pears can step in for a softer, more floral filling. Cook them a little less than apples, since they break down faster, and keep the nutmeg in place because it works especially well with pear sweetness. The rolls will taste a little more delicate and less tart.
Storage and Reheating
- Refrigerator: Store covered for up to 4 days. The rolls will firm up a bit in the fridge, but the glaze helps keep them from drying out.
- Freezer: Freeze baked rolls without glaze for up to 2 months. Wrap them well, then thaw overnight before reheating and glazing.
- Reheating: Warm individual rolls in the microwave for 20 to 30 seconds or cover the pan and heat in a 300F oven until soft. Don’t overheat them or the dough turns chewy and the filling dries out.
Answers to the Questions Worth Asking
Apple Cinnamon Rolls
Ingredients
Equipment
Method
- Combine warm milk and active dry yeast in a bowl, then let sit 5 minutes until foamy with visible bubbles on top.
- Mix granulated sugar, melted unsalted butter, eggs, and vanilla extract into the yeast mixture, then add all-purpose flour and salt until a soft dough forms.
- Knead the dough for 8 minutes until smooth, then place in a greased bowl, cover, and let rise 1 hour until doubled.
- In a skillet, cook finely diced apples with unsalted butter, brown sugar, cinnamon, and nutmeg for 5-7 minutes until softened and caramelized.
- Cool the caramelized apple filling completely before assembling the rolls.
- Roll the risen dough into a 12x18 inch rectangle, then spread the apple filling evenly over the surface.
- Roll tightly from the long side, then cut into 12 equal rolls with even spacing.
- Arrange the rolls in a greased 9x13 baking dish, cover, and let rise 45 minutes until puffy.
- Bake at 375F for 22-25 minutes until the rolls are golden.
- Beat softened cream cheese, powdered sugar, milk, and vanilla extract until smooth, then drizzle over the warm rolls so the glaze melts slightly into the swirls.


