Apple Betty bakes into something that lands between cobbler and crisp, with tender spiced apples tucked between buttery crumbs and a deeply golden top that crackles when you spoon into it. The layers stay distinct instead of turning mushy, so every bite gives you soft fruit, a little syrup, and those toasted edges that taste like the best part of a pie crust, only easier.
What makes this version work is the way the breadcrumbs are buttered first and then layered with the apples instead of piled on top all at once. That keeps the crumb topping crisp while the apples soften underneath, and the small splash of cider helps the fruit turn glossy without flooding the dish. Day-old bread matters here because fresh breadcrumbs can go past soft and into paste if they’re too fine or too moist.
Below, I’ve included the little details that keep the topping crisp and the apples tender, plus a few ways to adapt the dish if you’re working with what’s already in the kitchen.
The breadcrumb layers stayed crisp on top but soaked up just enough apple juices underneath, and the cinnamon flavor came through without tasting heavy. I baked it for 45 minutes and the apples were perfectly tender.
Like this layered Apple Betty? Save it to Pinterest for the nights when you want a crisp, buttery dessert with tender apples and no pie crust work.
The Trick to Keeping Apple Betty Crisp Instead of Soggy
The biggest mistake with Apple Betty is treating it like a dump-and-bake fruit dessert. If the breadcrumbs are dry but not buttered, they stay dusty. If they’re too fine, they turn pasty. The goal is toasted, tender crumbs on the bottom and a crisp lid on top, with enough moisture from the apples and cider to soften the middle layers without flooding them.
Layering matters here. The breadcrumbs act like little barriers that catch the apple juices as the dessert bakes, which gives you structure instead of a puddle. The heat from the oven also does the work of caramelizing the brown sugar on the fruit, so the top should look deeply golden before you pull it out. If it still looks pale, it usually means the crumbs haven’t dried out enough to give you that right texture.
- The bread should be day-old and sturdy enough to grate or pulse into crumbs. Soft sandwich bread can work in a pinch, but it tends to make a denser, wetter Betty.
- Butter is what turns the crumbs into the crisp topping. Don’t reduce it too much or the finish turns dry instead of toasted.
- Thin apple slices cook evenly and stack cleanly. Thick slices take longer to soften and can leave you with a firm center.
- The cider adds a little steam and sweetness, but water works fine if that’s what you have. The apples carry most of the flavor.
What Each Ingredient Is Doing in the Dish
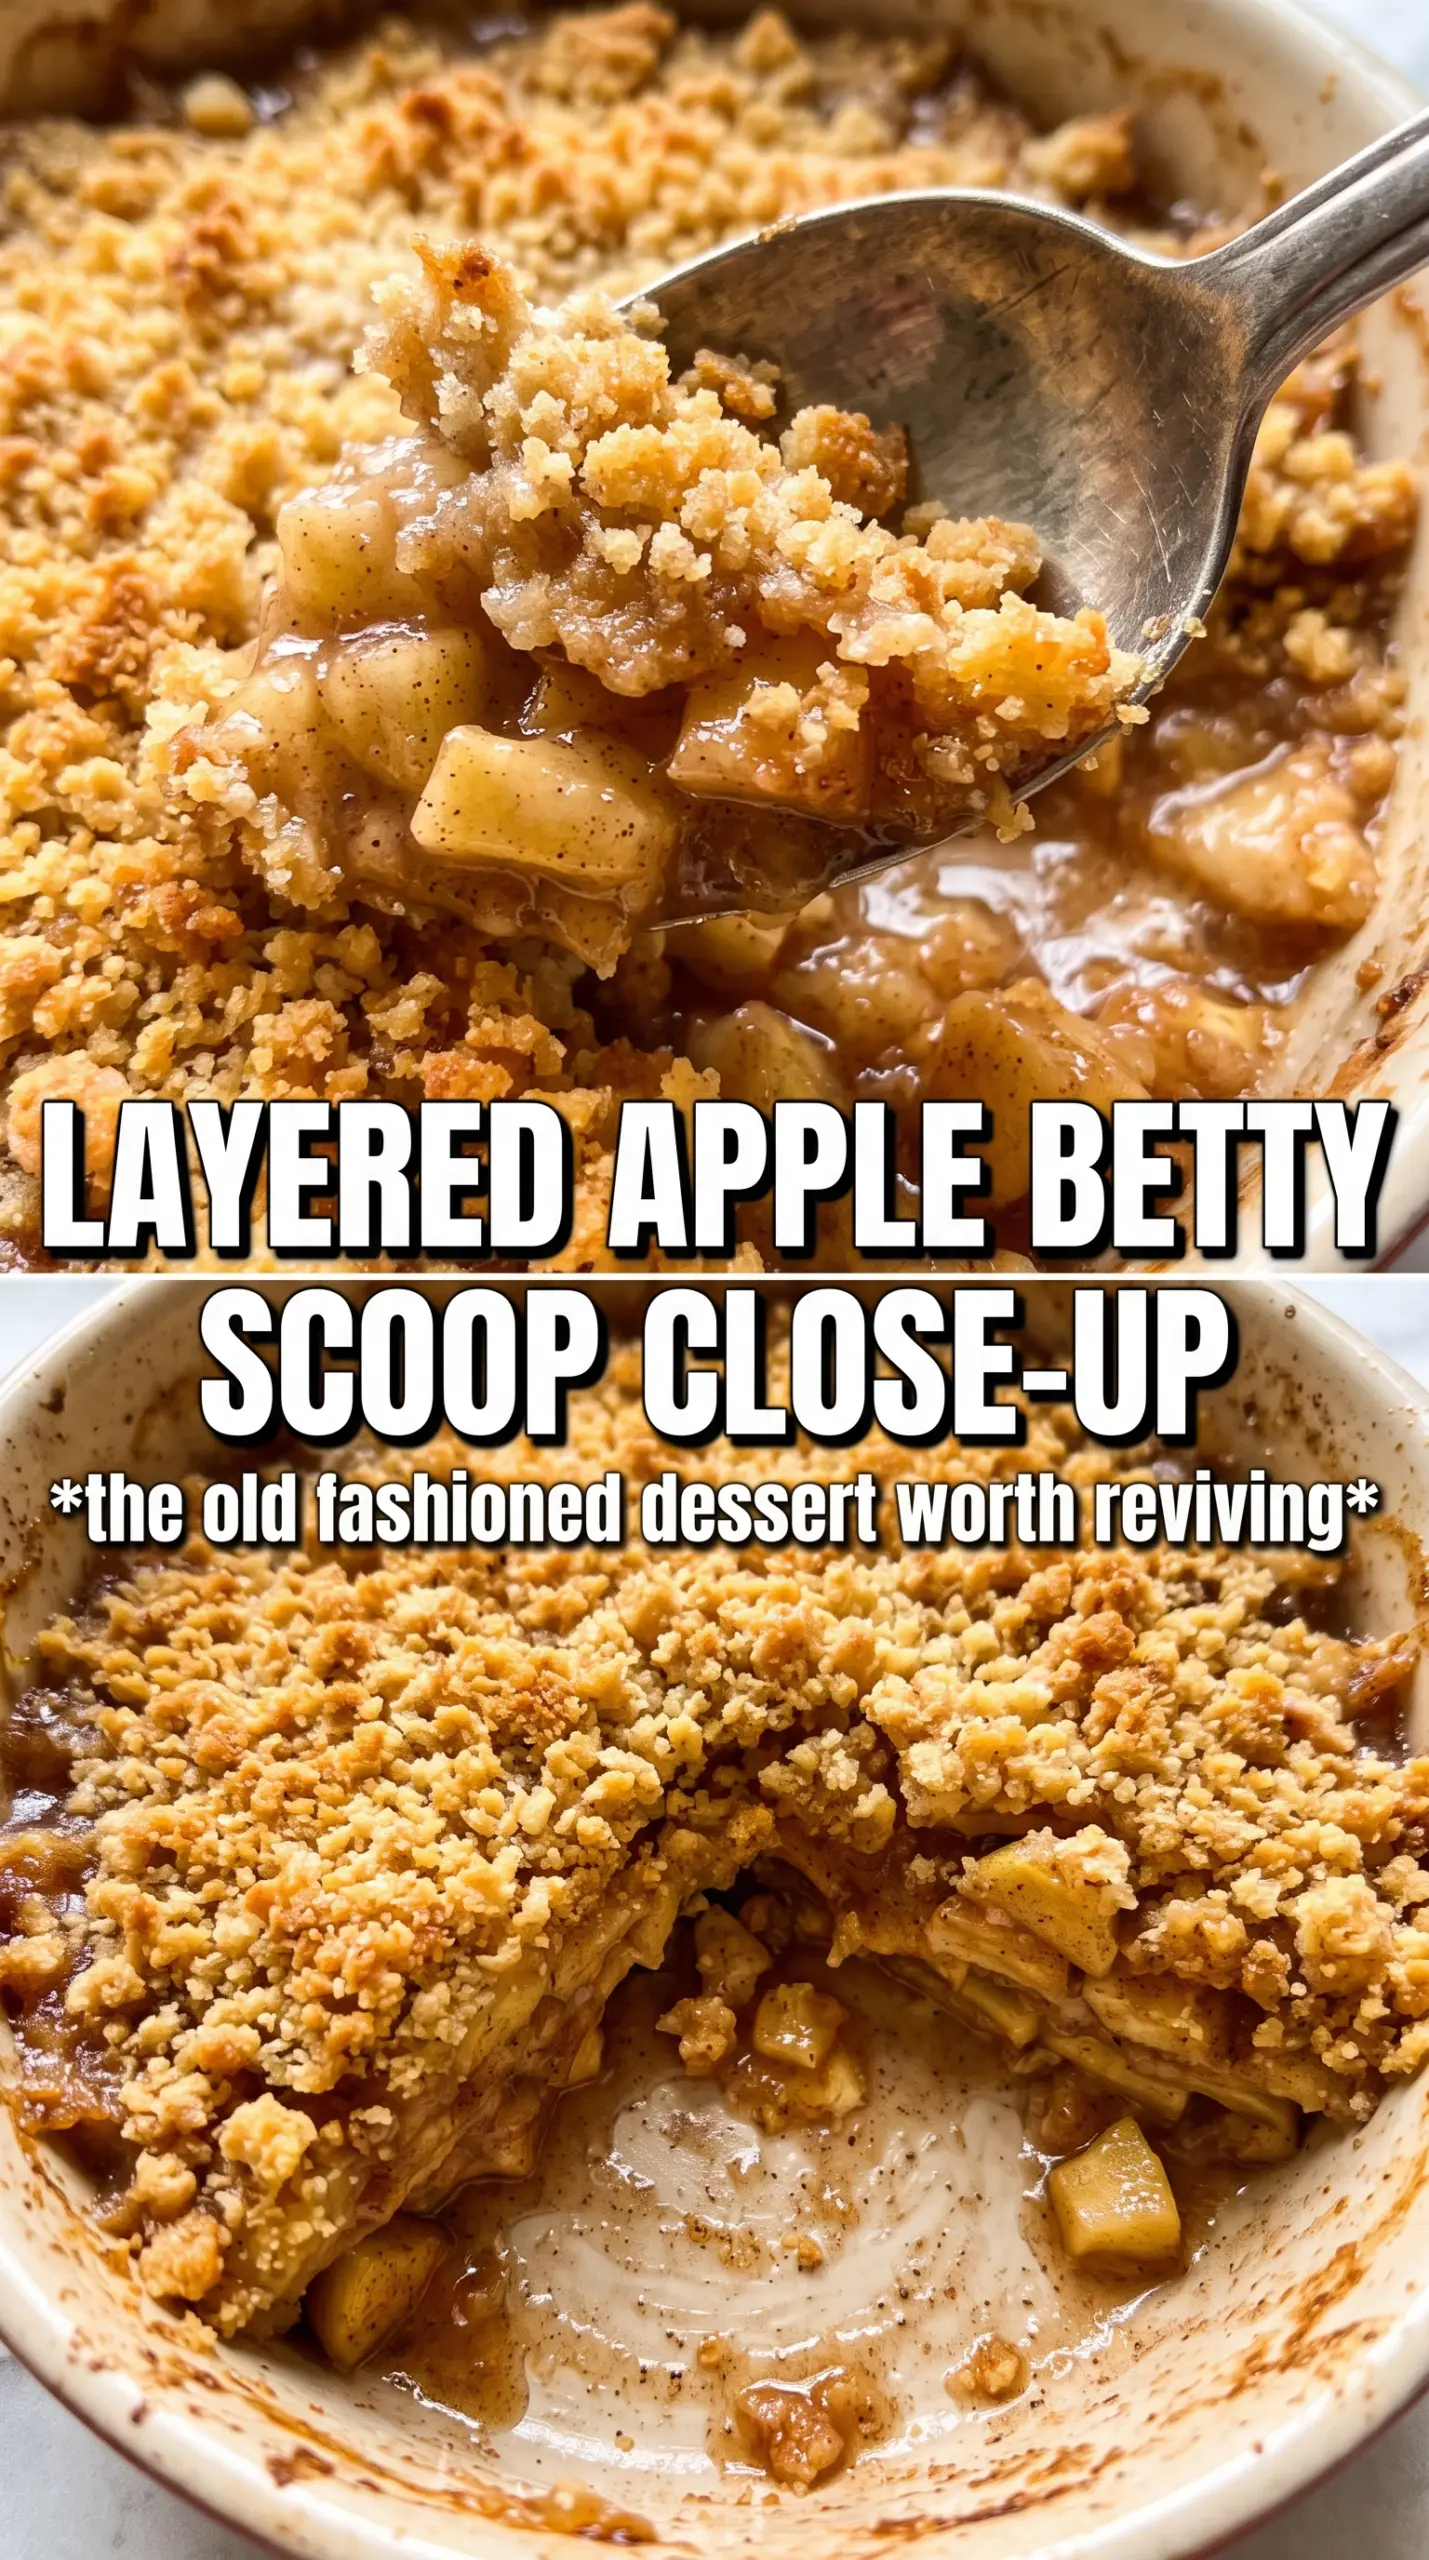
- Fresh breadcrumbs from day-old bread — These give Apple Betty its signature texture. You want crumbs that are light, not powdery, so they toast instead of collapsing into a paste.
- Unsalted butter — Butter coats every crumb and helps the top brown evenly. Salted butter works if that’s what you have, but unsalted gives you more control over the sweetness.
- Apples — Use apples that hold their shape when baked, like Granny Smith, Honeycrisp, Braeburn, or a mix. Very soft apples can turn to applesauce before the topping is done.
- Brown sugar — This deepens the sweetness and melts into the juices to make a light syrup. White sugar works in a pinch, but you lose the caramel note that makes this dessert taste fuller.
- Lemon juice and zest — They keep the apples bright and stop the filling from tasting flat. The zest matters more than people think; it gives the dish a fresh edge that cuts through the butter.
- Cinnamon, nutmeg, and allspice — This is the spice mix that makes the fruit taste warm and rounded instead of one-note. Don’t overdo the nutmeg or it can take over the whole pan.
- Apple cider or water — Use cider if you want a deeper apple flavor. Water is fine if your apples are already sweet and juicy.
Building the Layers So the Top Stays Crisp
Coating the Breadcrumbs
Stir the melted butter into the breadcrumbs until every crumb looks evenly moistened and glossy. Dry patches will bake up pale and dusty, while overly wet crumbs can clump and lose their crunch. You’re aiming for crumbs that separate easily when stirred but hold a light buttery coating.
Seasoning the Apples
Toss the sliced apples with the sugar, spices, lemon juice, and zest until the fruit looks evenly coated and a little syrup starts forming in the bowl. This step matters because the sugar pulls out the apple juices before baking, which helps the layers bake into a cohesive dessert instead of a dry stack. If your apples sit too long before baking, they’ll release a lot of liquid, so get the dish assembled once they’re coated.
Layering for Structure
Spread one-third of the crumbs in the pan, then add half the apples and half the cider. Repeat, finishing with a final layer of crumbs. That last crumb layer is the one that turns into the crust, so keep it even and don’t press it down hard. A loose top bakes lighter and crisper than a packed one.
Baking Until the Apples Yield
Bake until the top is deeply golden and the apples underneath feel tender when pierced through the center. If the top browns too quickly before the apples soften, lay a piece of foil loosely over the pan for the last stretch of baking. Let it sit for a few minutes before serving so the juices settle and don’t run everywhere when you scoop it.
How to Adapt Apple Betty Without Losing the Texture
Gluten-Free Version
Use your favorite gluten-free bread to make the crumbs, then dry them out a little longer if they feel soft. The texture is best when the crumbs are coarse and fully coated with butter, since gluten-free bread can crumble more easily once baked.
Dairy-Free Apple Betty
Swap the butter for a plant-based butter that melts cleanly and has a similar fat content. Coconut oil can work, but it brings its own flavor and the topping won’t taste quite as buttery.
Extra-Spiced Filling
Add a pinch of cloves or cardamom if you want the filling to lean warmer and more aromatic. Keep it light, though; too many spices can blur the apple flavor instead of supporting it.
Storage and Reheating
- Refrigerator: Store covered for up to 4 days. The topping will soften in the fridge, but the flavor holds up well.
- Freezer: It freezes better after baking than before. Wrap tightly and freeze for up to 2 months, then thaw in the fridge before reheating.
- Reheating: Warm in a 325F oven until heated through and the top crisps back up, about 15 to 20 minutes. The microwave makes the topping soft, so use it only if you don’t care about the crust.
Questions I Get Asked About This Recipe
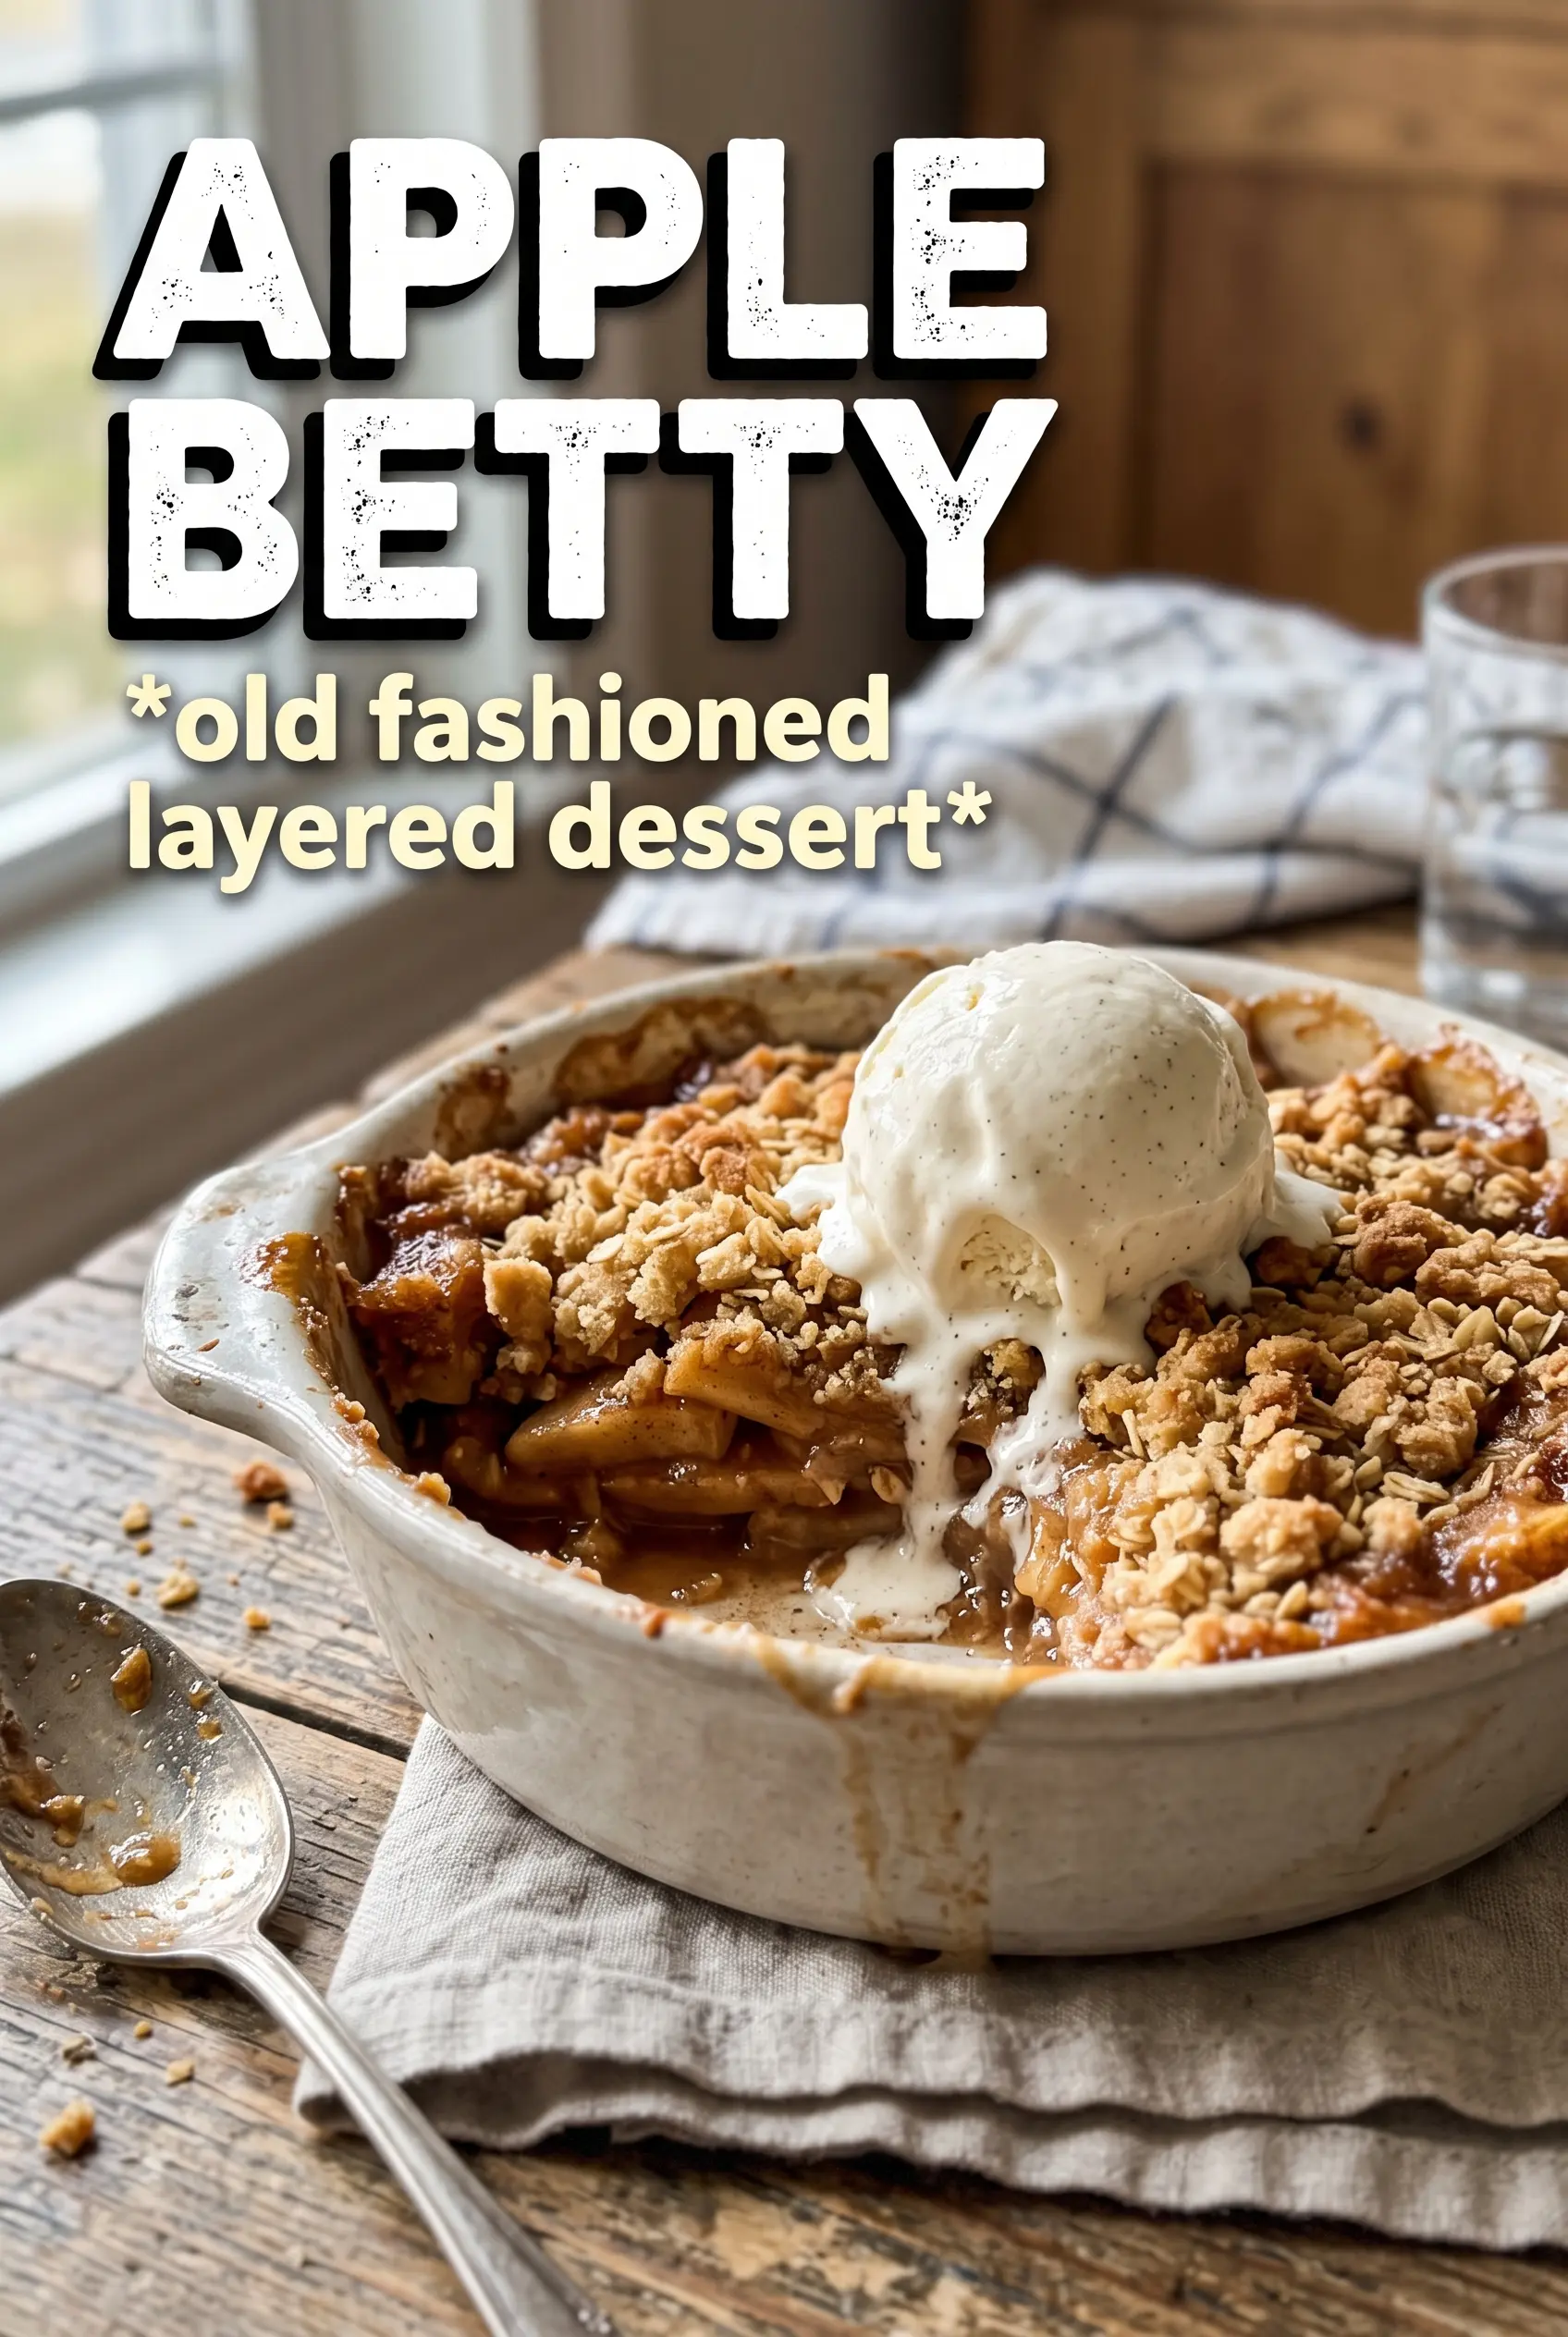
Apple Betty
Ingredients
Equipment
Method
- Preheat the oven to 375F and grease a 9x13 baking dish.
- Toss the fresh breadcrumbs with the melted unsalted butter until evenly coated.
- Mix the apple slices with the brown sugar, cinnamon, nutmeg, allspice, lemon juice, lemon zest, and apple cider or water.
- Spread 1/3 of the buttered breadcrumbs in the bottom of the dish.
- Layer half the apple mixture over the breadcrumbs and drizzle with half of the remaining cider.
- Repeat with another layer of breadcrumbs, remaining apples, remaining cider, and finish with the final layer of breadcrumbs on top.
- Bake 40-45 minutes at 375F until the top is deeply golden and crispy and the apples are tender (look for crisp edges and bubbling at the center).
- Serve warm with vanilla ice cream or heavy cream for a cool, creamy contrast to the crisp topping.


