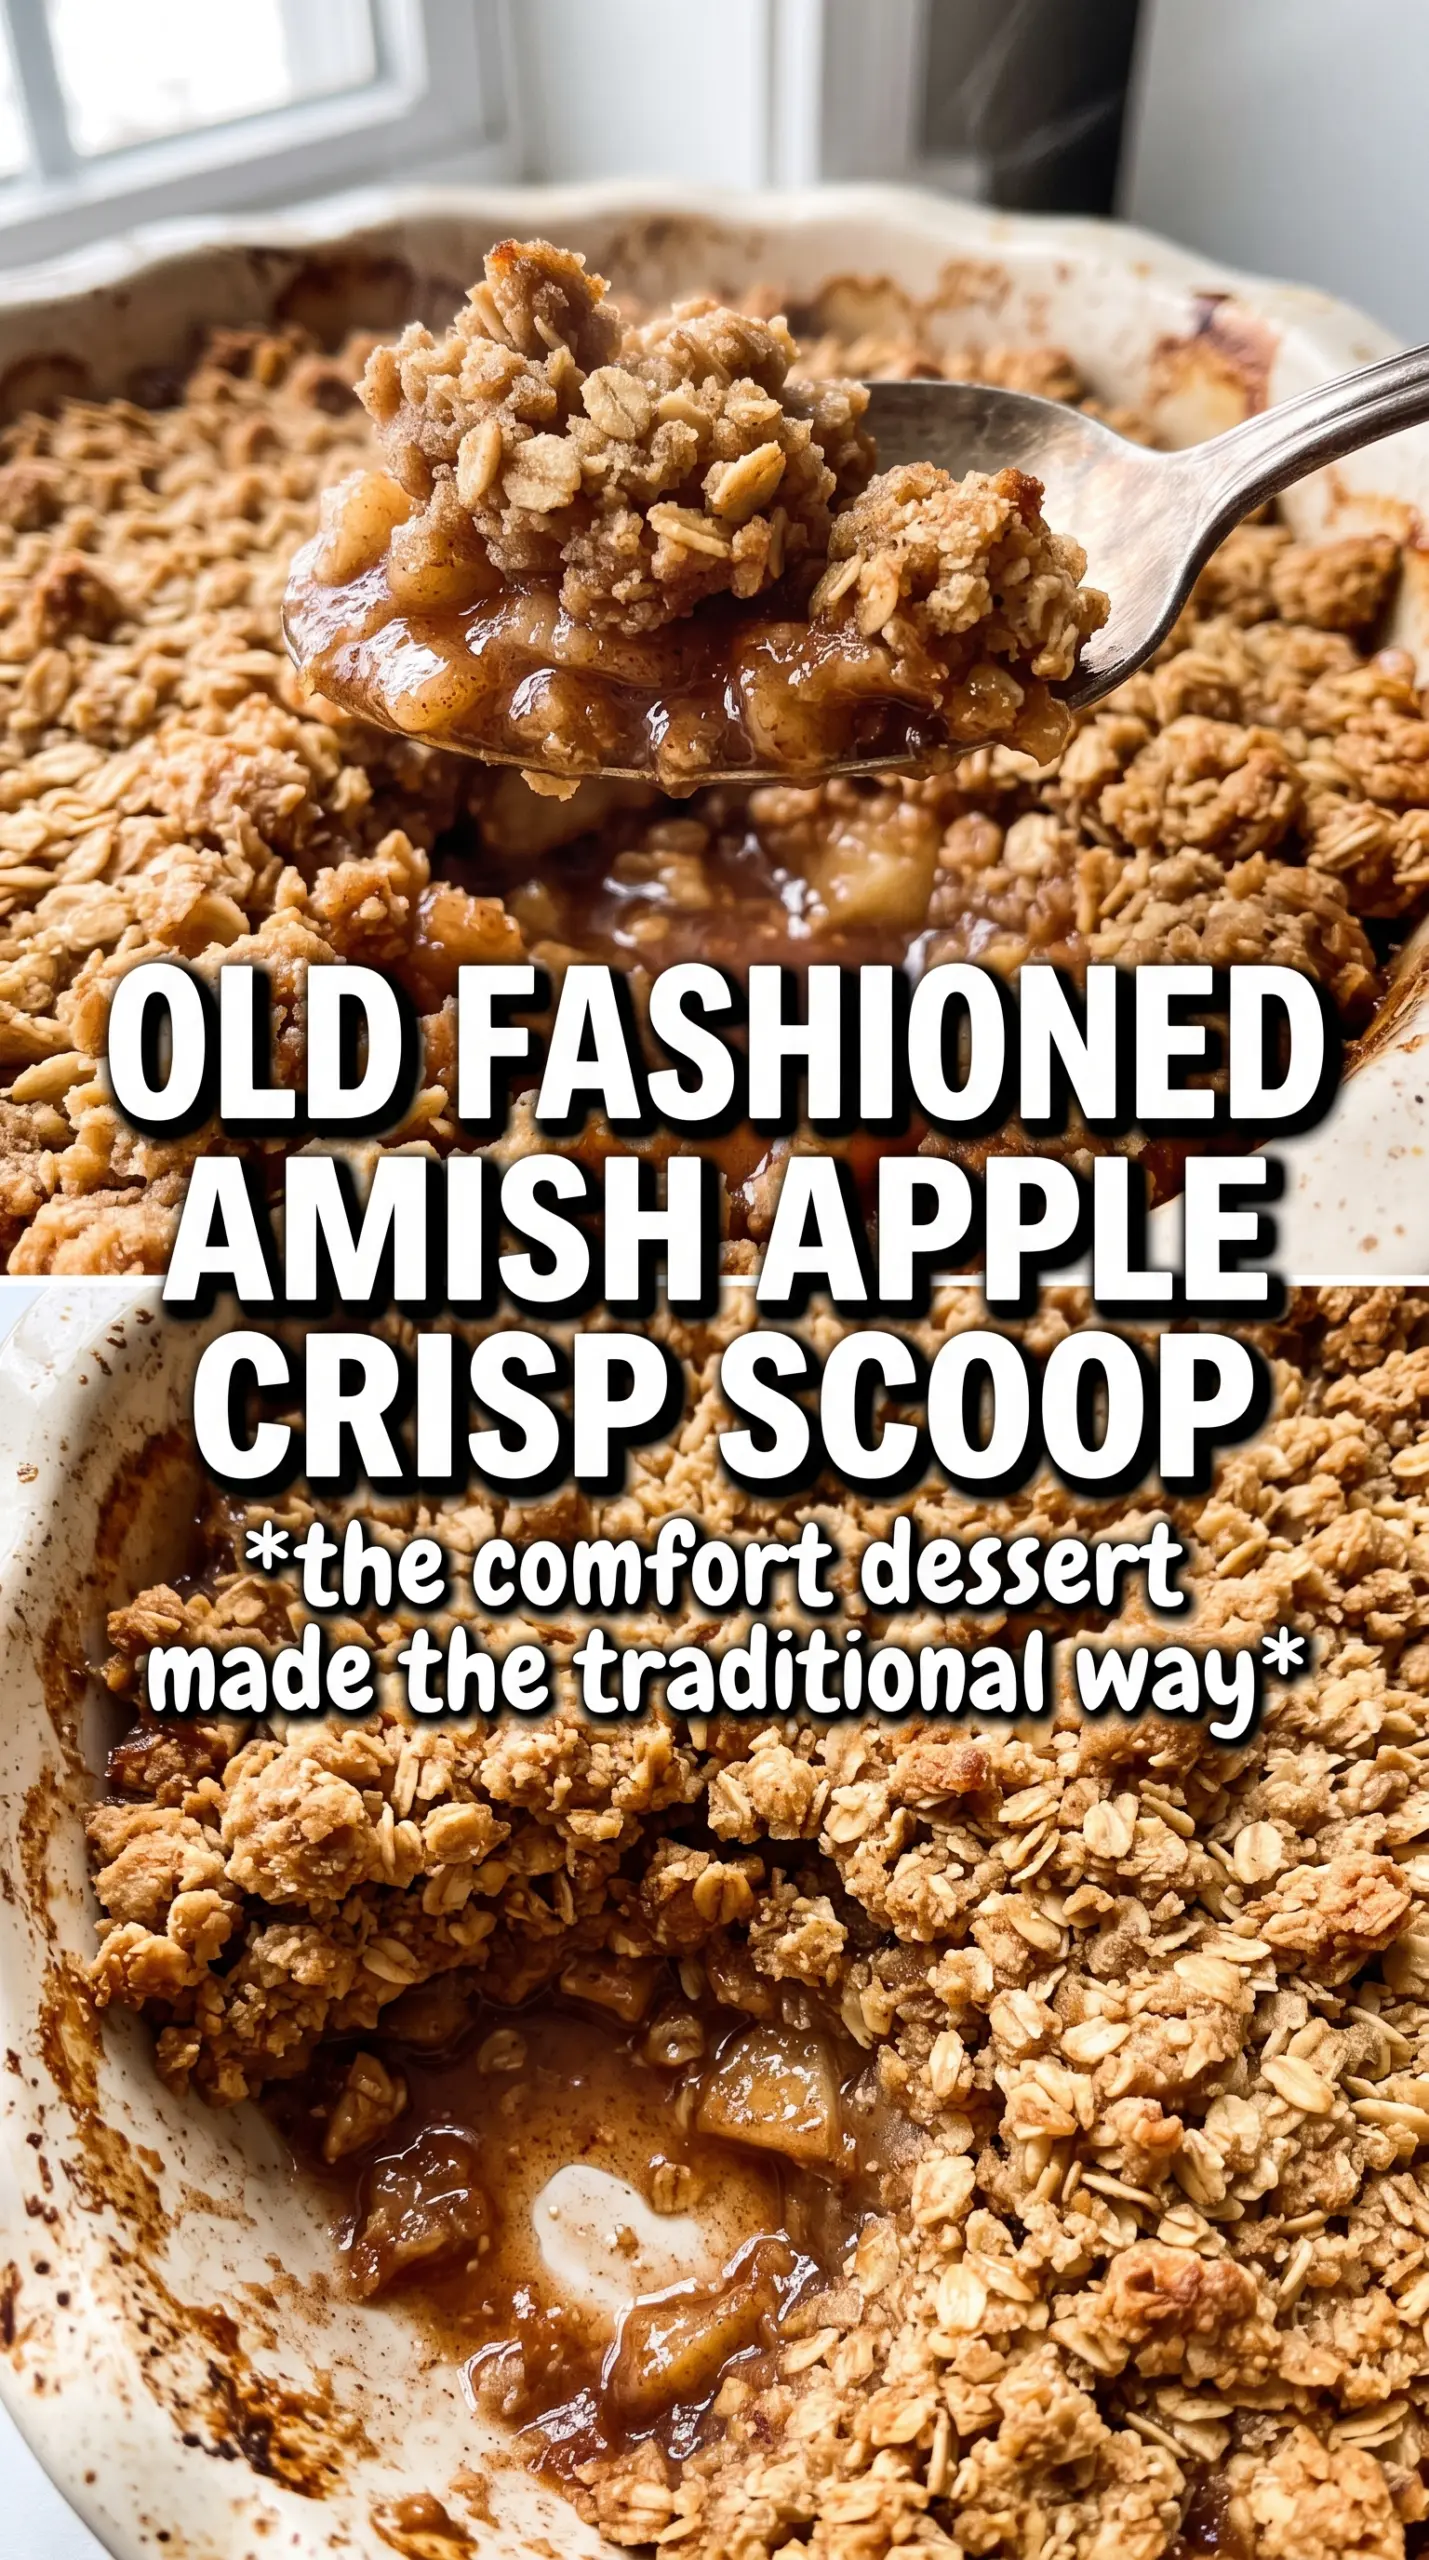
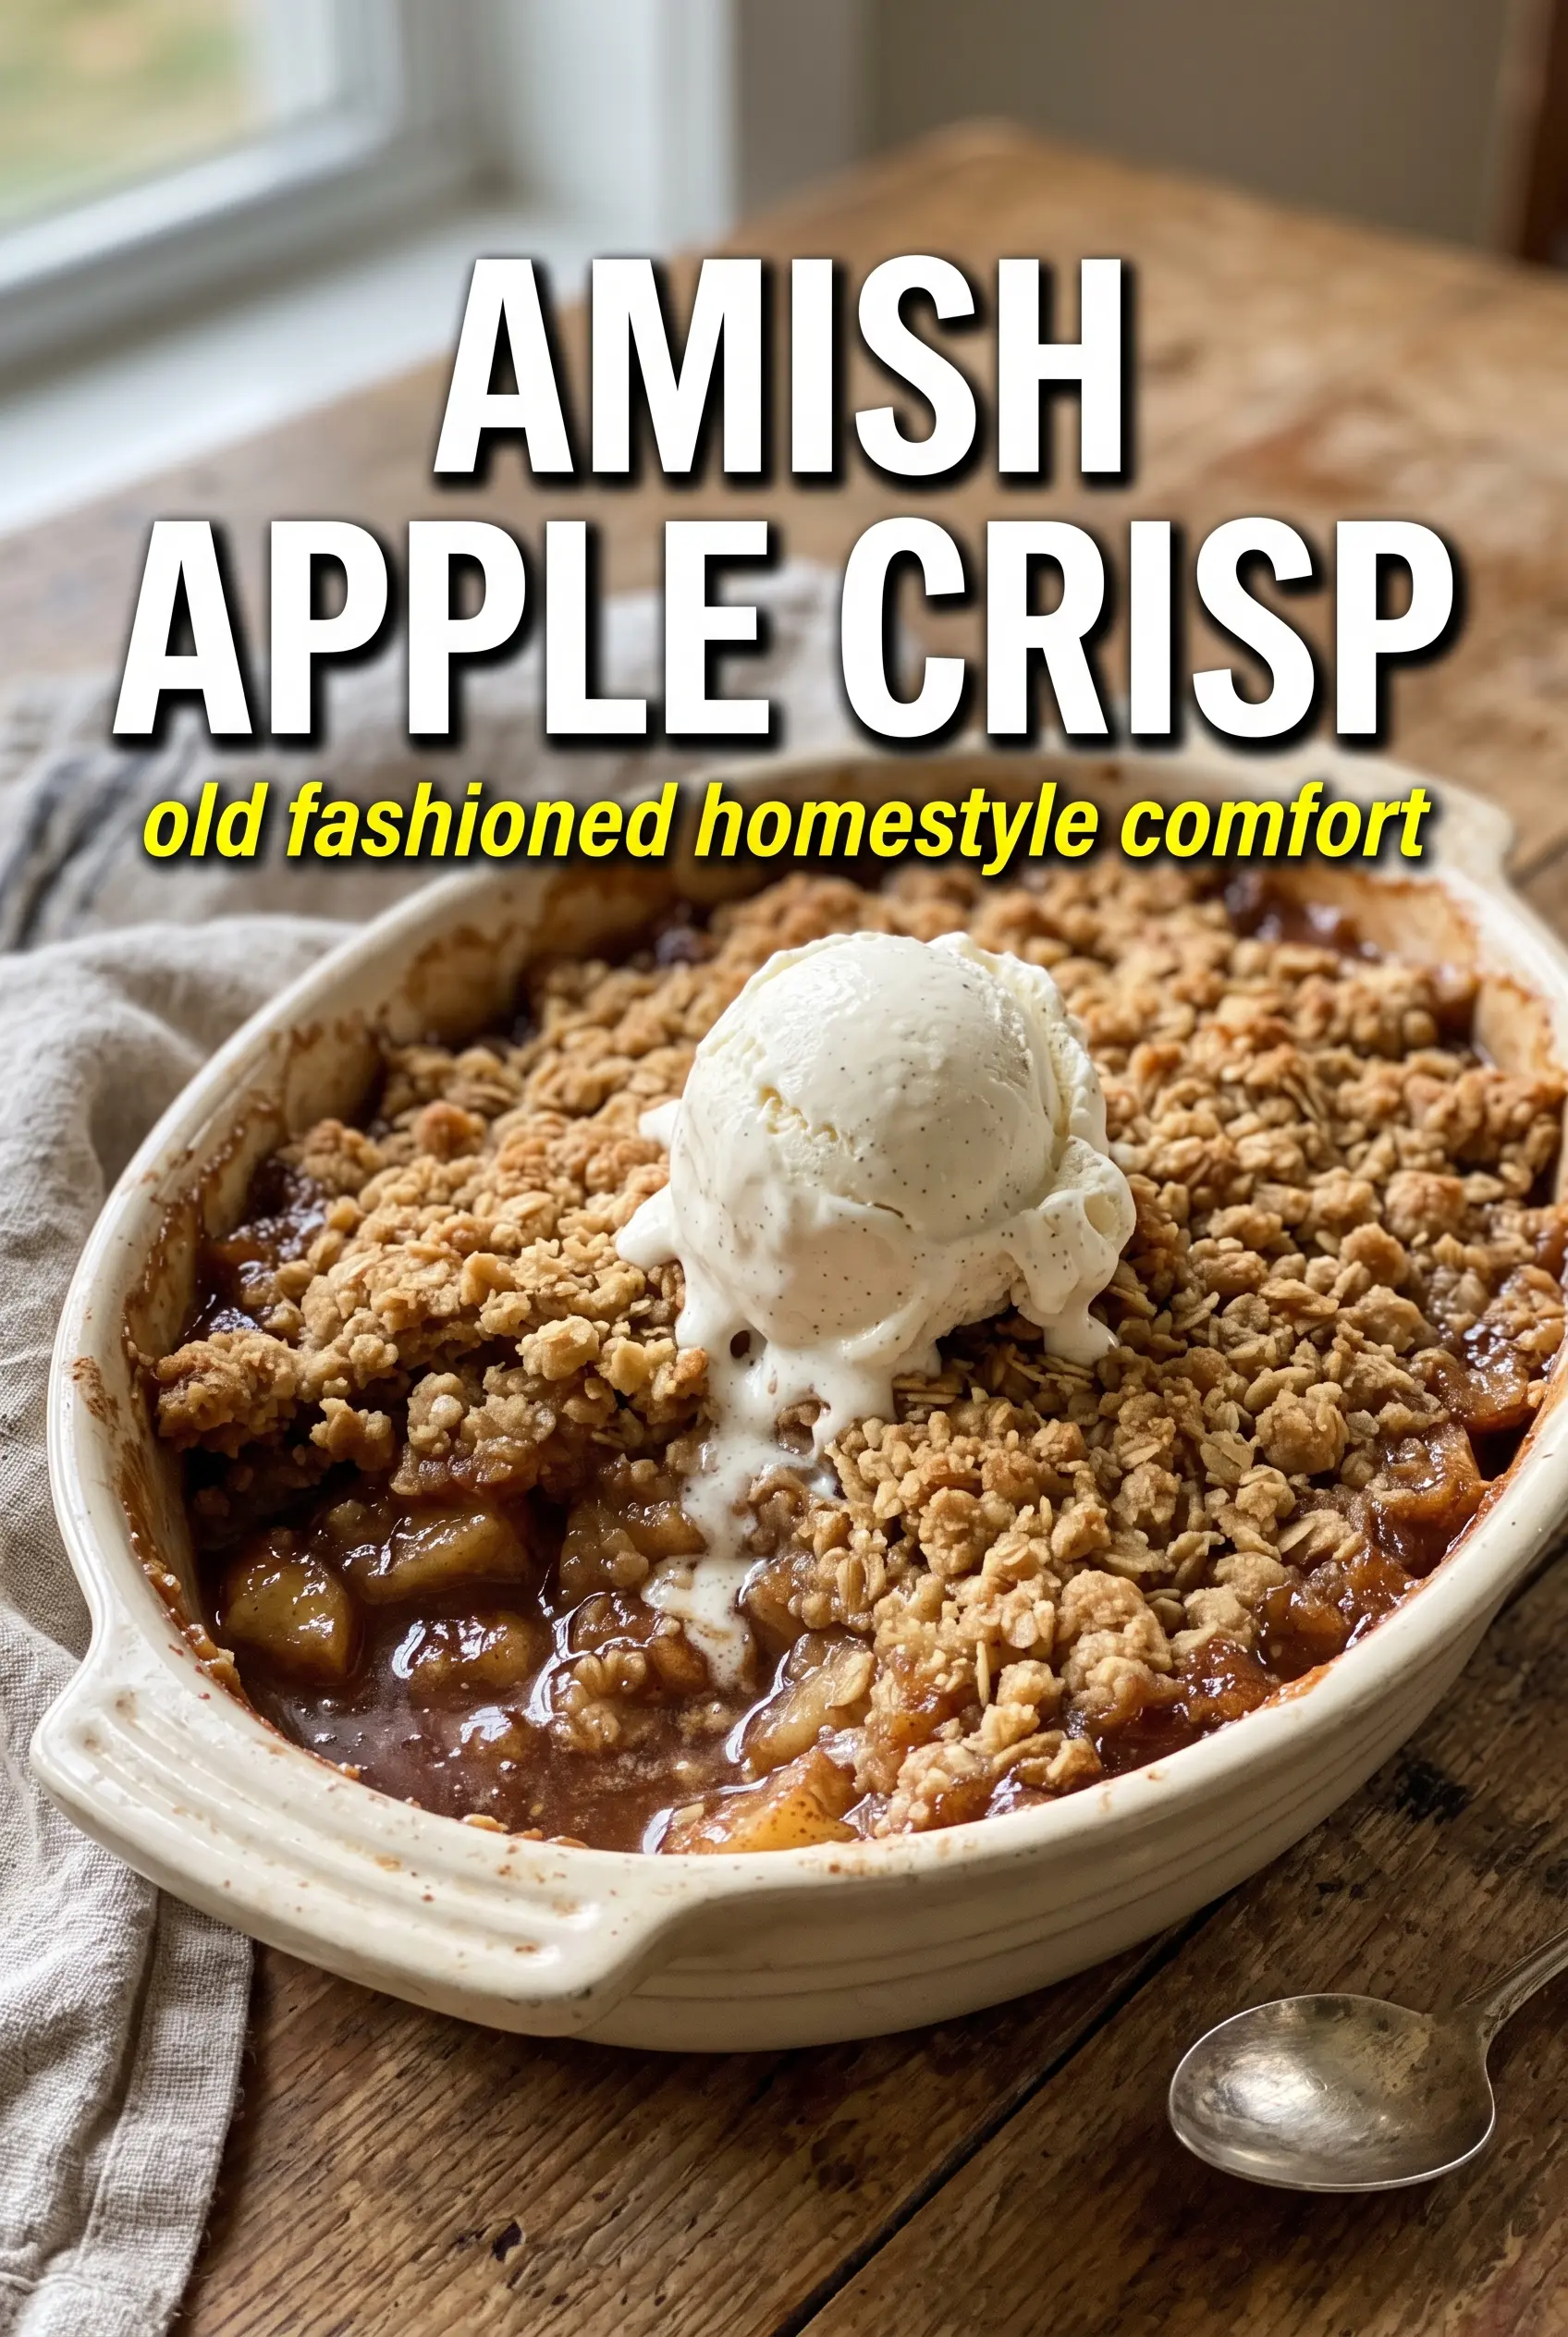
Amish apple crisp bakes up with a thick, craggy topping that turns deeply golden while the apples underneath soften into a syrupy, spiced filling. The best part is the contrast: tender fruit, a buttery oat crumble, and those caramelized edges where the sugar melts into the pan. It’s the kind of dessert that disappears fast because it tastes homey without feeling plain.
What makes this version work is the balance in both layers. The apples get tossed with just enough flour to thicken their juices as they bake, so the filling stays spoonable instead of watery. The topping uses a mix of flour, oats, brown sugar, and a little granulated sugar, which gives it structure, crunch, and those little crisp bits that cling to each bite. Cold butter matters here. Warm butter turns the topping sandy; cold butter gives you the chunky crumble that bakes into a real crust.
Below, I’ve included the one topping detail that keeps the crisp from turning dense, plus a few smart swaps if you want to use what you already have in the pantry.
The topping baked up crunchy all over, and the apples held their shape instead of turning mushy. I served it with vanilla ice cream and the pan was scraped clean.
Save this Amish apple crisp for the nights when you want a thick, buttery crumble and a bubbling spiced apple filling.
The Trick That Keeps the Topping Craggy Instead of Dense
The biggest mistake with apple crisp is overworking the crumble. Once the butter gets rubbed in too far, the mixture starts to look like damp sand and it bakes into a tight layer instead of those chunky, irregular clumps everyone wants. For this recipe, stop as soon as you have a mix of pea-sized bits and larger clumps. That rough texture is what turns into a crisp topping in the oven.
The apples need the opposite treatment: enough flour and sugar to create syrup, but not so much that the filling turns pasty. Eight large apples sound like a lot, but they settle as they bake. If your pan looks full after you add them, that’s fine. The fruit shrinks and the juices bubble up around the edges as it cooks.
- Cold butter — This is what creates the flaky, craggy texture. If the butter softens before it goes into the flour and oats, the topping will bake up heavier and less crisp.
- Lard or extra butter — Lard gives the most traditional Amish-style texture and a slightly richer crunch. If you don’t keep lard on hand, just use more butter and the crisp will still bake beautifully.
- Rolled oats — Old-fashioned oats hold their shape and give the topping bite. Quick oats will work in a pinch, but they make the crumble softer and more uniform.
- Lemon juice — This keeps the apple flavor bright and helps the filling taste balanced instead of flat. It won’t make the crisp sour; it just keeps all that brown sugar from taking over.
What Each Ingredient Is Actually Doing in This Recipe
- Primary ingredient (the star) — Quality matters most. Choose the best you can find.
- Cooking medium (oil, butter, or broth) — This carries flavors and prevents dryness.
- Seasonings (salt, pepper, spices, herbs) — Layer flavors so nothing overpowers. Build depth gradually.
- Aromatics (garlic, onion, herbs) — Cook with fat to bloom flavors. Become the foundation.
- Supporting ingredients — Complement the main ingredient without overpowering it.
- Sauce or liquid (if applicable) — Brings flavors together. Balance richness with acid.
- Acid (lemon, vinegar, wine, or other) — Brightens and prevents flat-tasting results.
- Final finish (garnish, glaze, or sauce) — Prevents one-dimensional taste and adds visual appeal.
Building the Crisp So the Apples Bake, Not Steam
Coating the Apples Evenly
Toss the sliced apples with the sugars, spices, flour, and lemon juice until every piece looks lightly coated. You want the flour dispersed before the fruit hits the pan, because dry pockets turn into clumps and leave parts of the filling thin while others get gummy. The slices should look glossy and lightly dusty at the same time.
Making the Crumble by Hand
Combine the flour, oats, sugars, cinnamon, and salt first, then work in the cold butter and lard with your hands until the mixture forms uneven clumps. Don’t aim for a paste. If you can squeeze some into a rough mound that still breaks apart, you’re there. Those bigger clumps bake into the best crunchy pieces.
Baking Until the Edges Bubble
Spread the topping over the apples in a thick layer and press down only lightly. Bake until the top is deeply golden and you can see the filling bubbling all around the edges of the dish. That bubbling is the signal that the flour in the filling has cooked enough to thicken properly. If the top is browning fast before the fruit bubbles, lay a piece of foil loosely over the dish and keep baking.
Letting It Rest Before Serving
Give the crisp about 15 minutes to settle before scooping. The filling thickens as it cools, and if you cut in too soon it will run across the plate. A warm crisp with vanilla ice cream and a little heavy cream on top is hard to beat, but that short rest is what keeps each serving neat enough to plate.
How to Tweak This Amish Apple Crisp Without Losing the Good Part
Make it dairy-free
Swap the butter for a plant-based butter that’s made for baking and holds its shape when cold. The topping will still crisp, though it may be a little less rich than the version with real butter and lard. Keep the butter substitute cold and use the same clumping method so the texture stays sturdy.
Use all butter instead of lard
If you don’t want to use lard, replace it with another half cup of cold butter. The topping will be a little more buttery and a touch less old-fashioned in flavor, but it still bakes into a good thick crumble. Cut it in while very cold so the topping doesn’t turn heavy.
Choose the right apples for the texture you want
A mix of tart and sweet apples gives the best balance, but firmer baking apples like Honeycrisp, Granny Smith, Braeburn, or Jonagold hold up especially well. Softer apples break down faster and make the filling looser. If you want distinct slices in the finished crisp, stay with firm fruit.
Storage and Reheating
- Refrigerator: Store covered for up to 4 days. The topping softens a little as it sits, but the flavor stays excellent.
- Freezer: It freezes well after baking. Cool completely, wrap tightly, and freeze for up to 2 months. Thaw overnight in the refrigerator before reheating.
- Reheating: Warm individual portions in the oven at 325°F until heated through. The oven brings the crumble back to life much better than the microwave, which tends to soften the topping.
Answers to the Questions Worth Asking
Amish Apple Crisp
Ingredients
Equipment
Method
- Preheat the oven to 350F, and grease a large 10x15 roasting pan or 9x13 baking dish for easy release.
- Toss the apple slices with granulated sugar, brown sugar, cinnamon, nutmeg, allspice, all-purpose flour, and lemon juice until evenly coated.
- Spread the apple mixture in the prepared pan in a deep, even layer so it bakes with bubbling edges.
- Combine flour, rolled oats, brown sugar, granulated sugar, cinnamon, and salt, then mix until the dry crumbs are uniform.
- Cut the cold unsalted butter (and lard if using) into the dry mixture with your hands until large crumbly clumps form and no big dry patches remain.
- Spread the crumble thickly over the apples, pressing very gently to help the clumps adhere.
- Bake at 350F for 50-55 minutes, until the topping is deeply golden and the apple filling bubbles all around the edges.
- Rest the crisp for 15 minutes before serving so the juices thicken slightly and set under the crumble.
- Serve warm with vanilla ice cream and pour over cold heavy cream for contrast against the spiced apples.


