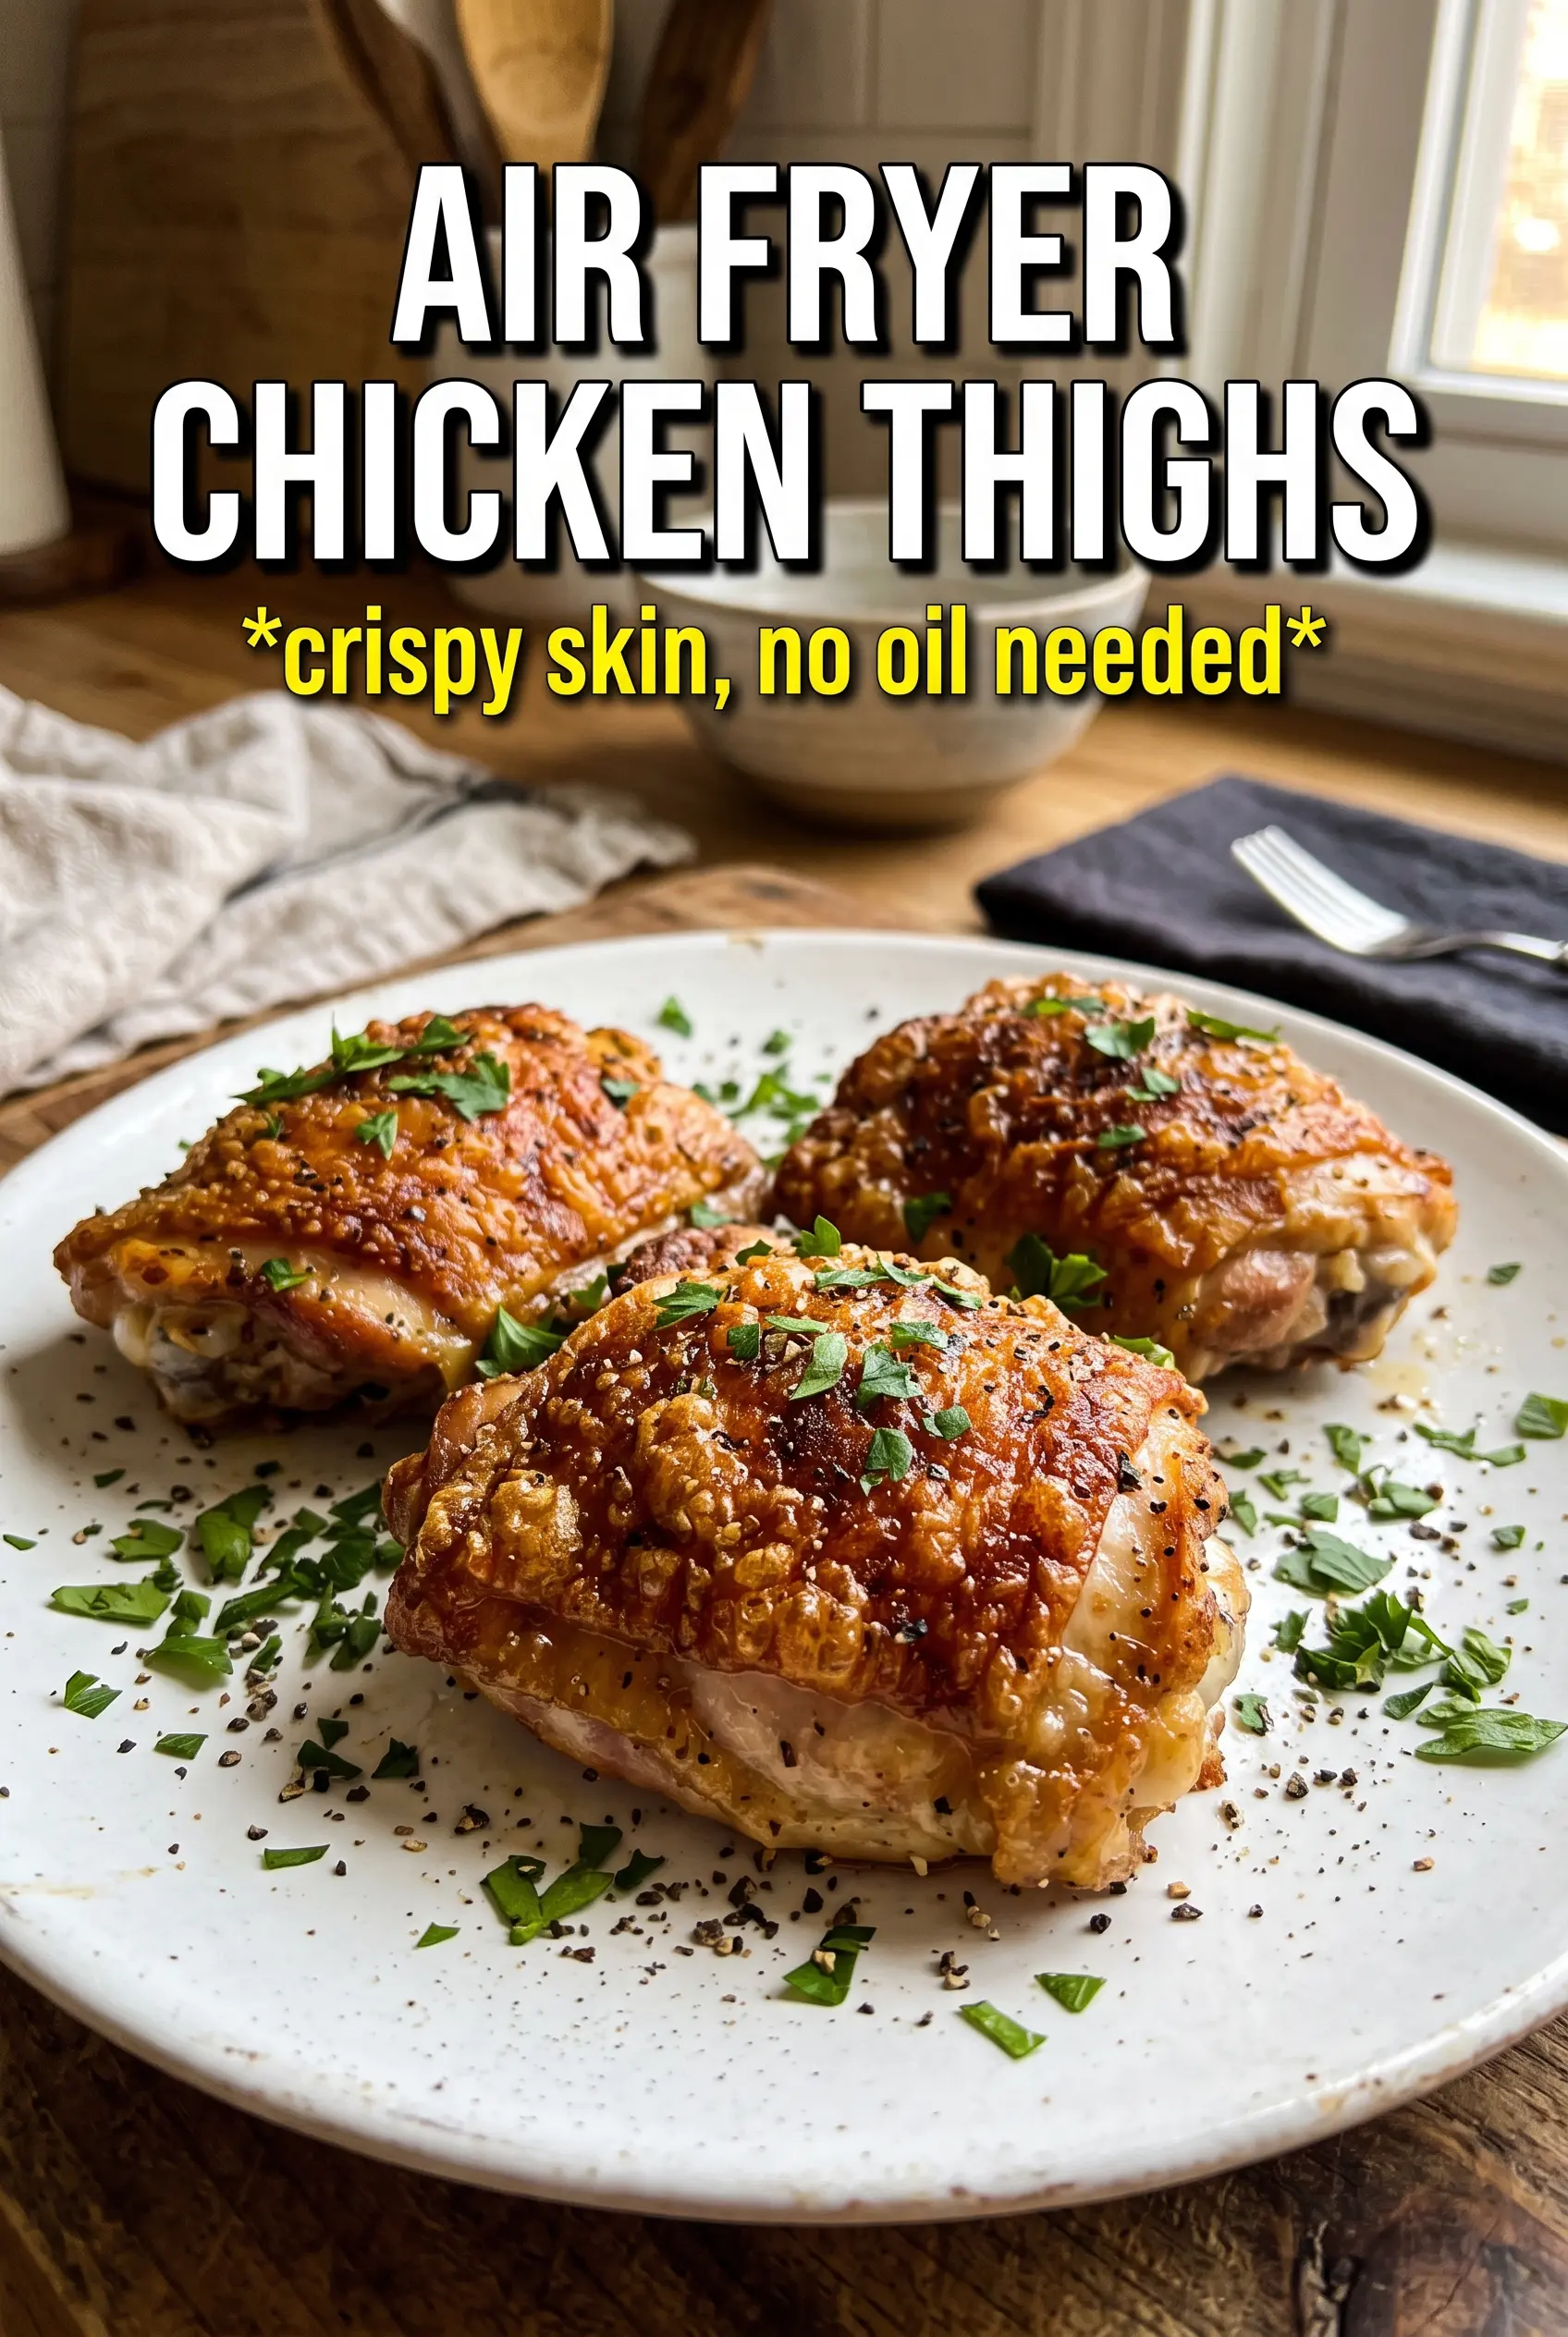
Air fryer chicken thighs come out with crackly, deeply browned skin and juicy meat underneath, and that contrast is exactly why they stay in my regular dinner rotation. The air fryer does what a hot oven usually can’t manage in under half an hour: it pushes the skin into a crisp shell while keeping the meat underneath tender and flavorful.
The key is starting with bone-in, skin-on thighs and drying them thoroughly before they ever touch oil. That dry surface is what lets the skin crisp instead of steaming, and the short two-stage cook gives the fat time to render before the skin finishes browning. A little smoked paprika brings color and warmth, while garlic and onion powder build a savory crust without burning.
Below, I’m walking through the small details that matter most: how to get the skin to blister instead of going rubbery, why placement in the basket matters, and what to watch for if your air fryer runs hot or your thighs are extra large.
The skin got insanely crisp in my little basket air fryer, and the thighs stayed juicy after the 5-minute rest. I thought 22 minutes would be too fast, but the thermometer hit 165 and they were perfect.
Save these air fryer chicken thighs for a fast dinner with crackly skin and juicy meat every time.
The Trick to Crispy Skin Starts Before the Air Fryer Turns On
Most disappointing air fryer chicken thighs have one problem: the skin goes soft because moisture is still trapped on the surface. Patting the thighs completely dry is not busywork. It’s the difference between skin that fries and skin that steams.
Putting the thighs skin-side down for the first half of the cook helps the fat render before the top gets too dark. That gives you a better shot at crisping the skin later without burning the spices. If your air fryer basket is crowded, the skin will soften from trapped steam, so leave space around each thigh and cook in batches if needed.
What the Seasoning Is Doing Beyond Flavor
- Bone-in, skin-on chicken thighs — This cut stays juicy under high heat and gives you the best chance at crisp skin. Boneless thighs cook faster, but they lose the built-in protection that keeps the meat tender and the skin worth eating.
- Olive oil — Just enough oil helps the seasoning cling and encourages browning. You don’t need much; too much oil can pool in the basket and soften the skin.
- Smoked paprika — This adds color and a subtle smoky depth that makes the chicken taste like it took longer than it did. Regular paprika works in a pinch, but it won’t give the same warmth.
- Garlic powder and onion powder — These season evenly and won’t burn the way fresh garlic can at 400°F. They create a savory crust that holds up in the air fryer.
- Dried oregano — A small amount keeps the seasoning from tasting flat and adds an herby edge that works well with the lemon at the end.
Getting the Skin Crackly Without Drying Out the Meat
Drying and Seasoning the Thighs
Start by patting the chicken thighs until the skin feels dry, not just blotting off visible moisture. Mix the spices with the oil before rubbing them on so the seasoning spreads evenly and doesn’t clump. If the thighs sit with wet skin or a thick paste of seasoning, the crust will come out patchy instead of crisp.
Preheating the Basket
A preheated air fryer gives the skin a head start the second it hits the basket. Five minutes at 400°F is enough to heat the chamber and help the chicken begin rendering immediately. If you skip this, the thighs spend too long warming up and the skin has more time to soften.
The Flip That Finishes the Skin
Cook the thighs skin-side down first, then flip them skin-side up for the second half. That first phase renders the fat; the second phase turns the exposed skin into a blistered, deep golden crust. The chicken is done when the thickest part reaches 165°F and the juices run clear, but the best thighs usually need the full rest after cooking so they stay juicy when sliced.
Three Ways to Make These Air Fryer Chicken Thighs Fit Your Table
Make Them Dairy-Free and Gluten-Free
This recipe already fits both of those needs as written. Serve it with vegetables, rice, or potatoes and you’ve got a meal that stays crisp and satisfying without any extra changes.
Swap the Spice Profile
If you want a sharper, more savory result, replace the oregano with thyme or rosemary. For a little heat, add 1/4 teaspoon cayenne or chili flakes. The texture stays the same, but the seasoning shifts from mellow and smoky to bolder and more peppery.
Use Boneless Thighs
Boneless thighs work, but they cook faster and won’t get quite the same shattering skin. Start checking them around 14 to 16 minutes total, and pull them as soon as they hit temperature so they don’t dry out.
Storage and Reheating
- Refrigerator: Store in an airtight container for up to 4 days. The skin softens in the fridge, but the meat stays juicy.
- Freezer: Freeze cooked thighs for up to 2 months, wrapped well and sealed in a freezer bag. The skin won’t return to its original crispness, but the flavor holds up well.
- Reheating: Reheat in the air fryer at 375°F for 4 to 6 minutes, or until warmed through. The common mistake is microwaving them first, which turns the skin rubbery before you ever get a chance to crisp it again.
Questions I Get Asked About This Recipe
Air Fryer Chicken Thighs
Ingredients
Equipment
Method
- Pat chicken thighs completely dry with paper towels. Make sure the skin is very dry so it crisps in the air fryer.
- Rub chicken thighs with olive oil, then mix all spices together and rub thoroughly all over the chicken. Coat all surfaces evenly for consistent flavor.
- Preheat air fryer to 400F for 5 minutes. This helps jump-start browning on contact.
- Place chicken thighs skin-side down in the air fryer basket without overlapping. Keep space between pieces for better airflow and a crisp crust.
- Air fry 10 minutes, flipping to skin-side up afterward. The skin should start turning deeper golden at the edges.
- Air fry 10-12 more minutes at 400F until skin is deeply golden and crispy and internal temperature reaches 165F. Look for a crackly, browned surface before removing.
- Rest chicken thighs for 5 minutes. The juices redistribute so the meat stays juicy while the skin keeps its crunch.
- Serve with lemon wedges and fresh parsley. Finish with the bright citrus to cut through the rich, smoky seasoning.


