Shatteringly crisp Parmesan crust, juicy chicken, and a golden edge that actually stays crunchy after baking — that’s what makes this Parmesan Crusted Chicken a regular dinner repeat. The coating lands somewhere between breaded cutlet and oven-fried chicken, with a savory, cheesy crust that tastes like it came from a skillet, even though the oven does most of the work.
The trick is in the setup. Panko gives the crust its light, jagged crunch, while freshly grated Parmesan melts into those crumbs and browns in a way pre-shredded cheese just can’t match. Pounding the chicken to an even thickness matters too, because thick ends and thin edges cook at the same speed instead of leaving you with dry spots and underdone centers.
Below, you’ll find the little details that keep the crust attached, the best way to get that deep golden color, and a few smart swaps if you need to work around what’s in your kitchen.
The crust stayed crisp all the way around, and the chicken was still juicy after 22 minutes. I used the wire rack like you suggested and the bottoms never got soggy.
Like this crispy Parmesan crusted chicken? Save it to Pinterest for the nights when you want a crunchy baked chicken cutlet without frying.
The Detail That Keeps the Crust Crisp Instead of Greasy
The biggest mistake with baked breaded chicken is trapping steam under the crust. That’s what turns a promising coating soft before it reaches the table. A wire rack solves most of it by letting hot air move all around the chicken, and the olive oil on top helps the panko and Parmesan brown instead of just drying out.
Even thickness matters more here than with a lot of baked chicken recipes. If one end is much thicker, the thin end will overcook by the time the center is safe. Pound the breasts to an even height and you’ll get a crust that finishes at the same time the meat turns juicy.
- Chicken breasts — Thick, even pieces give you a juicy center and enough surface area for a proper crust. If one breast is huge, slice it horizontally before pounding so the pieces cook more evenly.
- Freshly grated Parmesan — This melts into the crumbs and browns cleanly. Pre-grated cheese often has anti-caking agents that can make the coating sandy and less cohesive.
- Panko breadcrumbs — Regular breadcrumbs are denser and tighter. Panko gives you those lighter, jagged edges that stay crisp in the oven.
- Olive oil — A light coating is what helps the crust turn deep golden. Too little oil leaves the breading dry and pale; too much makes it patchy and heavy.
Building the Coating So It Stays on the Chicken
Set Up a True Bread Line
Use three shallow dishes: flour, beaten eggs, and the panko-Parmesan mixture. The flour gives the egg something to cling to, and the egg gives the crumbs their grip. If you skip the flour, the coating can slide off in sheets after baking.
Press the Crumbs On, Don’t Just Dip and Drop
When the chicken gets to the panko bowl, press firmly on both sides and along the edges. You want the crumbs packed onto the surface, especially where the breast curves or tapers. Loose patches turn into bald spots in the oven. A few seconds of real pressure here makes the difference between an even crust and one that looks speckled.
Bake Until the Crust Looks Dry and Deep Gold
The chicken is done when the crust is a rich golden brown and the center reaches 165°F. Don’t pull it early just because the coating looks browned on the edges; the thickest part still needs to finish. Let it rest for a few minutes before slicing so the juices settle instead of running out onto the plate.
Use Chicken Thighs for a Richer Result
Boneless skinless thighs work well here if you want more flavor and a little extra forgiveness. They stay juicier than breasts, but they’ll need a few more minutes in the oven and won’t slice with the same clean, thick-cut look.
Gluten-Free Version
Swap the all-purpose flour for rice flour or a 1:1 gluten-free blend, and use gluten-free panko. The texture stays crisp, though rice flour gives the lightest crust. Skip any blend that’s heavy on starch alone or the coating can turn brittle instead of snappy.
Dairy-Free Adaptation
You can replace the Parmesan with a dairy-free hard cheese substitute, but the flavor will be less nutty and the browning a little softer. Add an extra pinch of salt to the crumb mixture, since Parmesan normally brings a lot of the seasoning with it.
Make It Spicier
Add a pinch of cayenne or crushed red pepper to the breadcrumb mix if you want more heat. Keep it light so the Parmesan still leads; too much spice can blur the clean, savory crust this recipe is built around.
Storage and Reheating
- Refrigerator: Store leftovers in an airtight container for up to 3 days. The crust will soften a little, but the chicken stays tender.
- Freezer: Freeze cooked cutlets in a single layer, then transfer to a bag for up to 2 months. Reheat from frozen for the best texture; thawing first can make the crust soggy.
- Reheating: Use a 375°F oven or air fryer until hot and crisp again. Skip the microwave unless you don’t mind losing the crunch, because steam is what ruins the coating.
Answers to the Questions Worth Asking
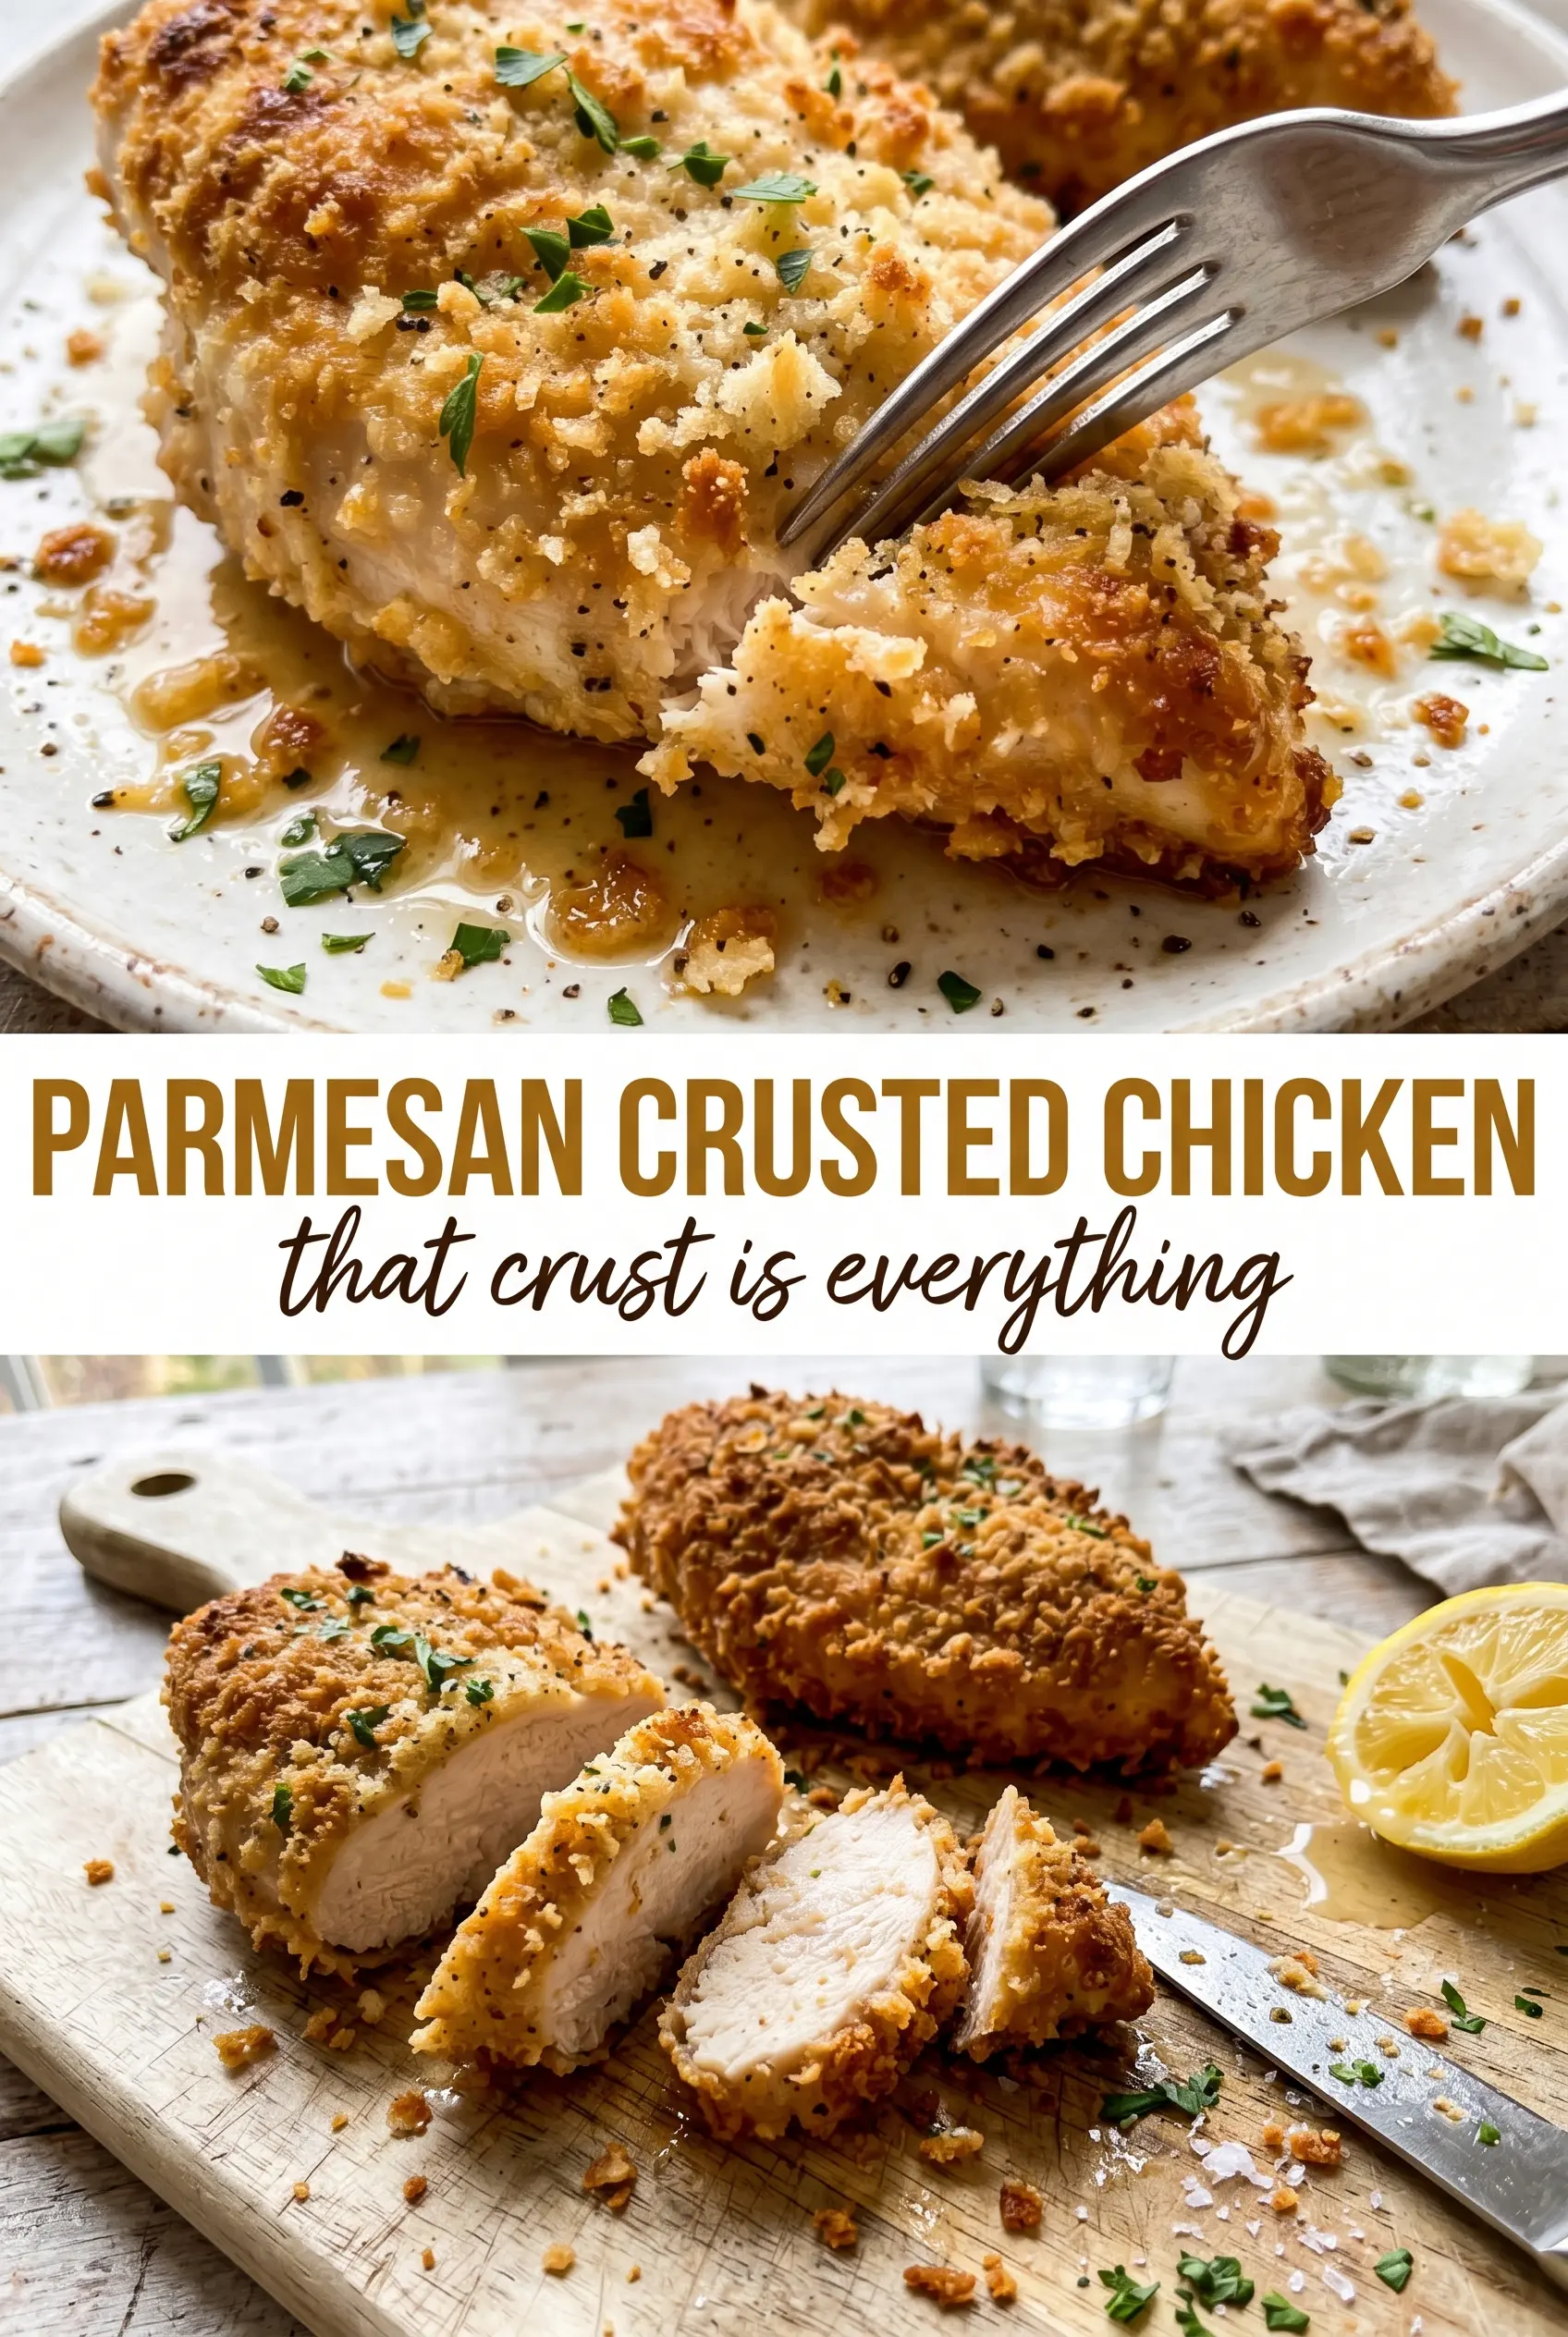
Parmesan Crusted Chicken
Ingredients
Equipment
Method
- Preheat oven to 425°F and line a baking sheet with a wire rack; spray the rack with cooking spray so the crust stays crisp.
- Season chicken breasts with salt, pepper, and garlic powder, then pound to even thickness if needed for consistent bake time.
- Set up a three-station breading line with flour, beaten eggs, and panko mixed with Parmesan, Italian seasoning, garlic powder, and smoked paprika.
- Dredge chicken in flour, then dip in egg, and press firmly into the Parmesan panko to coat all sides so the crust adheres tightly.
- Drizzle or spray olive oil over the breaded chicken and place them on the prepared rack to promote crisp airflow.
- Bake at 425°F for 20-22 minutes until the crust is deep golden and the internal temperature reaches 165°F.
- Rest the chicken 3 minutes to help juices set, then garnish with fresh parsley and serve with lemon wedges.


