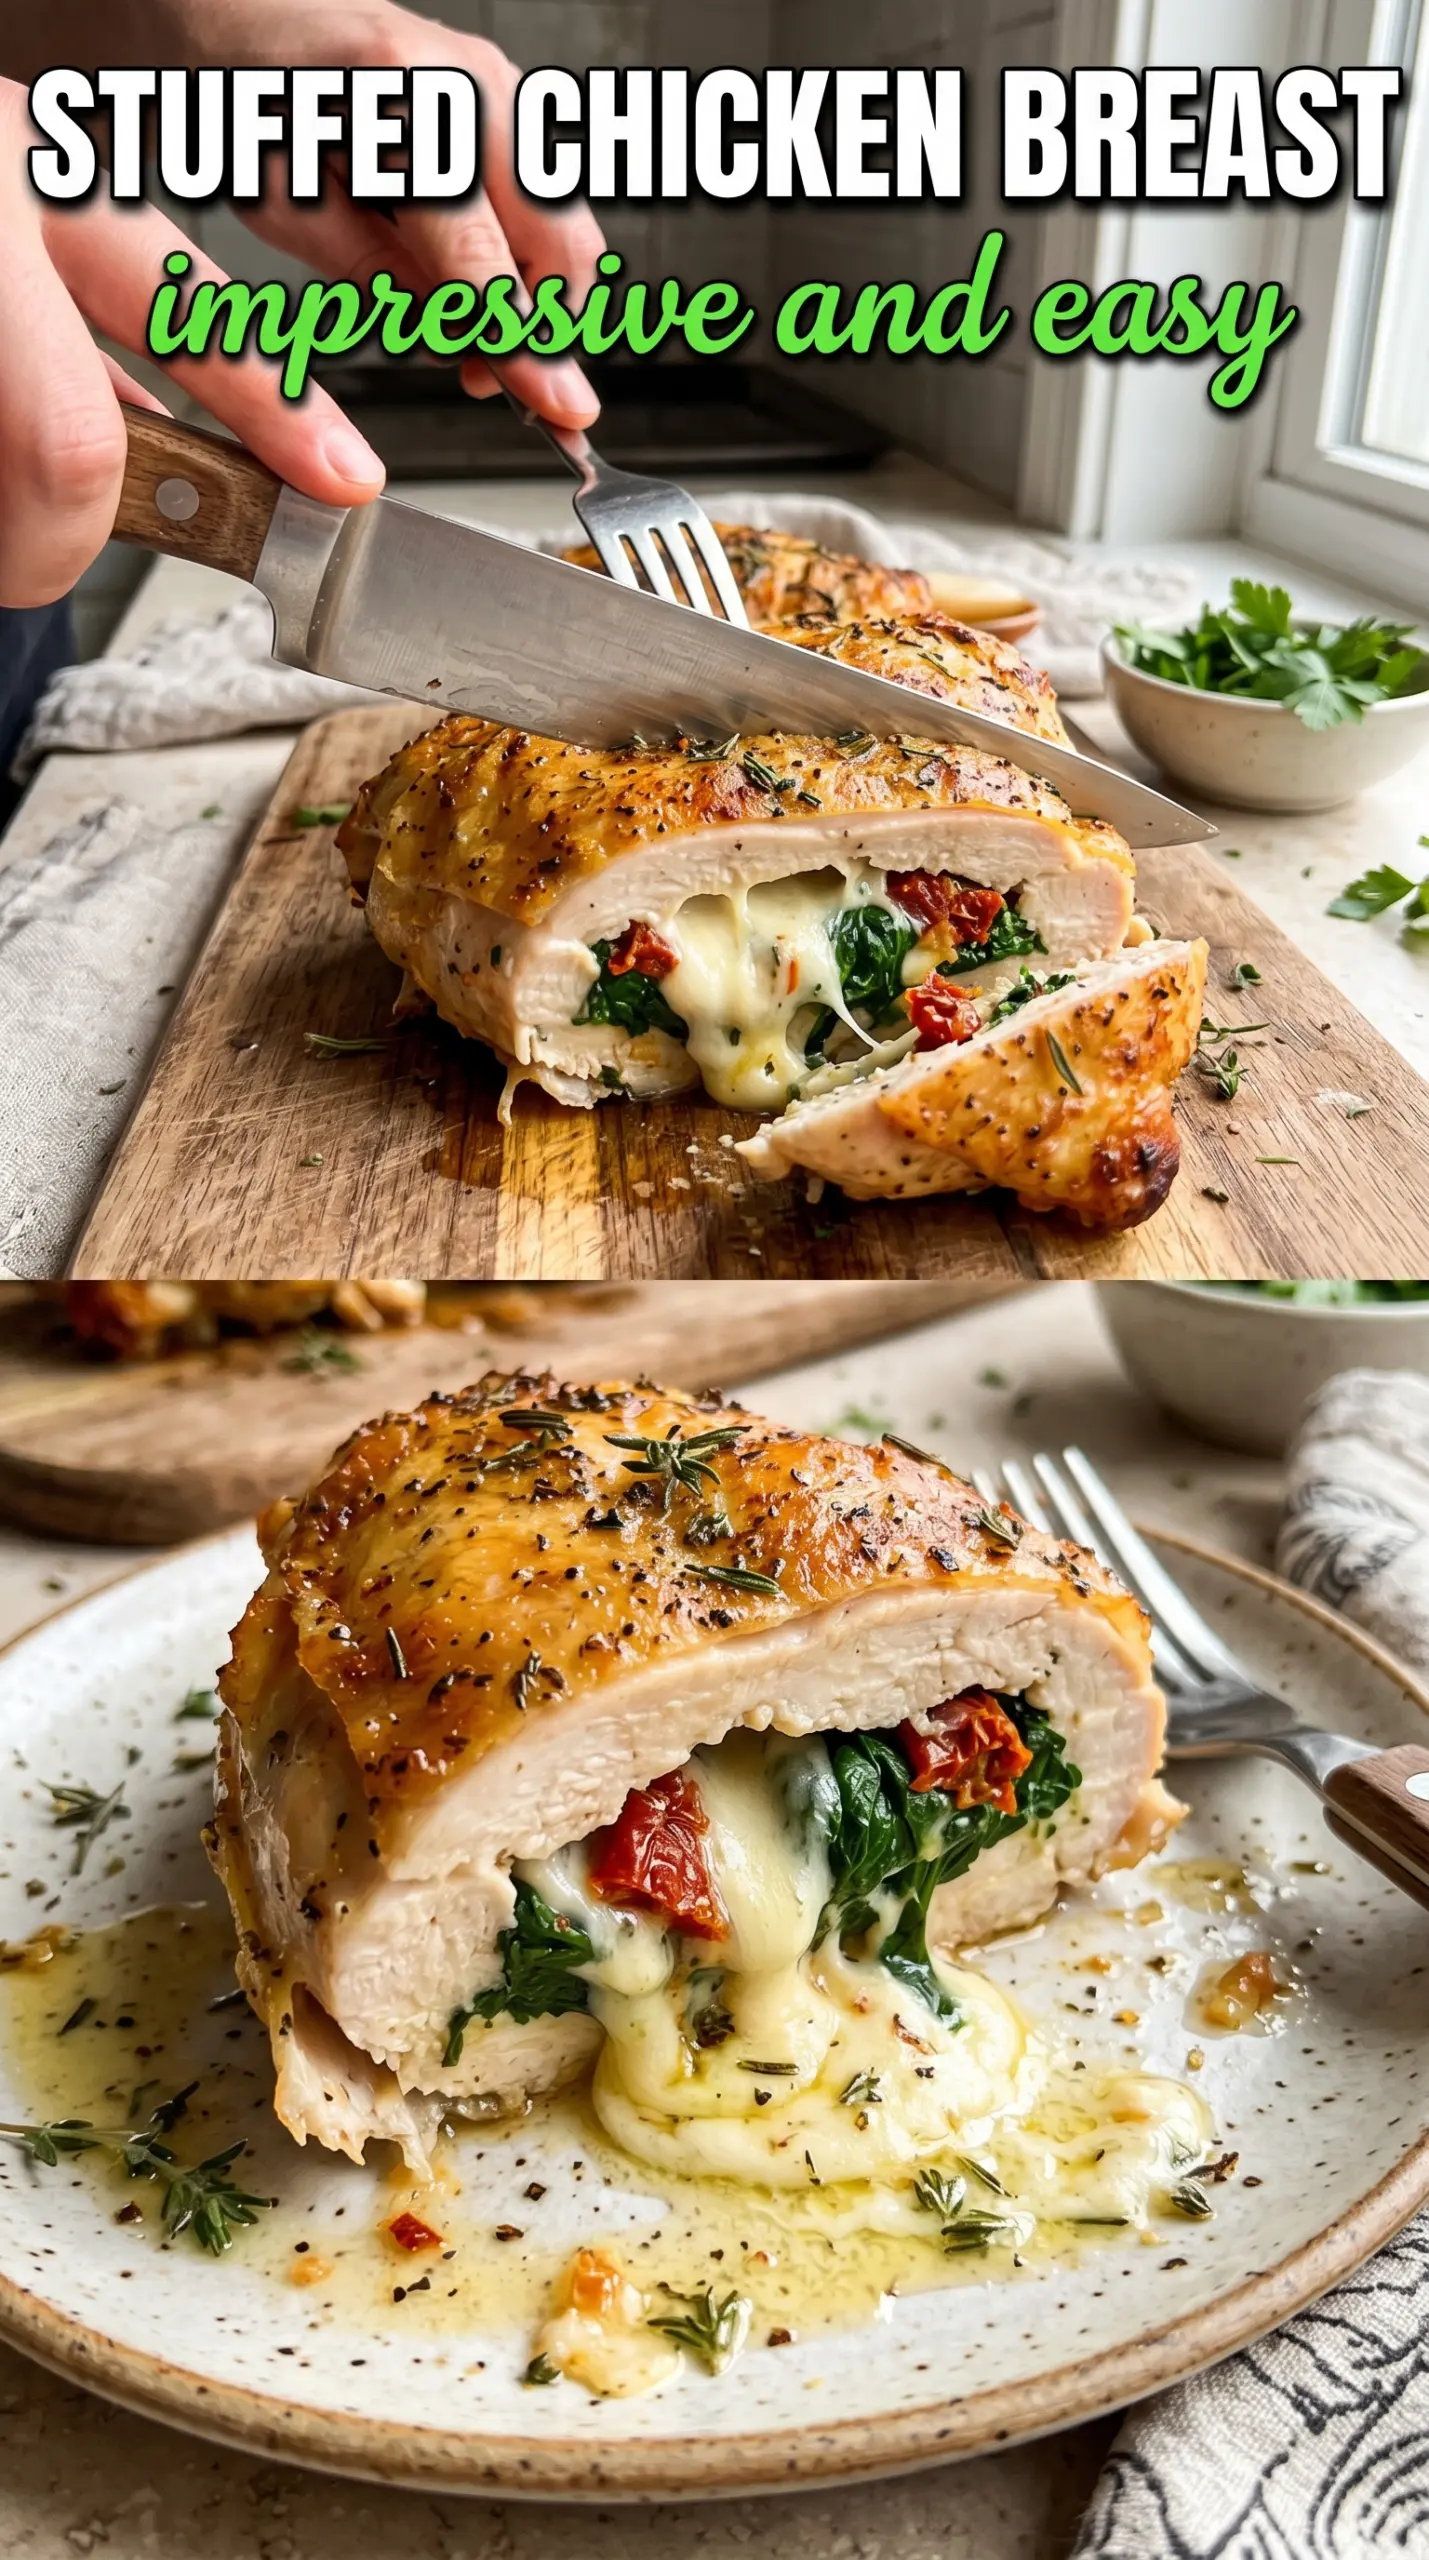
Golden, seared stuffed chicken breast is one of those dinners that looks restaurant-level the second you slice into it, but it still comes together with ordinary ingredients and a skillet. The outside gets a deep savory crust, and the center stays creamy and molten with spinach, mozzarella, and sun-dried tomatoes tucked inside every bite.
What makes this version work is the balance of moisture and heat. The filling is rich, but the spinach and sun-dried tomatoes keep it from tasting heavy, and the quick sear before baking gives the chicken a head start on color without drying it out. Cutting a proper pocket matters too; if you split the breast all the way through, the filling leaks before the chicken has a chance to set.
Below, I’ll walk through the pocket-cutting trick that keeps everything inside, the one temperature check that matters, and a few smart swaps if you want to change up the filling without losing that creamy center.
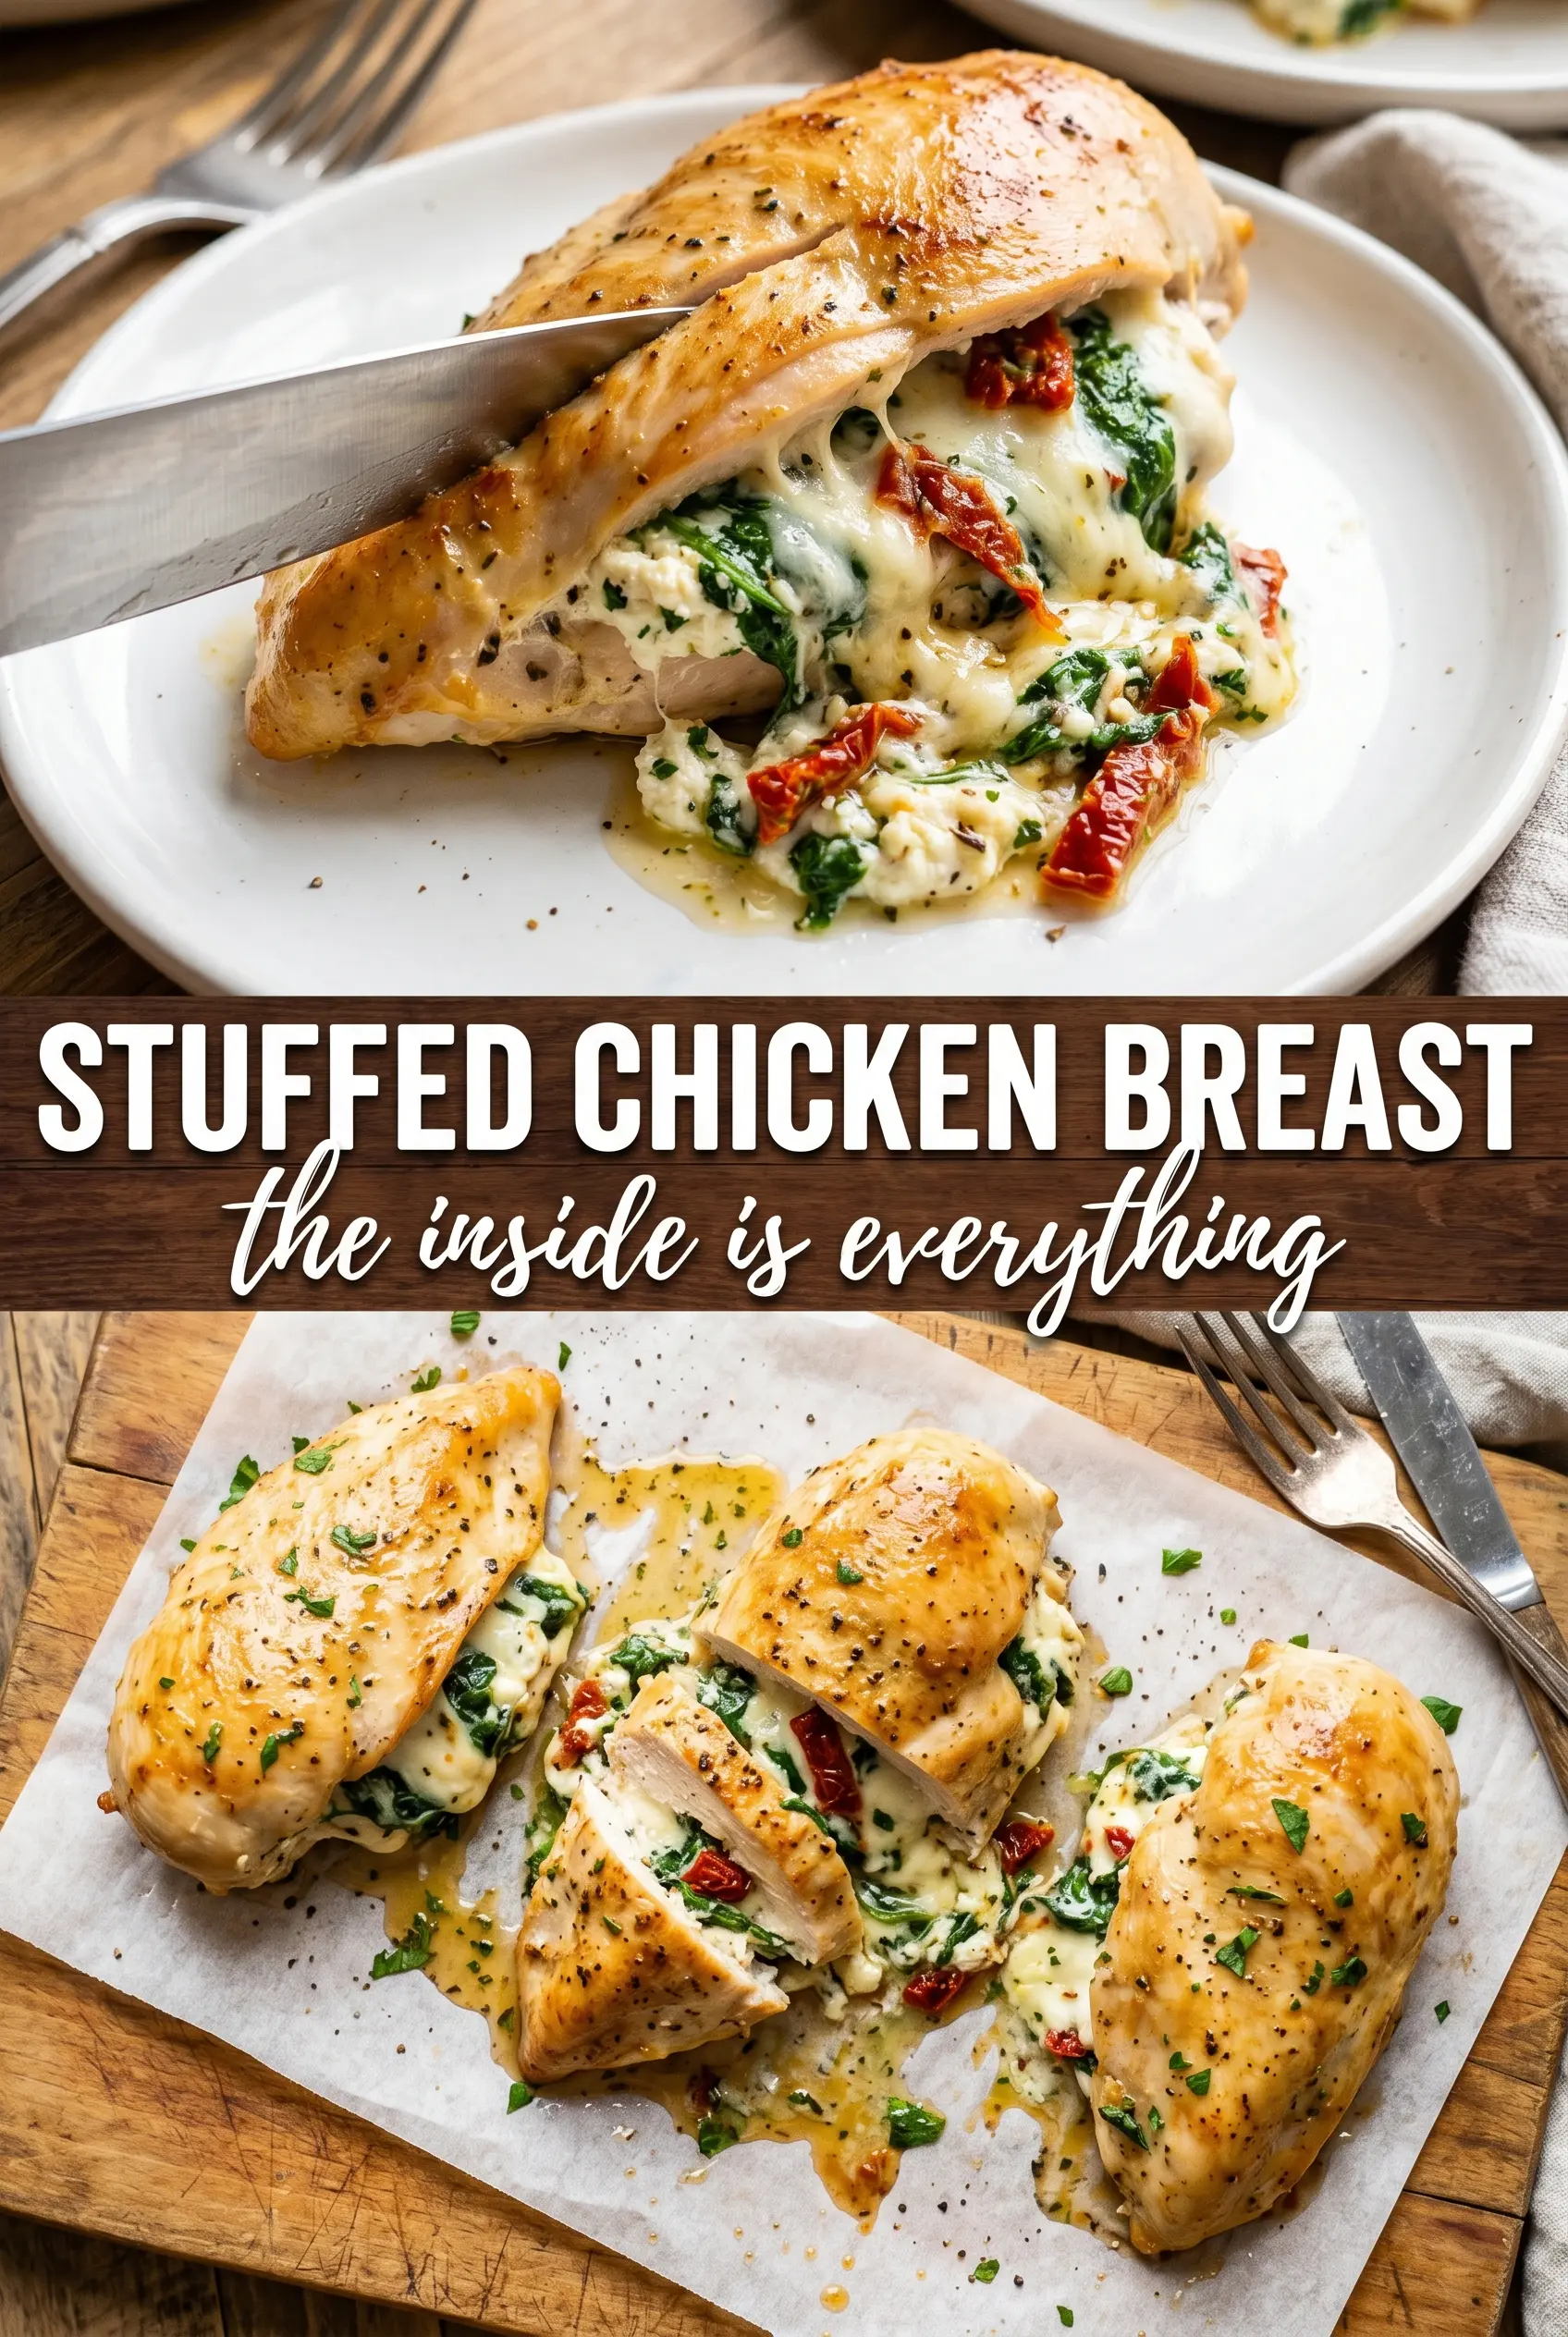
The filling stayed put and the cheese got perfectly gooey without spilling out everywhere. I seared them first like the recipe said, and the chicken was juicy all the way through.
Save this stuffed chicken breast for the night you want a crisp seared crust and a creamy spinach filling that stays inside the chicken.
The Pocket Cut That Keeps the Filling Where It Belongs
The biggest mistake with stuffed chicken breast is cutting too deep. If the pocket runs straight through the other side, the filling has nowhere to stay once the cheese warms up. A clean horizontal pocket gives you a sealed cavity that holds the spinach mixture while the outside cooks fast enough to brown before the inside overcooks.
Season the chicken inside and out before filling it. That matters more than people think, because the filling itself is rich and creamy, and the chicken needs seasoning in the meat, not just on the crust. The sear is there for flavor and structure; the oven finishes the cook gently so the cheese melts without turning oily.
What the Filling Ingredients Are Doing Here
- Cream cheese — This is the base that holds everything together and gives the filling its plush texture. Use full-fat cream cheese if you can; it melts more smoothly and won’t separate as easily in the oven.
- Fresh baby spinach — Chop it finely so it folds into the filling instead of clumping. Frozen spinach can work in a pinch, but it has to be thawed and squeezed dry or the filling turns watery.
- Mozzarella — This gives you that stretchy, molten center when you slice in. Pre-shredded is fine, but block mozzarella melts a little cleaner if you have it.
- Sun-dried tomatoes — They cut through the richness and add little bursts of tangy sweetness. If yours are packed in oil, blot them first so the filling doesn’t get greasy.
- Garlic and Italian seasoning — These carry the savory backbone of the filling. Fresh garlic gives the brightest flavor here, and the Italian seasoning echoes the herbs on the outside so the whole dish tastes connected.
From Sear to Slice: The Part Where This Chicken Stays Juicy
Building the Filling
Mix the cream cheese, spinach, mozzarella, sun-dried tomatoes, garlic, Italian seasoning, salt, and pepper until everything is evenly distributed. The filling should be thick enough to mound on a spoon, not loose like a dip. If it looks runny, the spinach was too wet or the cream cheese was too warm, and that will make the chicken leak while it bakes.
Stuffing and Securing
Cut a deep pocket into the thickest side of each breast, then spoon the filling inside without overpacking it. You want enough room to seal the opening with toothpicks so the chicken can close around the filling as it cooks. If the pocket looks stretched or thin, stop there; overstuffing is what causes the filling to burst out in the oven.
Searing for Color
Heat the olive oil in an oven-safe skillet until it shimmers, then sear the chicken for 3 to 4 minutes per side. You’re looking for a golden crust that releases easily from the pan; if it sticks, give it another 30 seconds. Don’t move it around constantly, or you’ll slow down browning and end up with pale chicken instead of that deep caramelized exterior.
Finishing in the Oven
Transfer the skillet to a 400°F oven and bake until the thickest part of the chicken reaches 165°F. The center should feel firm at the edges but still give slightly when pressed. Pull it out, rest it for 5 minutes, then remove the toothpicks before slicing so the juices settle back into the meat instead of running onto the cutting board.
How to Change the Filling Without Losing the Creamy Center
Make It Gluten-Free Without Changing a Thing
This recipe is naturally gluten-free as written, as long as your spices and sun-dried tomatoes are certified gluten-free. Nothing about the structure depends on flour or breadcrumbs, so you still get the same juicy chicken and molten filling.
Swap in Kale or Swiss Chard
If you’re out of spinach, finely chopped kale or Swiss chard works, but they need a quick sauté first so they soften enough to blend into the filling. That adds a little more bite and a slightly earthier flavor, which works well with the sun-dried tomatoes.
Use Provolone or Fontina Instead of Mozzarella
Mozzarella gives the most familiar stretch, but provolone or fontina brings a deeper, nuttier melt. The filling will be a little less stringy and a little more savory, which is a nice change if you want something less mild.
Storage and Reheating
- Refrigerator: Store leftovers in an airtight container for up to 3 days. The filling stays creamy, but the crust softens a bit after chilling.
- Freezer: Freeze cooked stuffed chicken for up to 2 months. Wrap each piece tightly and thaw overnight in the refrigerator before reheating so the center warms evenly.
- Reheating: Warm in a 325°F oven, covered loosely with foil, until heated through. The common mistake is blasting it in the microwave, which makes the chicken rubbery before the filling is hot.
Questions I Get Asked About This Recipe
Stuffed Chicken Breast
Ingredients
Equipment
Method
- Preheat the oven to 400°F. Beat together cream cheese, spinach, mozzarella, sun-dried tomatoes, garlic, Italian seasoning, salt, and pepper until smooth and evenly combined.
- Cut a deep horizontal pocket in each chicken breast. Season inside and out generously with salt, pepper, garlic powder, Italian seasoning, and smoked paprika.
- Spoon filling into each chicken pocket and secure with toothpicks. Arrange the breasts so the filling stays centered.
- Heat olive oil in an oven-safe skillet over medium-high heat and sear the chicken for 3-4 minutes per side until golden. Flip carefully and keep the pocket closed with the toothpicks.
- Transfer the skillet to the oven and bake for 18-22 minutes at 400°F until the internal temperature reaches 165°F. The chicken should look set and lightly browned on the exterior.
- Remove toothpicks and rest the chicken for 5 minutes. Slice and serve, revealing molten spinach, cream cheese, and mozzarella filling oozing from the center.


