Smothered chicken and rice delivers the kind of dinner that settles into the pan and turns into something bigger than the sum of its parts: crisp-edged chicken, soft onions, and rice that soaks up every bit of the gravy beneath it. The chicken stays juicy because it’s seared first, then finished covered at a low simmer, while the rice cooks right in the sauce instead of on the side where it can’t pick up any of that flavor.
What makes this version work is the layering. Browning the chicken leaves fond in the pot, and that fond becomes the base of the gravy once the onions soften and the flour goes in. The cream comes in after the broth, not before, so the sauce stays smooth instead of turning grainy or breaking. By the time the lid comes off, the rice has absorbed the broth, onion sweetness, and savory drippings in a way plain steamed rice never could.
Below, I’ve included the timing cues that matter most, plus a few smart swaps if you need to work with what’s already in your kitchen.
The gravy turned out silky and the rice cooked through without getting mushy. I loved that the chicken skin stayed flavorful on top while everything underneath soaked up all the onion flavor.
Love the dark onion gravy and tender chicken? Save this smothered chicken and rice for the nights when you want one skillet to do all the work.
The Key to Keeping the Rice Fluffy Under a Rich Gravy
The common mistake here is treating the rice like a separate side. It isn’t. Once it goes into the pot, it needs enough liquid to cook through under a tight lid, but not so much that the whole dish turns soupy. Long-grain white rice is the right choice because it holds its shape better than short-grain rice and doesn’t collapse into the sauce.
The other trap is adding the rice before the gravy has thickened at all. If the broth is too thin, the rice will overcook before the sauce has any body. A quick flour step with the onions gives you just enough structure so the liquid clings to the chicken and settles around the grains instead of flooding them.
- Bone-in, skin-on chicken thighs — This cut brings the deepest flavor and stays juicy during the covered simmer. Boneless thighs work in a pinch, but you lose some of the richness from the bones and the skin won’t help build the pan drippings.
- Long-grain white rice — It cooks up separate and fluffy instead of sticky. Don’t swap in instant rice; it’ll turn soft fast and won’t hold up to the full simmer.
- Heavy cream — It rounds out the gravy and gives it that silky finish. Half-and-half can work, but the sauce will be lighter and a little less plush.
- Chicken broth — Use a broth you’d actually taste on its own. Since it becomes the main cooking liquid for the rice, a weak broth makes the whole dish taste flat.
- Onion — This is where the sauce gets its sweetness and depth. Thin slices matter here because they soften and dissolve into the gravy instead of staying sharp and stringy.
Building the Gravy Before the Rice Goes In
Season and Sear the Chicken
Pat the chicken dry, season it well, and sear it skin-side down in hot oil until the skin is deeply golden and releases cleanly from the pot. If it sticks, it isn’t ready yet. Let it cook another minute before trying again. Flip and give the second side a shorter sear, just long enough to pick up color without fully cooking the meat.
Cook the Onions Until They Turn Sweet
Use the same pot and don’t rush the onions. They need time to soften and take on color from the browned bits left behind by the chicken. If the heat is too high, they’ll scorch before they melt down, and that bitterness will carry through the sauce.
Thicken the Broth, Then Add the Rice
Once the flour cooks for a minute, add the broth gradually while scraping the bottom of the pot. That scraping step matters because the fond is where the flavor lives. Stir in the cream and Worcestershire, then add the uncooked rice only after the gravy is smooth so the grains can cook in an even, seasoned liquid instead of clumping in floury pockets.
Cover and Let the Steam Finish the Job
Set the chicken on top of the rice, bring everything to a simmer, then cover tightly and turn the heat down low. The pot needs steady steam, not a hard boil. If the heat is too strong, the bottom will dry out before the rice finishes, and if the lid isn’t snug, the rice can come out undercooked and patchy.
Make It Dairy-Free Without Losing the Gravy
Swap the heavy cream for full-fat coconut milk or an unsweetened dairy-free cooking cream. Coconut milk gives the sauce body, but it adds a faint sweetness, so keep the Worcestershire and seasoning balanced. The gravy will still coat the rice well, though it won’t have quite the same buttery finish.
Use Boneless Chicken Thighs for Faster Cooking
Boneless thighs shave off a little time and are easier to serve, but they won’t bring quite as much richness to the pot. Sear them well on both sides and start checking early, since they can overcook faster once the lid goes on.
Swap the Rice When You Need a Gluten-Free Base
This recipe is naturally gluten-free if your broth and Worcestershire sauce are certified gluten-free, but the flour thickener still needs attention. Use a 1:1 gluten-free flour blend in the same amount, and cook it with the onions just long enough to lose the raw taste before adding the liquid.
Storage and Reheating
- Refrigerator: Store leftovers in an airtight container for up to 4 days. The rice will keep absorbing sauce, so it thickens as it sits.
- Freezer: It freezes okay, but the rice softens a bit after thawing. Freeze in portions for up to 2 months and expect a softer texture when reheated.
- Reheating: Warm gently on the stove or in the microwave with a splash of broth to loosen the sauce. High heat dries out the chicken and turns the rice gummy before the center is hot.
Answers to the Questions Worth Asking
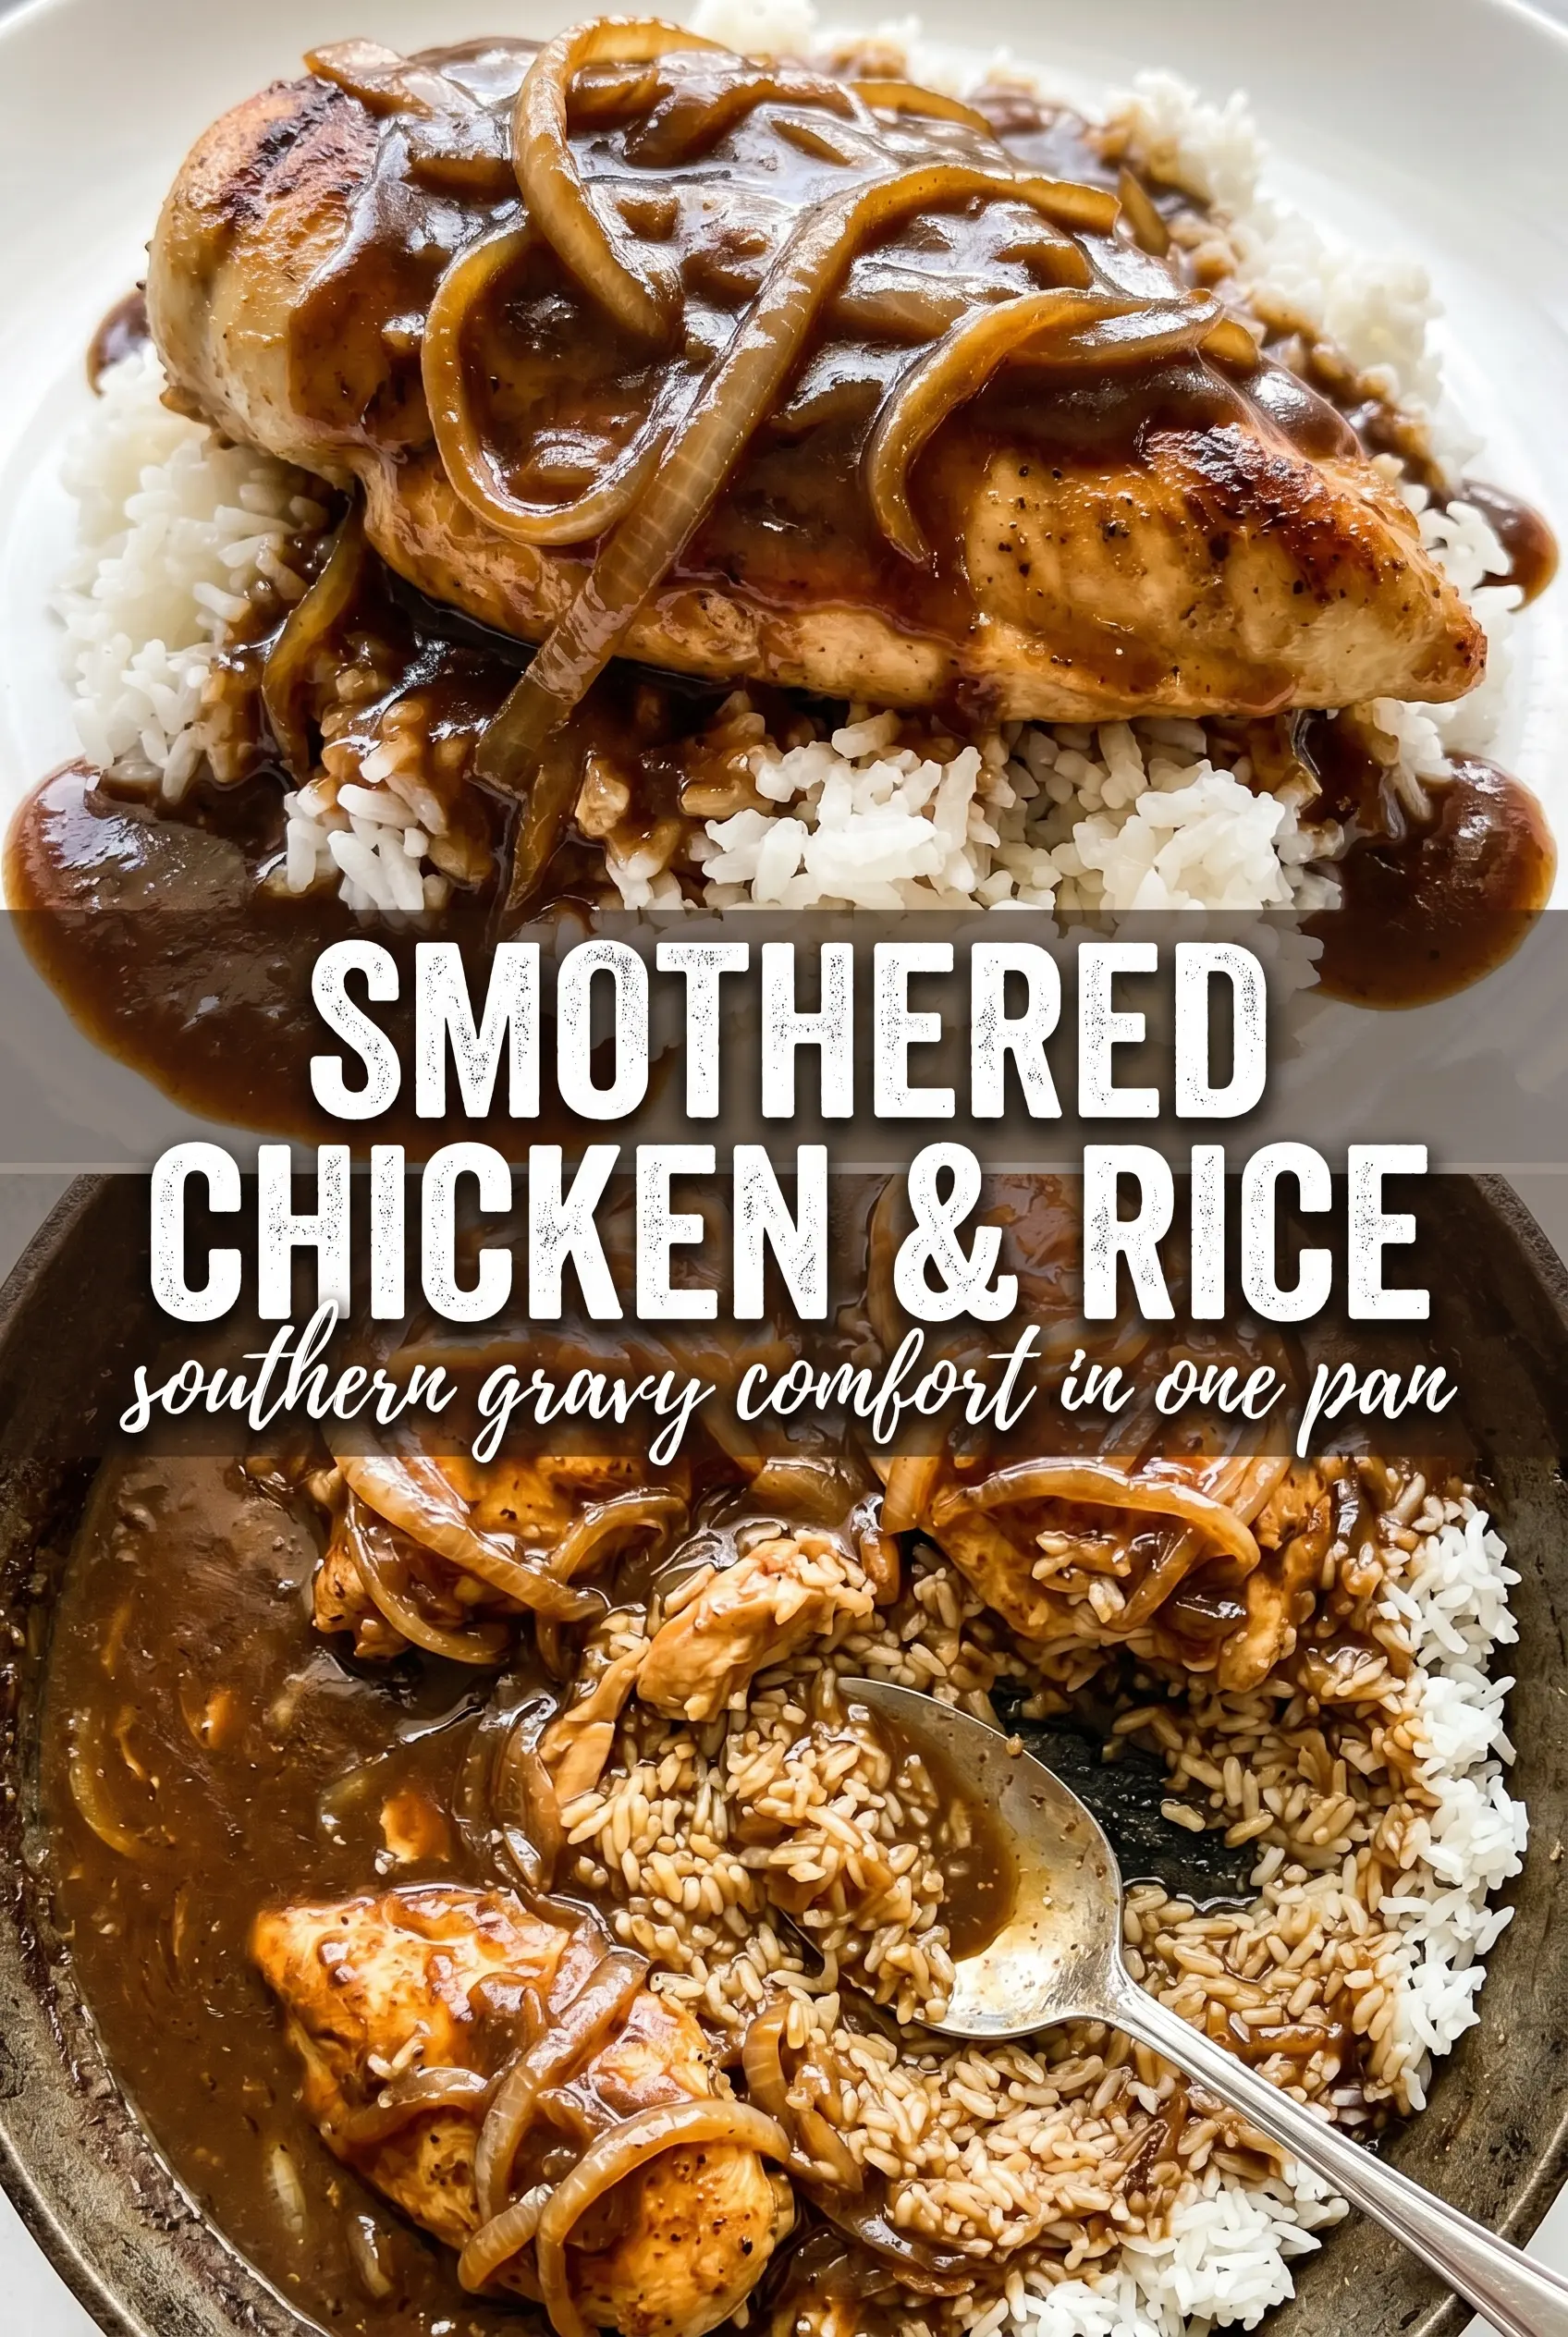
Smothered Chicken and Rice
Ingredients
Equipment
Method
- Season chicken thighs with garlic powder, onion powder, smoked paprika, salt, and pepper. Heat vegetable oil in a large Dutch oven over medium-high heat, then sear chicken skin-side down for 6-7 minutes until golden, using a visual check that the skin releases easily and turns brown.
- Flip the chicken and sear for 4 minutes more until browned on the second side. Remove chicken to a plate while leaving the browned bits in the pot.
- Add thinly sliced onion to the same pot and cook over medium heat for 8-10 minutes until caramelized. Stir occasionally and look for deep golden-brown color and softened onions.
- Add minced garlic and cook for 1 minute. Keep stirring so the garlic turns fragrant without browning too much.
- Sprinkle all-purpose flour over the onions and stir for 1 minute to cook off the raw flour taste. The mixture should look slightly thickened.
- Gradually add chicken broth, scraping up browned bits from the bottom of the pot. Stir until smooth, then stir in heavy cream and Worcestershire sauce until combined.
- Stir in uncooked long-grain white rice. Spread it into an even layer so it cooks uniformly in the broth.
- Nestle chicken skin-side up into the broth and bring to a simmer. You should see active bubbling around the edges, indicating the pot is at a steady simmer.
- Cover tightly and cook over low heat for 20-22 minutes until rice is cooked and the chicken reaches 165°F. Watch for the rice to absorb most of the liquid and the chicken to be fork-tender when tested.
- Garnish with fresh parsley and serve. Spoon the dark onion gravy over the rice so every bite shows chicken drippings.


