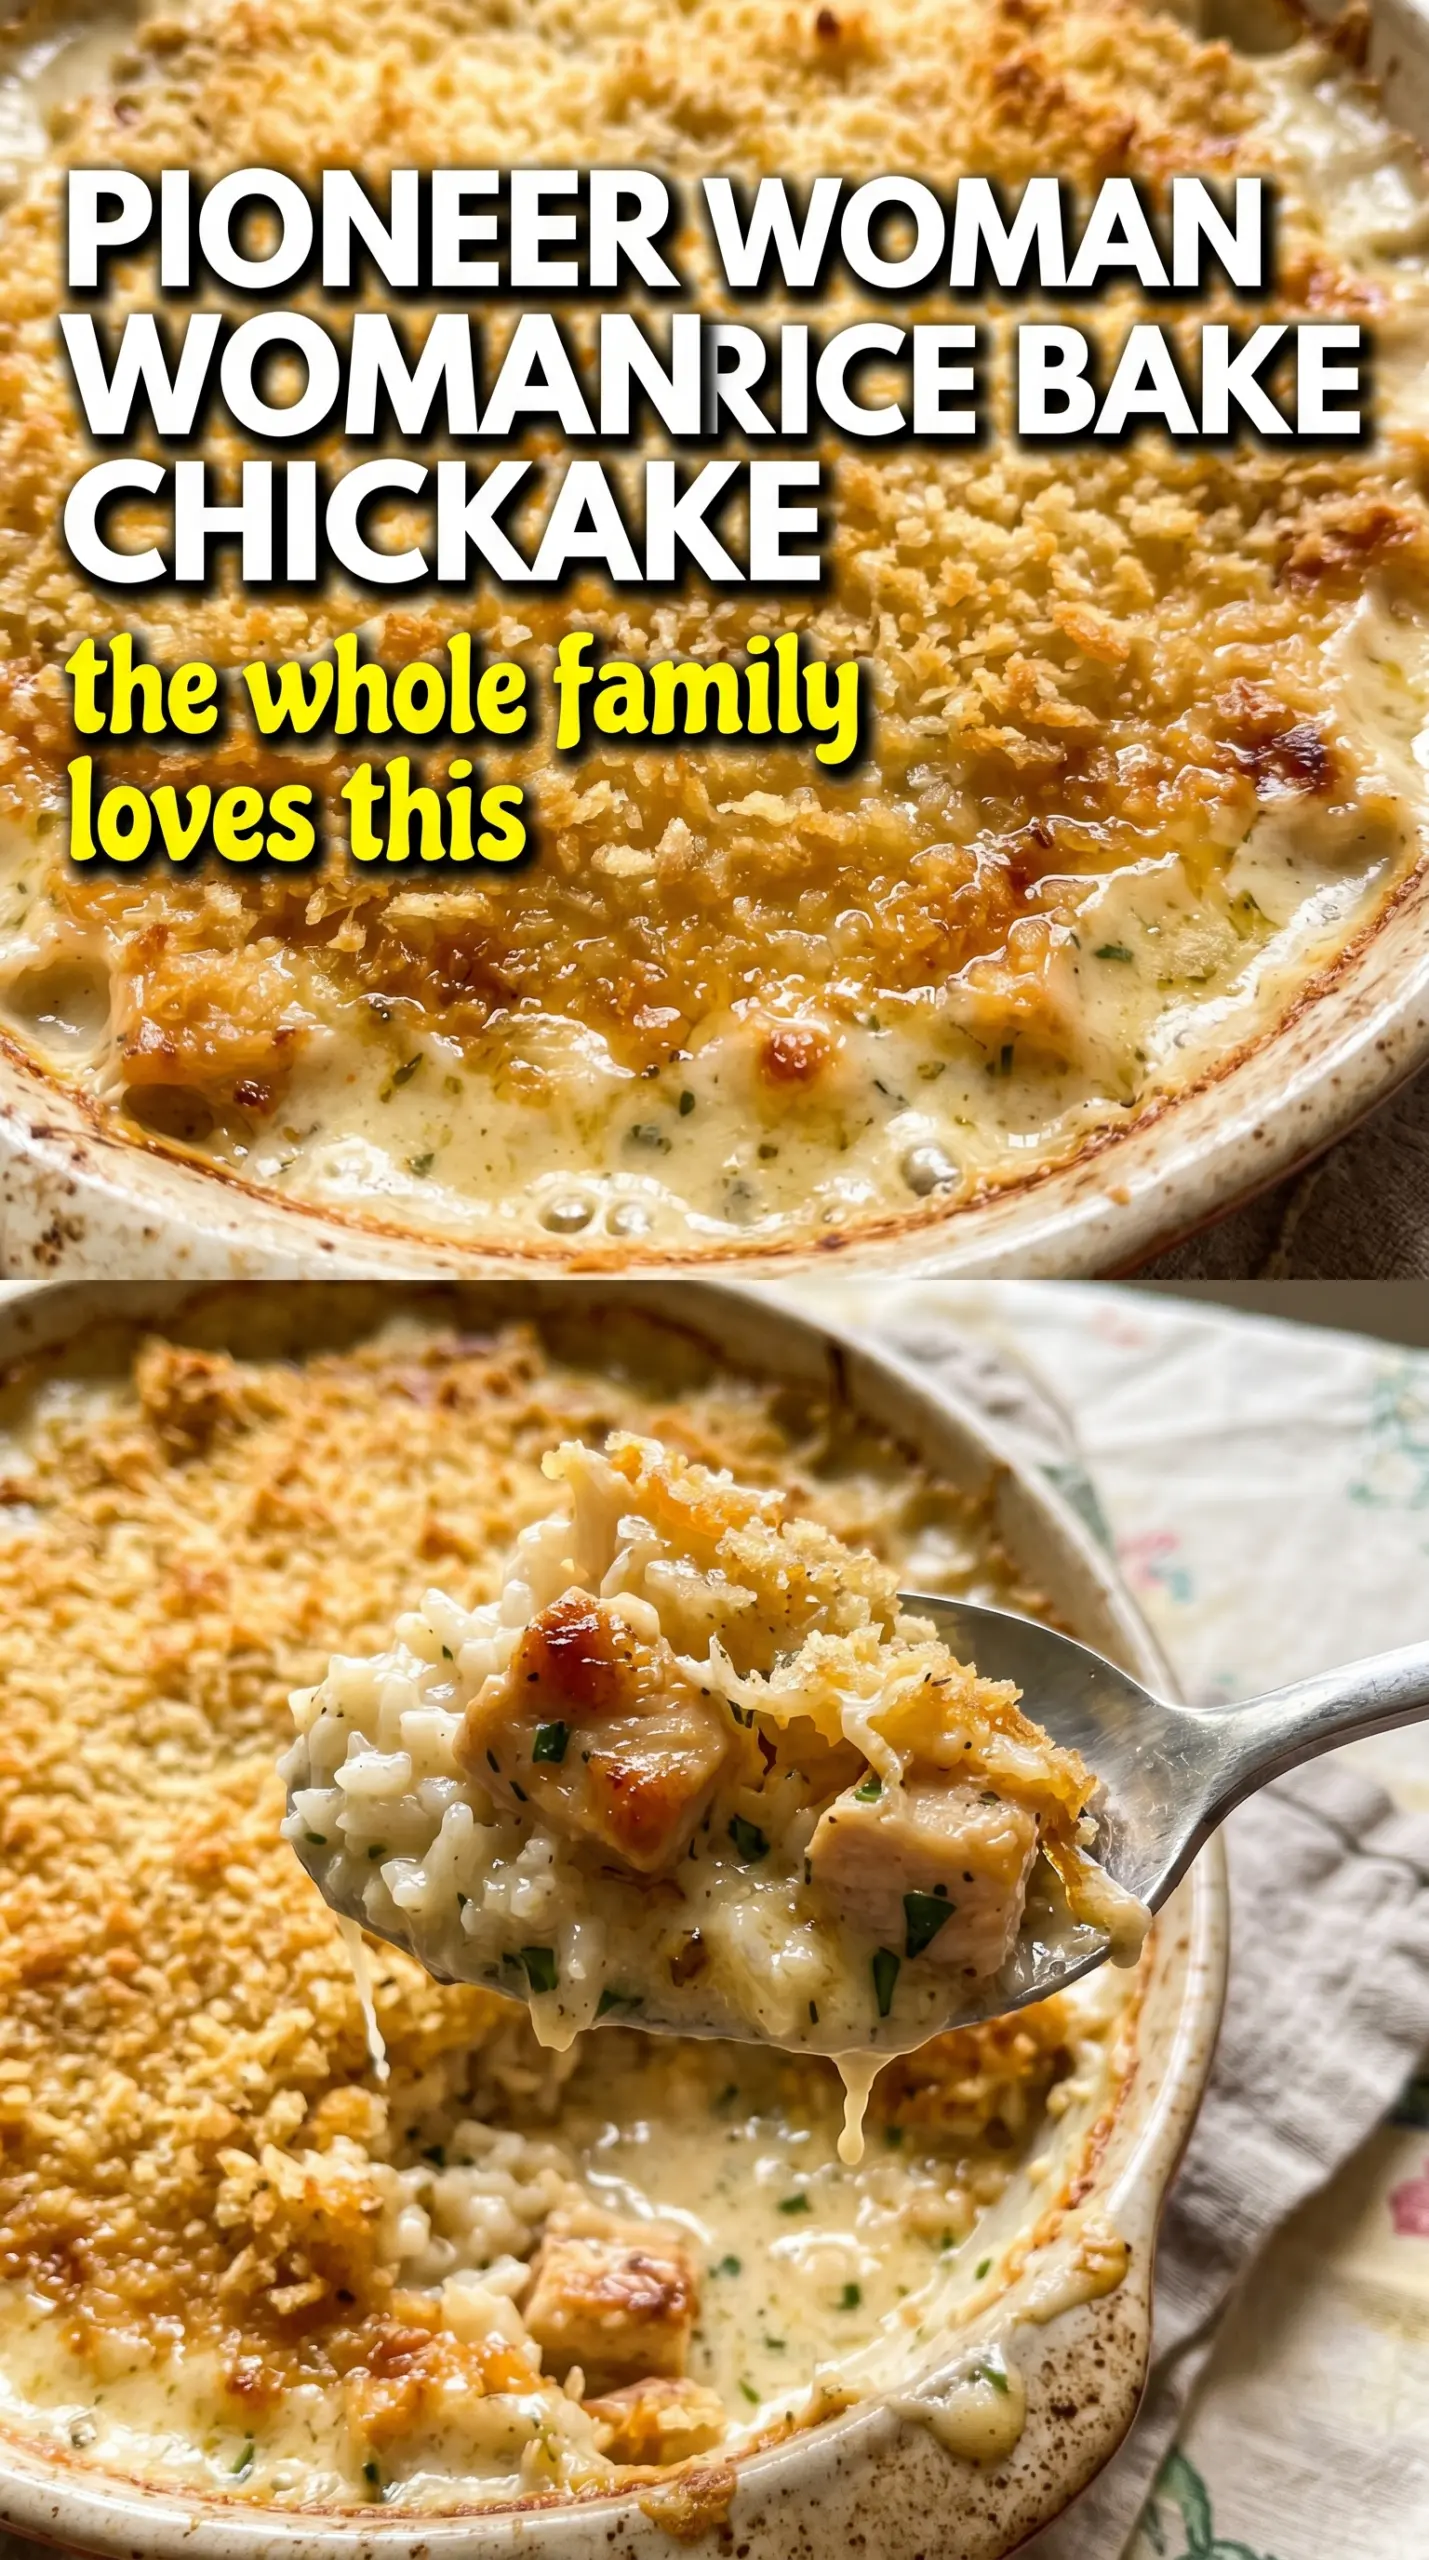
Golden chicken and deeply savory rice come out of the same pan, and that’s the whole reason this bake earns a permanent place in the dinner rotation. The rice doesn’t taste like an afterthought here; it absorbs the chicken drippings, onion soup mix, and creamy broth into something rich, soft, and almost spoonable, while the skin on top turns bronzed and crisp in the oven.
What makes this version work is the balance of liquid and time. The three soups build body without needing a separate sauce, and long-grain white rice stays distinct instead of collapsing into paste when it’s covered tightly at the start. Then the foil comes off at the end, which is what lets the chicken color and the top layer of rice dry out just enough to pick up flavor instead of staying wet.
Below, I’ll show you the one thing that keeps this casserole from turning mushy, plus a few practical swaps if you need to work with what’s in the pantry. If you’ve ever had a chicken-and-rice bake come out bland or soupy, the details here will save it.
The rice came out fluffy underneath the chicken and soaked up all that onion-soup flavor without turning gummy. I baked it the full time and the skin on top got beautifully golden.
Like this Pioneer Woman chicken rice bake? Save it to Pinterest for the nights when you want one pan, tender chicken, and rice that cooks under all those savory drippings.
The Part That Stops Chicken Rice Bake From Turning Mushy
The biggest mistake with a chicken rice bake is treating the rice like stovetop rice. It’s not getting a quick boil and a lid. It’s sitting under chicken, soup, and foil for a long stretch, which means the grain choice matters a lot more than people think.
Long-grain white rice is the right move because it stays separate while still soaking up flavor. Short-grain rice turns soft fast, and brown rice needs a different amount of liquid and a much longer bake. If the dish looks too wet at the end, give it those last 10 minutes uncovered before you judge it; the rice finishes setting as steam escapes.
- Long-grain white rice — This holds its shape best under the soups and broth. It cooks evenly in the casserole and won’t collapse into a dense mass the way some other rice types can.
- Three condensed soups — The mushroom, chicken, and celery soups give you body, salt, and background savoriness all at once. They’re doing the work of a sauce without any extra steps.
- Onion soup mix — This is the shortcut that makes the dish taste like it simmered longer than it did. If you don’t have it, use a dry onion soup-style seasoning blend, but the classic packet has the most reliable salt and onion punch.
- Chicken broth instead of water — Water works, but broth gives the rice a deeper base flavor. Use low-sodium broth if your soup packets run salty, because the seasoning can stack up fast.
What Each Ingredient Is Actually Doing in This Chicken and Rice Bake
- Chicken (the protein center) — Even pieces cook at the same rate. Boneless finishes faster; bone-in creates richer broth.
- Rice (the starch and substance) — Uncooked rice absorbs the liquid as the dish bakes. Choose a type that won’t turn mushy.
- Broth or stock (the cooking liquid) — This seasons the rice and chicken together. Use the right ratio or rice turns mushy or crunchy.
- Vegetables (olives, tomatoes, peppers, onions) — Cut to size and layer them. Mediterranean flavors from olives and tomatoes define the dish.
- Lemon or citrus (the brightness) — Fresh juice adds Mediterranean character. Add some during cooking and some after so you get both.
- Herbs (oregano, thyme, basil) — Mediterranean herbs define the personality. Fresh or dried both work; fresh adds more brightness.
- Oil (the cook and carrier) — Good olive oil carries herb and vegetable flavors. Use quality oil for the best flavor.
- Proper baking covered (the technique) — Covered baking keeps everything moist while rice absorbs liquid. Uncover at the end if you want browning.
Building the Casserole So the Rice Cooks Evenly
Mix the Base First
Whisk the soups, rice, and liquid directly in the baking dish until the mixture looks evenly cloudy and the rice is distributed across the pan. This matters because dry pockets of rice won’t hydrate at the same rate, and those little patches can stay hard while the rest turns soft. Stir in half the onion soup mix before the chicken goes on top so the seasoning gets into the rice itself, not just the skin.
Season and Set the Chicken Skin-Side Up
Season the chicken pieces generously with salt, pepper, garlic powder, and paprika, then nestle them into the rice with the skin facing up. The skin needs to stay above the liquid so it can color instead of steaming. If you bury the chicken, the meat will still cook, but you’ll lose the roasted top that makes this casserole worth making.
Cover Tight, Then Finish Uncovered
Seal the pan tightly with foil for the first hour so the rice can absorb the liquid without drying out. Then remove the foil and bake until the chicken is golden and the rice has taken in the last bit of moisture. If the chicken is done but the rice still looks loose, give it a few more minutes uncovered; the rice should be tender, not soupy, and the pan should look settled at the edges.
How to Adapt This Bake Without Losing What Makes It Work
Use cream of celery or cream of mushroom only
If you’re missing one can, replace it with another condensed cream soup in the same amount. Cream of chicken gives the mildest result, cream of mushroom adds the most earthy depth, and cream of celery brings a little more vegetable sweetness. The texture stays right as long as you keep the total amount of condensed soup the same.
Make it gluten-free
Use certified gluten-free condensed soups and a gluten-free onion soup mix, because those two ingredients are where gluten usually hides. The baking method doesn’t change at all. You’ll still get the same creamy texture and roasted chicken finish.
Swap in boneless chicken thighs
Boneless thighs cook faster and stay juicy, but you lose some of the drippy richness that bone-in pieces give the rice. Start checking early, since they can be done before the rice has finished absorbing liquid. If you use them, keep the foil on long enough for the rice to soften, then uncover to let the top set.
Add vegetables without watering it down
Stir in a handful of frozen peas or finely diced carrots before baking if you want more color and a little extra vegetable presence. Keep the amount modest so you don’t throw off the liquid balance. Large amounts of watery vegetables can make the rice loose instead of creamy.
Storage and Reheating
- Refrigerator: Store covered for up to 4 days. The rice will firm up as it chills, but the flavor stays rich.
- Freezer: It freezes okay in portions, though the rice softens a bit after thawing. Cool completely, pack airtight, and freeze for up to 2 months.
- Reheating: Reheat covered in the oven at 325°F with a splash of broth to loosen the rice. The most common mistake is blasting it uncovered in the microwave until the chicken dries out and the rice turns patchy.
Questions I Get Asked About This Recipe

Pioneer Woman Chicken Rice Bake
Ingredients
Equipment
Method
- Preheat the oven to 350°F and grease a large 9x13 baking dish.
- Whisk together the three soups, the rice, and the water or chicken broth in the prepared dish until combined.
- Sprinkle half of the onion soup mix into the rice and stir.
- Season the chicken pieces generously with salt, pepper, garlic powder, and paprika; nestle them skin-side up into the rice.
- Sprinkle the remaining onion soup mix over the chicken.
- Cover tightly with foil and bake for 1 hour at 350°F, until the rice looks set around the edges (visual cue: bubbling through the surface near the dish sides).
- Remove the foil and bake 25-30 minutes at 350°F until the chicken is golden and the rice has absorbed all liquid (visual cue: crispy browned chicken skin and a rice surface with no visible pooling).


