Crispy chicken thighs over garlic Parmesan rice is the kind of one-pan dinner that earns its place in the rotation fast. You get a crackling top on the chicken, tender rice underneath, and enough savory Parmesan flavor in every bite that nobody is reaching for a sauce on the side. The best part is that the rice cooks right in the same pan, so it picks up the browned bits from the chicken and the sweetness from the onion instead of tasting flat.
This version works because the chicken is seared first, skin-side down, which renders some fat and gives the thighs a head start on color before they go into the oven. The rice gets toasted briefly in the skillet too, and that small extra step keeps the grains from turning mushy. Parmesan goes in with the broth, where it melts into the rice and makes the whole dish taste richer without turning heavy.
Below, I’ll walk you through the few spots where this recipe can go sideways and how to keep the rice fluffy, the chicken skin crisp, and the bottom of the pan from sticking.
The rice came out fluffy and creamy at the same time, and the chicken skin stayed crisp even after baking. I was worried the Parmesan would clump, but it melted right into the broth and made the whole pan taste like a restaurant dinner.
Creamy Parmesan chicken and rice with crisp skin is the one-pan dinner worth pinning for busy nights.
The Trick to Keeping the Rice Creamy Without Turning It Mushy
The mistake most people make with chicken and rice bakes is treating the rice like it can sit in a shallow pool of liquid and still behave. Long-grain white rice needs just enough broth to cook through while it absorbs flavor; too much liquid and the bottom turns soft before the top is done. Toasting the rice in the skillet first gives the grains a little structure, which helps them stay separate instead of collapsing into a sticky layer.
The other key move is keeping the chicken skin above the rice. If the thighs sit too deep in the liquid, the skin steams and goes limp. Nestle them in just enough to anchor them, then leave the top exposed so the oven can finish the job and crisp the skin while the rice bubbles underneath.
What Each Ingredient Is Actually Doing in This Pan
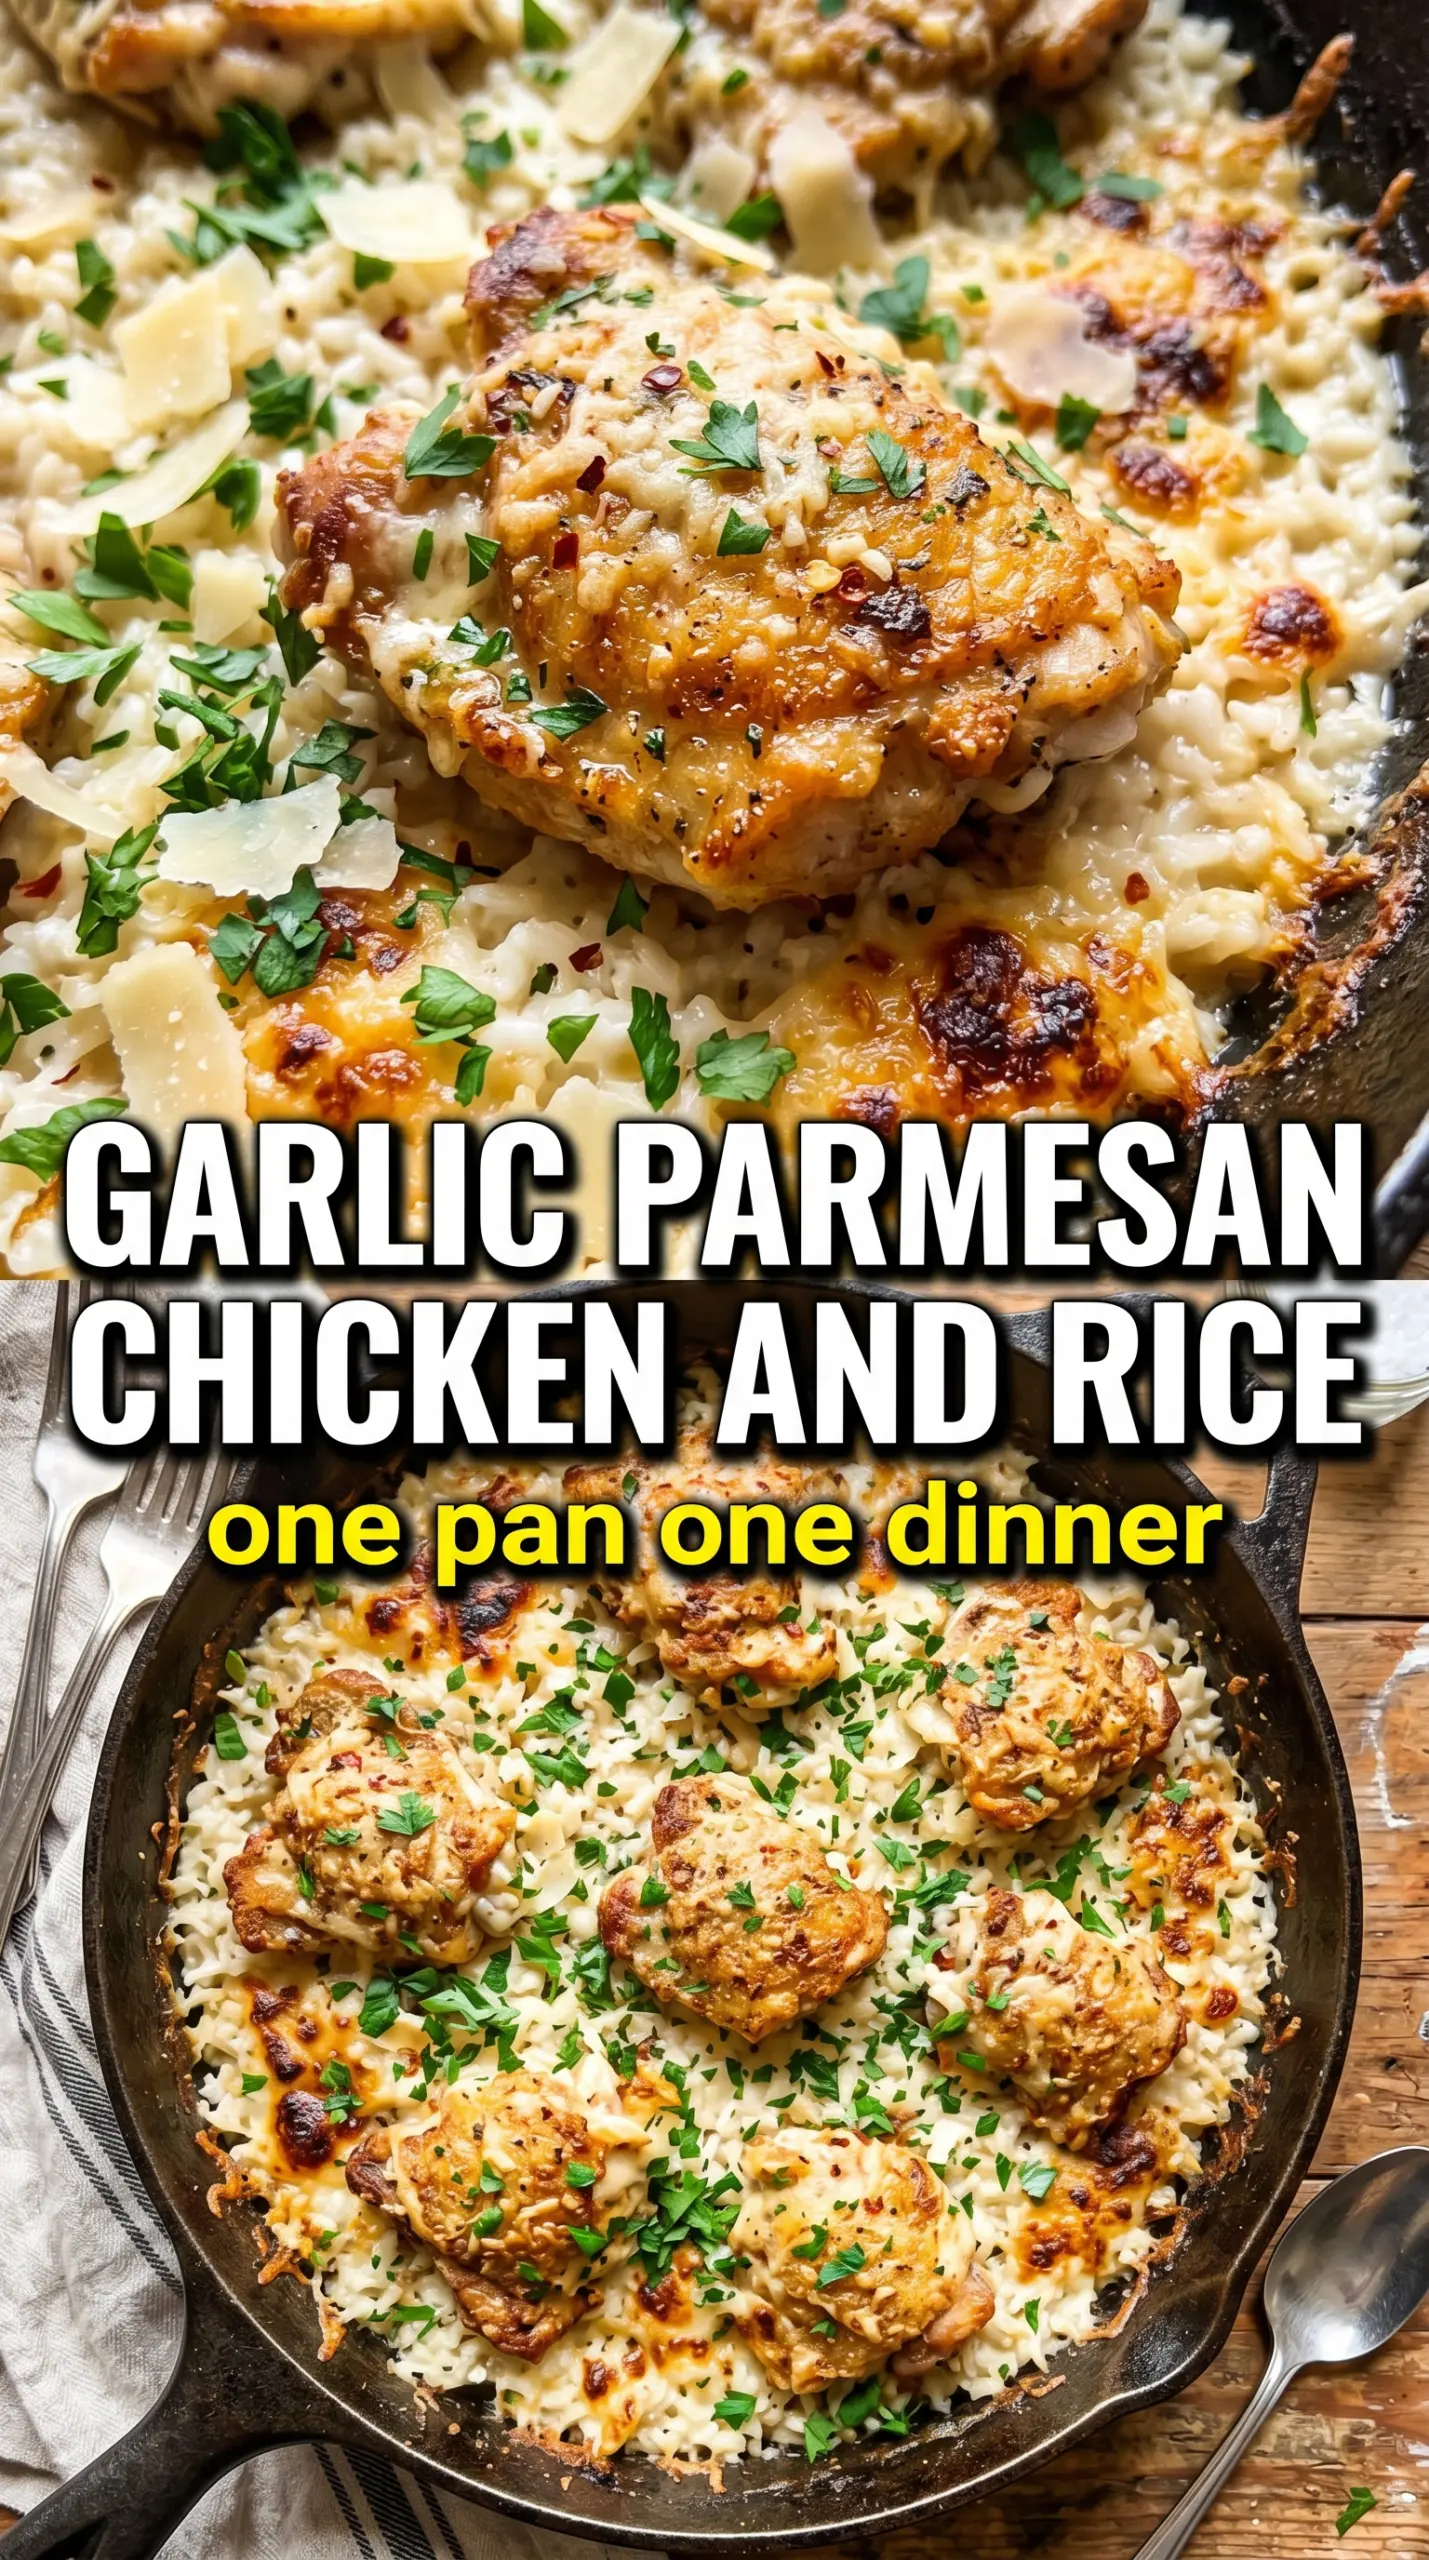
- Bone-in, skin-on chicken thighs — These bring the most flavor and stay juicy through the bake. Boneless thighs will work in a pinch, but they cook faster and won’t give you that same crisp, bronzed top. If you swap, start checking earlier and expect less pan drippings for the rice.
- Long-grain white rice — This is the best choice because it stays fluffy and distinct after baking. Short-grain rice or arborio will go softer and starchier, which changes the whole dish. Rinse only if your rice is especially dusty; otherwise the surface starch helps the sauce cling a little better.
- Parmesan — Use the finely grated kind that melts cleanly into the broth. The shelf-stable shaker style can work, but fresh-grated Parmesan gives you a smoother finish and a sharper savory edge. Add extra at the end if you want a little more salt and a browned top.
- Chicken broth — This does more than hydrate the rice. It carries the onion, garlic, and Parmesan flavor through every bite, so a good-tasting broth matters more here than in a plain rice side. Low-sodium broth gives you room to season properly without overshooting the salt.
- Onion and garlic — These build the base of the dish, and they need a minute in the pan before the rice goes in. If the garlic browns too fast, it turns bitter, so keep it moving and add the broth as soon as it smells fragrant.
Building the Pan So Nothing Overcooks or Sticks
Getting the Chicken Skin Started
Season the thighs well, then place them skin-side down in hot olive oil. You want an active sizzle and a deep golden layer before you turn them over; that means the fat is rendering and the skin will stay crisp later. If the pan is crowded or the heat is too low, the skin just turns pale and rubbery. Give the thighs enough room to brown instead of steaming against each other.
Cooking the Base in the Same Pan
Once the chicken comes out, the onion goes into the same skillet to catch all that flavor left behind. Scrape up the browned bits as it softens, then add the garlic for only about a minute so it stays sweet. The rice should get glossy and lightly toasted before the broth goes in. That short toast is what keeps the grains from going gluey in the oven.
Letting the Oven Finish the Job
After the broth, Parmesan, and seasoning go in, bring the liquid to a simmer and stir once to loosen anything stuck to the bottom. Nestle the chicken back in skin-side up, then stop stirring. The rice needs calm heat to absorb the liquid evenly, and stirring at this stage breaks the top layer and slows the bake. When it’s done, the rice should be tender with no hard center, and the chicken skin should look crisp, not pale.
How to Adapt This for Different Kitchens and Different Eaters
Make It Dairy-Free
Leave out the Parmesan and add a little extra salt plus a spoonful of nutritional yeast if you want that savory edge back. The dish will taste a little lighter and less rich, but the chicken, onion, and broth still carry the base flavor. Use a broth you already like, because it matters more once the cheese is gone.
Swap in Boneless Chicken Thighs
Boneless thighs cut the cook time down, so start checking the rice earlier and pull the pan when the thighs are just cooked through. You’ll lose the crisp skin and a little of the richness that comes from rendering the fat, but the dish stays tender and weeknight-friendly. Keep the sear brief so the smaller thighs don’t dry out.
Use Brown Rice Only If You Plan for It
Brown rice needs much more liquid and a longer bake, so this isn’t a straight swap. If you use it, expect a looser texture and a longer covered cooking time before you uncover the pan to finish the chicken. The flavor is nuttier, but the chicken skin won’t stay as crisp for as long.
Storage and Reheating
- Refrigerator: Store leftovers in an airtight container for up to 4 days. The rice firms up a little as it chills, but the flavor holds up well.
- Freezer: It freezes, though the rice softens a bit after thawing. Freeze in portions for up to 2 months and thaw overnight in the fridge.
- Reheating: Cover and warm in a 325°F oven with a splash of broth until hot, or reheat gently in the microwave. Don’t blast it on high heat, or the rice dries out before the center warms through.
Answers to the Questions Worth Asking
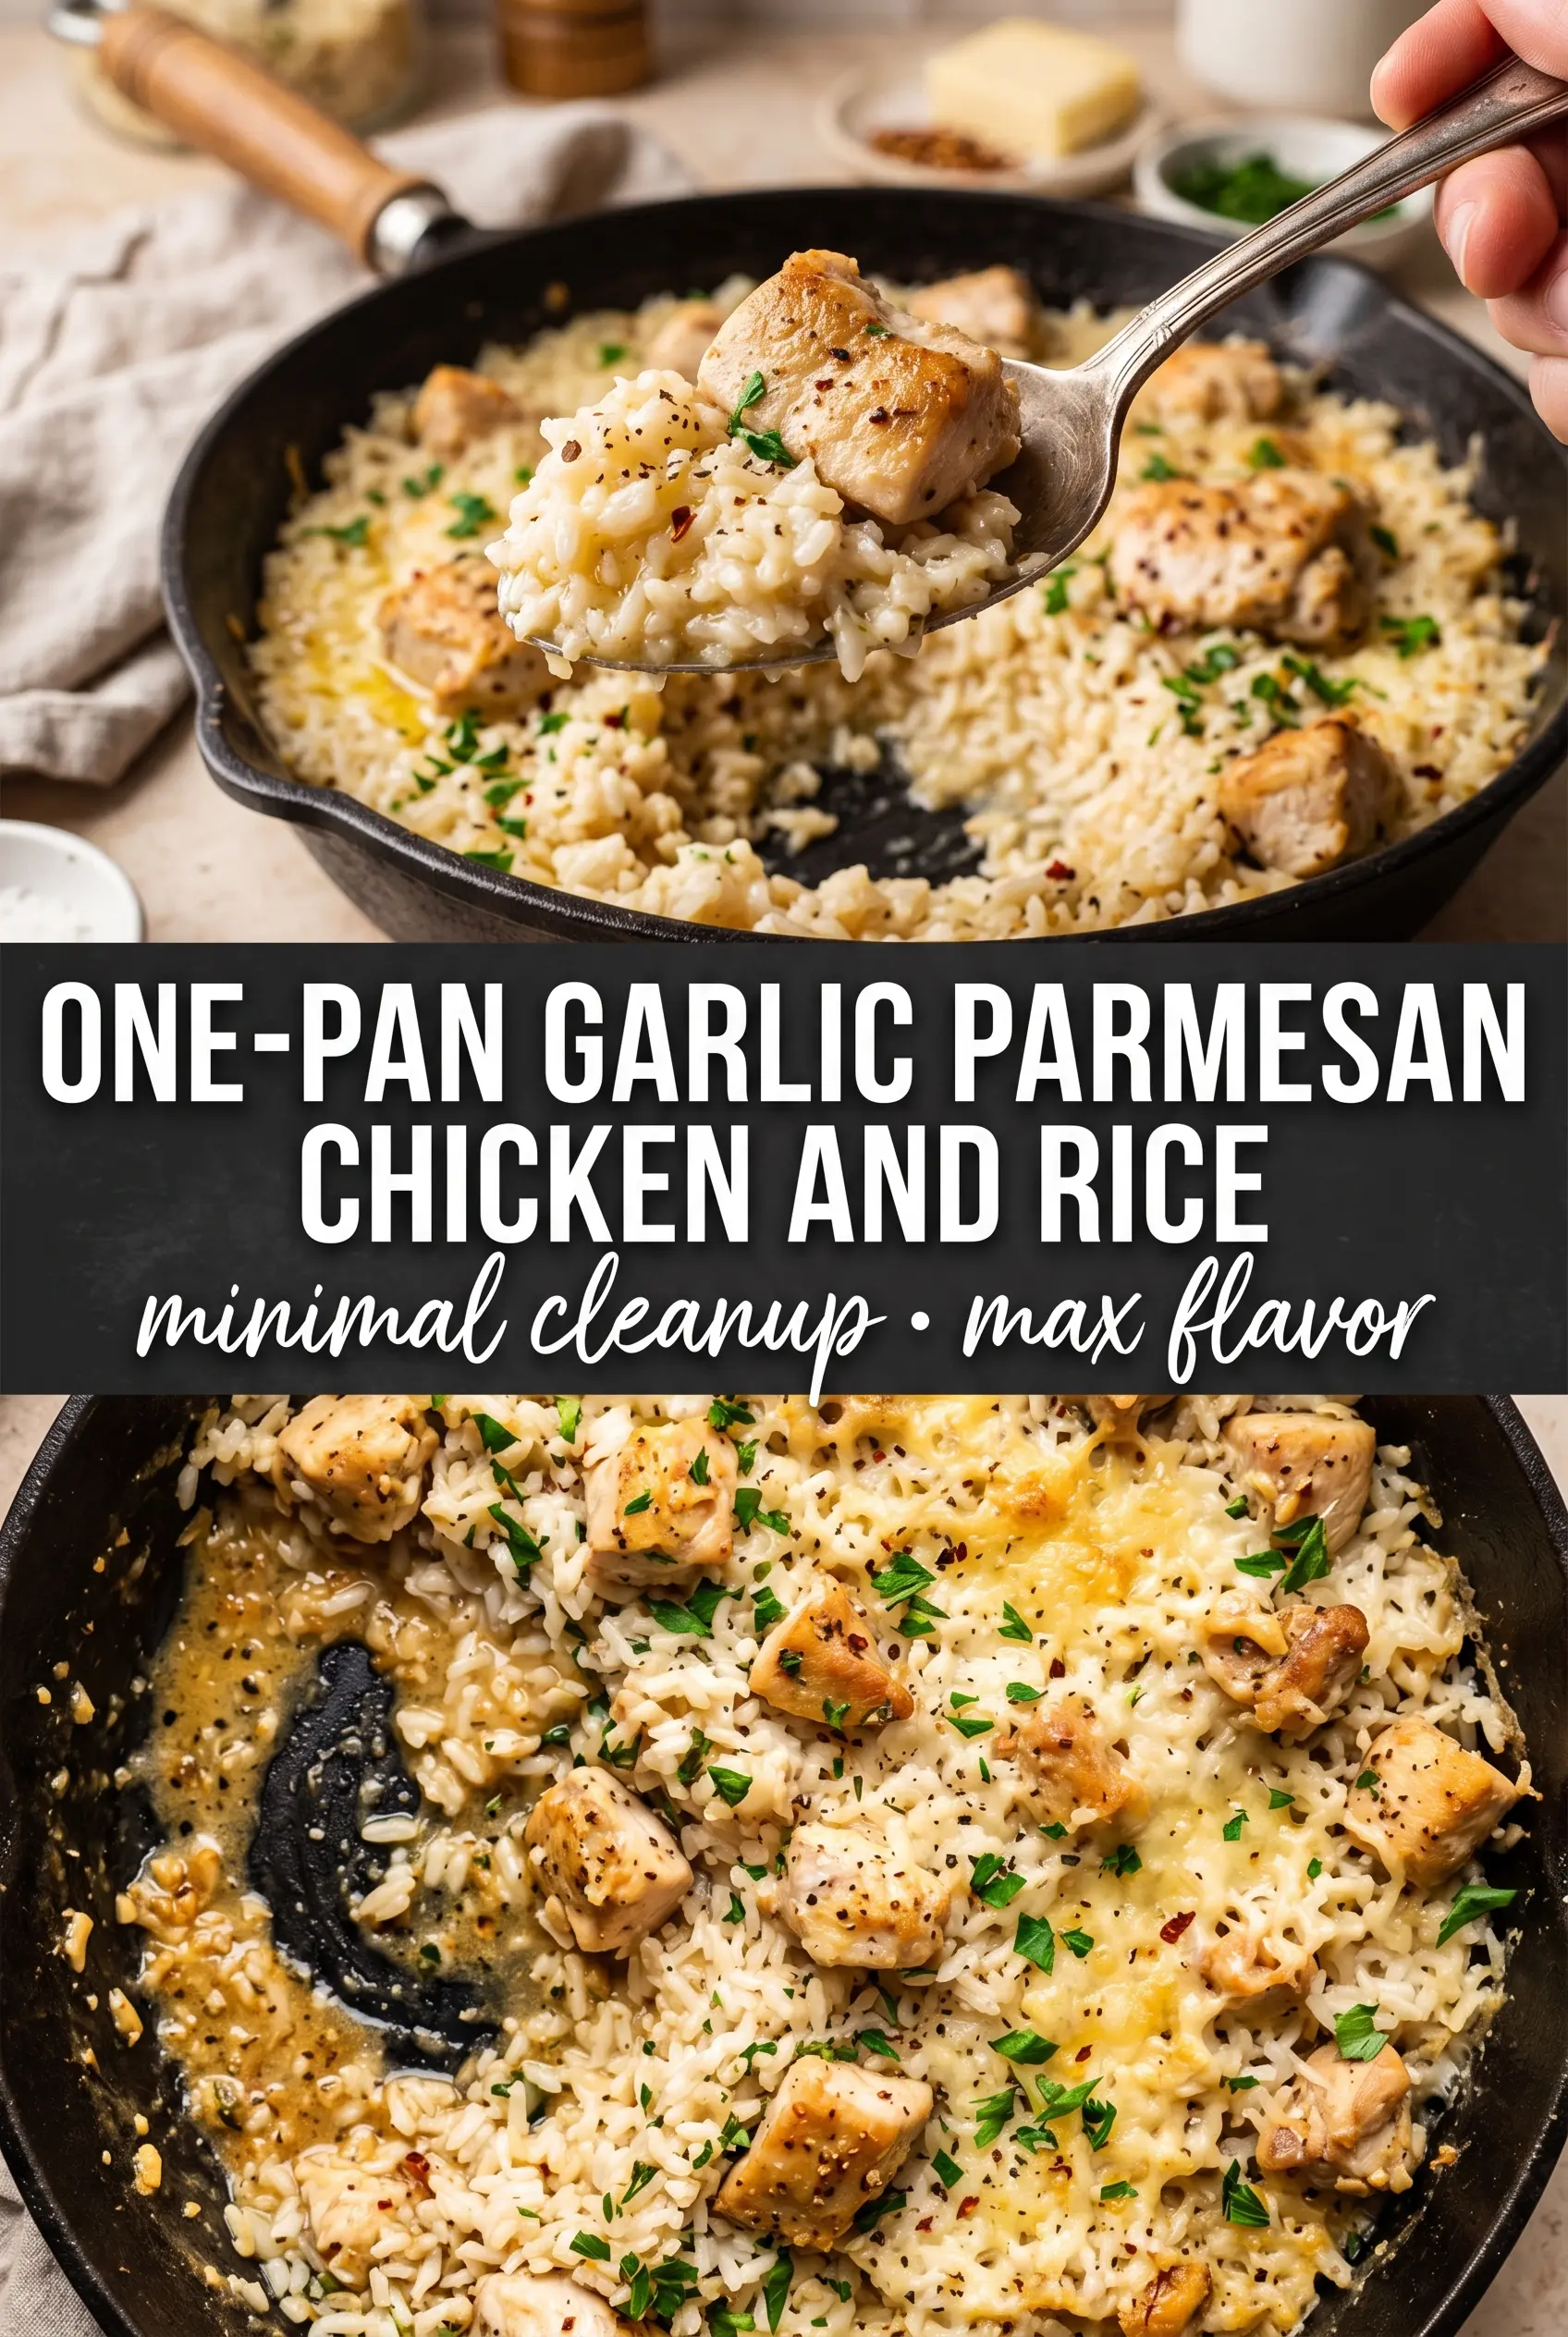
One-Pan Garlic Parmesan Chicken and Rice
Ingredients
Equipment
Method
- Preheat the oven to 400°F. Season the chicken thighs all over with salt, pepper, garlic powder, Italian seasoning, and smoked paprika.
- Heat the olive oil in a large oven-safe skillet over medium-high heat. Sear the chicken skin-side down for 6-7 minutes until the skin is golden, then remove the chicken.
- Add the diced onion to the same skillet and cook for 3 minutes. Stir in the minced garlic and cook for 1 minute until fragrant.
- Add the uncooked long-grain white rice and toast for 2 minutes. Keep stirring so the rice is lightly coated and begins to smell nutty.
- Pour in the chicken broth and stir. Stir in Parmesan and dried Italian seasoning, then bring to a simmer.
- Nestle the chicken thighs skin-side up into the rice. Sprinkle with extra Parmesan so some cheese sits on top of the chicken.
- Transfer the skillet to the oven, uncovered, and bake for 30-35 minutes at 400°F. The rice should be cooked and the chicken skin should be golden.
- Remove from the oven and garnish with fresh parsley. Serve hot, using a spoon to lift chicken and Parmesan-infused rice together.


