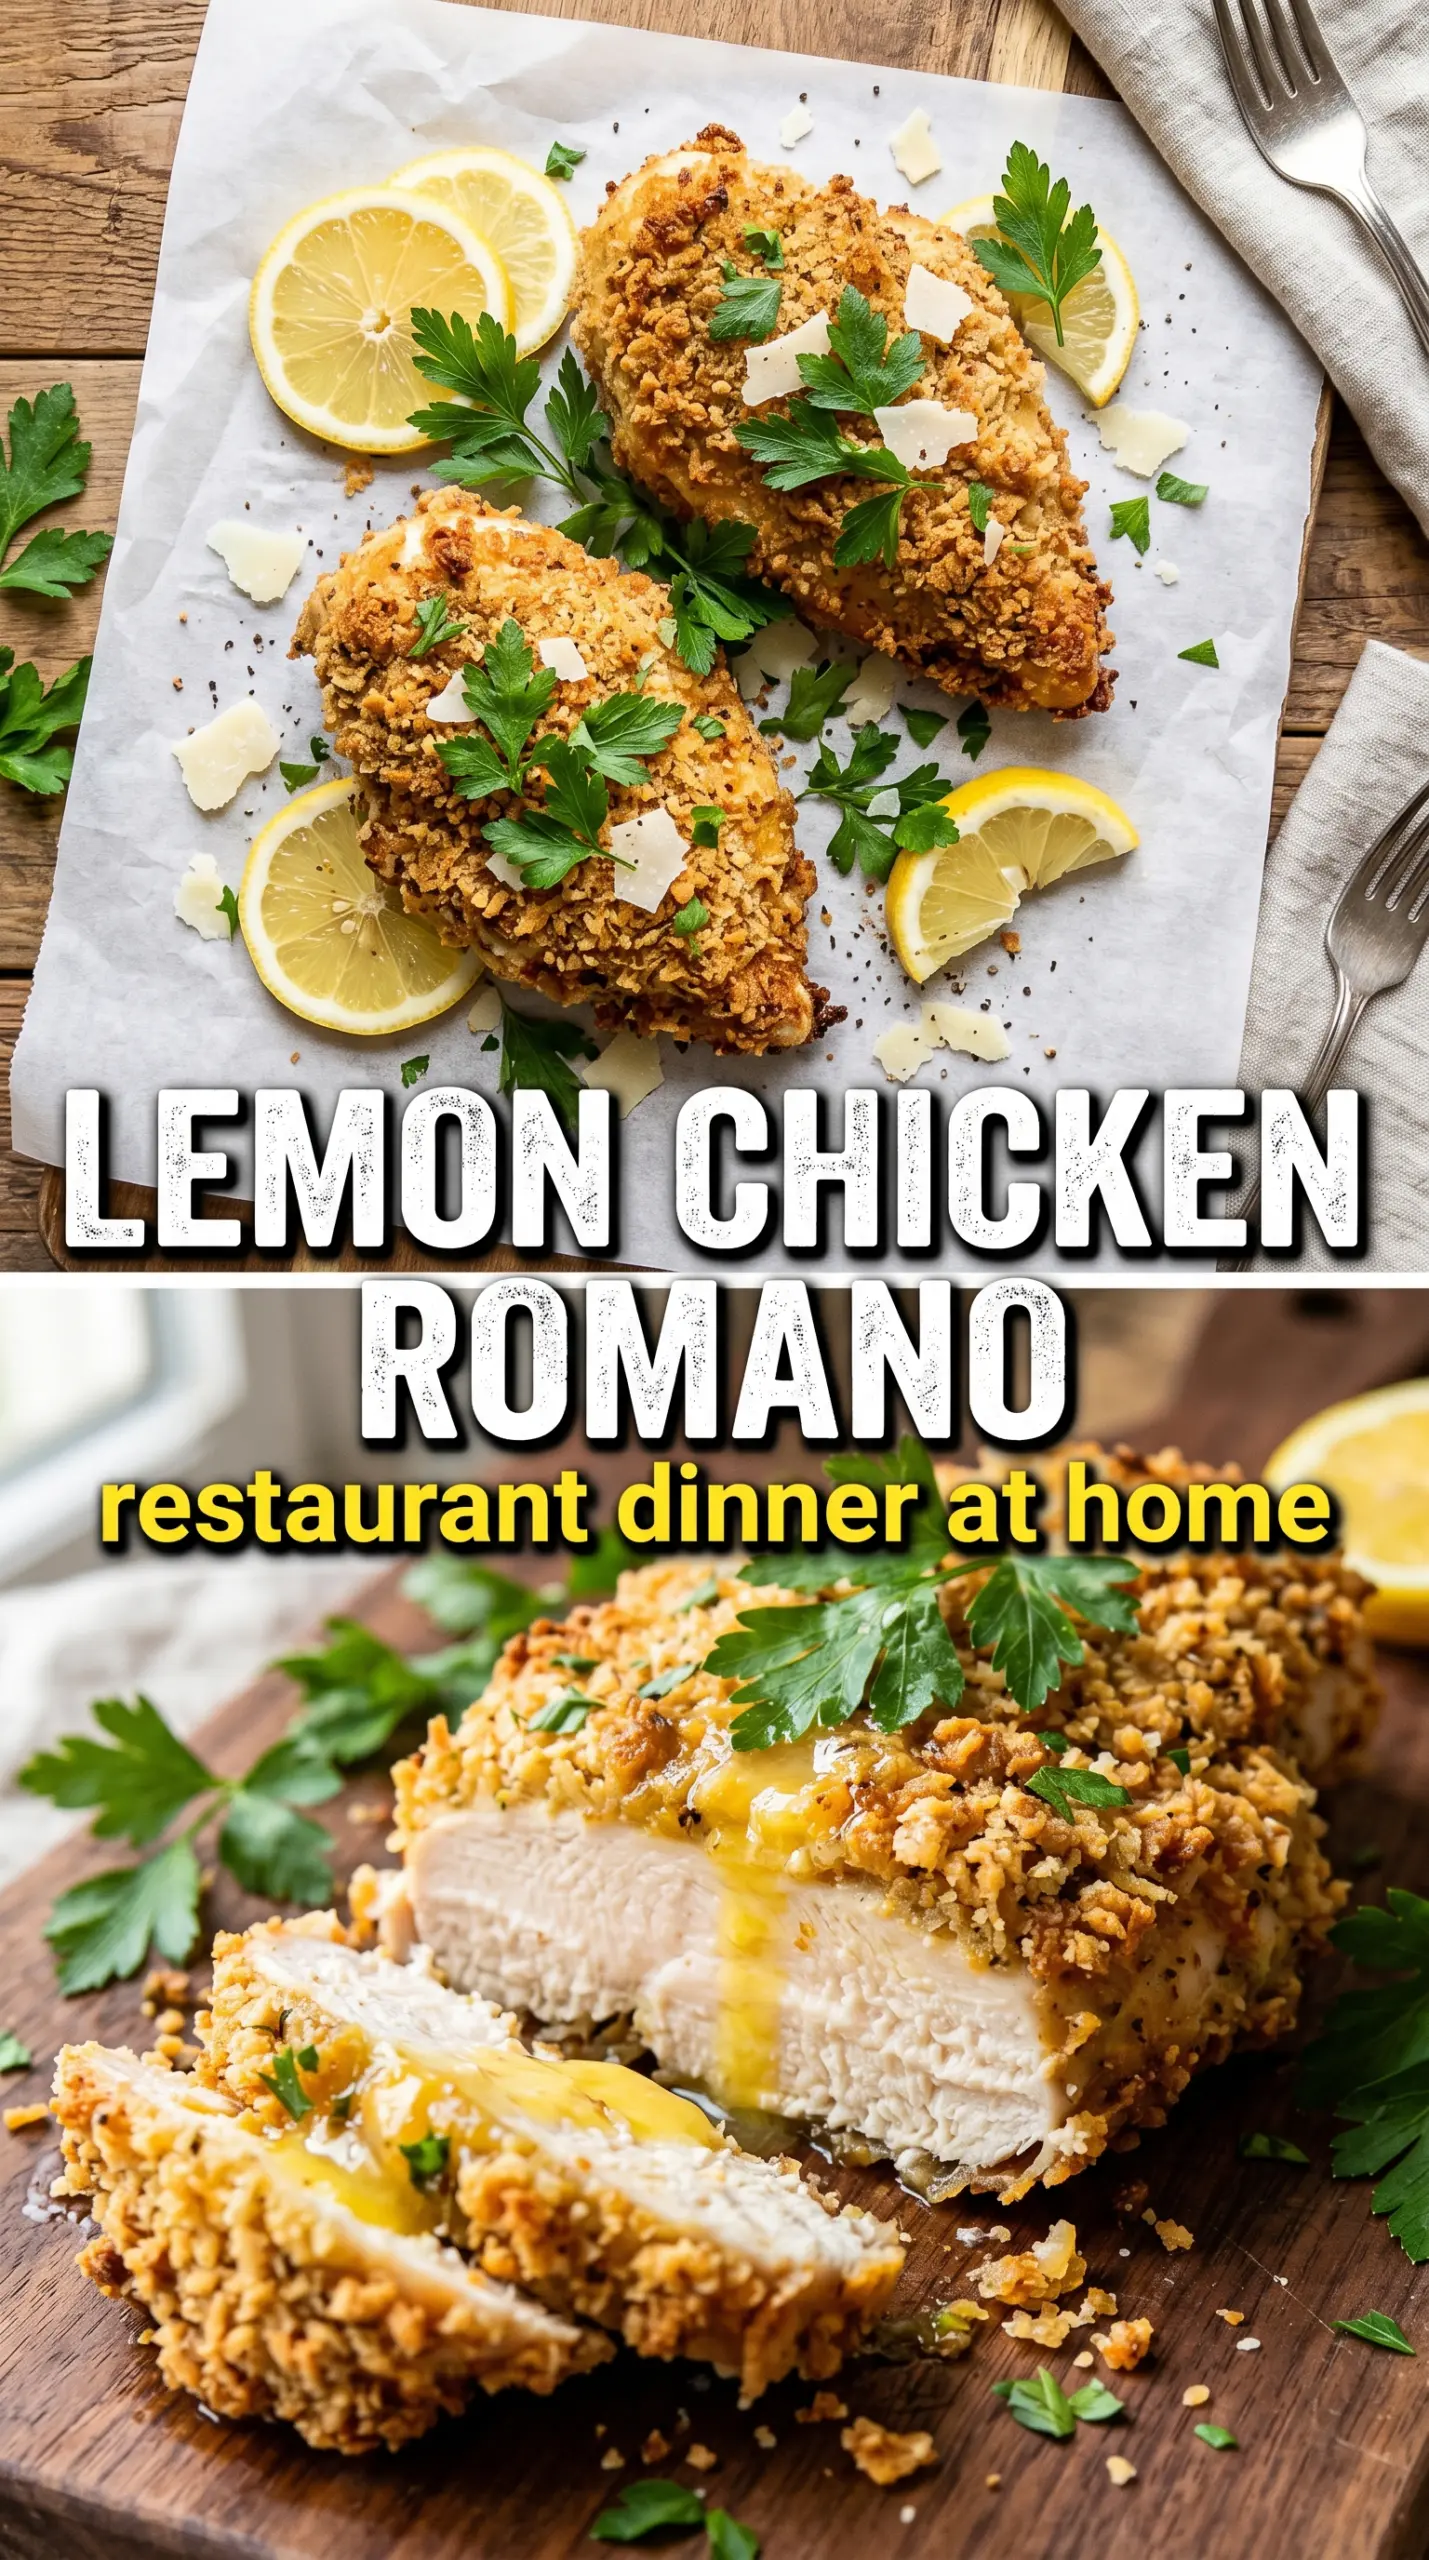
Thin, golden chicken cutlets with a crisp Romano crust and a bright lemon butter sauce are the kind of dinner that disappears fast. The coating stays crunchy for just long enough to carry you from skillet to plate, and the sauce brings enough tang and richness to keep every bite from feeling heavy. It’s the balance that makes this one worth making again: shattering crust, juicy chicken, and a glossy pan sauce that tastes like it came from a much fancier kitchen.
What makes this version work is the mix of finely grated Pecorino Romano and panko. Romano brings salt, sharpness, and a tighter, more savory crust than bread crumbs alone, while the panko keeps the coating from turning dense. The chicken cooks quickly because the cutlets are thin from the start, which means you get deep browning before the meat has time to dry out. The lemon-caper butter sauce goes into the same pan, so it picks up every browned bit left behind after frying.
Below, I’ll walk through the breading setup that keeps the crust attached, the pan trick that keeps the sauce glossy instead of greasy, and the small swaps that still give you a crisp, bright result.
The Romano crust came out shatteringly crisp, and the lemon-caper sauce was just the right amount of sharp. I followed the timing exactly and the chicken stayed juicy instead of drying out.
Crispy Lemon Chicken Romano with that bright lemon-caper butter is the kind of dinner worth saving for busy nights.
The Romano Crust Needs Heat, Not Time
With breaded chicken, the usual mistake is overthinking the cook. If the pan isn’t hot enough, the coating drinks in oil and turns soft before it ever browns. If it’s too hot, the Romano burns before the chicken cooks through. The sweet spot is medium-high heat with enough fat in the pan to keep the crust in contact with the surface, not floating in it.
The other thing that matters here is thickness. Thin, even cutlets cook fast and brown evenly, which is what keeps the cheese in the coating from turning bitter. If one piece is much thicker than the others, pound it out or slice it more evenly before breading. That small bit of prep keeps the whole batch on the same clock.
What Each Ingredient Is Actually Doing in This Lemon Chicken
- Chicken breasts (the lean protein) — Pound thin so they cook quickly and evenly. Thin chicken cooks in minutes, not overcooked.
- Lemon (the brightness and personality) — Fresh lemon juice and zest define the dish. Never use bottled; fresh is essential here.
- Garlic (the savory base) — Fresh minced garlic becomes sweet and mellow when cooked. This balances the bright lemon.
- Butter (the richness and sauce base) — This creates the silky lemon sauce. Add at the end off heat so it emulsifies smoothly.
- Broth or white wine (the liquid body) — This creates the sauce. Wine adds acidity that complements the lemon.
- Fresh herbs (parsley, thyme, or basil) — These add freshness. Add half during cooking and half after so you get both cooked and fresh flavors.
- Romano cheese (optional umami) — A little adds depth. Don’t overdo it or the lemon becomes secondary.
- High heat and quick cooking (the technique) — Sear the chicken on high heat then finish with sauce. This keeps it tender instead of tough.
What the Romano and Panko Each Bring to the Pan
- Pecorino Romano — This is the backbone of the crust. It’s salty, sharp, and dries out in a way that helps the coating crisp. Pre-grated cheese won’t melt and brown the same way, so grate it finely yourself if you want the best texture.
- Panko breadcrumbs — Panko lightens the cheese and keeps the crust from turning pasty. Regular breadcrumbs work in a pinch, but the finish is denser and less crisp. If you need a gluten-free version, use a fine gluten-free crumb with a little extra Romano for structure.
- Dry white wine — This lifts the browned bits from the pan and gives the sauce some depth before the lemon goes in. Use something you’d drink, not cooking wine. If you want to skip alcohol, use chicken broth with a small splash of white wine vinegar for the same sharp edge.
- Cold butter at the end — That last swirl is what makes the sauce glossy and smooth. Don’t let the sauce boil after the butter goes in, or it can split and look oily. Pull the pan off the heat for the finish if the burner runs hot.
Building the Cutlet, Then Finishing the Sauce in the Same Pan
Set Up the Breading Line
Season the chicken first, before it ever touches the flour. Flour on its own is bland, and seasoning the cutlet directly keeps the center from tasting flat under the crust. Keep one hand for dry ingredients and one hand for the egg so you don’t end up with a thick, gummy coating on your fingers. The flour layer should look light and dusty, not pastey.
Press the Coating On
Dip each cutlet in flour, then egg, then the Romano-panko mix, pressing firmly so the coating actually sticks. Don’t shake off the crumb layer too aggressively; you want a full, even crust. If the coating looks patchy, the cheese won’t brown in an attractive way and the chicken can leak through while it cooks. Let the breaded cutlets sit for a few minutes before frying so the crust hydrates and adheres.
Fry Until Deeply Golden
Use olive oil plus some of the butter, and let the butter foam before the chicken goes in. That’s your cue that the pan is ready. Cook the cutlets without crowding them, or the temperature drops and the crust turns greasy instead of crisp. Flip only when the underside is a deep golden color and releases easily from the pan.
Make the Lemon-Caper Finish
After the chicken comes out, keep the browned bits in the skillet. Add the garlic for just 30 seconds, long enough to smell fragrant but not long enough to brown, then pour in the wine to loosen everything stuck to the bottom. The lemon juice and capers go in next, and the sauce should simmer just until it tightens slightly. Finish with cold butter off the hottest part of the burner so the sauce turns glossy instead of breaking.
How to Adapt This for a Different Pantry or a Lighter Plate
Gluten-Free Version
Swap the all-purpose flour for a gluten-free flour blend and use gluten-free panko. The crust still gets crisp, but it may brown a little faster, so watch the edges closely. Keep the Romano finely grated so the coating holds together instead of crumbling.
Dairy-Free Adjustment
This one leans hard on cheese and butter, so a true dairy-free version changes the dish more than a simple swap would suggest. Use a dairy-free Parmesan-style shred in the crust and olive oil in place of the butter, but expect a less rich sauce and a slightly drier finish. It will still be bright and savory, just not as silky.
Chicken Thighs Instead of Breasts
Boneless thighs work well if you want a juicier, slightly richer result. They take a few minutes longer and won’t have the same neat cutlet look, but the crust still fries up beautifully. Keep the pieces even in thickness so the coating doesn’t scorch before the middle is done.
Storage and Reheating
- Refrigerator: Store leftovers in an airtight container for up to 3 days. The crust softens as it sits, especially once the sauce is on it.
- Freezer: The fried chicken freezes better than the finished sauced dish. Freeze the cutlets on a tray, then wrap tightly and store up to 2 months; make the sauce fresh when you reheat.
- Reheating: Warm the chicken in a 375°F oven on a rack or baking sheet until hot and re-crisped. Skip the microwave if you want any crunch left. Reheat the sauce gently on the stove and spoon it over the chicken right before serving.
Questions I Get Asked About This Recipe
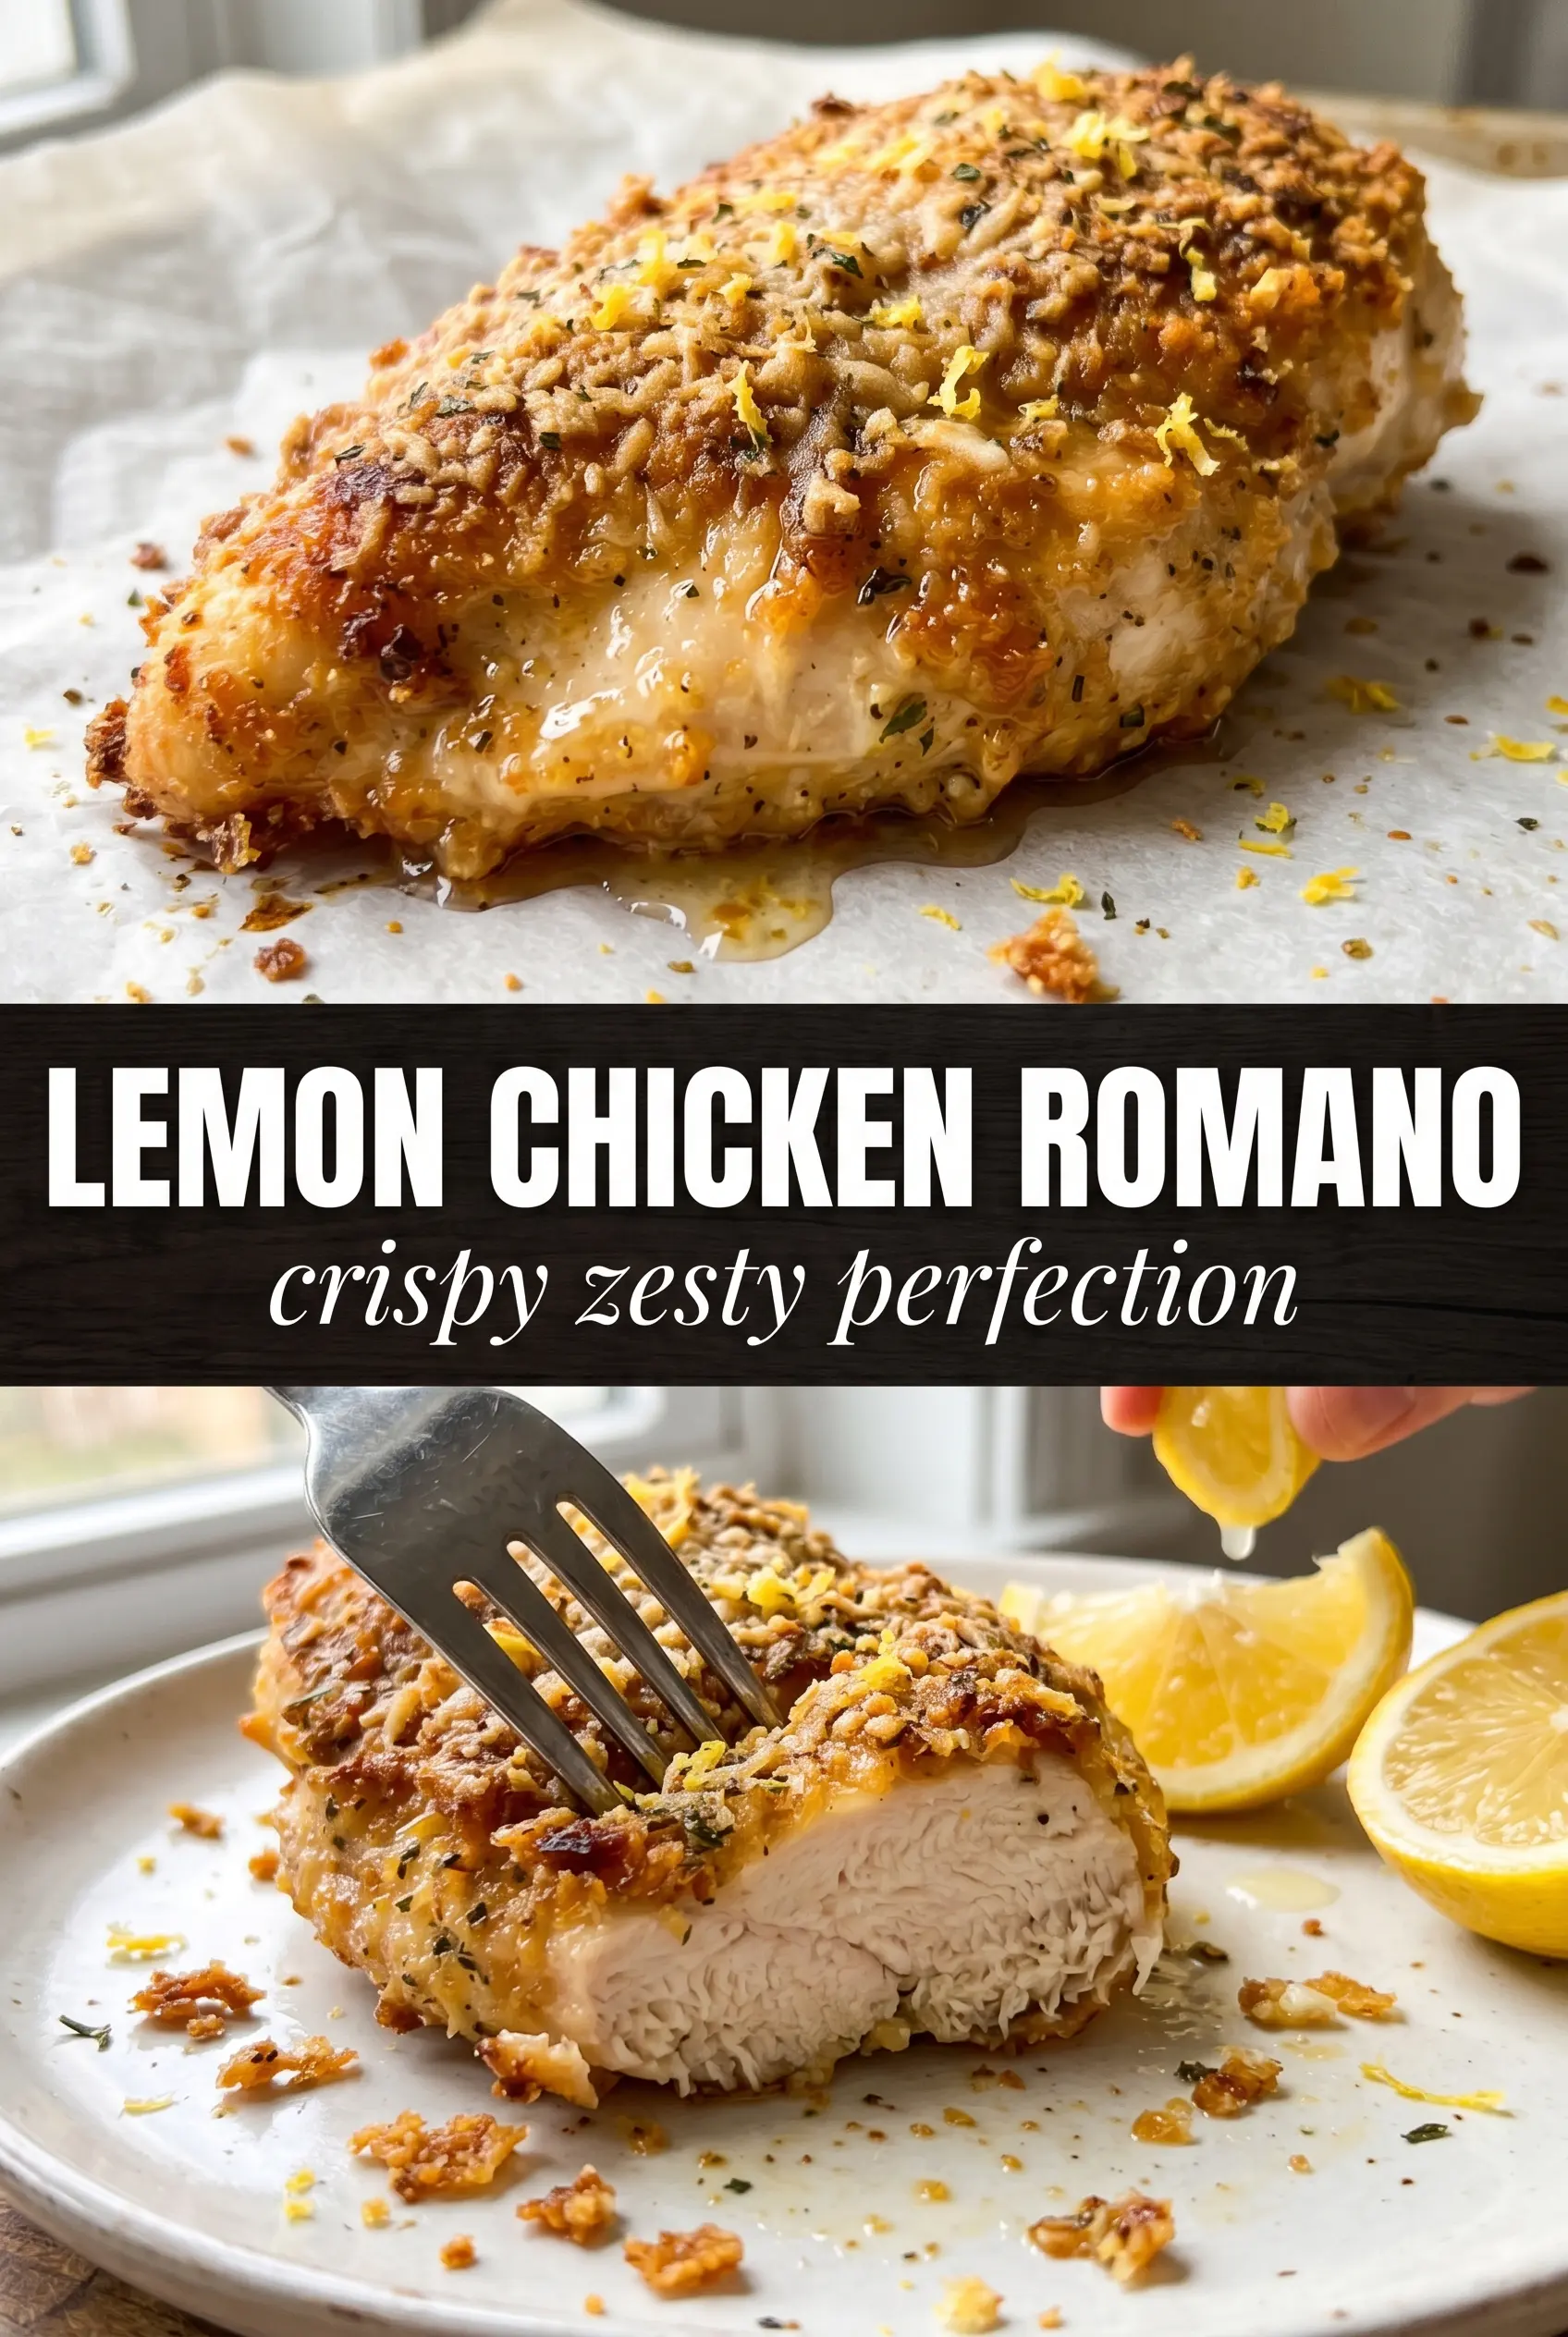
Lemon Chicken Romano
Ingredients
Equipment
Method
- Season the chicken cutlets with salt and pepper to taste, then set up three stations with flour, beaten egg, and a mix of Pecorino Romano plus panko.
- Dredge each cutlet in flour, dip into the beaten egg, and press firmly into the Romano-panko coating so the crust adheres.
- Heat olive oil and 2 tablespoons butter in a skillet over medium-high heat, then pan-fry cutlets for 3-4 minutes per side until deeply golden with a crisp, crackly crust.
- Remove the cutlets to a plate while you finish the sauce, keeping the crust intact and untouched.
- In the same pan, cook the minced garlic for 30 seconds until fragrant, then deglaze with the white wine while scraping up browned bits.
- Stir in lemon juice and capers, then simmer for 3 minutes until slightly reduced and glossy.
- Swirl in the remaining 2 tablespoons cold butter until the sauce looks smooth and glossy with a bright lemon shine.
- Plate the cutlets and pour the lemon-caper butter sauce over each one so it pools around the crispy crust, then garnish with fresh parsley.


