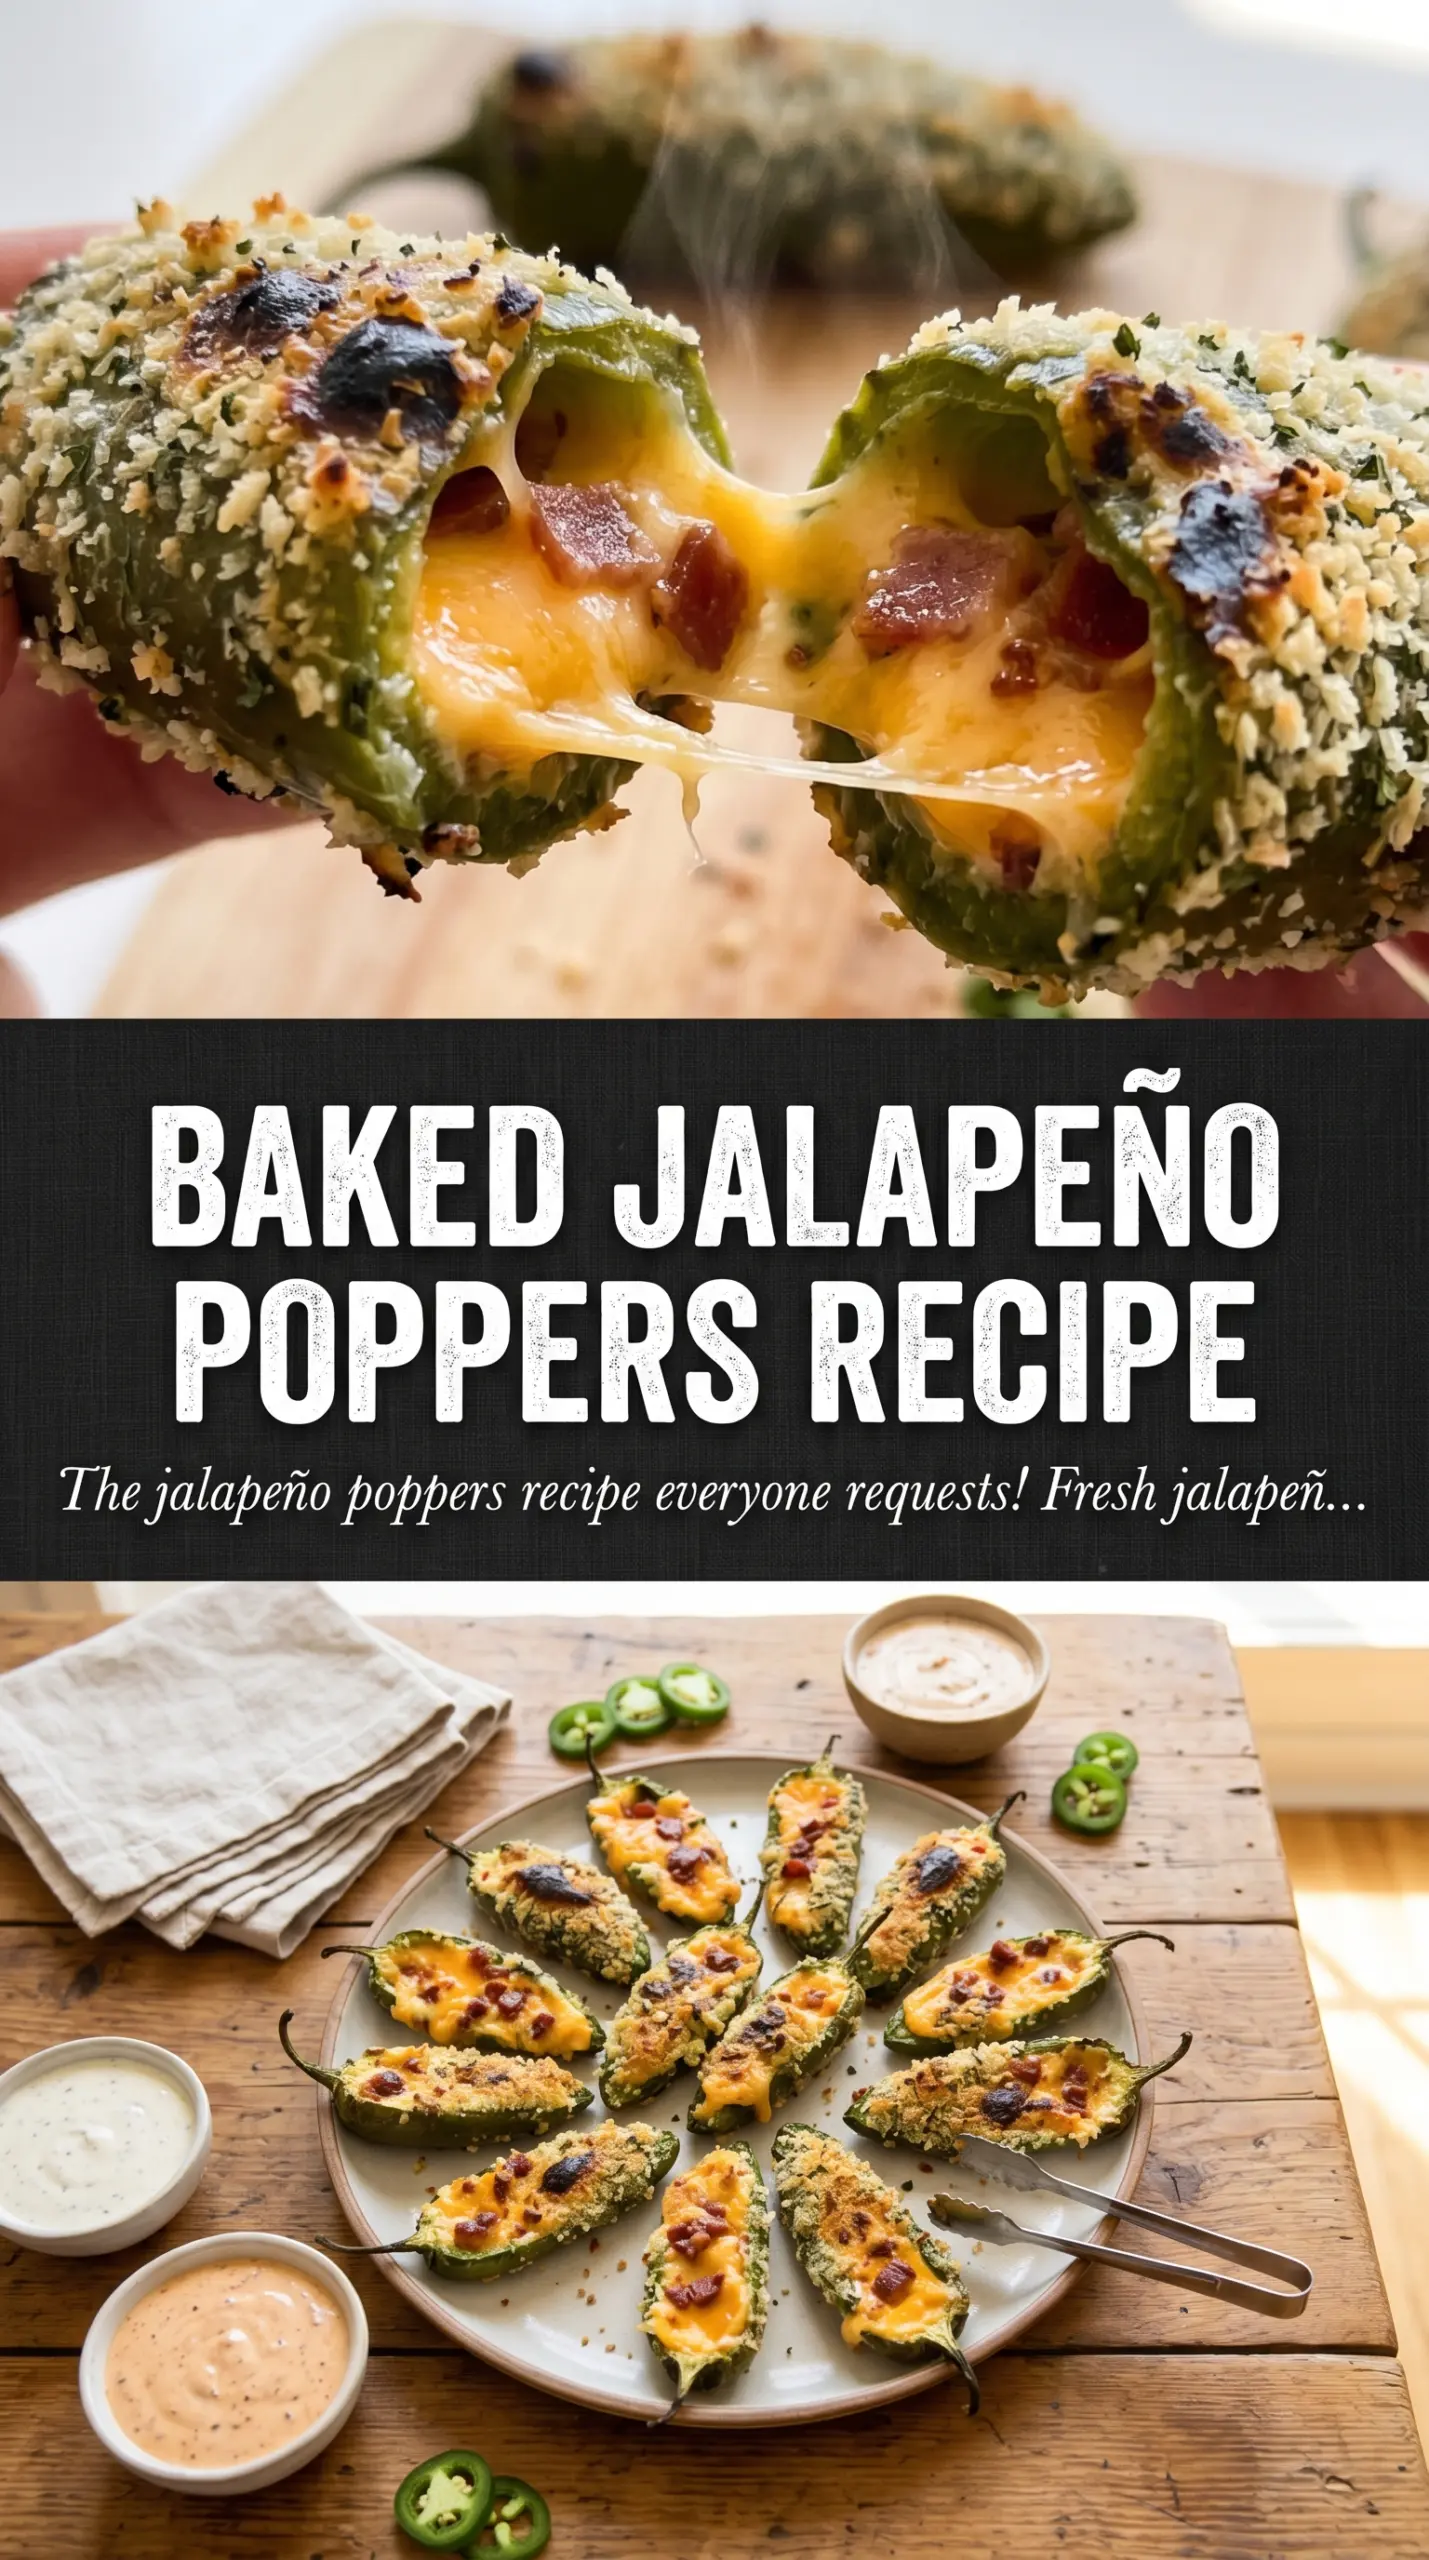
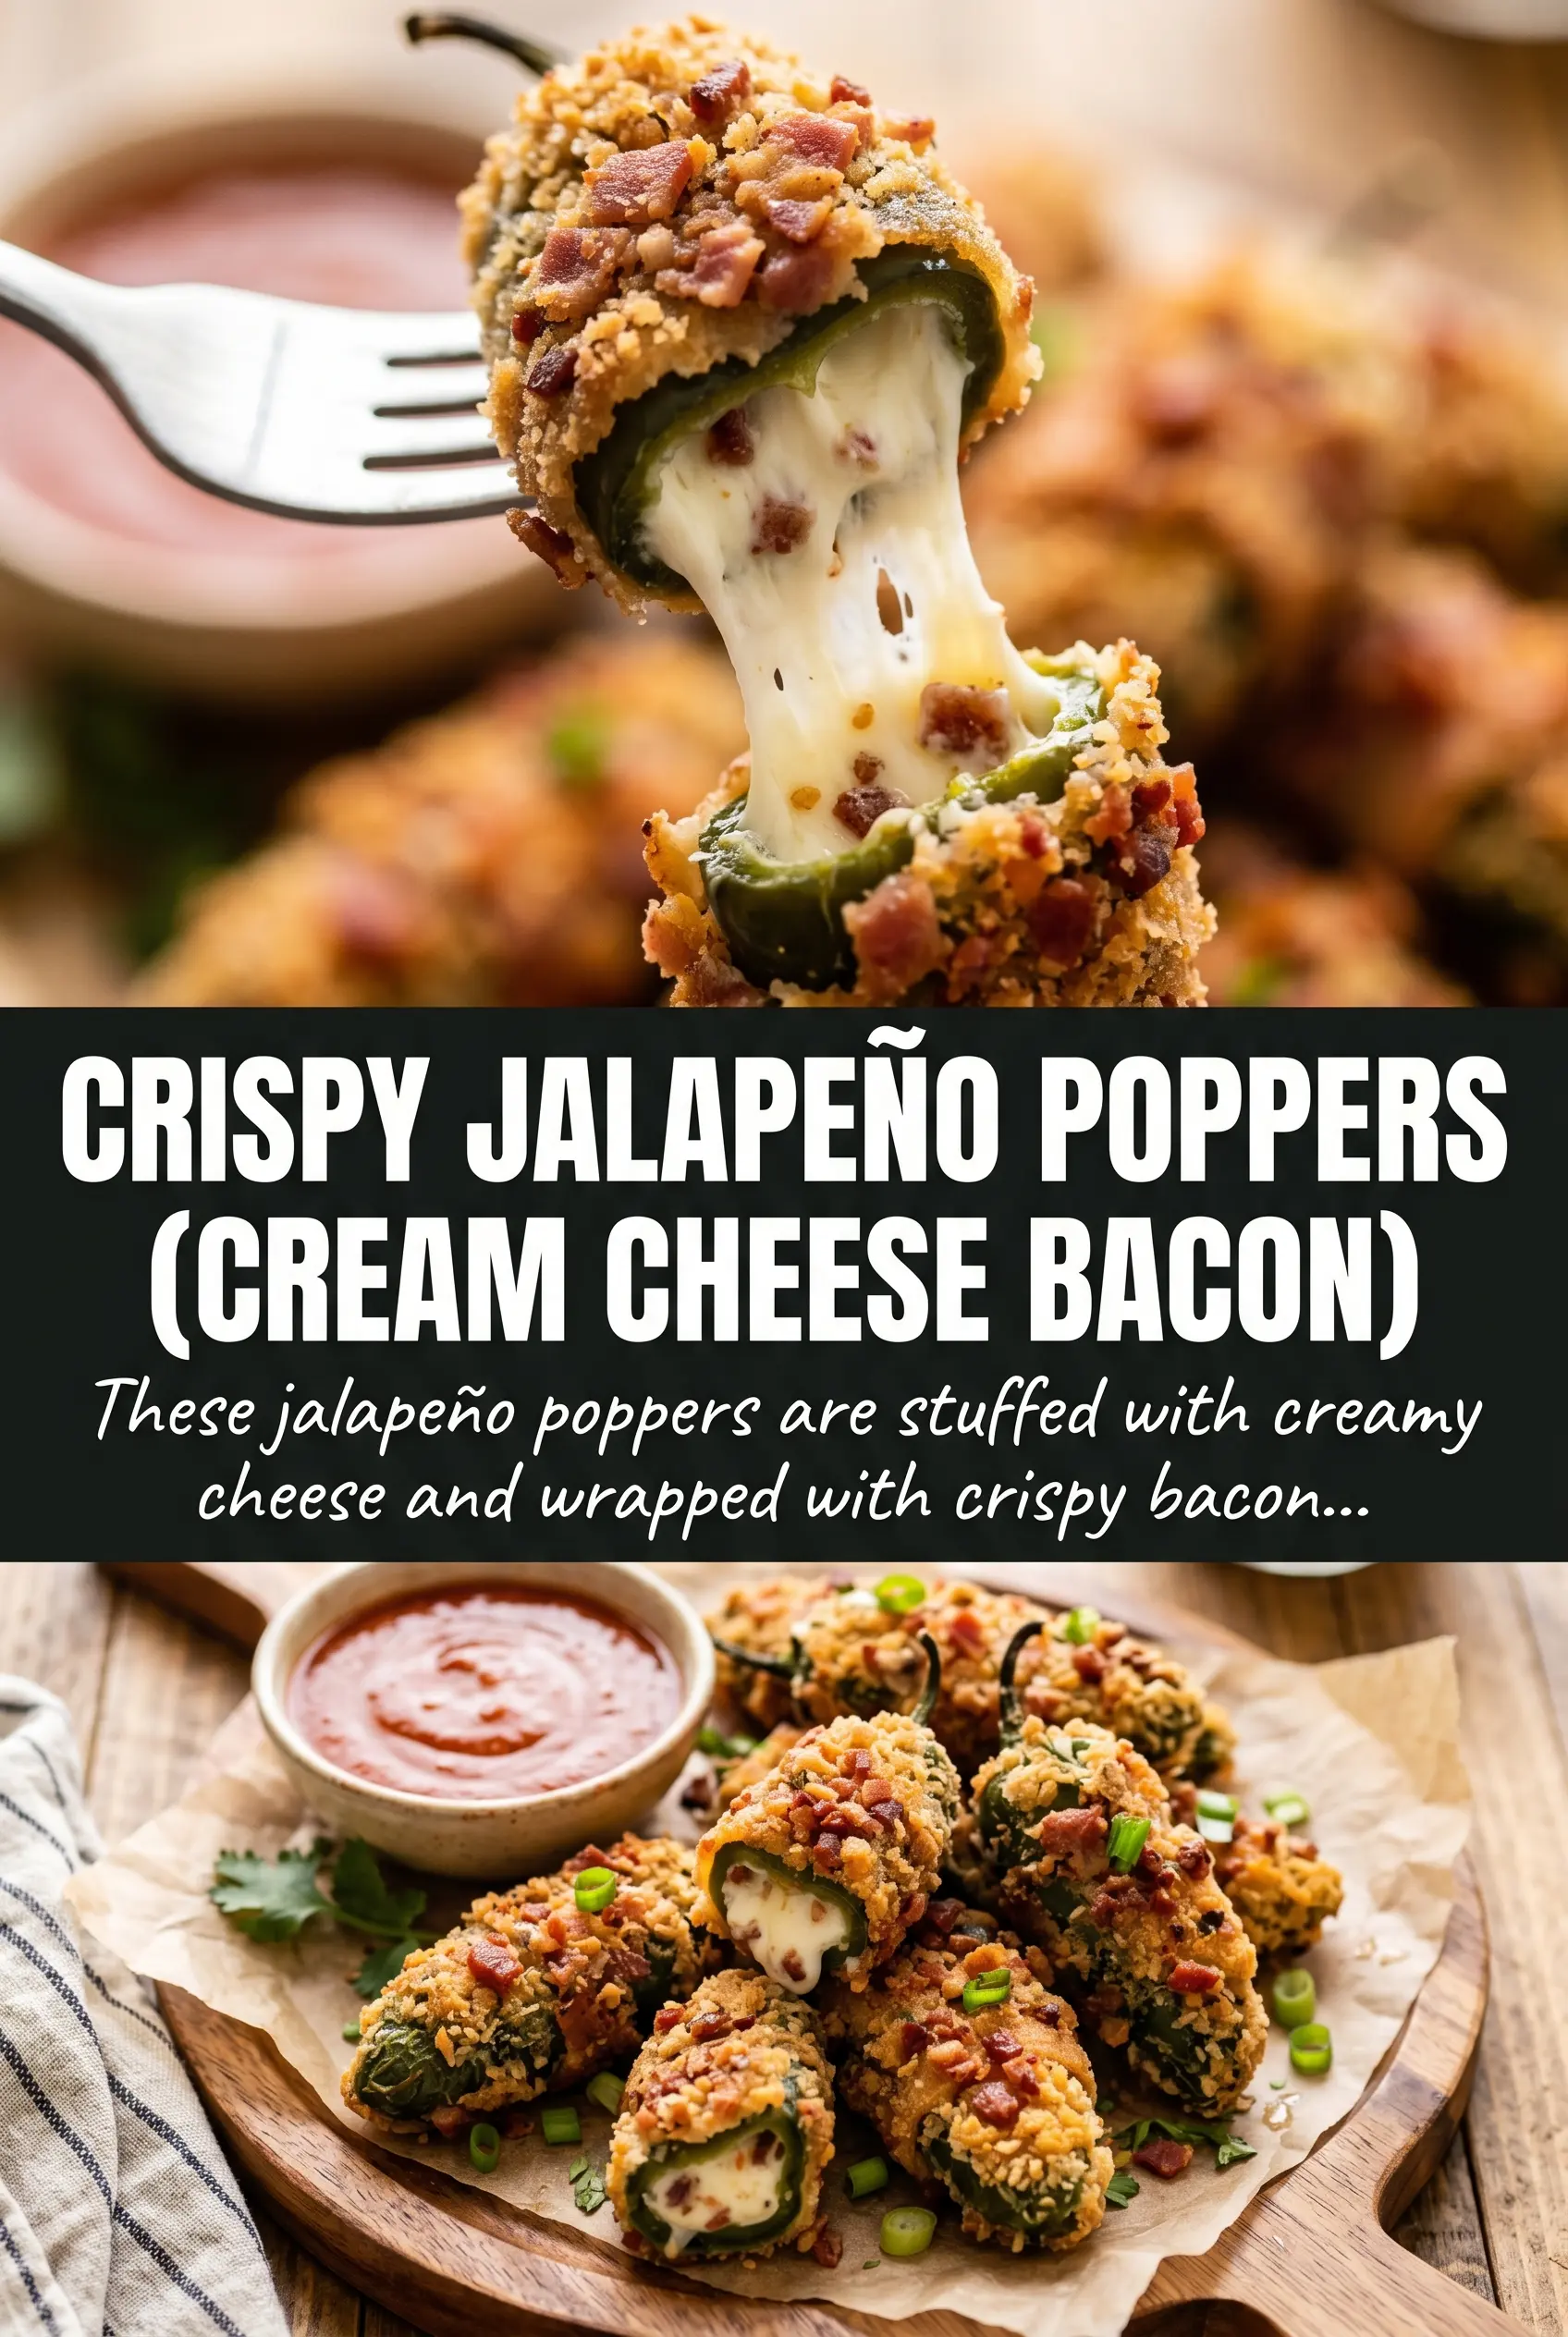
Jalapeno poppers earn their place fast: creamy centers, crisp bacon, and just enough heat to keep each bite interesting. When they’re done right, the peppers stay tender instead of collapsing, the filling melts into a rich pocket, and the bacon finishes with the kind of salty crunch that makes people reach for a second one before they’ve finished the first.
The balance matters here. Softened cream cheese gives the filling body, cheddar adds sharper flavor and helps it set as it bakes, and a little garlic powder keeps the filling from tasting flat. The jalapenos need to be halved cleanly and seeded well so the heat stays pleasant instead of overwhelming, and the bacon needs enough time in the oven to crisp without overcooking the peppers.
Below you’ll find the small details that keep these from turning soggy or bland, plus a few practical ways to adapt them for different diets and occasions. The ingredients are simple, but the method makes the difference.
The filling stayed creamy and the bacon crisped up right on time. I liked that the jalapenos softened but still held their shape, and the toothpicks kept everything neat on the pan.
Save these bacon-wrapped jalapeno poppers for game day, parties, or any time you want a crisp, creamy appetizer with a little heat.
The Trick to Keeping the Peppers Tender Without Losing the Crunch
The biggest mistake with jalapeno poppers is chasing crispy bacon so long that the peppers turn limp and the filling dries out. At 400°F, the bacon has enough heat to render and brown while the peppers soften just enough to bite cleanly. If your oven runs cool, the bacon may need the full 20 minutes; if it runs hot, check them early so the edges don’t scorch before the centers warm through.
Seeding the peppers matters too. Leave a little membrane if you want more heat, but scrape out the ribs if you want a more balanced appetizer. The filling should be thick enough to mound in the pepper without sliding out. If it looks loose before baking, the cheese will melt and spread instead of staying tucked inside the pepper.
What the Cheese Filling Is Doing Besides Tasting Good
- Cream cheese — This is the base that holds everything together and gives the filling its smooth, rich texture. It needs to be softened first or it won’t mix evenly and you’ll end up with little white pockets in the filling.
- Cheddar cheese — Cheddar brings sharper flavor and helps the filling set a little as it bakes. Freshly shredded cheese melts better than pre-shredded, which is coated to prevent clumping and can make the filling a bit grainy.
- Jalapeno peppers — Fresh peppers are the whole point here. Look for firm jalapenos with smooth skin so they hold their shape in the oven; smaller peppers tend to be hotter, while larger ones are often milder and easier to fill.
- Bacon — Thin-cut bacon wraps and crisps more reliably in the short bake time. Thick-cut bacon can work, but it often needs longer in the oven, which can overcook the peppers before the bacon finishes.
- Garlic powder — This keeps the filling from tasting one-note. It blends into the cheese more evenly than fresh garlic, which can burn or turn sharp in a short high-heat bake.
Building the Filling and Baking Until Everything Lands at Once
Mix the Cheese Until It’s Smooth and Spreadable
Stir the softened cream cheese, shredded cheddar, and garlic powder until the mixture looks uniform and thick. You want it creamy but sturdy enough to hold shape in a spoon. If the cream cheese is too cold, it won’t blend cleanly and the filling will fight you when you try to stuff the peppers.
Stuff the Jalapenos Without Overfilling Them
Spoon the filling into each jalapeno half and press it in lightly so it sits flush with the top. A slight mound is fine, but packing it too high can cause the cheese to spill over once the bacon tightens in the oven. If the peppers wobble on the tray, trim a tiny sliver from the underside so they sit flat.
Wrap and Secure the Bacon
Lay a half slice of bacon across each stuffed pepper and wrap it snugly around the filling, then secure it with a toothpick. The bacon should sit tight against the pepper, not twisted loosely, or it will shrink away and leave part of the filling exposed. If the ends don’t meet cleanly, overlap them slightly on the bottom side so they stay put while baking.
Bake Until the Bacon Renders and the Edges Brown
Arrange the poppers on a baking sheet and bake until the bacon looks crisp at the edges and the peppers have softened. You’re looking for rendered bacon with some browned spots, not pale rubbery strips. Let them cool for a few minutes before serving; the filling settles as it rests, and that brief pause keeps the first bite from scorching your mouth.
How to Adapt These for a Crowd, a Short Pantry, or a Different Diet
Make Them Less Spicy
Remove every seed and as much of the white rib as you can. That’s where most of the heat lives, and taking it out gives you a milder popper without changing the texture or the bacon finish.
Use Turkey Bacon for a Lighter Version
Turkey bacon works, but it won’t crisp the same way or render the same salty fat. Bake until it’s browned and set, then expect a firmer, leaner finish rather than the classic crackly bacon wrap.
Go Vegetarian
Skip the bacon and bake the stuffed peppers as-is, or add a little smoked paprika to the filling for a hint of that smoky note. Without the bacon, the peppers will cook a touch faster and the tops may brown less, but the creamy center still carries the dish.
Storage and Reheating
- Refrigerator: Store leftovers in an airtight container for up to 3 days. The bacon softens a bit as it sits, but the flavor holds up well.
- Freezer: These freeze best before baking. Assemble, freeze on a tray, then move to a bag or container. Bake from frozen, adding a few extra minutes until the bacon is cooked through.
- Reheating: Reheat in a 375°F oven or air fryer until the bacon re-crisps and the filling is hot. The microwave turns the bacon chewy and can split the cheese filling, so skip it unless you’re only warming one or two for speed.
Answers to the Questions Worth Asking
Jalapeno Poppers
Ingredients
Equipment
Method
- Preheat the oven to 400°F. Let it fully heat before baking so the bacon crisps and the filling warms quickly.
- Mix cream cheese, cheddar cheese, and garlic powder. Stir until the mixture is evenly combined and thick.
- Fill each jalapeno half with the cheese mixture. Overfill slightly so the filling reaches the top edge.
- Wrap each stuffed jalapeno with a half slice of bacon. Secure it with a toothpick so the bacon holds snugly against the pepper.
- Arrange the jalapeno poppers on a sheet pan. Leave space between them so the bacon can crisp on all sides.
- Bake at 400°F for 18-20 minutes. Bake until the bacon is crispy and the edges look golden brown.
- Let the jalapeno poppers cool slightly before serving. The filling will firm up enough to hold while still staying hot inside.


