Thick pork chops get their best life in a hot cast iron pan: a deep, even crust, a crisp golden fat cap, and a buttery herb finish that tastes like it came out of a small restaurant kitchen. The trick is treating them like a proper steakhouse cut instead of just another weeknight chop. Once the outside is dry and the pan is smoking hot, the meat picks up color fast without overcooking the center.
This version leans on a few simple details that matter. Patting the chops dry helps the crust form instead of steaming. Searing the fat cap first renders that edge before the chop ever lies flat in the pan, which is how you get that shatteringly crisp finish. The garlic, thyme, and rosemary go into the butter at the end so they perfume the meat without burning bitter in the heat.
Below, I walk through the part that makes the biggest difference: how to manage the heat so the chops stay juicy while the outside gets properly browned. There’s also a note on the one rest step that keeps all those juices where they belong.
The fat cap turned out crisp instead of chewy, and the butter baste gave the chops this rich, herby finish without making them greasy. I used the oven finish and they hit 145 perfectly after the rest.
Save these thyme-garlic Gordon Ramsay pork chops for the night you want a crisp fat cap and a proper pan sauce flavor without a lot of fuss.
The Fat Cap Is What Makes These Chops Different
Most pork chops fail before they ever hit the oven. The pan isn’t hot enough, the chops go in damp, or the fat cap never gets its own attention. That’s why you end up with a pale chop and a rubbery strip of fat instead of a crisp edge and a juicy center.
The fat cap needs direct contact with the pan first. Holding the chop upright for a couple of minutes starts rendering that fat before the flat sides ever sear. Once the chop goes down, leave it alone long enough to build color. If you keep moving it, the crust tears and you lose the whole point of a hard sear.
- Thick bone-in pork chops — The thickness gives you a little buffer so the outside can brown before the middle overcooks. Bone-in chops also stay juicier than thin boneless ones. If you only have boneless chops, cut the oven time back by a minute or two and watch the internal temperature closely.
- Vegetable oil — This is here for heat, not flavor. A neutral oil with a high smoke point lets the pan get hot enough for a real sear without turning bitter. Olive oil can work in a pinch, but it smokes sooner and is less forgiving.
- Butter, garlic, thyme, and rosemary — This is the finishing layer, not the cooking base. Butter carries the herbs across the surface of the pork, and the garlic perfumes the fat fast. Add them after the sear so they don’t scorch and taste harsh.
- Lemon juice — The acid at the end cuts through the richness and wakes up the herbs. Don’t add it early or it just disappears into the pan. A small squeeze over the rested chops is enough.
What Each Ingredient Is Actually Doing in the Pan
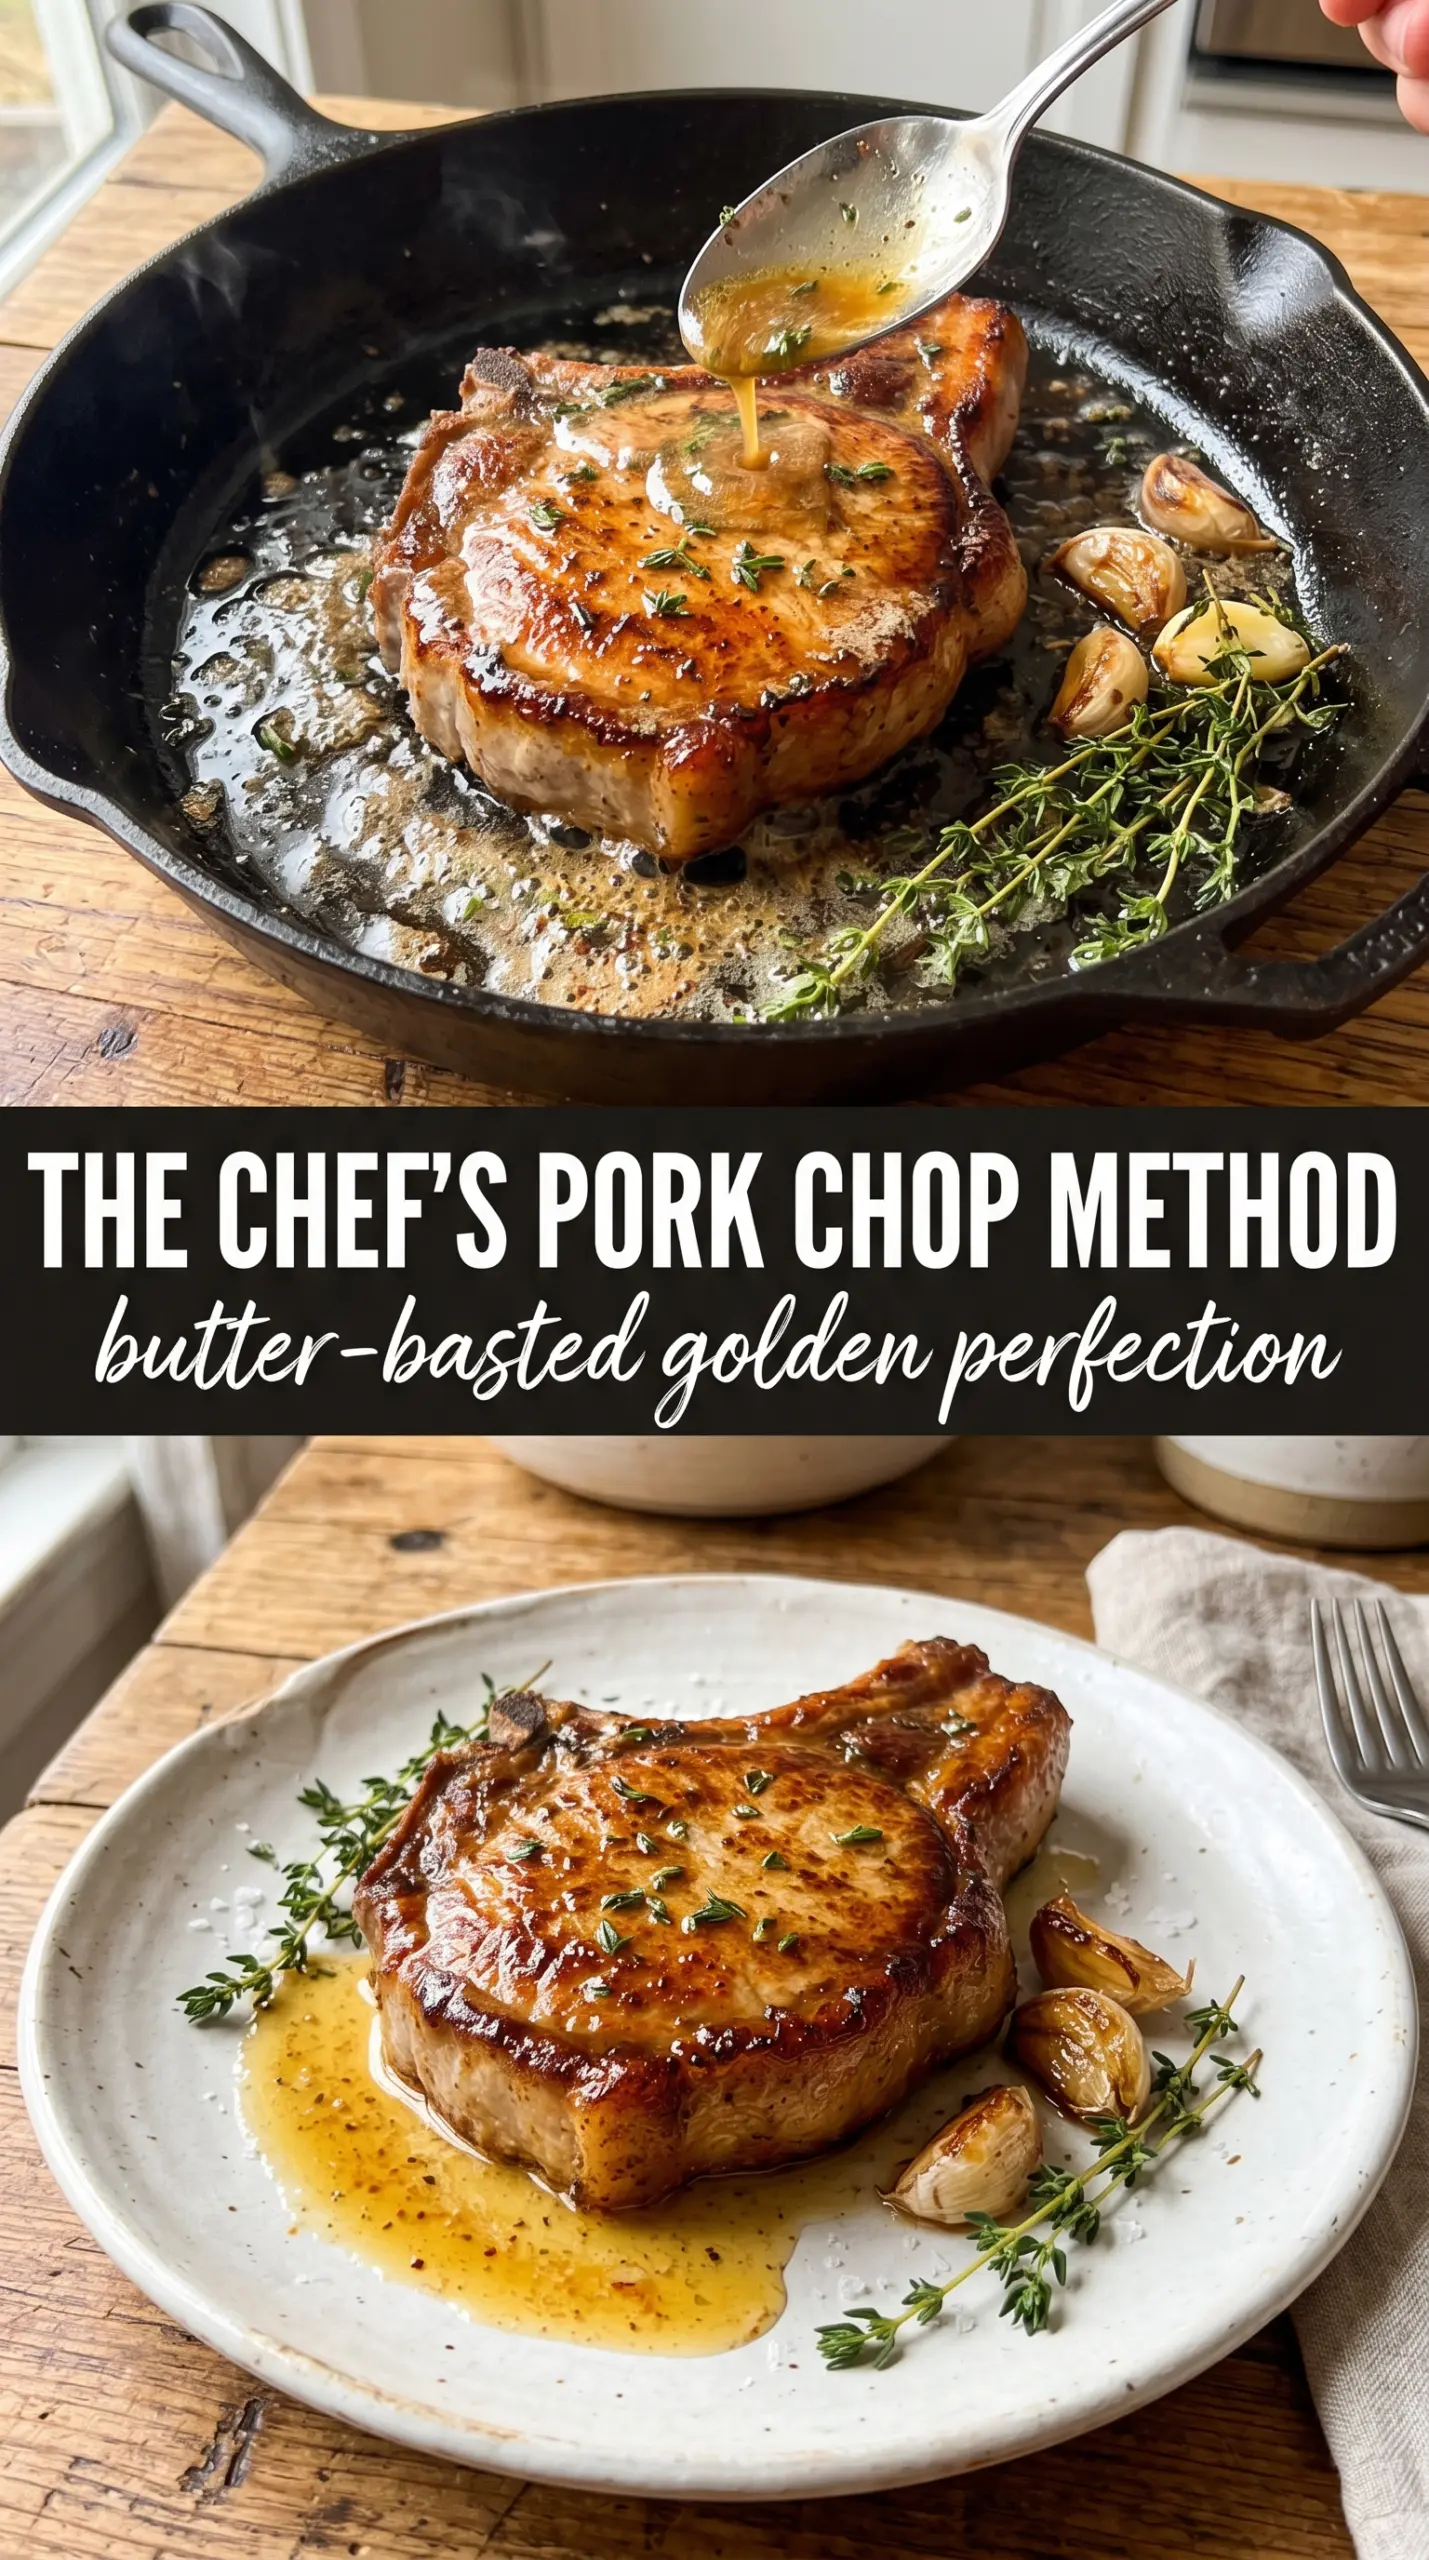
- Bone-in pork chops — French-trimmed chops look especially elegant, but the real advantage is the thicker, more forgiving meat around the bone. A 1.5-inch chop can take the high heat and still stay juicy inside. Thin chops cook too fast for this method and won’t give you the same crust-to-center contrast.
- Fresh thyme and rosemary — Dried herbs won’t give you the same fragrant butter baste. Fresh sprigs stay intact in the pan and perfume the fat without turning dusty or bitter. If you must swap, use a tiny pinch of dried herbs, but expect a flatter finish.
- Butter — Butter is what turns the pan drippings into a glossy baste. It foams, picks up the garlic and herbs, and coats the pork in a thin layer of richness. Unsalted butter is easiest to control here because the chop is already seasoned well.
- Garlic — Lightly crushed cloves release flavor into the butter without needing to be minced. That matters because minced garlic burns fast in a hot pan. Keep the cloves whole or just cracked so they perfume the butter instead of tasting scorched.
How to Get the Crust, the Baste, and the Juicy Center in One Shot
Drying and Seasoning the Chops
Bring the chops to room temperature for about 30 minutes, then pat them dry until the surface feels tacky, not wet. Season them generously right before they go into the pan so the salt doesn’t pull out moisture while they sit. If the chops look glossy or damp, they’ll steam instead of sear.
Searing the Fat Cap First
Heat the oil in a heavy cast iron skillet until it just starts to smoke. Stand the chop up and press the fat edge into the pan for about 2 minutes, using tongs to keep it steady. You should hear a steady crackle and see the fat edge turn golden; if it barely sizzles, the pan isn’t hot enough yet.
Building the Crust on the Flat Sides
Lay the chops flat and leave them alone for 3 to 4 minutes per side. The surface should darken to a deep golden brown and release more easily when it’s ready. If the chop sticks hard, give it another 30 seconds; forcing it too soon tears the crust and slows the browning.
Basting and Oven Finishing
Add the butter, garlic, thyme, and rosemary, then tilt the pan and spoon the foaming butter over the tops for 2 to 3 minutes. The butter should smell nutty and herbaceous, not dark or acrid. Transfer the whole skillet to a 400°F oven for 4 to 5 minutes, just until the center reaches 145°F. Pull it sooner if you’re seeing a lot of carryover heat, because thick chops can climb while resting.
The Rest That Keeps the Juices In
Set the chops on a wire rack and let them rest for 5 minutes. A rack keeps the bottom from going soggy, which is important after all that hard searing. Finish with a squeeze of lemon juice right before serving so the flavor stays bright instead of fading into the butter.
How to Adapt These Pork Chops Without Losing the Restaurant Finish
Dairy-Free Finish
Swap the butter for ghee if dairy is the issue but you still want that rich, basting texture. If you need it fully dairy-free, use a spoonful of neutral oil with the herbs at the end, but expect less body and a thinner glaze. The chops will still brown well; the finish just won’t taste as round.
Boneless Pork Chops
Boneless chops work, but they need less time because they dry out faster. Sear them the same way, then cut the oven time down and start checking temperature early. You’ll still get the butter baste and herb finish, just with a little less cushion against overcooking.
Gluten-Free and Naturally Low-Carb
This recipe is already gluten-free and low in carbohydrates as written, which makes it an easy main dish when you want something straightforward. The only thing that can trip you up is a seasoning blend with hidden starch, so stick with plain salt and pepper if you’re keeping it strict. Serve it with roasted vegetables, mashed cauliflower, or a crisp salad.
How to Make It for Four
Cook the chops in batches instead of crowding the pan. If the skillet is packed, the temperature drops and the chops start releasing juice instead of browning. Wipe out any burned bits between batches and refresh the oil if needed.
Storage and Reheating
- Refrigerator: Store leftovers in an airtight container for up to 3 days. The crust softens a bit in the fridge, but the pork stays tasty.
- Freezer: Freeze cooked chops for up to 2 months, wrapped tightly and sealed well. The texture won’t be quite as crisp after thawing, so this is better for planned leftovers than for a special dinner.
- Reheating: Reheat gently in a 300°F oven until warmed through, or in a covered skillet over low heat with a splash of water. High heat dries the meat fast and makes the edges tough before the center is warm.
Answers to the Questions Worth Asking
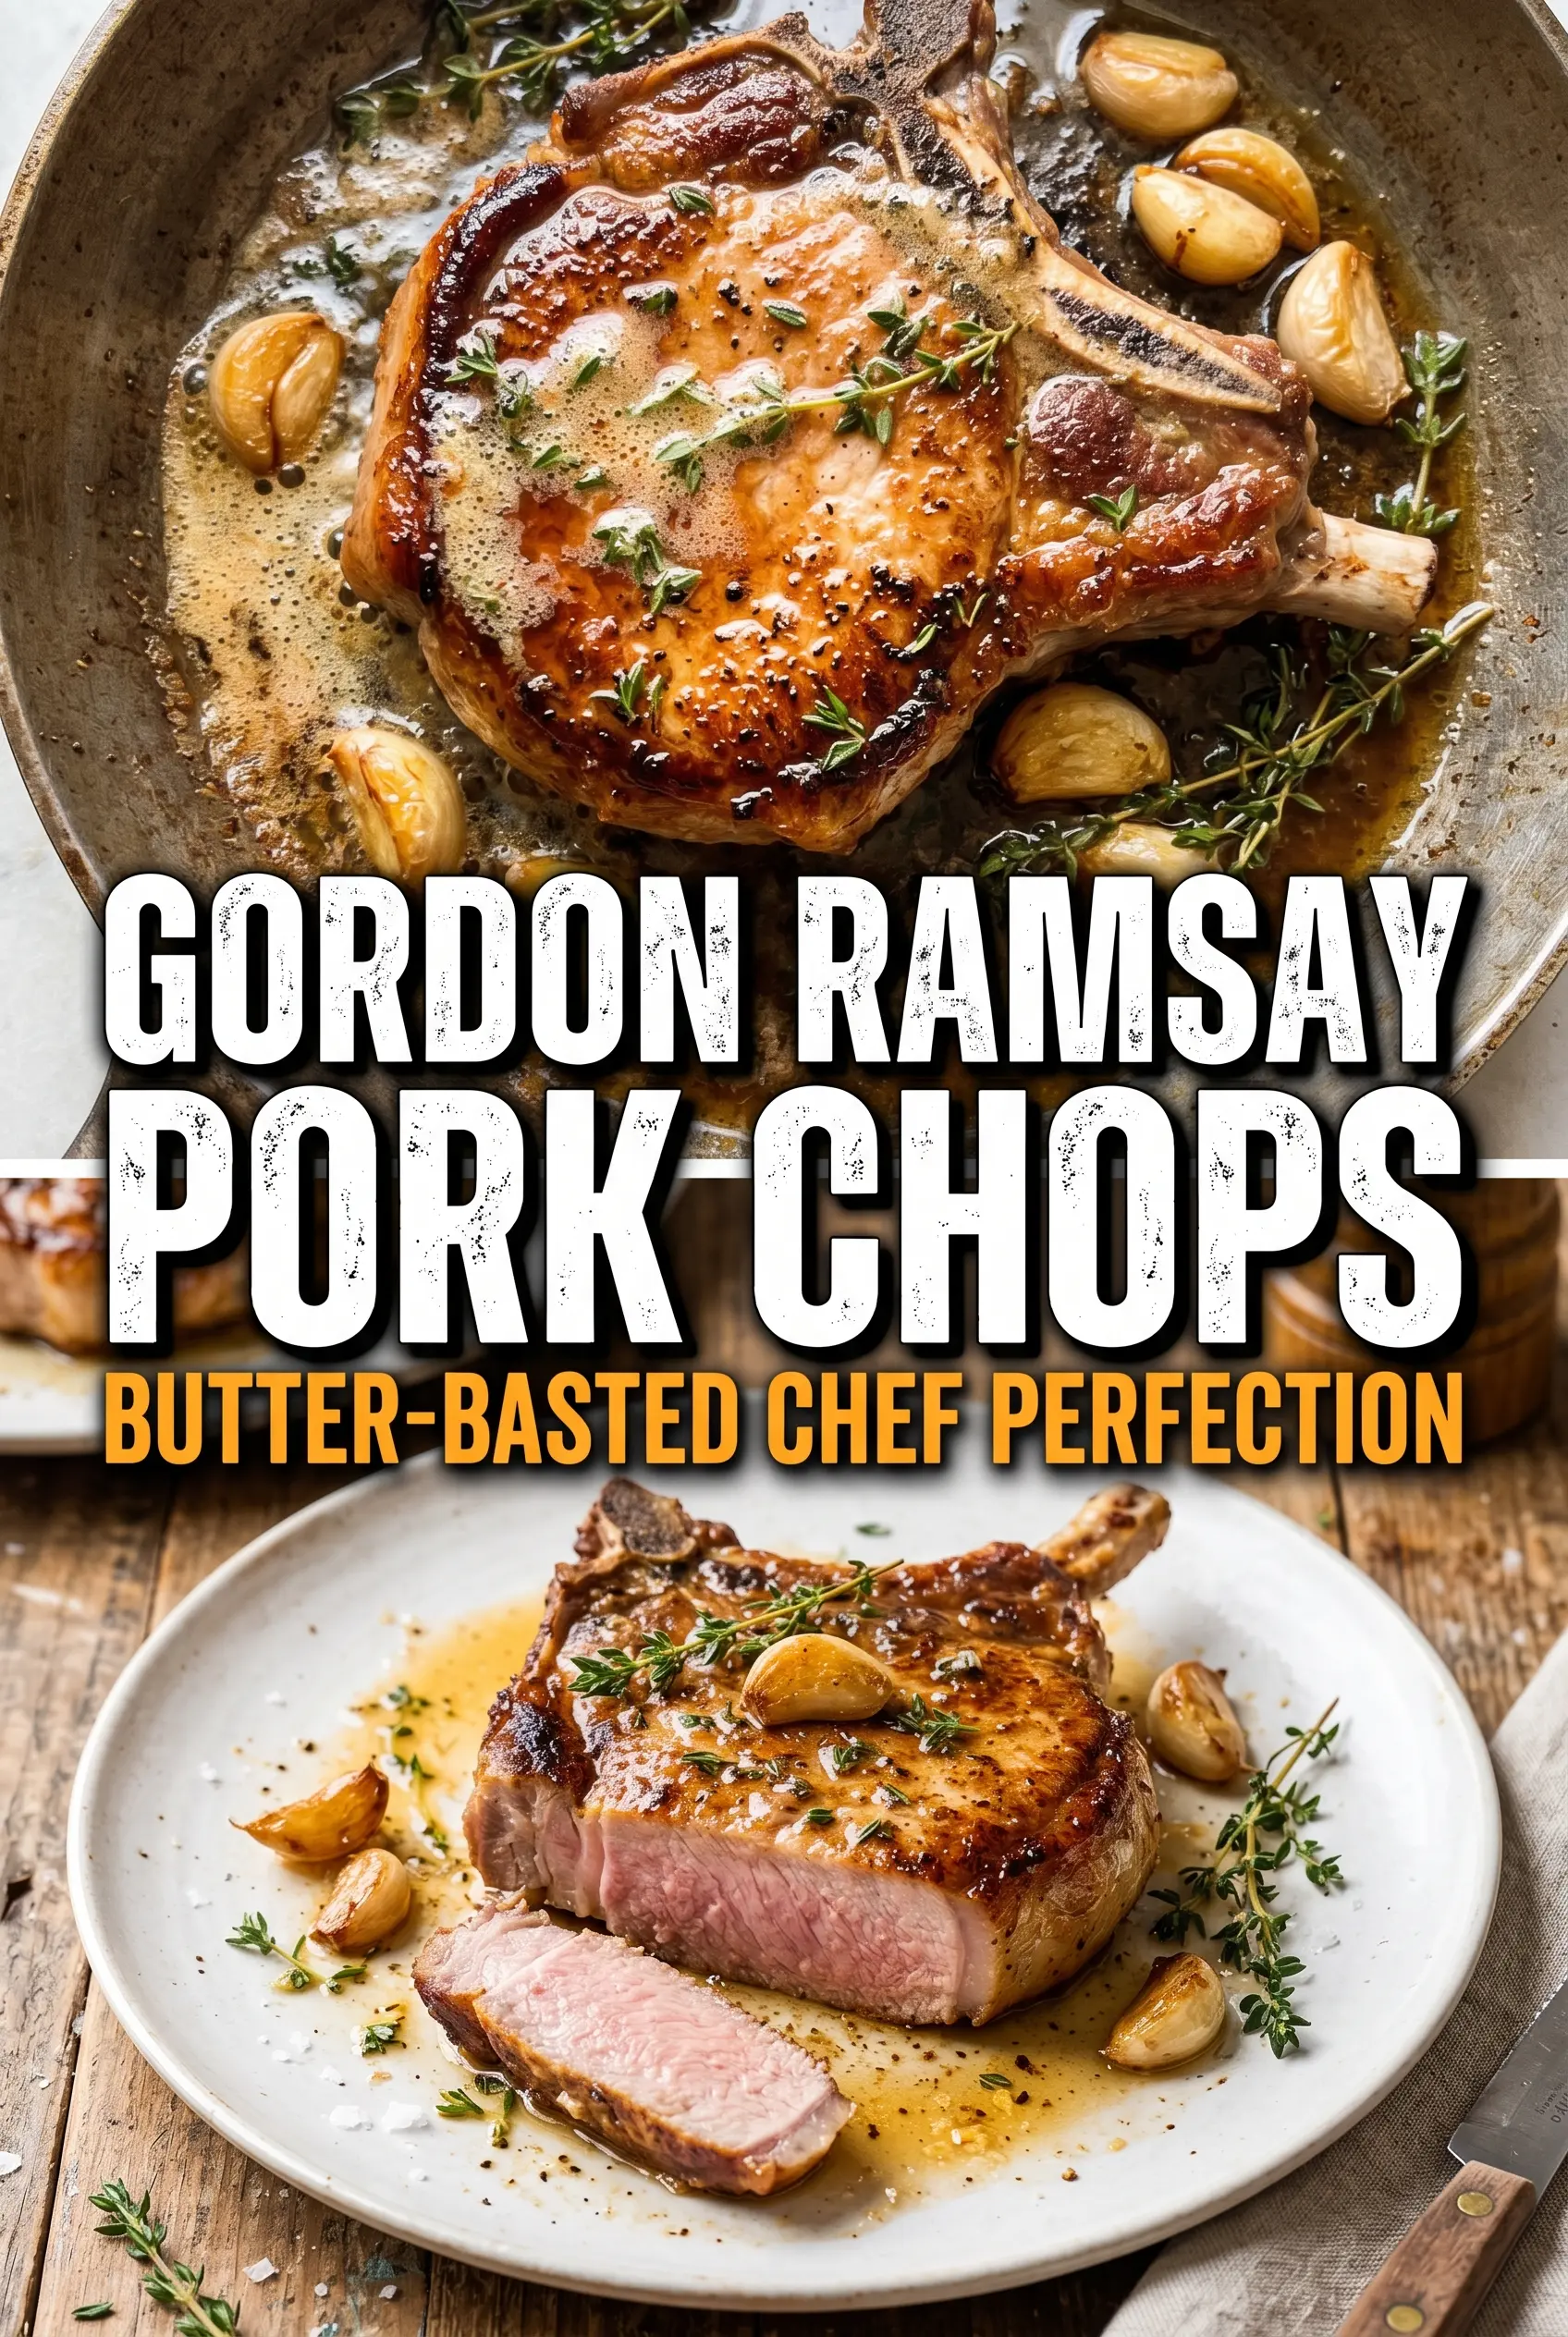
Gordon Ramsay Pork Chops
Ingredients
Equipment
Method
- Bring the pork chops to room temperature for 30 minutes before cooking, then pat them completely dry and season generously with salt and coarse black pepper. Keep the fat cap dry so it can turn shatteringly crisp.
- Heat the vegetable oil in a heavy cast iron skillet over high heat until just smoking. The pan should be hot enough that the pork sizzles immediately.
- Place the chops in the pan and sear the fat cap first by holding them vertically for 2 minutes, then lay flat. Look for rapid browning and a deeply golden fat cap.
- Sear the first side for 3–4 minutes until browned, then flip and sear the second side for 3–4 minutes. Continue until the seared exterior is dark-golden and crisp at the edges.
- Add butter, garlic, thyme, and rosemary to the skillet and tilt the pan to pool the foamy butter around the chops. The butter should foam as the aromatics bloom.
- Baste continuously for 2–3 minutes so the herbs infuse the butter and the surface turns glossy and richly browned. Spoon the foaming butter over the chops without burning the garlic.
- Transfer the pan to a 400°F oven for 4–5 minutes until the pork reaches 145°F internally. Remove when the center is just cooked and the exterior stays crisp.
- Rest the chops for 5 minutes on a wire rack. This keeps the juices from pooling while the crust stays set.
- Squeeze the fresh lemon juice over the chops right before serving. Serve while the butter-basted exterior is hot and crisp.


