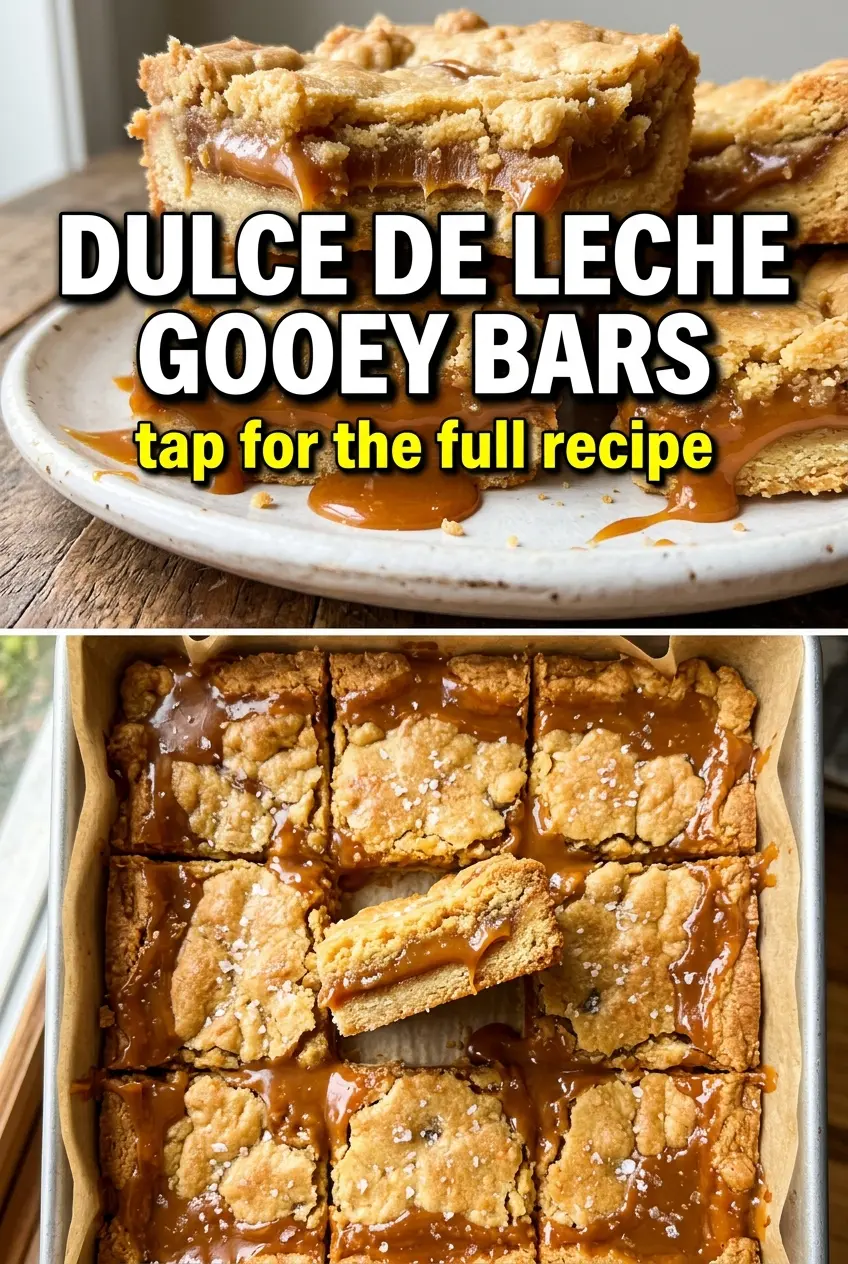
Golden shortbread, glossy caramel, and a thin layer of dark chocolate make these dulce de leche gooey bars the kind of dessert people hover over before the pan even makes it to the table. The crust stays tender but sturdy enough to hold the filling, and the finished bars cut into neat squares without losing that soft, almost fudge-like center. A little fleur de sel on top sharpens the sweetness and keeps every bite from leaning flat.
The texture depends on timing. The crust needs to bake just until it turns pale gold at the edges so it can support the caramel without getting dry. The dulce de leche goes on while the crust is still warm, which helps it spread into a smooth layer instead of dragging the crumbs. Then the chocolate layer bakes just long enough to set without losing its shine. That small window is what gives these bars their clean slices and gooey middle.
Below, you’ll find the one cooling step that matters most, why a thicker crust works better here than a delicate one, and a few smart ways to change up the chocolate layer without losing the balance of these bars.
The crust baked up buttery and firm, and the dulce de leche layer stayed perfectly gooey after chilling. I loved the little hit of fleur de sel on top — it kept the bars from tasting too sweet, and they sliced cleanly into neat squares.
Save these dulce de leche gooey bars for the dessert nights when you want a buttery shortbread base, a soft caramel center, and a chocolate finish that slices cleanly.
The Reason These Bars Slice Cleanly Instead of Smearing Everywhere
The biggest mistake with layered caramel bars is cutting them before the filling has had time to set. Dulce de leche looks stable when it goes on warm, but it needs a full chill to firm up enough for clean squares. If you rush it, the caramel will pull across the knife and turn the whole pan into a mess.
The other thing that matters is the crust. A crumbly base sounds nice in theory, but for bars like these, you want a crust that’s pressed firmly and baked until it just starts to color. That gives you enough structure to hold the filling without turning sandy or falling apart when you lift the first square.
- Warm crust: The dulce de leche spreads more smoothly over a crust that’s fresh from the oven, and it settles into a more even layer.
- Full chill: Thirty minutes in the refrigerator is the bare minimum. Longer is better if you want tidy edges.
- Sharp knife: Wipe the blade between cuts so the chocolate top stays glossy instead of dragged.
- Fleur de sel: Use it sparingly. It should brighten the bars, not turn them savory.
What Each Ingredient Is Actually Doing in These Gooey Bars
- All-purpose flour: This gives the crust enough body to hold the caramel layer without becoming tough. Cake flour would make it too delicate, and a gluten-free blend needs a binder to keep the base from crumbling too much.
- Butter: Softened butter in the crust creates that shortbread texture, while the extra butter with the chocolate helps it melt into a smoother topping. If your butter is too cold, the crust mixture won’t press together well and the base can bake up patchy.
- Granulated sugar: Just enough sugar sweetens the crust and helps the edges take on a light golden color. Don’t increase it much, or the bottom can bake up too crisp and compete with the caramel.
- Dulce de leche: This is the center of the whole recipe, so use a thick, spoonable version with a deep caramel flavor. If you use a thinner caramel sauce, the bars won’t hold their shape the same way.
- Dark chocolate chips: Dark chocolate keeps the bars from tasting one-note sweet. Semi-sweet works too, but milk chocolate will push the dessert into candy territory fast.
- Fleur de sel: The finishing salt matters here because it sits on top of all that butter and caramel. Regular table salt works in a pinch, but the flakes give you a cleaner, sharper hit.
Building the Layers Without Overbaking the Center
Pressing and Baking the Crust
Mix the flour, softened butter, sugar, and salt until the dough looks sandy but starts clumping when you press it together. That’s the point where it’s ready for the pan. Press it firmly into the bottom of an 8×8 dish so the base bakes evenly and doesn’t puff in spots. Bake just until the edges turn light gold; if it goes too far here, the bars lose the soft contrast that makes them worth making.
Spreading the Dulce de Leche
Spread the dulce de leche over the warm crust in an even layer. If it feels stiff straight from the can, warm it for a few seconds so it moves easily. The goal is a smooth blanket, not a thick mound in the center, because uneven filling makes the chocolate layer slide around later. A small offset spatula helps, but a spoon works if you move gently.
Melting the Chocolate Top
Melt the chocolate chips with the butter until the mixture is glossy and fluid, then spread or drizzle it over the caramel. Keep the heat low. Chocolate that gets too hot can seize or turn grainy, and once that happens, the top won’t set with a clean finish. Bake just long enough for the chocolate to lose its shine and settle into place.
Cooling for Clean Squares
Let the bars cool completely before chilling them. That resting time matters because the layers need to relax before you cut them. After at least 30 minutes in the refrigerator, lift them out and slice with a clean knife. If the bars still seem soft in the center, give them a little longer instead of forcing the cuts.
Three Ways to Change These Bars Without Losing the Gooey Center
Make Them Gluten-Free
Swap the all-purpose flour for a 1:1 gluten-free baking blend that includes xanthan gum. The crust will be a little more delicate, so press it firmly and let the bars chill fully before cutting. The filling doesn’t need changing.
Use Milk Chocolate for a Sweeter Finish
If you want a softer chocolate note, replace the dark chocolate chips with milk chocolate chips. The bars will taste richer and sweeter, but they’ll lose the slight bitterness that balances the caramel. A pinch of extra fleur de sel helps keep the sweetness in check.
Turn Them Into Coconut-Caramel Bars
Stir a handful of toasted shredded coconut into the crust before baking, or sprinkle it over the dulce de leche before the chocolate goes on. You’ll get a little chew and a toasted edge that plays well with the caramel. Keep the coconut layer light so the bars still slice neatly.
Storage and Reheating
- Refrigerator: Store in an airtight container for up to 5 days. The bars will firm up in the fridge, so expect a denser bite straight from cold.
- Freezer: These freeze well. Wrap the cut bars individually and freeze for up to 2 months, then thaw in the refrigerator so the chocolate topping doesn’t sweat.
- Reheating: Serve at room temperature for the best texture. If you want them a little softer, let them sit on the counter for 15 to 20 minutes; microwaving can melt the chocolate top and make the caramel leak.
Answers to the Questions Worth Asking
Dulce de Leche Gooey Bars
Ingredients
Equipment
Method
- Mix all-purpose flour, softened butter, granulated sugar, and salt until crumbly, with no dry flour pockets visible.
- Press the crumbly mixture firmly into an 8x8 baking dish until the surface looks compact and even.
- Bake at 350°F for 12-15 minutes until the edges are lightly golden and the center holds its shape.
- Spread dulce de leche over the warm crust in an even layer, leaving a smooth top that fully covers the base.
- Melt dark chocolate chips with butter, then drizzle or spread over the dulce de leche so chocolate forms an even cover.
- Bake again at 350°F for 8-10 minutes until the chocolate is set and no longer looks glossy-wet.
- Cool completely at room temperature until the bars release cleanly when handled.
- Refrigerate for at least 30 minutes so the caramel thickens and the bars cut neatly.
- Cut into 16 squares and sprinkle fleur de sel on top for a light salty finish.
- Serve at room temperature or chilled, with caramel visible in the cross-section.


