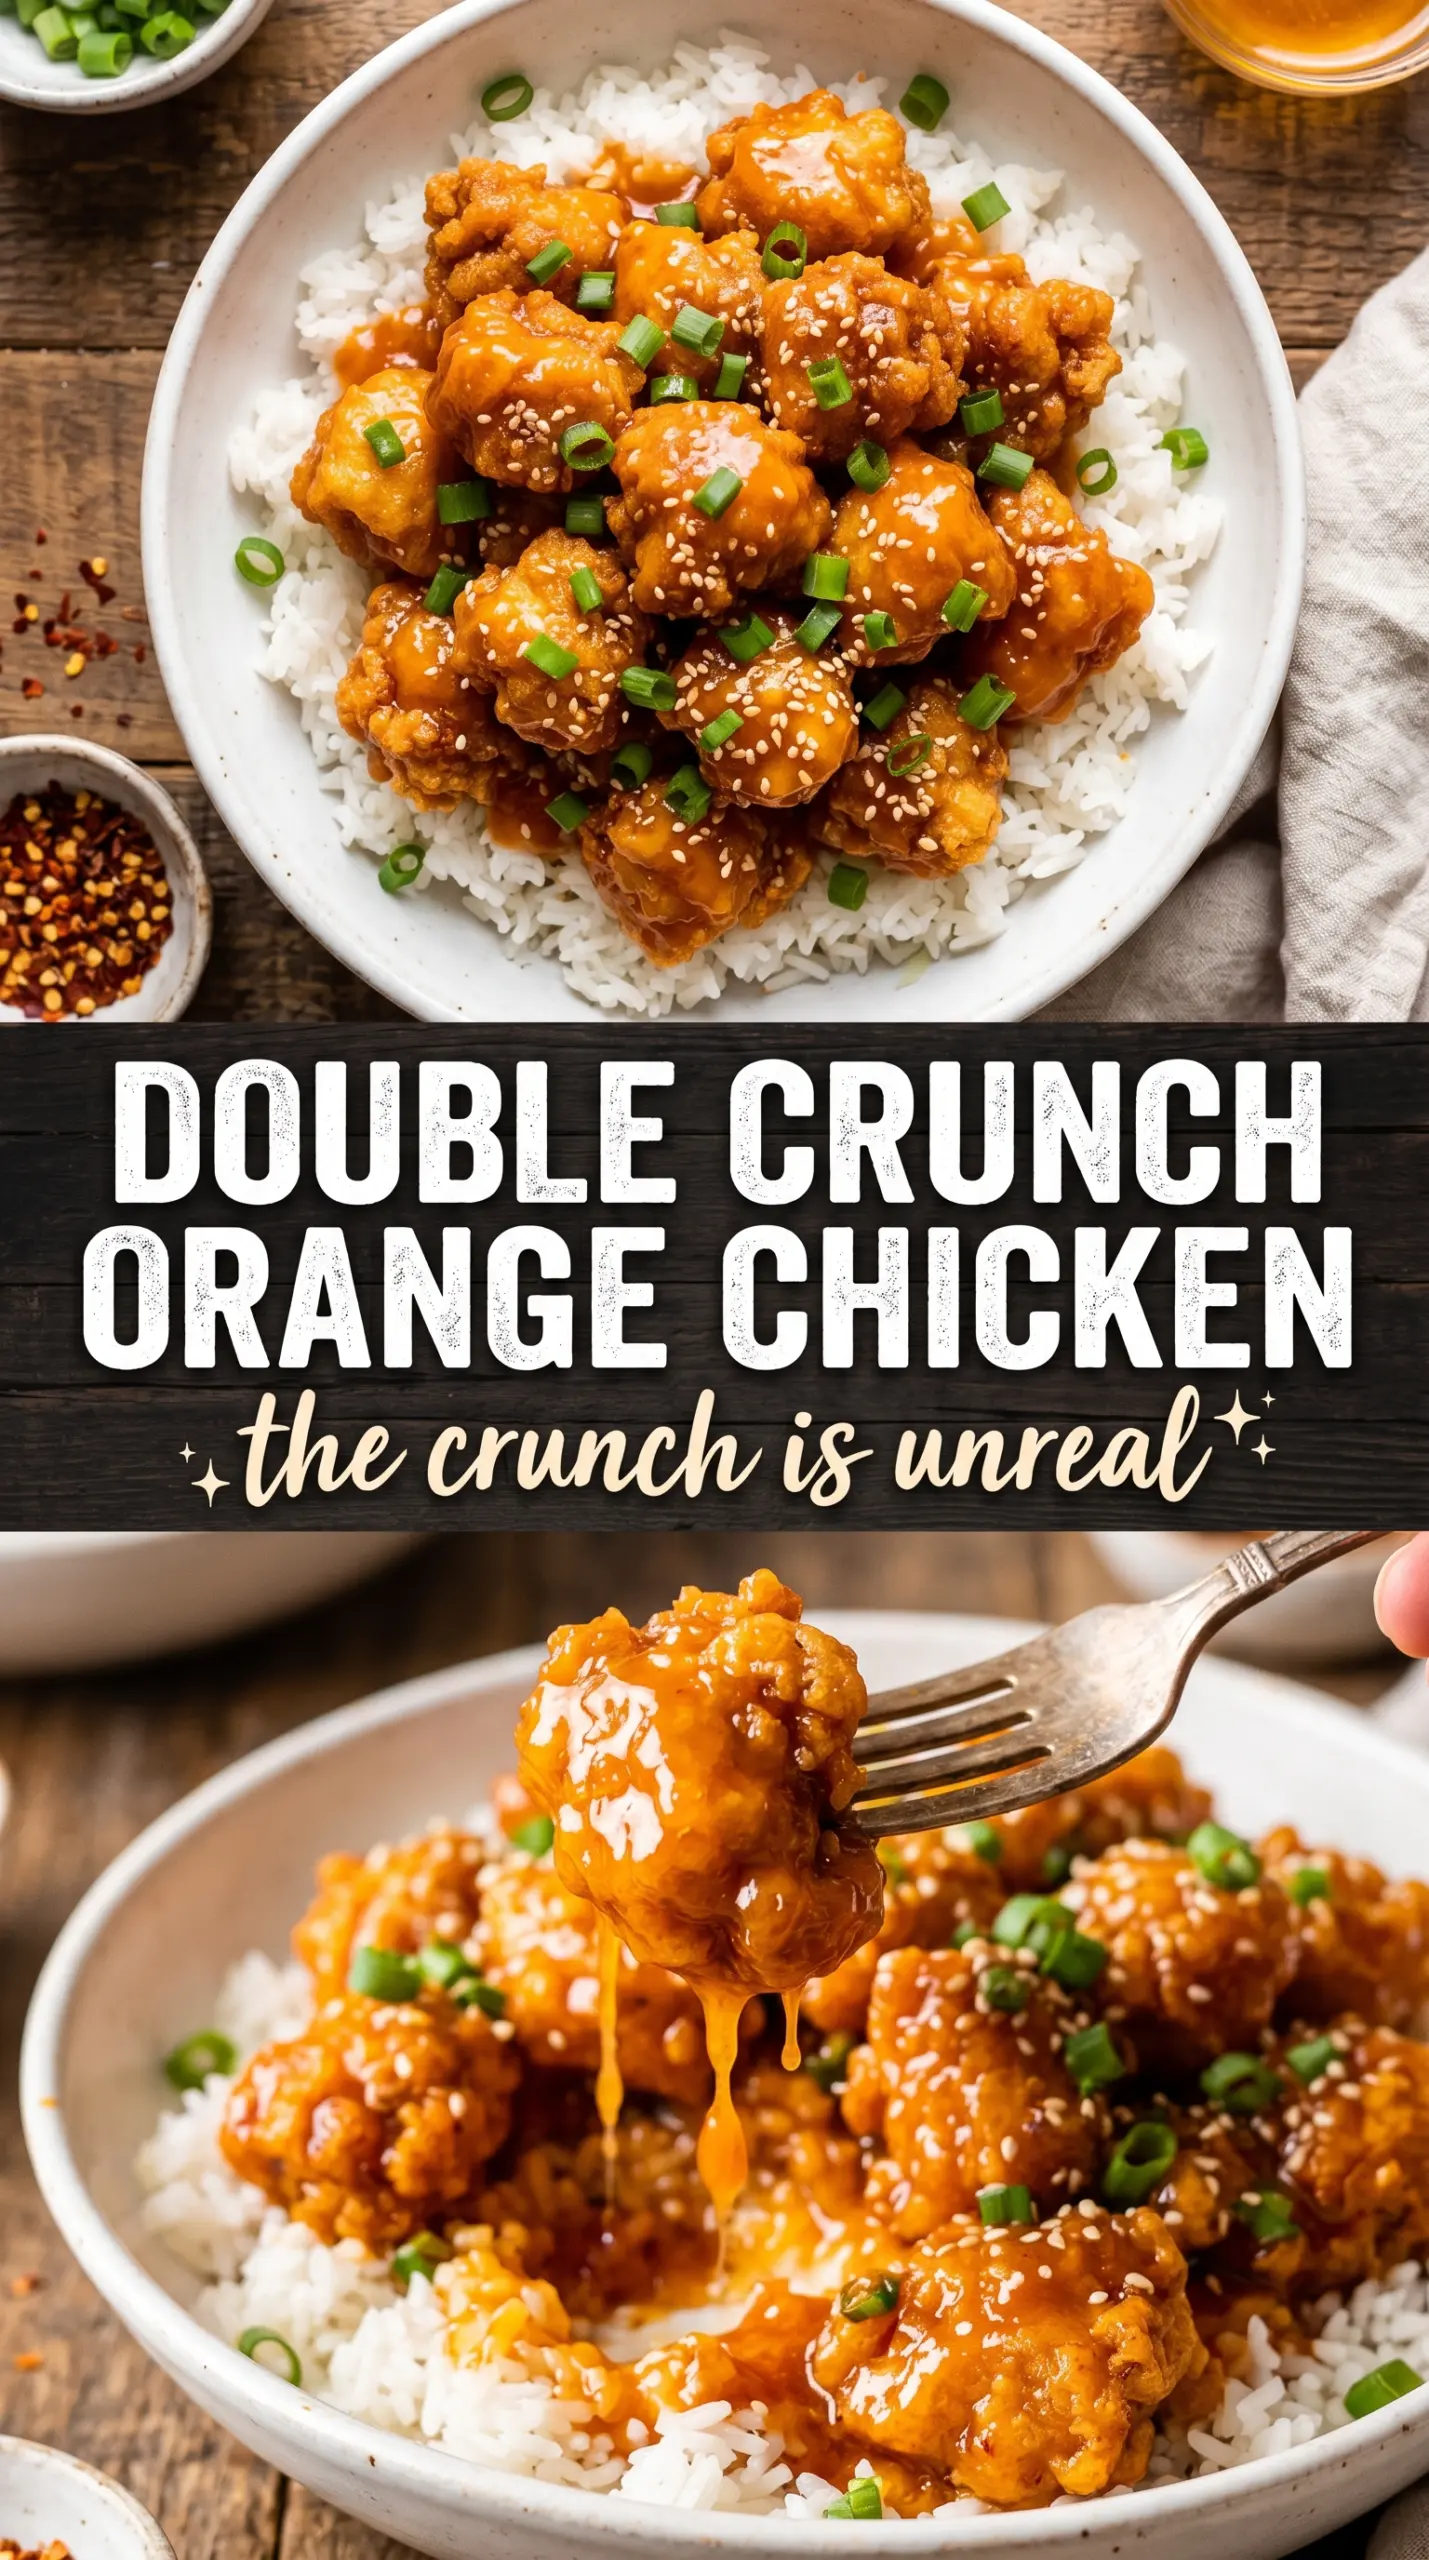
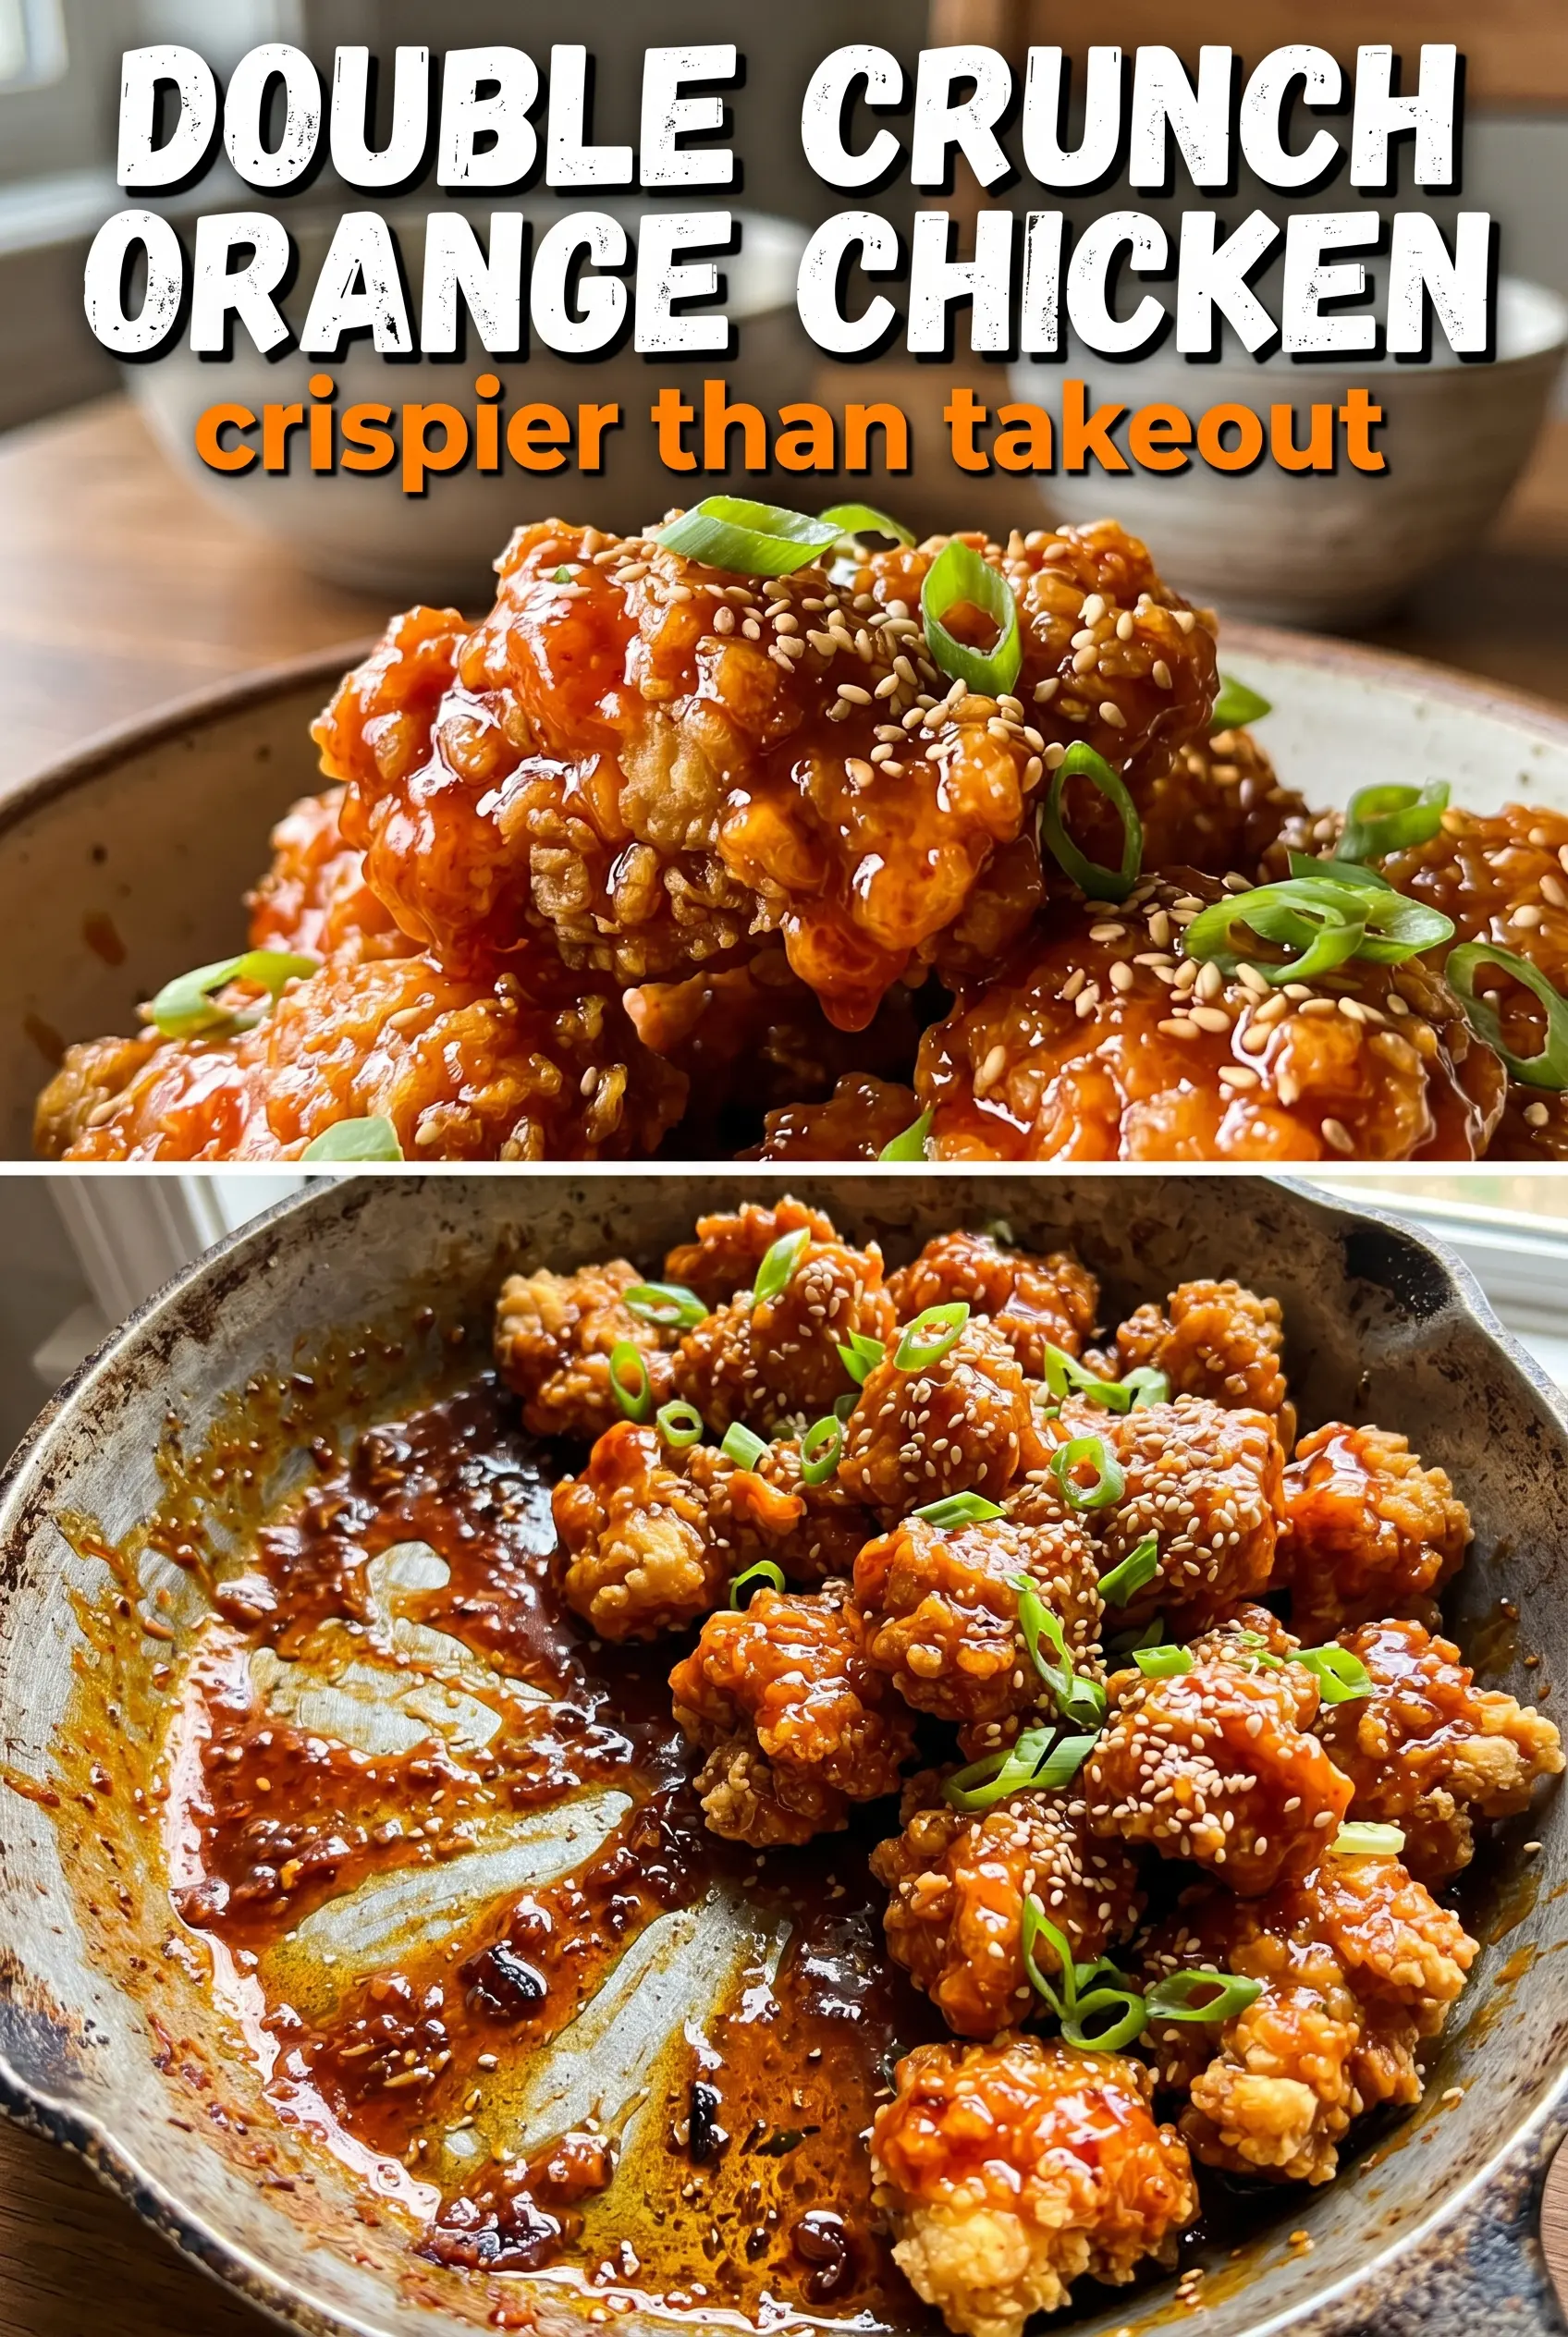
Double crunch orange chicken delivers the kind of bite that makes takeout feel optional: a shatteringly crisp coating under a sticky, glossy orange sauce that clings to every ridge instead of sliding off into the bowl. The chicken stays juicy inside because the coating is built in layers, and the sauce finishes bright, sweet, salty, and just sharp enough to keep you going back for another piece.
The trick is in the double dredge. One pass gives you a base, but the second dip creates those craggy bits that fry up into a deeper crunch and hold up better once the sauce hits. Using both fresh orange juice and zest matters too; juice brings the sweetness and acidity, while the zest carries the perfume that makes the whole dish taste freshly made instead of flat.
Below, I’ve included the part that matters most: how to fry the chicken so it stays crisp, how to thicken the sauce without making it gluey, and a few smart swaps if you need to adapt the recipe.
The chicken stayed crunchy even after I tossed it in the sauce, and the orange glaze thickened up just like the picture. My husband kept sneaking pieces straight from the pan.
Love that sticky orange glaze and extra-crispy coating? Save this Double Crunch Orange Chicken for the night you want homemade takeout with real crunch.
The Double Dredge Is What Keeps the Crunch Alive
A single coating turns soft the moment it meets sauce. The second dip builds a rougher, thicker shell that fries into little ridges and crannies, and those edges stay crisp longer because they have more surface area. That’s the difference between chicken that just looks crunchy and chicken that still has a real bite after it’s glazed.
375°F is the other non-negotiable here. If the oil runs too cool, the coating drinks it in and turns greasy before it ever browns. If it runs too hot, the outside darkens before the chicken is cooked through. The sweet spot gives you a deep golden crust in 5 to 6 minutes, with juicy chicken inside and no raw flour taste.
What Each Ingredient Is Actually Doing in This Dish
- Chicken thighs — Thighs stay juicier than breast meat during frying, which matters here because the coating and sauce are already doing a lot of work. If you use breast, cut the pieces a little larger and watch the fry time closely so they don’t dry out.
- Cornstarch and flour — The flour gives structure and the cornstarch brings that light, brittle crunch. Using both is what creates the double-crisp coating; all flour turns heavier, and all cornstarch can get a little fragile once sauced.
- Egg — The egg acts like glue between the chicken and the dry coating, helping the second layer grab on. Skipping it usually means patchy breading that falls off in the fryer.
- Fresh orange juice and zest — Juice gives the sauce its brightness, but zest carries the orange flavor that makes it taste vivid instead of sugary. Bottled juice works in a pinch, but the zest is where the personality lives.
- Hoisin sauce — This adds depth and a faint savory sweetness that keeps the sauce from tasting like thin orange syrup. There isn’t a great substitute if you want the same rounded finish, though a spoonful of extra soy sauce plus a little more brown sugar can get you close.
- Rice vinegar and ginger — These keep the sauce lively. Without them, the sweetness can flatten out fast.
Frying and Glazing Without Losing the Crisp
Mixing the Coating
Whisk the flour, cornstarch, garlic powder, salt, and pepper together before any chicken goes in. An even mix matters because clumps of cornstarch can leave pale spots, and uneven seasoning is hard to fix once the pieces are fried. Dip each piece in egg first, then in the dry mix, then repeat the egg and dry mix for the second coat. Press the flour mixture onto the chicken with your fingers so you get those rough, craggy bits that fry up best.
Frying to Deep Gold
Fry the chicken in batches so the oil temperature doesn’t crash. If you crowd the pan, the pieces steam against each other and the coating softens before it browns. You’re looking for a deep golden color and a coating that sounds crisp when you tap it with tongs. Drain the chicken on a rack if you have one; paper towels work, but a rack keeps the bottom from turning soggy while you finish the sauce.
Turning the Sauce Glossy
Combine the orange juice, zest, soy sauce, brown sugar, rice vinegar, hoisin, garlic, ginger, and sesame oil in a saucepan and bring it to a real boil. The cornstarch slurry goes in after that, not before, or the sauce can turn pasty instead of glossy. Once the slurry is in, keep it moving for 2 to 3 minutes until it turns shiny and coats a spoon. If it still looks thin, give it another minute; cornstarch needs a little heat to fully thicken.
Tossing at the Last Second
Add the chicken to the sauce right before serving and toss fast, just until coated. The longer the chicken sits in the glaze, the more the crust softens, so this dish rewards speed at the end. Spoon it over rice immediately and finish with sesame seeds and green onions while the coating still has some edge left.
How to Adapt the Sauce, the Coating, and the Frying
Gluten-Free Orange Chicken
Swap the all-purpose flour for a cup-for-cup gluten-free flour blend and use a gluten-free soy sauce or tamari. The crust will still crisp nicely, though it may be a little more delicate than the wheat version, so handle the pieces gently when you toss them in the sauce.
Bake It Instead of Frying
For a lighter version, spray the breaded chicken generously with oil and bake at 425°F on a wire rack until crisp and cooked through. You won’t get the exact same shattering shell, but the double coating still gives you a better crust than a single-breaded baked version.
Make It Spicier
Add red pepper flakes, a pinch of cayenne, or a squeeze of chili paste to the sauce. Heat works well here because the orange already brings sweetness and brightness, and a little spice keeps the glaze from leaning too candy-sweet.
Storage and Reheating
- Refrigerator: Store leftovers for up to 3 days. The coating softens in the fridge, but the flavor stays strong.
- Freezer: Freeze the fried chicken pieces before saucing for best results. Once coated in sauce, the texture turns soggy after thawing.
- Reheating: Reheat in a 400°F oven or air fryer until hot and crisp, then warm the sauce separately and toss together right before serving. Microwaving the sauced chicken is the fastest way to lose the crunch completely.
Answers to the Questions Worth Asking
Double Crunch Orange Chicken
Ingredients
Equipment
Method
- In a mixing area, combine cornstarch, flour, garlic powder, salt, and pepper, then line up beaten eggs for dipping (clear, even coating is the goal). Dip each chicken piece in egg, then dredge in the flour mixture so it looks fully dusted before you move to the next dip.
- Double-dip for maximum crunch: return the coated chicken to the egg, then dredge again in the flour mixture until it clings thickly and evenly (you should see a heavier second coating).
- Heat vegetable oil in a Dutch oven or cast iron skillet to 375°F, then carefully fry the chicken in batches for 5-6 minutes until deeply golden (pause when the crust looks bronze-gold and crisp). Drain on a sheet pan to keep the coating crisp.
- In a saucepan, combine orange juice, orange zest, soy sauce, brown sugar, rice vinegar, hoisin sauce, garlic, ginger, and sesame oil, then bring to a boil (watch for active bubbling and a vivid aroma). Stir in the cornstarch slurry and cook 2-3 minutes until thick and glossy, with a lightly caramelized sheen.
- Toss the crispy chicken in the orange sauce until every piece is evenly coated and the glaze clings (the coating should look shiny, not runny).
- Serve over steamed rice and top with sesame seeds and sliced green onions for an extra color pop.


