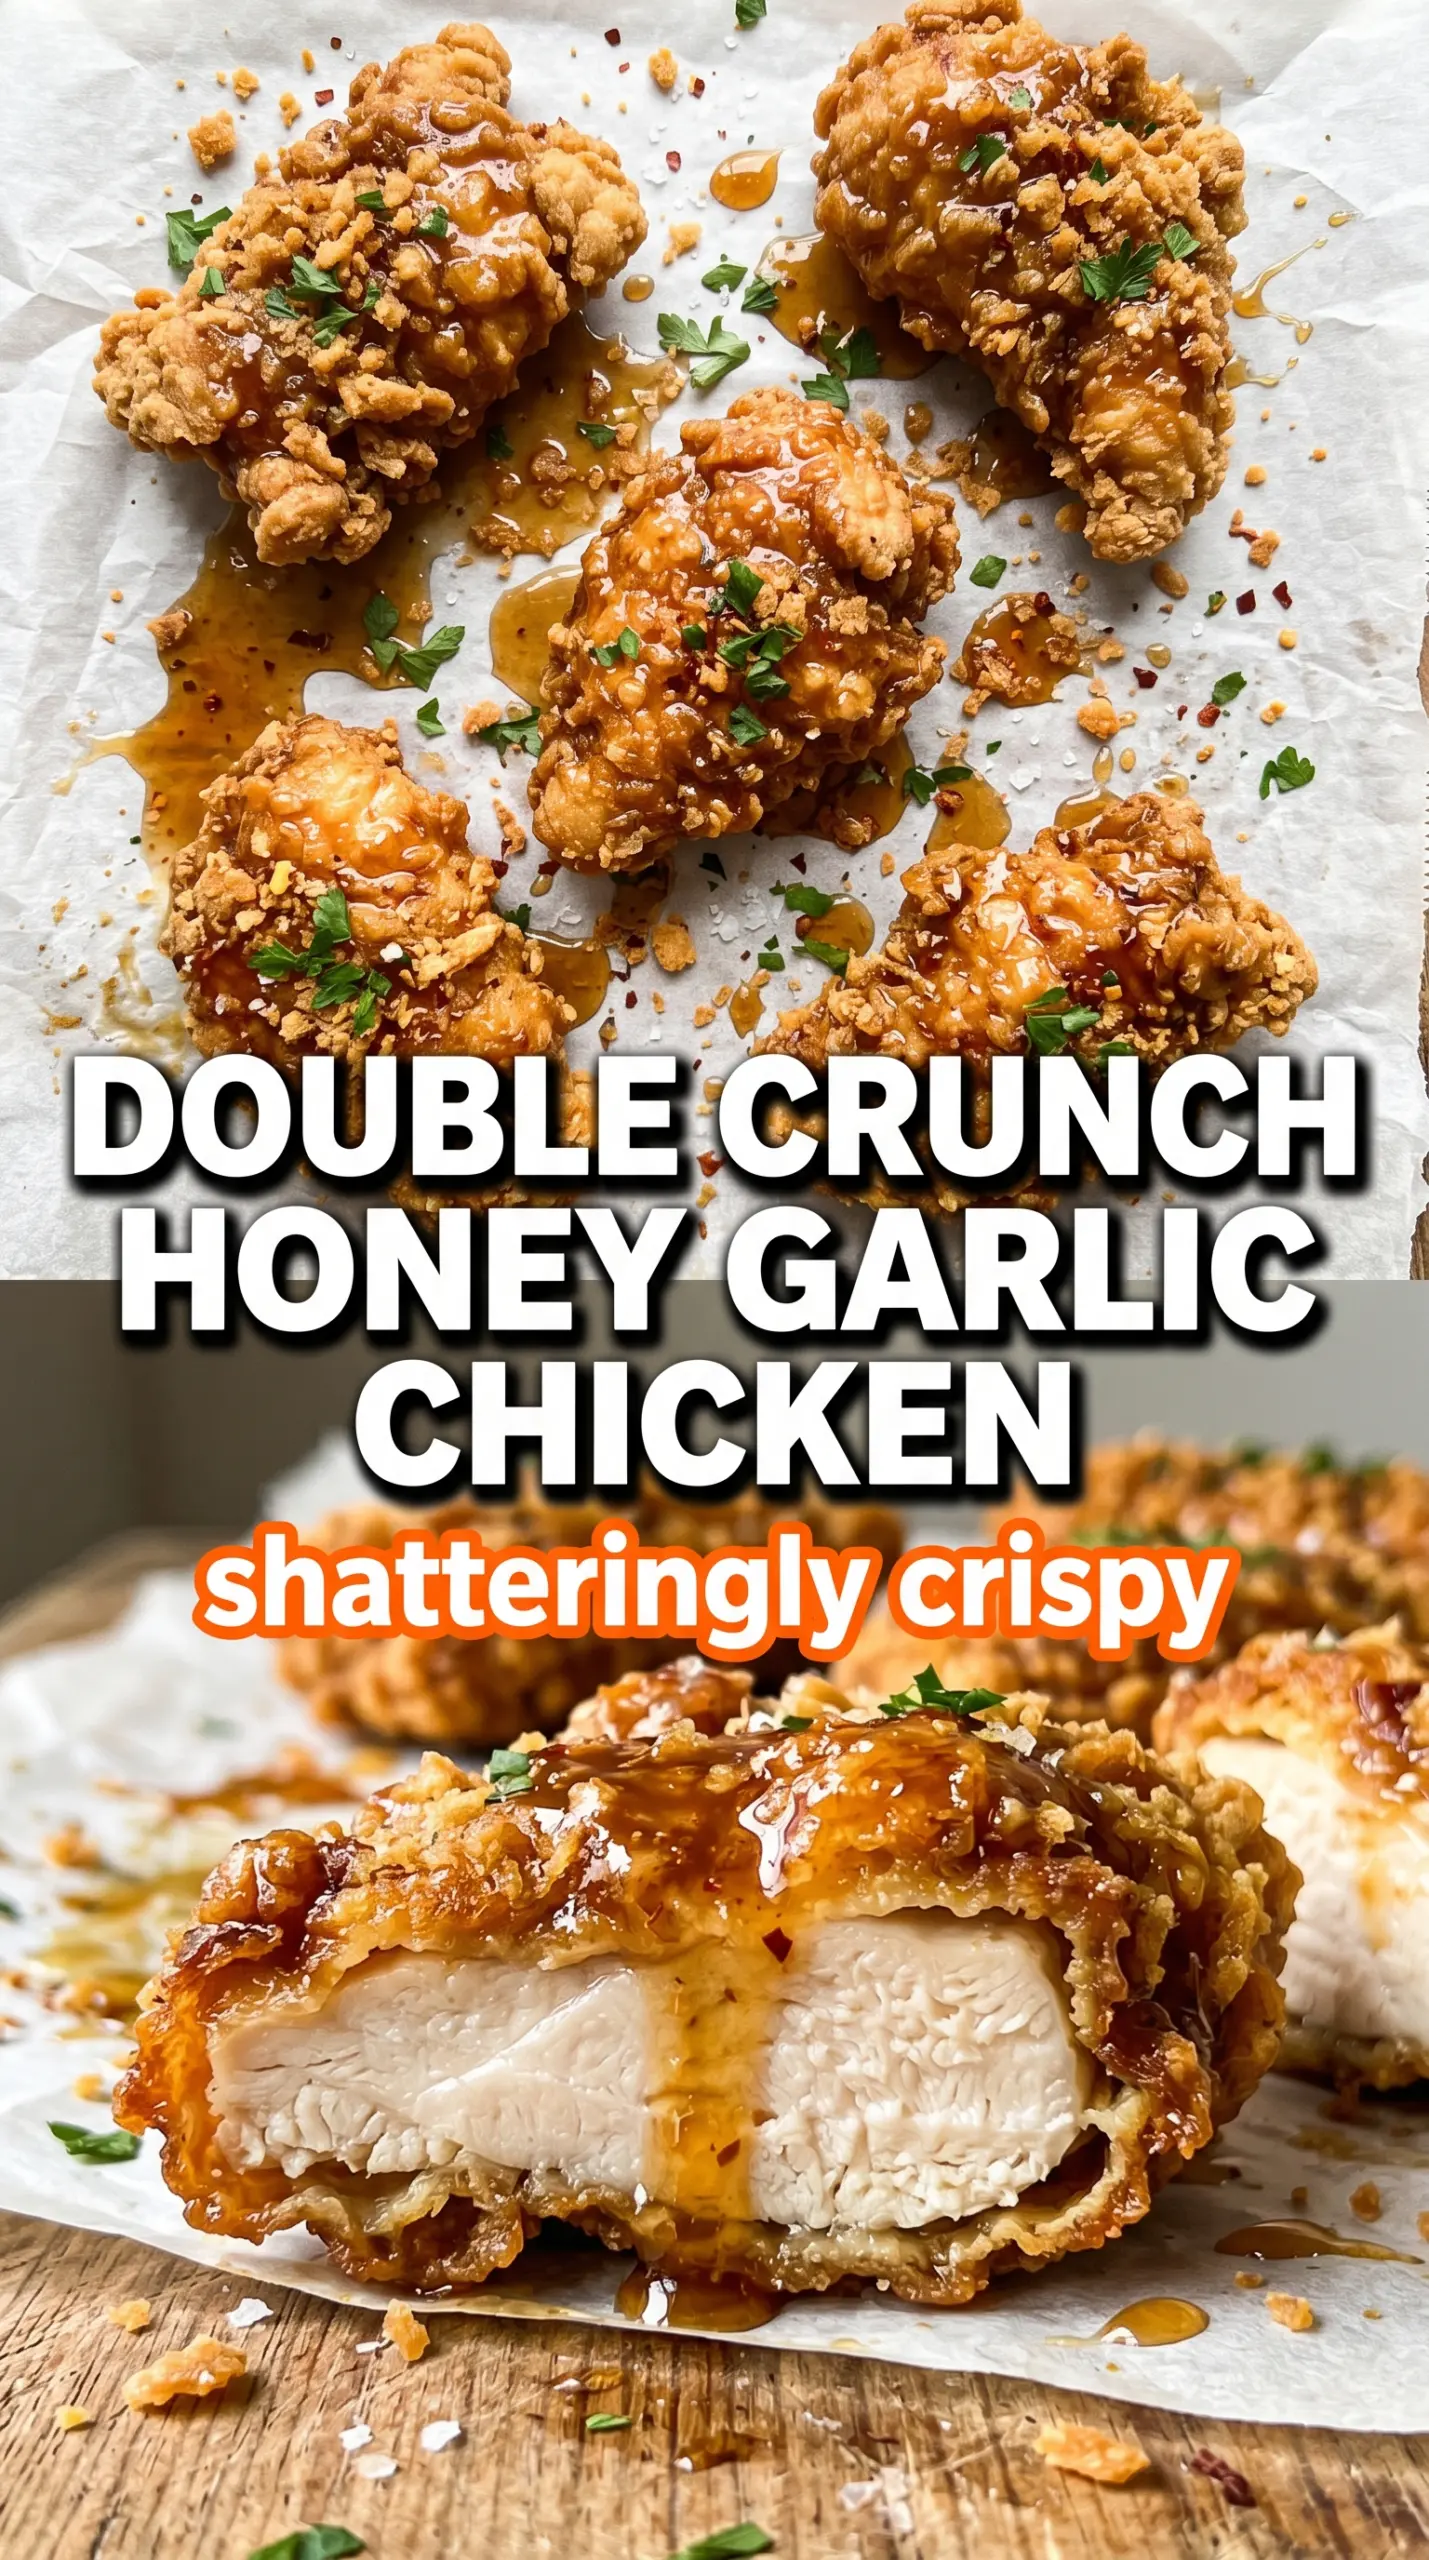
Double Crunch Honey Garlic Chicken Breasts hit that sweet spot between shatteringly crisp and sticky-sauced comfort food. The coating stays rough and craggy enough to give you a real crunch, even after the honey garlic glaze goes on, and the chicken underneath stays juicy because the breasts are pounded to an even thickness before they ever hit the pan.
The double dredge matters here. Flour, egg, then flour again builds a thicker crust than a single coat, and that extra layer gives the sauce something to cling to instead of sliding off. A cast iron skillet helps keep the oil hot and steady, which is what keeps the breading light instead of greasy.
Below, I’ll walk through the little details that keep the crust crisp and the sauce glossy instead of heavy. There’s also a smart way to serve this if you want the glaze to stay punchy and the chicken to keep its texture as long as possible.
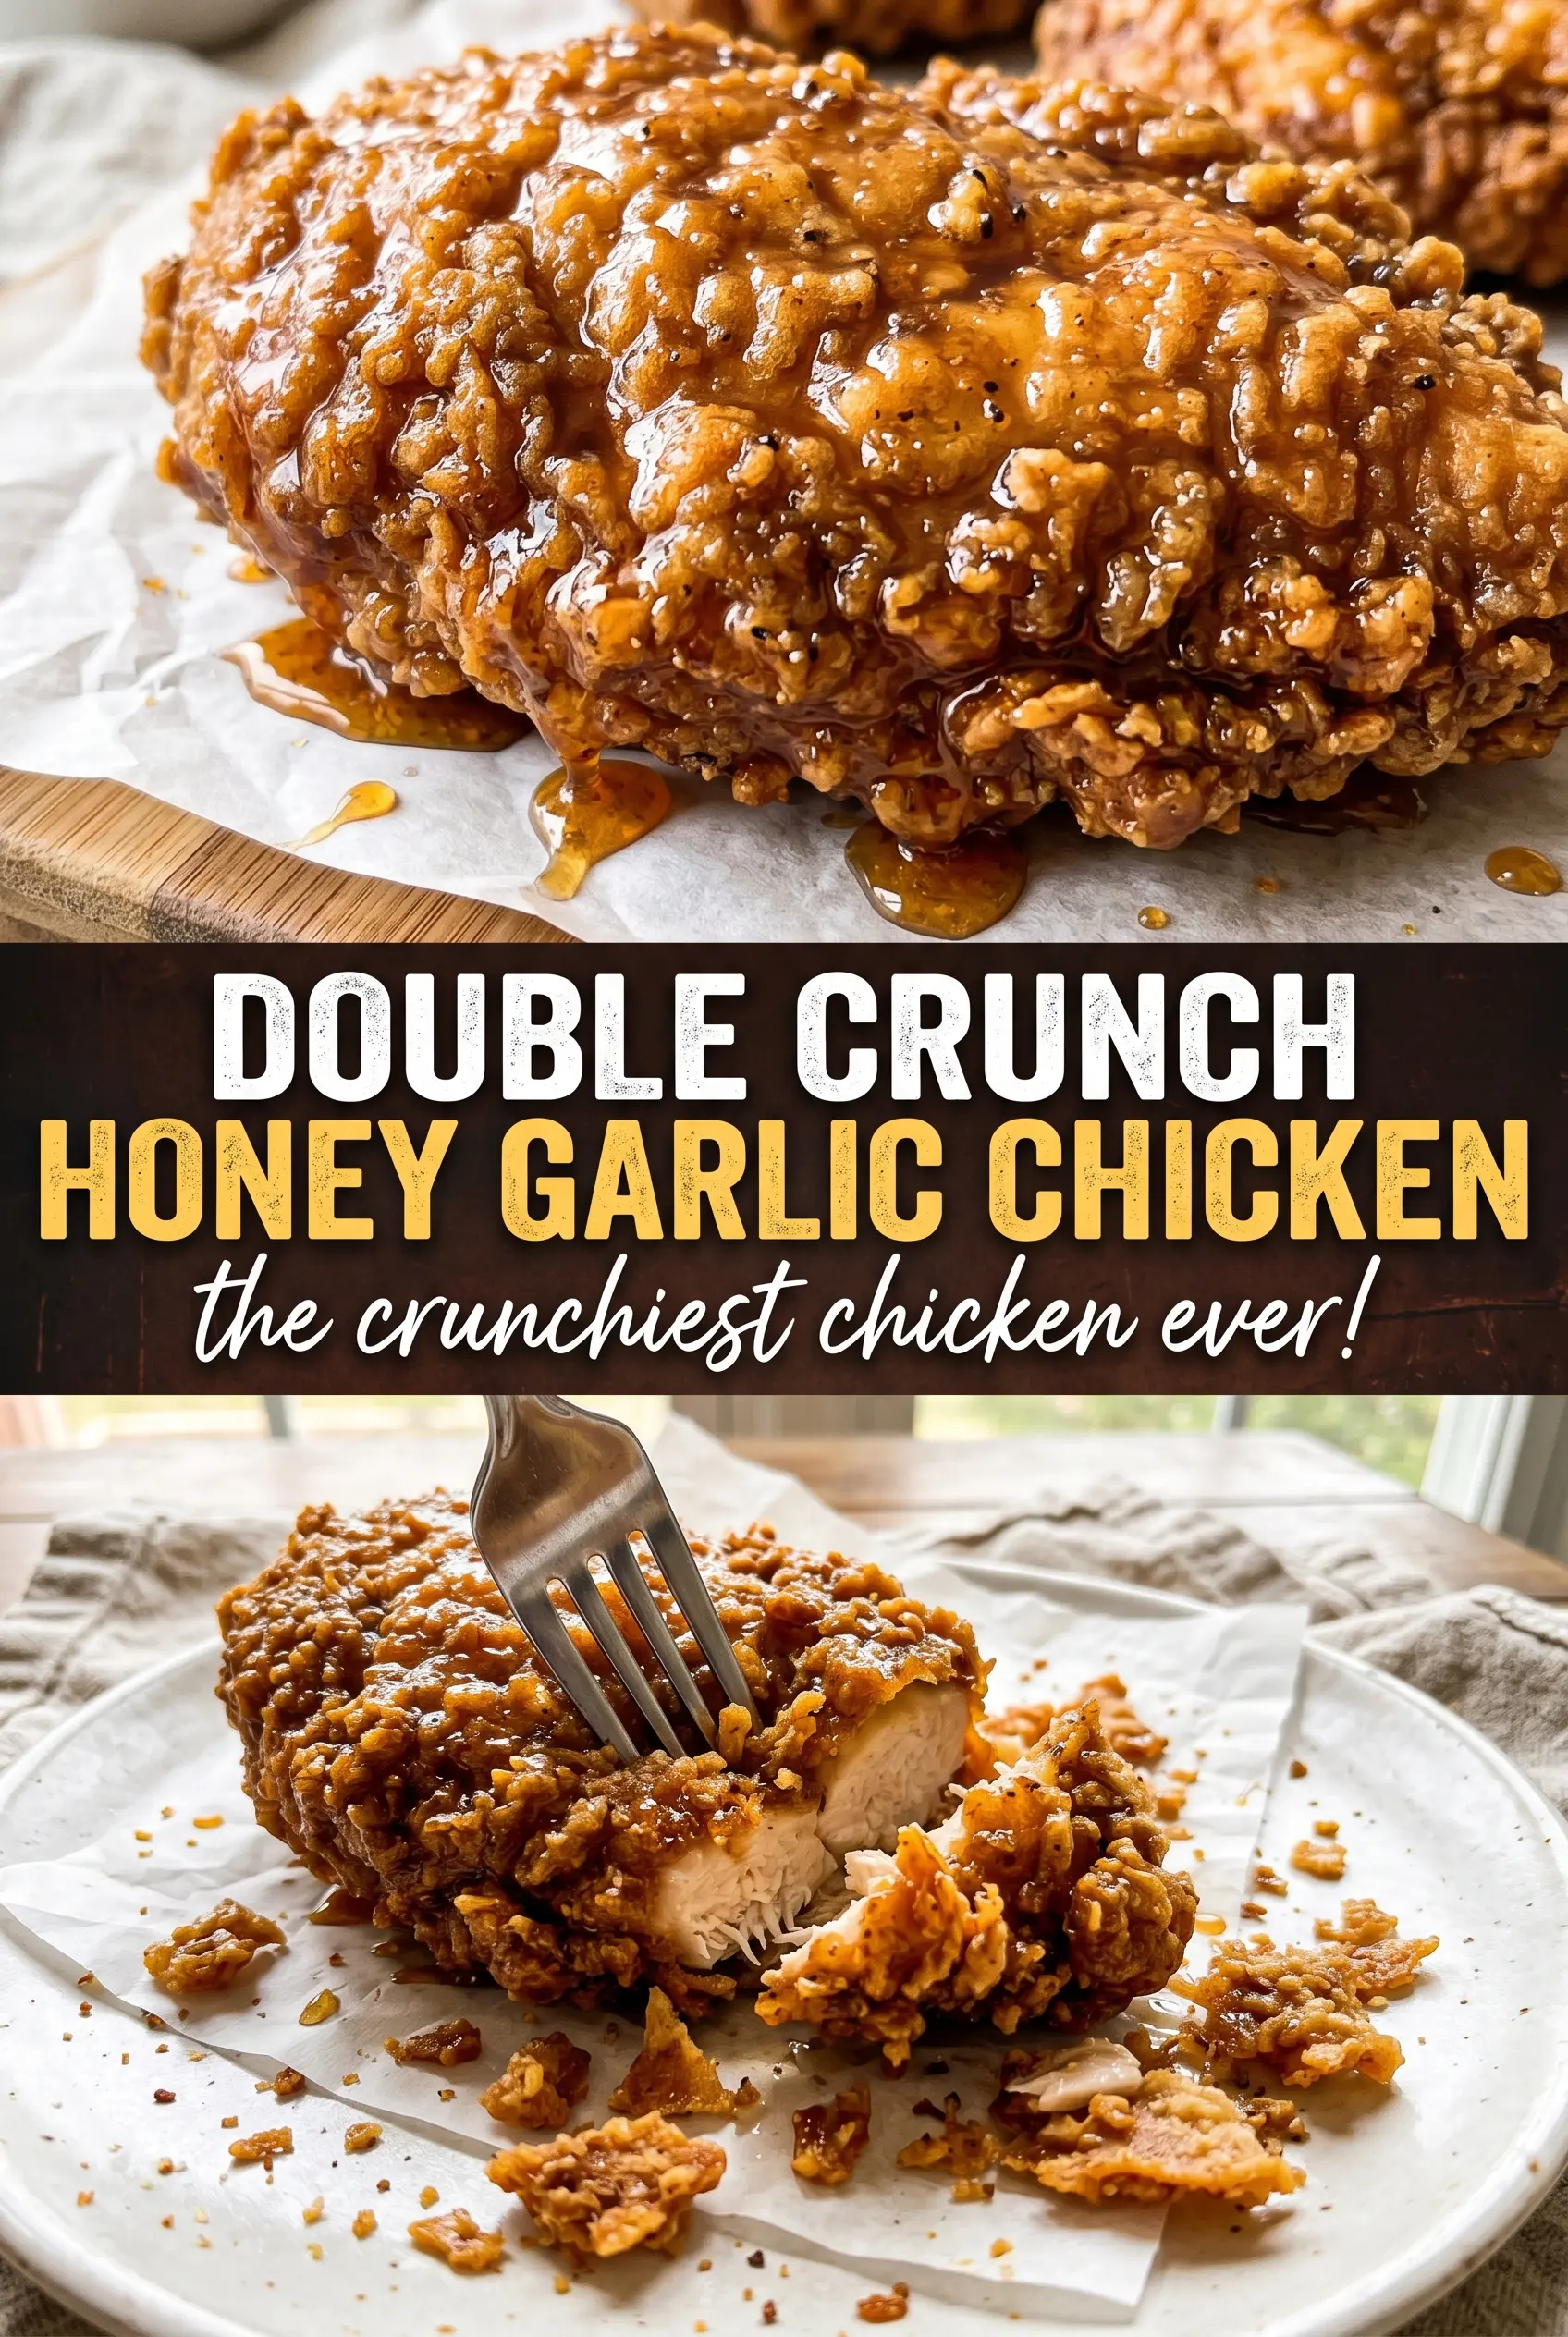
The chicken came out with a thick, crunchy crust that held up even after I spooned the honey garlic sauce over it. The sauce thickened just enough in the pan and the garlic flavor was spot on.
Save this double crunch honey garlic chicken for the night you want a crackly crust, sticky glaze, and almost no leftovers.
The Double Dredge Is What Keeps the Crust From Going Soft
The biggest mistake with honey garlic chicken is treating the coating like a thin shell. A single dredge gives you a light crust that looks good for a minute, then gets soggy the second the sauce hits it. The second pass through flour after the egg creates little ridges and pockets, and that rough surface is what catches the glaze without collapsing under it.
Oil temperature matters just as much as the breading. If the pan isn’t hot enough, the chicken drinks up oil and the crust turns dense instead of crisp. If it runs too hot, the outside browns before the center cooks through. Medium-high heat in a cast iron skillet gives you the steady surface you need for a deep golden crust and a juicy middle.
What Each Ingredient Is Actually Doing in This Chicken
- Chicken breasts — Pounding them to an even thickness keeps the cook time predictable, which is what stops one end from drying out while the thick end catches up. If your breasts are huge, slice them horizontally first or pound them a little thinner so they fry through before the coating over-browns.
- All-purpose flour — This is the backbone of the crust. It gives you a sturdy shell that crisps well in oil and stands up to the sauce better than a lighter coating would.
- Eggs — The egg layer acts like glue between the two flour coats. Without it, the second dredge won’t cling as evenly and you lose that thick, craggy texture.
- Smoked paprika, garlic powder, and onion powder — These season the crust all the way through, not just the surface. Smoked paprika adds color and a subtle warmth that keeps the coating from tasting flat under the glaze.
- Honey — This gives the sauce its sticky shine and that sweet edge that defines the dish. There isn’t a true substitute that behaves the same way; maple syrup will work in a pinch, but it tastes different and finishes less glossy.
- Soy sauce, butter, and apple cider vinegar — Soy sauce brings salt and depth, butter rounds the sauce out, and vinegar keeps the glaze from turning cloying. If you need a gluten-free version, use tamari in place of soy sauce and keep everything else the same.
Frying the Chicken First, Then Turning It Into a Glaze Worth Chasing
Building the Dry Coating
Mix the flour with the seasonings until the color looks even, then press each piece of chicken into the mixture so the surface gets fully covered. Dip it into the beaten eggs, let the excess drip off, and dredge it in flour again with a little more pressure than the first time. That second coating should look rough and uneven, not smooth, because those ridges are what fry up into crunch.
Keeping the Oil at the Right Heat
Heat the oil to about 350°F and hold it there as closely as you can. If you don’t have a thermometer, a pinch of flour should sizzle immediately without smoking. Add the chicken carefully and don’t crowd the pan, because too many pieces at once drop the temperature and make the coating absorb oil instead of crisping.
Cooking to Crunch, Not Just Color
Fry each breast for 5 to 6 minutes per side until the crust is deep golden and the thickest part reaches 165°F. If the outside is browning too quickly, lower the heat a notch and keep going; pulling it early gives you pale breading and undercooked chicken. Move the pieces to a rack or paper towels for a minute so the surface drains before the sauce goes on.
Making the Sauce Glossy
Combine the honey, garlic, soy sauce, butter, and vinegar in a small saucepan and simmer just until it looks slightly thicker, about 3 to 4 minutes. You’re not cooking it down into syrup. If it goes too long, the sugars tighten up and the sauce turns sticky in a heavy, almost candy-like way instead of staying pourable.
Finishing Without Losing the Crunch
Pour the sauce over the chicken right before serving and garnish with sesame seeds and green onions. If you let it sit, the crust softens, which is the main thing people regret about this kind of recipe. Serve it immediately with rice so the sauce has somewhere to land and the chicken stays the star.
Three Ways to Make This Work for Your Table
Gluten-Free Version
Swap the all-purpose flour for a 1:1 gluten-free flour blend and use tamari instead of soy sauce. The crust will still crisp well, but it may look a little less rugged than the wheat-flour version, so give the chicken an extra minute in the pan if it needs it.
Oven-Finished Instead of Fully Fried
Pan-fry the chicken just until the coating sets and turns golden, then finish it in a 400°F oven until it reaches 165°F. This cuts down on stovetop splatter, but the crust won’t be quite as aggressive or shattery as a full pan-fry.
Lighter Honey Garlic Glaze
Reduce the honey slightly and add an extra splash of vinegar if you want a sharper, less sweet sauce. You’ll lose a little of the sticky finish, but the garlic and soy sauce come through more strongly, which works well if you’re serving it with plain rice.
Storage and Reheating
- Refrigerator: Store leftovers for up to 3 days. The crust softens once the sauce sits on it, but the flavor stays good.
- Freezer: The fried chicken freezes better without the sauce. Freeze the cooked chicken on a tray, then pack it airtight for up to 2 months; make the sauce fresh when you’re ready to serve.
- Reheating: Reheat the chicken in a 375°F oven or air fryer until hot and crisp, then spoon on warmed sauce. The common mistake is microwaving it with the glaze already on, which turns the coating limp fast.
Questions I Get Asked About This Recipe
Double Crunch Honey Garlic Chicken Breasts
Ingredients
Equipment
Method
- Mix all-purpose flour, garlic powder, onion powder, smoked paprika, salt, and pepper in a bowl until evenly combined, then dredge each chicken breast to coat thoroughly.
- Dip the coated chicken into beaten eggs, letting excess drip back, then dredge again in the seasoned flour for a second crunchy coat.
- Heat vegetable oil in a large cast iron skillet over medium-high heat to 350°F and maintain 350°F before adding the chicken.
- Pan-fry the chicken for 5-6 minutes per side until golden, crunchy, and internal temperature reaches 165°F, then drain on a rack or paper towels.
- Simmer honey, garlic, soy sauce, butter, and apple cider vinegar in a saucepan over medium heat for 3-4 minutes until slightly thickened.
- Pour the hot honey garlic sauce over the hot crispy chicken right before serving.
- Garnish with sesame seeds and sliced green onions, then serve immediately over rice.


