Shatteringly crisp panko crust, juicy chicken, and a deep golden finish make these chicken breasts one of those dinners that disappears fast. The coating bakes up with real crunch instead of that flat, dusty breading you sometimes get from the oven, and the chicken stays tender because it cooks on a rack with plenty of hot air moving around it.
The trick is a dry, well-seasoned first layer, a proper egg wash, and panko mixed with Parmesan so the crust has both lift and flavor. A quick drizzle or spray of oil is what turns the crumbs from pale to that bronzed, audibly crisp shell. If you’ve ever ended up with breading that slid off or went soft in the oven, the details below will help you avoid both problems.
You’ll also find the exact places where most baked chicken goes wrong, plus a few useful swaps if you need to work with what’s already in the pantry.
The panko turned out shatteringly crisp and the chicken stayed juicy all the way through. I baked it on a rack like you said and the bottom never got soggy.
Crispy panko crusted chicken breasts with a deep golden crunch and juicy center are the kind of dinner worth pinning for busy nights.
The Reason Baked Chicken Stays Crispy Instead of Going Soft
The biggest mistake with oven-breaded chicken is crowding the pan or baking it straight on a sheet with no airflow. That traps steam under the crust, and steam is what ruins the crunch. A wire rack fixes that by letting hot air hit the coating from underneath, so the panko dries and browns instead of steaming itself limp.
Even thickness matters just as much. Chicken breasts are notorious for drying out in the thinner end before the thicker end is cooked through, which is how people end up overbaking the whole pan. Pounding them to an even thickness gives you a better window: the crust turns deep bronze right when the chicken reaches 165°F, not five minutes before or after.
- Rack setup — This is not optional if you want real crunch. The chicken needs air circulation under it, not a hot puddle of juices.
- Even thickness — Pound the chicken to the same thickness across the breast so the edges don’t dry out before the center is done.
- Oil on the coating — A light spray or drizzle helps the panko toast. Dry crumbs stay pale and sandy.
What Each Ingredient Is Actually Doing in This Crust
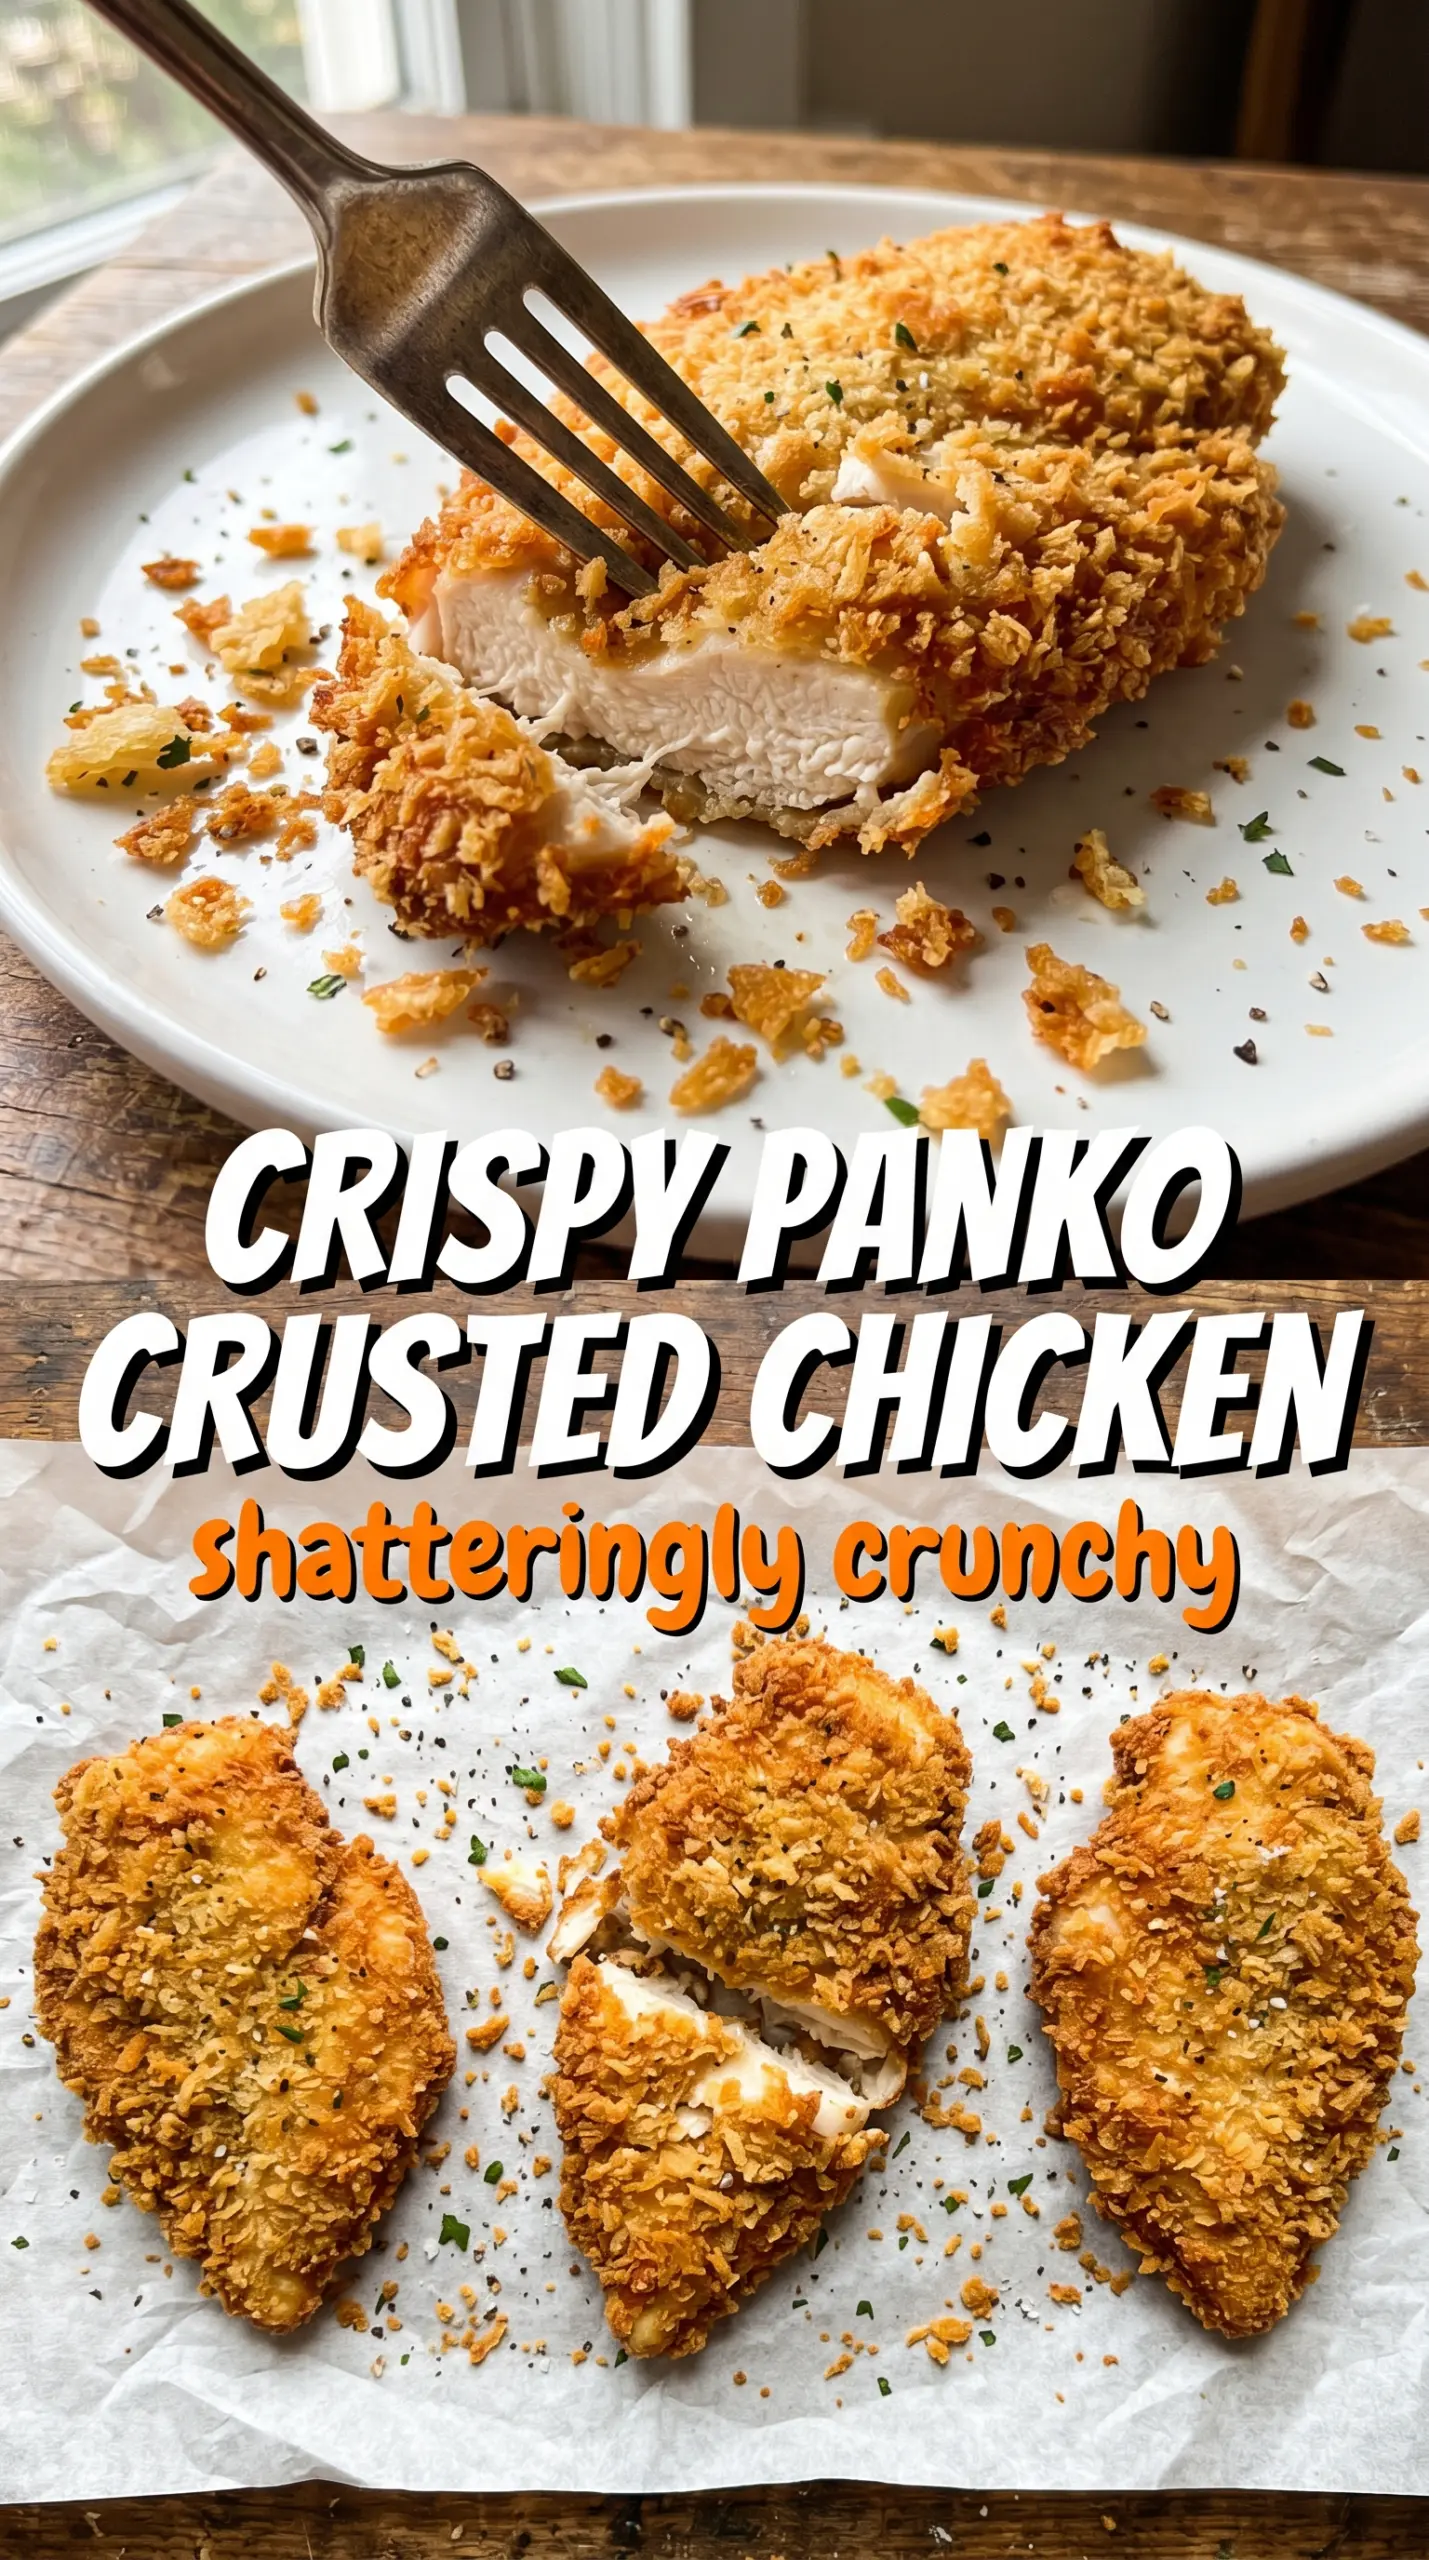
The panko is the star here because its airy flakes create a lighter, craggier crust than regular breadcrumbs. Regular crumbs can work in a pinch, but they won’t give you the same tall, crisp texture. If you swap them, expect a denser coating and a slightly less dramatic crunch.
- Chicken breasts — Boneless, skinless breasts are the cleanest canvas for this method. Pound them evenly so the crust and the meat finish at the same time.
- Flour — The flour gives the egg something to cling to. Skip it and the breading can slide off in patches.
- Eggs — Beaten eggs act like glue. If the coating seems patchy, the usual problem is that the chicken was too wet before it hit the flour, not the egg itself.
- Panko breadcrumbs — These are what give you the shatter. If you only have regular breadcrumbs, pulse them a little less than fine so they still have some texture.
- Parmesan — Adds salt, browning, and a savory edge. Freshly grated Parmesan melts and clings better than the shelf-stable powdered kind.
- Italian seasoning, garlic powder, smoked paprika — These season the crust itself, which matters more than seasoning the chicken alone. The paprika deepens the color and gives the coating a little extra warmth.
- Olive oil or spray — This is the difference between pale crumbs and a bronzed crust. Use enough to lightly coat the top and sides, but don’t soak it.
Building the Coating So It Stays Put in the Oven
Season and Dry the Chicken First
Start by patting the chicken dry and seasoning it with salt, pepper, and garlic powder. If there’s moisture on the surface, the flour layer turns gummy instead of forming a thin dry base. That first dry layer matters because it gives the egg something to grip, which is what keeps the crust attached through baking.
Use Three Separate Breading Stations
Set up flour in one dish, beaten eggs in another, and the panko-Parmesan mixture in a third. Work one breast at a time and keep one hand for dry ingredients and one hand for wet if you can; that keeps your coating from turning into clumpy paste. Press the crumbs on firmly with your fingertips so the surface looks shaggy and fully covered, not dusted.
Bake on a Rack Until Deep Bronze
Place the breaded chicken on the prepared wire rack, then drizzle or spray the tops with olive oil. Bake at 425°F until the crust is deep golden brown and the center reaches 165°F, usually 20 to 22 minutes depending on thickness. If the chicken is cooked but the crust still looks pale, leave it for another minute or two rather than pulling it early; the color is part of the texture here.
Rest Briefly Before Serving
Let the chicken rest for 3 minutes after it comes out of the oven. That short pause lets the juices settle so they don’t run out the second you cut into it. Slice too early and you’ll lose both moisture and some of the crunchy crust you worked for.
How to Adapt These Chicken Breasts for Different Kitchens and Needs
Gluten-Free Panko Chicken
Use gluten-free flour and gluten-free panko in the same amounts. The crust will still get crisp, though some gluten-free crumbs brown a little faster, so watch the last few minutes closely and keep the oven rack in the center position.
Dairy-Free Version
Leave out the Parmesan and add an extra 2 tablespoons of panko plus a pinch more salt. You’ll lose some of the savory depth and browning power, but the crust still bakes up crisp if you keep the oil on the coating.
Italian Breaded Chicken Style
Add a little extra Parmesan and a pinch of dried basil or oregano if you want a more classic Italian-style crust. Serve with marinara on the side, but keep it separate from the chicken so the coating stays crisp.
Storage and Reheating
- Refrigerator: Store leftovers in an airtight container for up to 3 days. The crust will soften a bit in the fridge, which is normal.
- Freezer: Freeze the baked chicken on a sheet pan first, then wrap tightly and store for up to 2 months. It freezes well, but the coating won’t be quite as crisp after thawing.
- Reheating: Reheat on a wire rack in a 375°F oven or air fryer until hot and re-crisped. Don’t use the microwave if you want the crust to stay crunchy; it turns the panko soft in minutes.
Questions I Get Asked About This Recipe
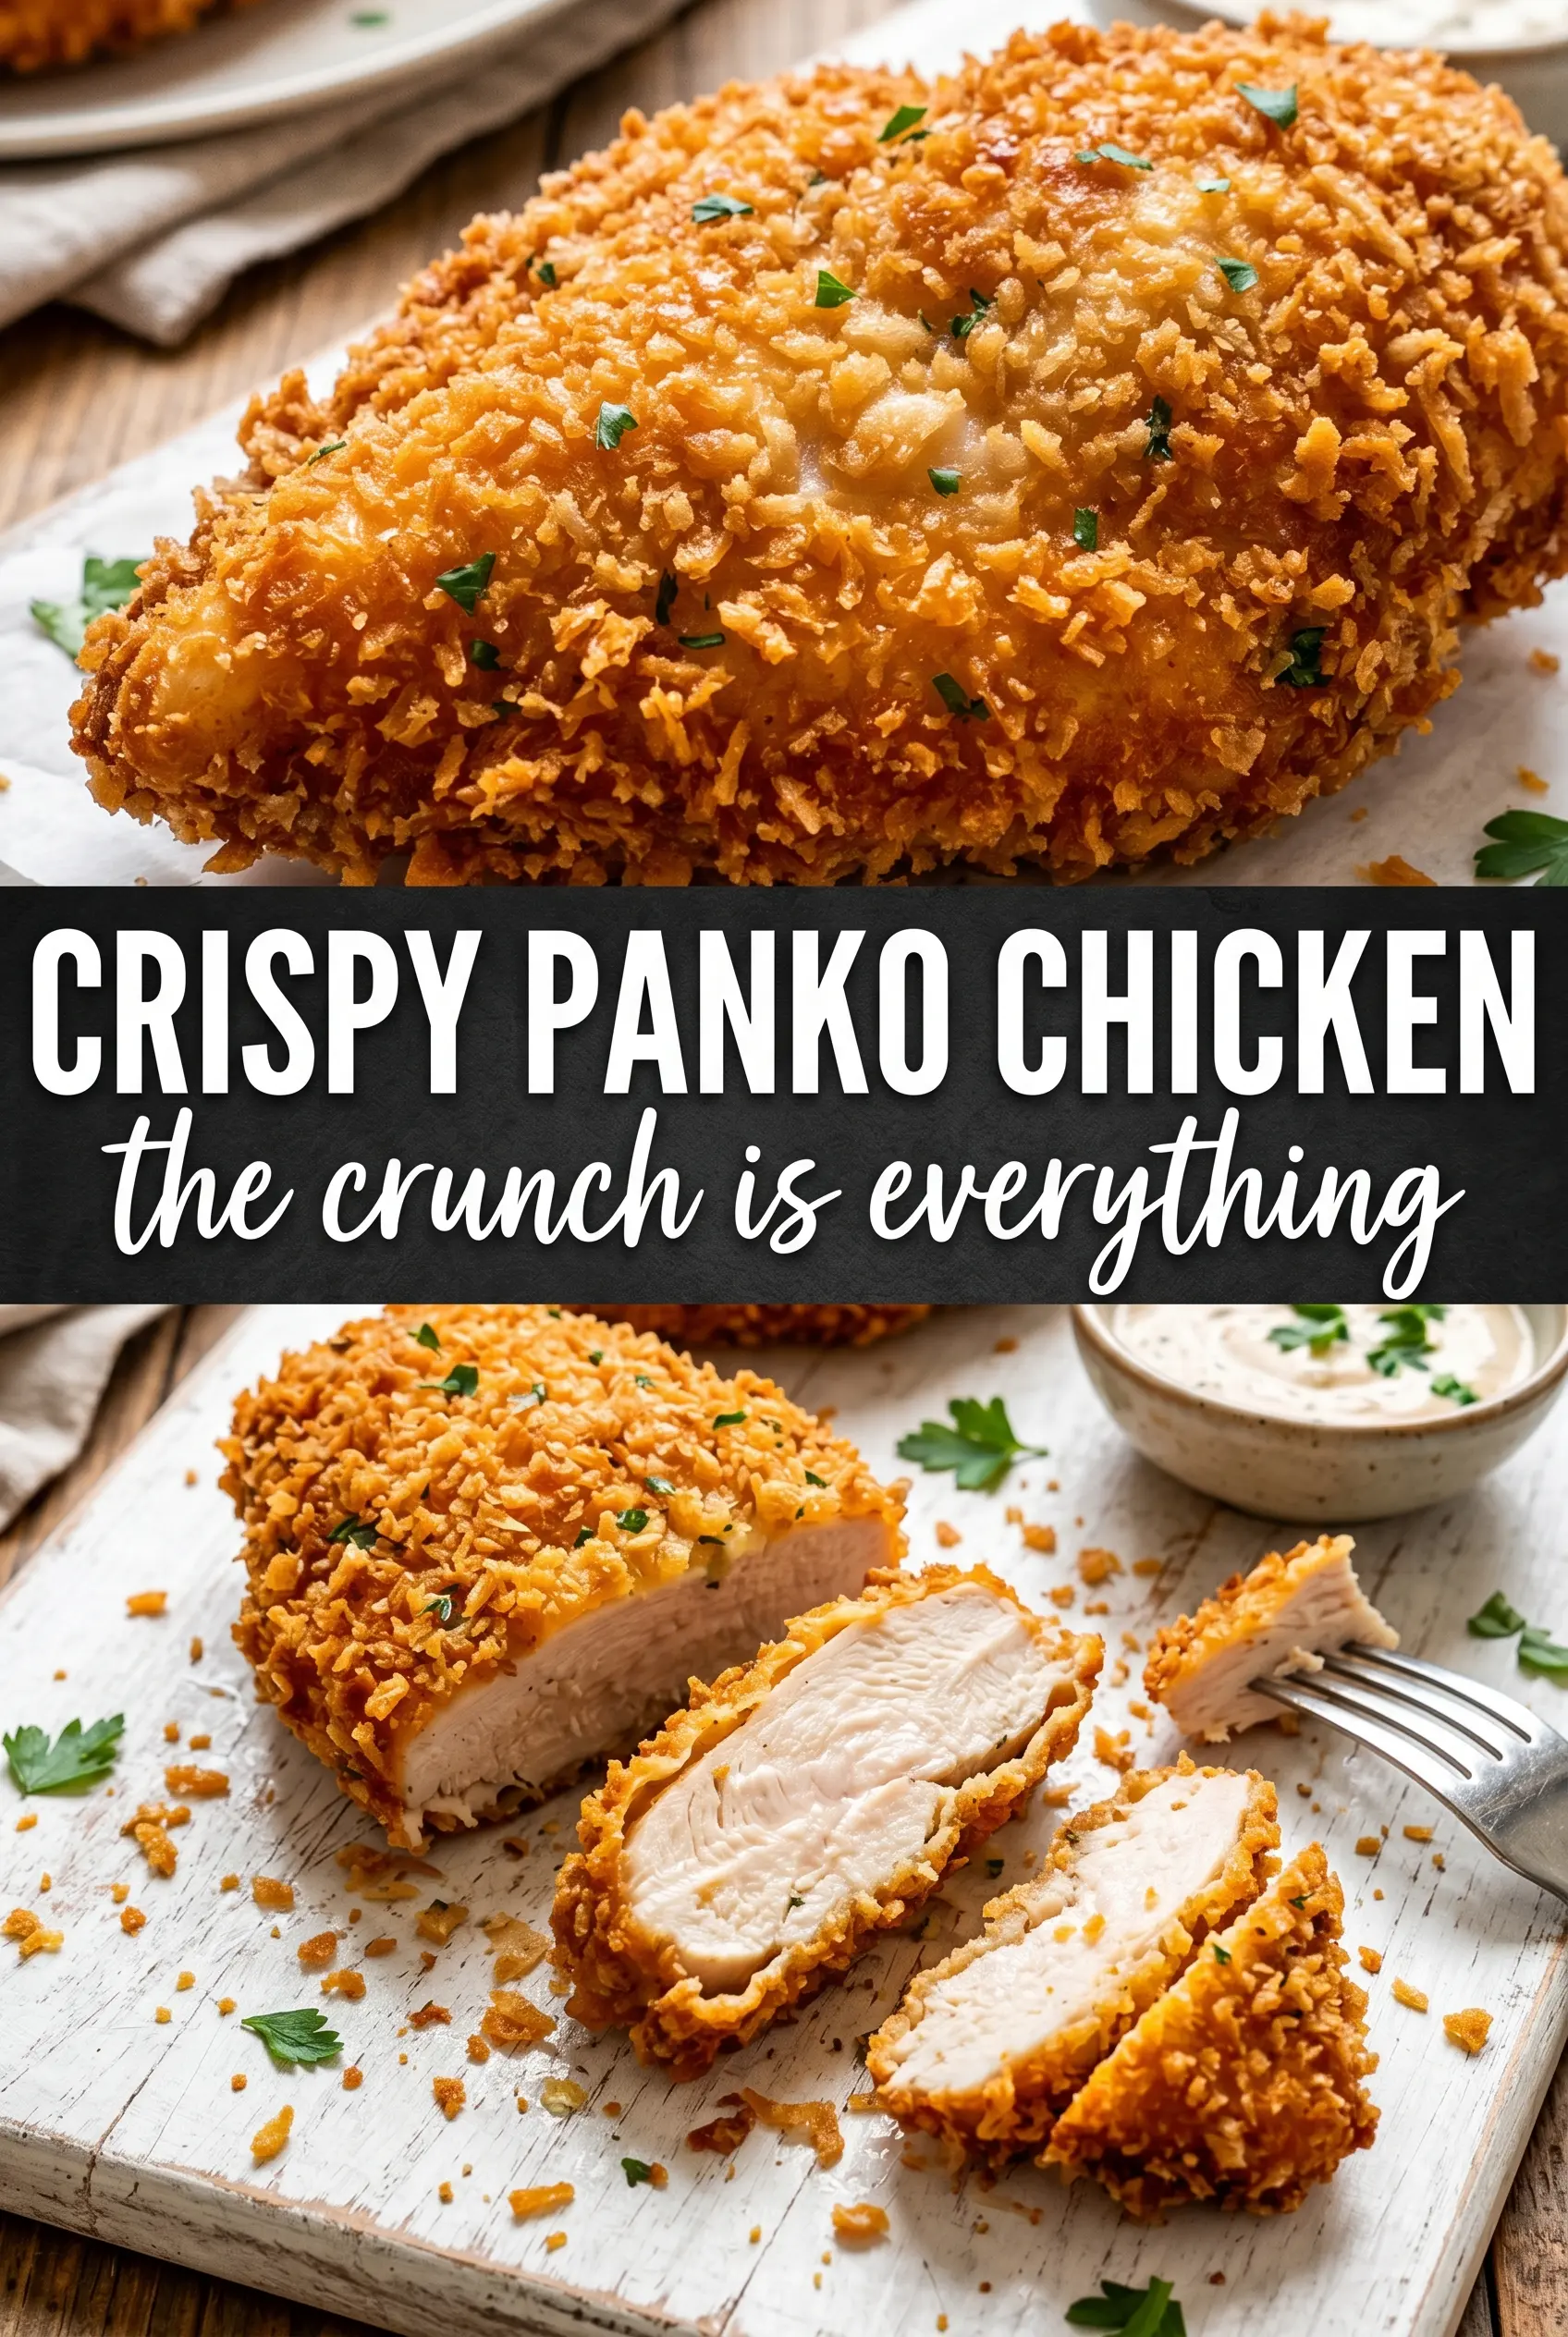
Crispy Panko Crusted Chicken Breasts
Ingredients
Equipment
Method
- Preheat the oven to 425°F and line a baking sheet with a wire rack; spray the rack with cooking spray for easy release and even crisping.
- Season the chicken breasts with salt, pepper, and garlic powder to taste, then arrange three breading stations: flour, beaten egg, and panko mixed with Parmesan, Italian seasoning, garlic powder, and smoked paprika.
- Dredge each chicken breast in flour, shaking off excess so the next layer clings evenly.
- Dip the floured chicken into the beaten eggs so the coating adheres and forms a crisp crust as it bakes.
- Press the chicken firmly into the panko mixture on all sides to create a thick, even layer with visible crumbs.
- Drizzle or spray the breaded chicken with olive oil and place it on the prepared rack, spacing pieces apart for airflow.
- Bake for 20-22 minutes at 425°F until the crust is deep golden brown and the internal temperature reaches 165°F, with crumbs looking dry and crisp.
- Rest the chicken for 3 minutes so juices set and the crust stays shatter-crisp, then garnish with fresh parsley and serve with lemon wedges.


