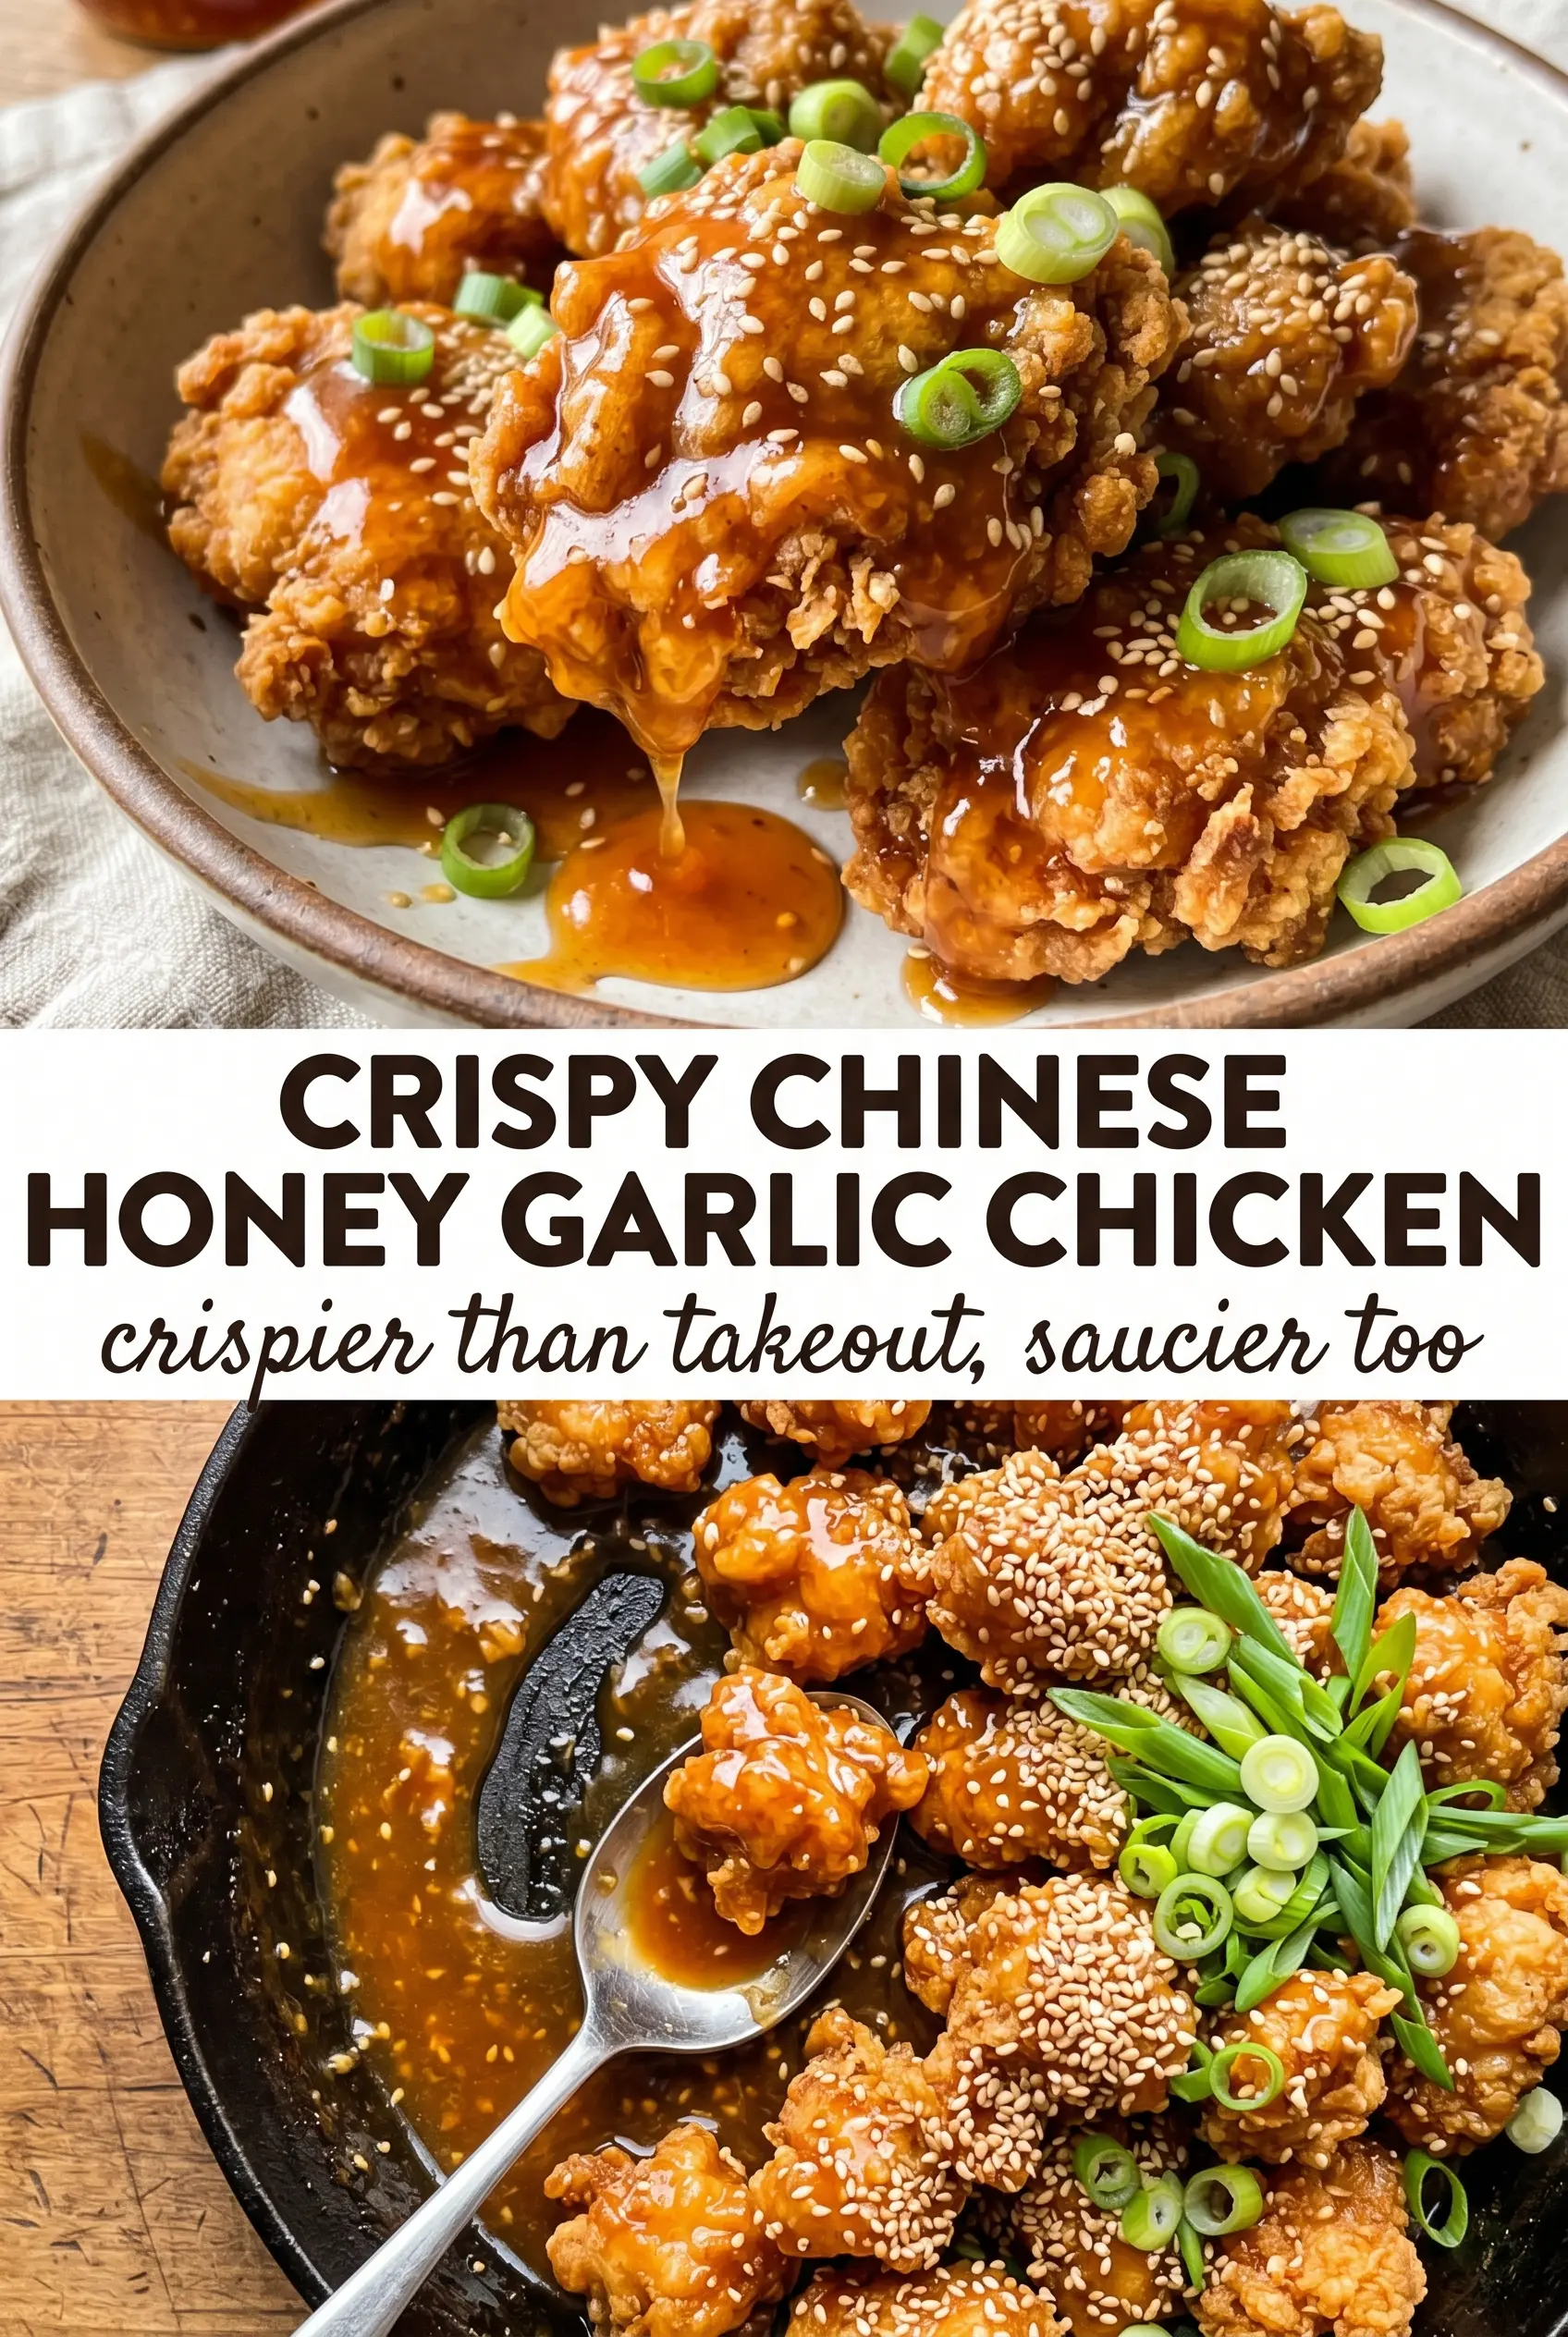
Crispy Chinese honey garlic chicken earns its place on the dinner rotation because the contrast is exactly what you want: shatteringly crisp chicken on the outside, juicy chicken inside, and a sticky sauce that clings instead of pooling at the bottom of the bowl. When the coating stays crunchy under a glossy honey garlic glaze, it tastes like the takeout version people hope for but rarely get at home.
The trick is in the layering. The egg gives the flour-cornstarch mixture something to grip, and the cornstarch helps the crust fry up lighter and snappier than flour alone. The sauce also matters: you want the garlic to simmer long enough to lose its raw edge, then thicken just enough to coat a spoon before it hits the chicken. That’s what gives you that deep amber finish without turning the whole dish heavy or greasy.
Below, I’ve included the small details that keep the coating crisp, the sauce glossy, and the garlic from burning. If you’ve ever ended up with soggy chicken or a thin sauce that slid right off, this version fixes both.
The coating stayed crisp even after the sauce went on, and the honey garlic glaze thickened into that glossy takeout-style finish instead of turning watery. I served it over rice and my husband went back for seconds before I even sat down.
Save this crispy Chinese honey garlic chicken for the night you want shatteringly crisp chicken with a glossy sticky sauce that clings to every bite.
The Coating That Stays Crisp Under Sauce
The most common failure in honey garlic chicken is frying something beautiful and then watching it turn soft the second the sauce goes on. That happens when the coating is too thick, the oil isn’t hot enough, or the chicken sits in sauce for too long before serving. Here, the cornstarch-flour mix gives you a thin, sturdy crust that browns fast and stays crisp long enough to eat with enthusiasm.
Keep the oil at 375°F and fry in batches. If the oil temperature drops, the coating absorbs grease instead of sealing quickly, and that’s when the chicken tastes heavy. Also, don’t crowd the pan; the pieces need room so steam can escape and the surface can dry into a proper crust.
- Cornstarch — This is what gives the chicken its crisp, almost brittle edge. Flour alone won’t give you the same light crunch.
- Chicken thighs — Thighs stay juicier than breast meat during frying, which matters here because the chicken cooks quickly and then gets tossed in sauce. Breast meat works, but it can dry out faster.
- White pepper — It adds a clean, sharp heat that fits the sauce without looking speckled in the coating. Black pepper works in a pinch, but the flavor is a little more obvious.
- Rice vinegar — It keeps the sauce from tasting flat. If you use something sweeter or milder, the glaze can turn cloying.
Frying First, Glazing Second
Mixing the Dry Coating
Whisk the cornstarch, flour, garlic powder, salt, and white pepper until the mix looks even from edge to edge. Uneven seasoning leaves some bites bland and others salty. The chicken should get a light, complete coating after dipping in egg; if the pieces look clumpy or paste-like, shake off the excess egg before dredging.
Frying in Batches
Heat the oil to 375°F and keep a close eye on the temperature between batches. The chicken should sizzle immediately and turn deeply golden in 5 to 6 minutes. If the pieces brown too fast before the center is cooked, the oil is too hot; if they come out pale and oily, the oil is too cool.
Building the Honey Garlic Sauce
Combine the honey, soy sauce, garlic, and rice vinegar in a saucepan and bring it to a steady simmer. The garlic should soften and smell sweet, not harsh. Stir in the cornstarch slurry and cook until the sauce turns glossy and thick enough to coat the back of a spoon, which usually takes 2 to 3 minutes. Pull it off the heat before it gets too tight, because it will thicken more as it cools.
Tossing Without Losing the Crunch
Add the fried chicken to the sauce right before serving and toss quickly until every piece is coated. Lingering in the pan is what softens the crust. Finish with sesame oil off the heat so its aroma stays bright, then get the chicken onto rice while the glaze is still shiny and fluid.
How to Adapt the Chicken Without Losing the Crunch
Gluten-Free Version
Swap the all-purpose flour for a gluten-free all-purpose blend and use tamari instead of soy sauce. The coating still fries up crisp because the cornstarch does most of the crunch work, and tamari keeps the sauce deep and savory without changing the method.
Baked or Air-Fried Shortcut
You can cook the coated chicken in an air fryer or hot oven, but the crust will be drier and less shatteringly crisp than a fry. Spray the pieces well with oil and cook until deeply golden, then toss them in just enough sauce to coat without soaking the exterior.
Chicken Breast Instead of Thighs
Chicken breast works if that’s what you have, but cut the pieces a little larger so they don’t dry out before the coating browns. Watch the frying time closely and pull them as soon as they’re cooked through; breast meat loses its juiciness fast once it goes past done.
Storage and Reheating
- Refrigerator: Store leftovers for up to 3 days. The coating softens in the fridge, but the flavor holds up well.
- Freezer: Freeze the fried chicken before saucing for best results. Once coated in sauce, the texture won’t come back the same after thawing.
- Reheating: Reheat the chicken in a 375°F oven or air fryer until hot and crisp, then warm the sauce separately and toss together at the end. Microwaving makes the crust soggy and dulls the glaze.
Questions I Get Asked About This Recipe
Crispy Chinese Honey Garlic Chicken
Ingredients
Equipment
Method
- Whisk together cornstarch, all-purpose flour, garlic powder, salt, and white pepper until evenly combined, then set the mixture aside. Visual cue: dry blend should look uniform with no visible spice clumps.
- Dip the bitten chicken into the beaten egg, letting excess drip off for a moment. Visual cue: each piece should look lightly coated and glossy before dredging.
- Dredge the egg-coated chicken in the flour mixture, pressing lightly so the coating adheres. Visual cue: a dry, matte coating should completely cover the surface.
- Heat about 2 inches of vegetable oil to 375°F in a cast iron skillet. Visual cue: oil is ready when it shimmers and small bubbles form around a test piece.
- Fry the chicken in batches for 5-6 minutes, turning as needed for even browning. Visual cue: shatteringly crisp golden-brown bites with cooked-through centers.
- Transfer the fried chicken to a sheet pan to drain briefly. Visual cue: coating stays crisp and dry-looking rather than steaming.
- Combine honey, soy sauce, minced garlic, and rice vinegar in a saucepan and bring to a simmer. Visual cue: bubbling begins around the edges and garlic becomes fragrant.
- Stir in the cornstarch slurry (cornstarch mixed with 2 tablespoons water) and cook for 2-3 minutes until thickened. Visual cue: sauce turns glossy and clings to the spoon.
- Remove from heat and stir in sesame oil. Visual cue: the sauce looks darker and silkier after the final stir.
- Toss the crispy chicken in the honey garlic sauce until fully coated. Visual cue: sauce should coat every piece in a sticky, shiny amber glaze.
- Serve over steamed rice and top with sesame seeds and green onions. Visual cue: glossy chicken piled over rice with green flecks and sesame speckles.


