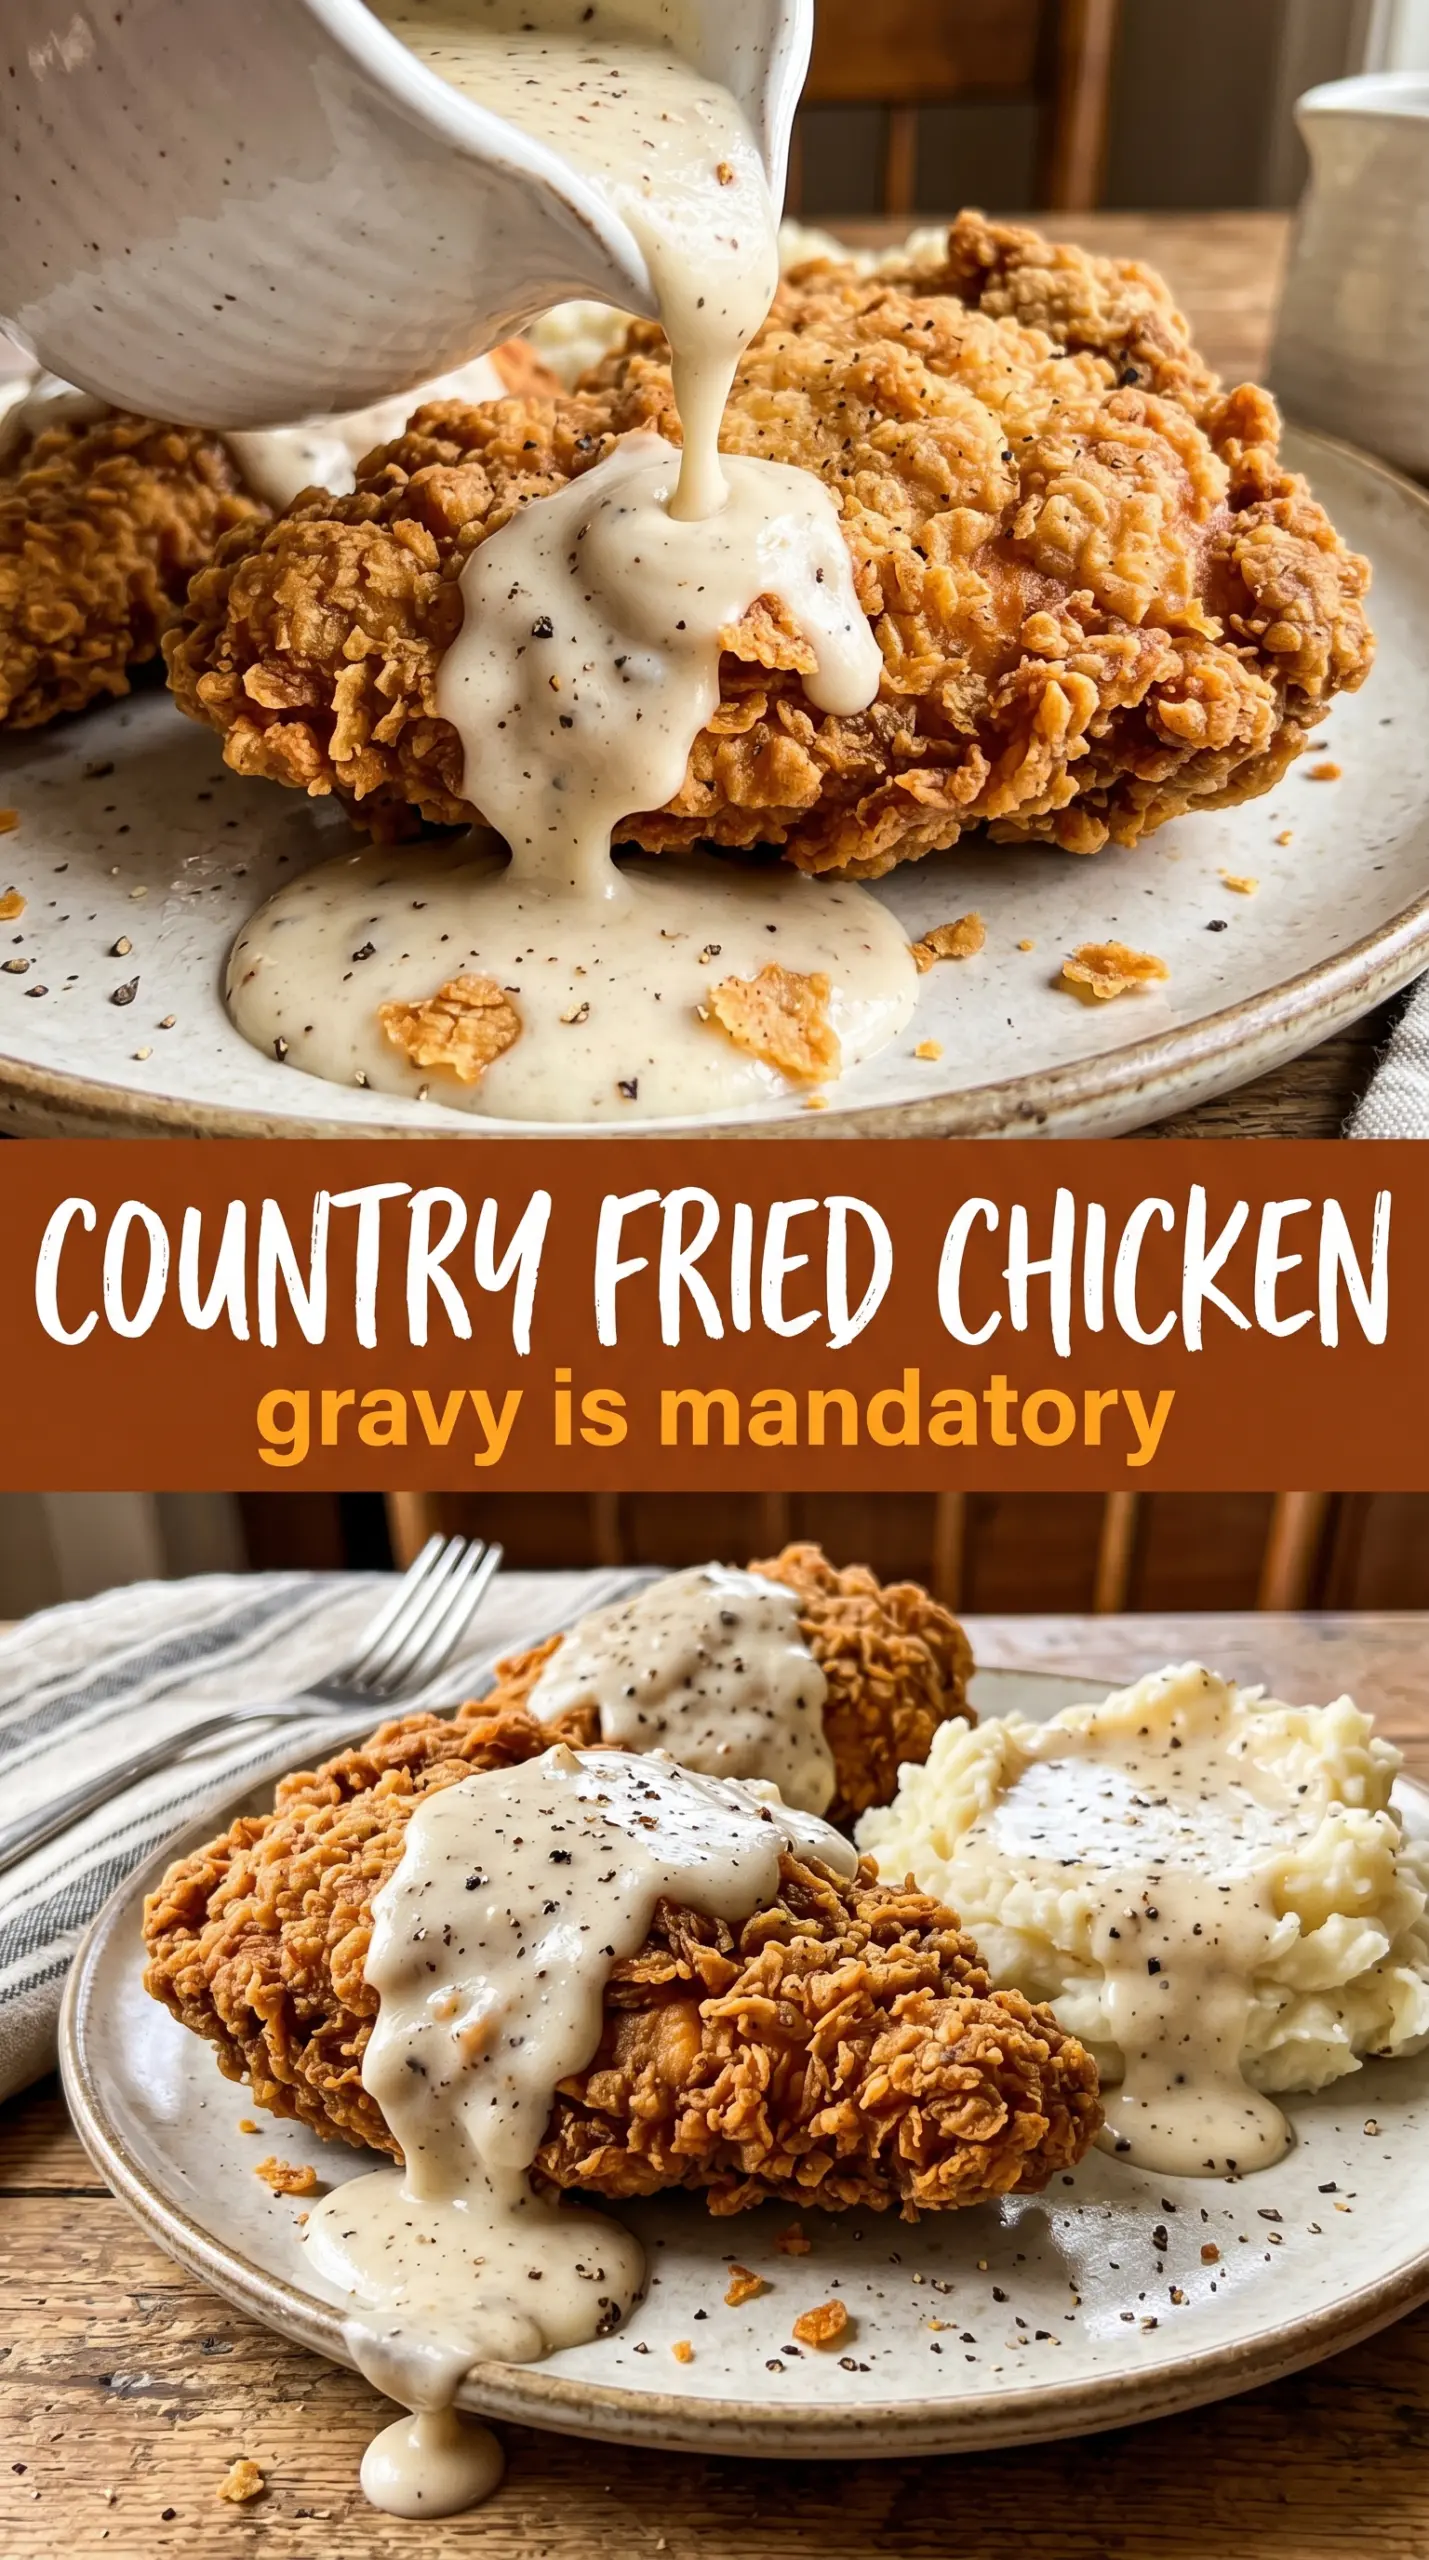
Country fried chicken earns its place in the rotation when the crust shatters under your fork and the meat underneath stays juicy all the way to the bone. The coating should be thick enough to stay crisp after frying, but not so heavy that it turns pasty once the gravy hits the plate. That balance is what makes this version worth keeping around.
The buttermilk soak does more than add tang. It helps season the chicken all the way through and gives the flour something to cling to, which is how you get those craggy, crunchy edges instead of a bare patchy crust. The spice blend leans smoky and peppery, then the white gravy ties everything together without drowning out the chicken.
Below, you’ll find the small details that matter most: how to keep the coating from slipping, how to fry in a skillet without dropping the oil temperature, and how to get gravy from pan drippings that tastes rich instead of floury.
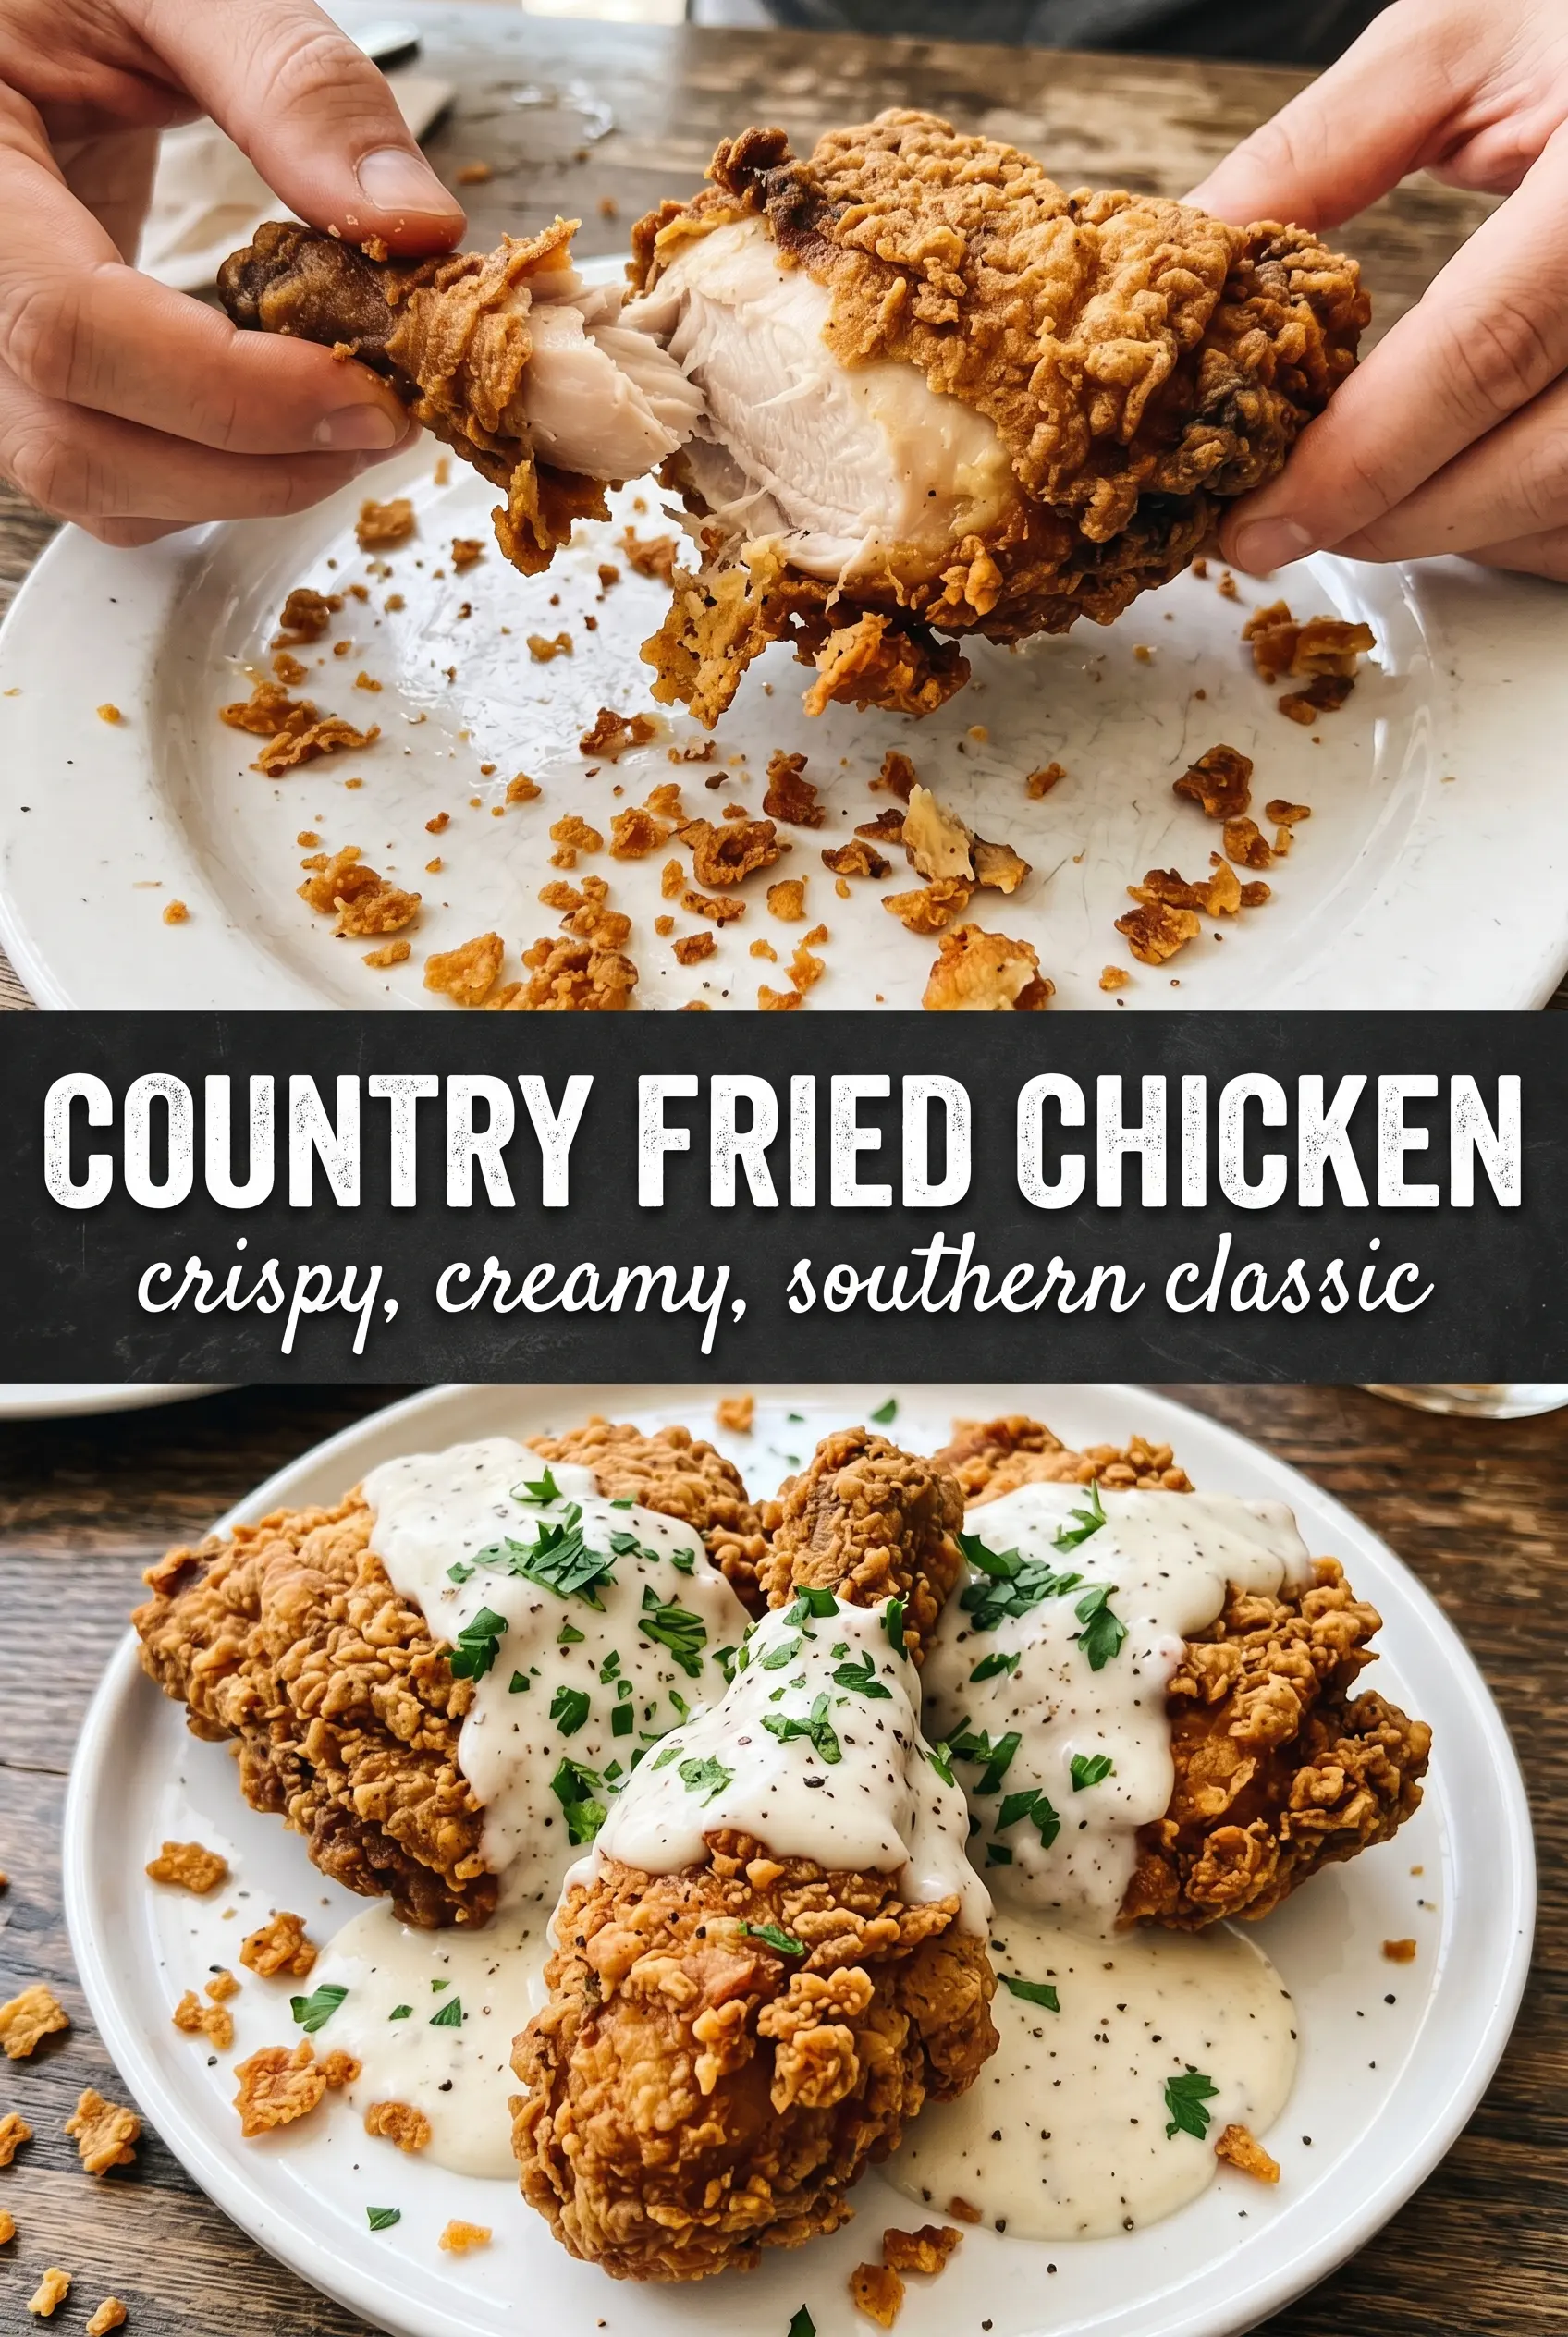
The crust stayed crunchy even after I poured the gravy on, and the chicken was still juicy right at 165°F. I used thighs and the coating turned out thick and craggy like the diner version I grew up with.
Save this country fried chicken for the night you want a shatter-crisp crust, juicy meat, and peppery white gravy all on one plate.
The Crust Stays Crispy When the Chicken Gets the Chance to Set
The most common reason country fried chicken turns soft is rushing the flour stage. Once the chicken is dredged, it needs a short rest so the coating hydrates and grips the meat instead of flaking off in the oil. That resting time also helps the flour form those rough little ridges that fry up into crunch.
Oil temperature matters just as much. Too cool and the coating absorbs oil before it can seal; too hot and the outside burns before the inside cooks through. A steady 350°F gives you that deep golden crust and keeps the chicken from tasting greasy.
What the Buttermilk, Spice Blend, and Pan Drippings Are Doing Here
- Buttermilk — It tenderizes the chicken and helps the coating cling. Plain milk won’t give you the same slight tang or the same sticky surface, so the crust won’t be as substantial. If you don’t have buttermilk, mix 2 cups milk with 2 tablespoons lemon juice or vinegar and let it sit for 5 minutes before using.
- Hot sauce — This doesn’t make the chicken spicy-hot; it adds background heat and a little extra flavor in the soak. Any vinegar-based hot sauce works.
- Smoked paprika, garlic powder, onion powder, cayenne, black pepper — This is the flavor backbone of the crust. The paprika adds color and depth, while the cayenne and pepper give the coating a slow, peppery finish. Don’t skip the pepper if you want that classic country fried chicken bite.
- Bone-in chicken pieces — Thighs stay juicier and are more forgiving, but bone-in breasts work if you keep an eye on the internal temperature. Boneless pieces cook faster but lose some of the old-school texture this recipe is built around.
- Whole milk for the gravy — It gives the gravy body and a clean, rich finish. Lower-fat milk works in a pinch, but the sauce will taste thinner. The pan drippings are worth using because they carry all the seasoned fried flavor from the chicken.
Frying, Draining, and Turning the Drippings Into Gravy
Letting the Coating Set
After the chicken comes out of the buttermilk and gets dredged, press the flour on firmly with your hands. The goal is a rough, shaggy crust, not a smooth breaded shell. Lay the coated chicken on a rack or plate and let it sit long enough for the flour to hydrate; if it goes into the oil immediately, the coating can slide right off.
Keeping the Oil at a Steady 350°F
Use enough oil to come 2 to 3 inches up the side of the skillet, and let it preheat fully before the first piece goes in. The oil should shimmer and move easily, not smoke. If the temperature drops hard after the chicken hits the pan, fry in smaller batches instead of crowding the skillet, or the crust will come out pale and soggy.
Cooking to Deep Golden, Not Just Brown
Fry each piece until the outside turns a deep golden brown with darker ridges and the chicken reaches 165°F at the thickest part. Bone-in pieces take time, so don’t chase color alone. If the coating is getting too dark before the center cooks, lower the heat slightly and give the oil a minute to recover.
Building the White Gravy From the Drippings
Whisk the flour into the drippings and let it cook for about a minute before adding milk. That quick cook removes the raw flour taste and gives the gravy a nutty base. Add the milk slowly while whisking so the gravy stays smooth; if it looks lumpy at first, keep whisking and it usually comes together as it heats.
Make It Thigh-Heavy for Extra Juiciness
Thighs stay moist longer and handle frying heat better than breasts. If you like a richer, slightly more forgiving result, use all thighs and fry them until they register 165°F. The crust-to-meat ratio ends up a little more indulgent, which suits this style of chicken.
Go Gluten-Free with a Rice Flour Dredge
Swap the all-purpose flour for an equal amount of rice flour, or use half rice flour and half cornstarch for a lighter crunch. The coating fries up crisp, though it won’t have quite the same rustic heft as wheat flour. Keep the dredging/rest time the same so the crust has time to set.
Dairy-Free Country Fried Chicken
Use an unsweetened plain non-dairy milk with 2 tablespoons lemon juice or vinegar stirred in, then let it sit 5 minutes before coating the chicken. The tang won’t be identical to buttermilk, but it still helps tenderize and gives the flour something to grab. For the gravy, use oil instead of drippings and a dairy-free milk that can handle heat without splitting.
Storage and Reheating
- Refrigerator: Store the chicken and gravy separately for up to 3 days. The crust softens in the fridge, but it still reheats well.
- Freezer: Freeze the fried chicken without gravy for up to 2 months. Wrap it tightly and cool it completely first so condensation doesn’t wreck the crust.
- Reheating: Warm chicken on a rack in a 375°F oven until hot and crisp again, about 15 to 20 minutes. Avoid the microwave if you want the coating to stay crunchy; it turns the crust damp fast.
Answers to the Questions Worth Asking
Country Fried Chicken
Ingredients
Equipment
Method
- Add bone-in chicken pieces and buttermilk to a container, then stir in hot sauce. Cover and refrigerate for at least 30 minutes or overnight so the coating sticks better.
- Whisk all-purpose flour, garlic powder, onion powder, smoked paprika, cayenne pepper, salt, and cracked black pepper in a shallow dish. Mix until the flour looks evenly speckled with spices.
- Remove chicken pieces from the buttermilk and let excess drip off. Lay each piece into the seasoned flour and dredge firmly so a thick layer forms.
- Dip-and-dredge the coated chicken again in the buttermilk, then firmly in the seasoned flour. You should see a heavier, more textured coating after the second dredge.
- Heat 2-3 inches of vegetable oil in a large cast iron skillet to 350°F. Maintain the oil near 350°F as you start frying, with steady bubbling around the chicken.
- Fry chicken pieces for 10-12 minutes per side until deeply golden. The interior should reach 165°F when checked in the thickest part.
- Transfer the fried chicken to paper towels to drain. Let it rest briefly so the coating stays crisp.
- Whisk pan drippings and flour in a skillet over medium heat for 1 minute. Stir until the mixture smells toasted and looks like a smooth paste.
- Gradually whisk in whole milk and cook until thickened. Keep whisking until the gravy coats the back of a spoon.
- Season with salt and pepper to taste. Taste and adjust until balanced and creamy.
- Serve country fried chicken immediately and pour white gravy over the top. Make sure the gravy pools around the base while the coating is still crisp.


