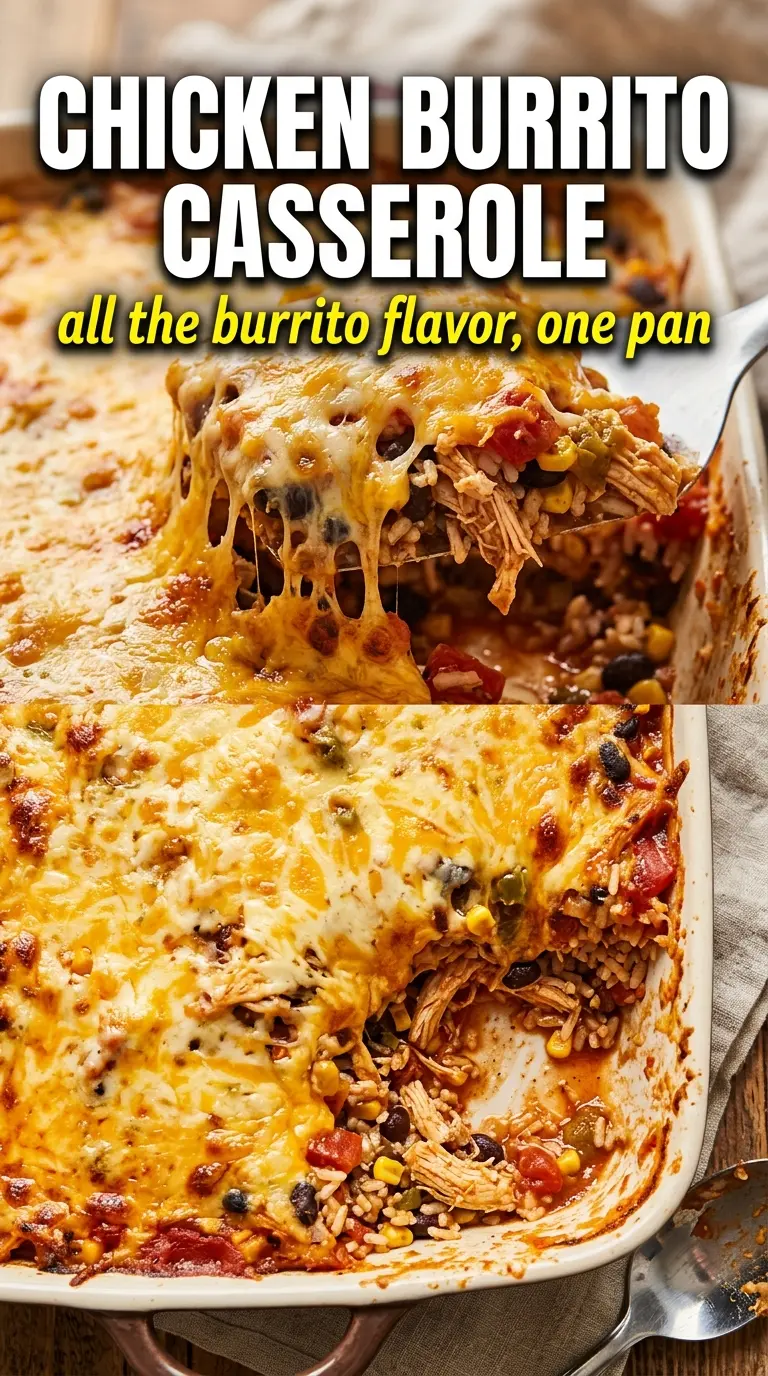
Chicken burrito casserole lands in that sweet spot between comfort food and weeknight practicality: creamy, cheesy, and hearty enough to stand on its own, with all the burrito flavors baked into one pan. The tortillas soften into tender layers instead of going soggy, the filling stays saucy without turning loose, and the top gets those browned, bubbly edges that make people hover by the oven.
The difference here is in the layering and the balance of the sauce. Mixing the cream of chicken soup, sour cream, and salsa before the chicken goes in gives you a filling that coats every bite instead of clumping in pockets. A little diced green chile and onion keeps the casserole from tasting flat, and the rest time matters just as much as the bake time because it lets the layers settle so clean slices hold together.
Below you’ll find the small details that keep the casserole from collapsing, plus a few smart swaps for when you want to use what you already have. If you’ve ever had a baked burrito dish turn watery or fall apart on the plate, the fixes here will help.
The layers held together beautifully after the 10-minute rest, and the salsa-sour cream sauce stayed creamy instead of getting watery. My kids actually ate the green chiles without picking them out, which never happens.
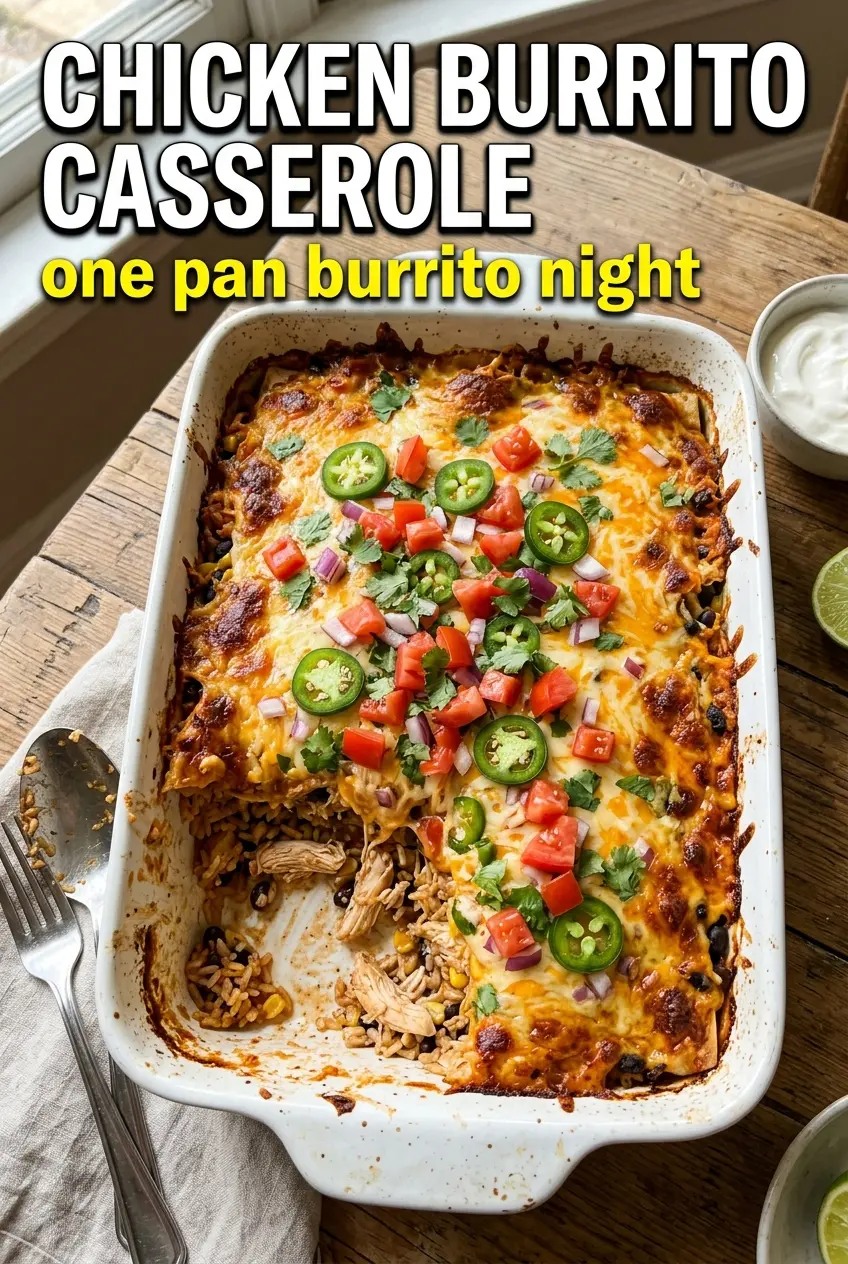
Love this cheesy chicken burrito casserole? Pin it for the nights when you want a baked, layered dinner with melty edges and almost no cleanup.
The Layering Trick That Keeps Burrito Casserole Sliceable
The filling has enough moisture to soften the tortillas without drowning them, but that only works if the casserole is built in thin layers. A heavy dump of filling in the center looks easier, yet it gives you torn tortillas and a loose middle that slides apart on the plate. Start with a light smear on the bottom of the pan, then keep each tortilla layer as even as you can so the heat moves through the whole dish at the same pace.
Rest time is not optional here. Straight out of the oven, the sauce is still moving and the cheese is still molten, which is why the first serving often looks messy. Ten minutes lets the starches and dairy settle into a cleaner slice, and that pause also keeps the bottom tortillas from sticking to the pan when you scoop.
What Each Ingredient Is Actually Doing in This Dish
- Shredded cooked chicken — Rotisserie chicken is the fastest path here, and it works because the meat is already seasoned and tender. Shred it finely so it distributes through the casserole instead of creating dry chunks between tortilla layers.
- Flour tortillas — Flour tortillas soften into a layered, almost lasagna-like texture that corn tortillas won’t give you here. If you swap in corn tortillas, the casserole gets more fragile and a little more rustic, so expect some breakage when serving.
- Cream of chicken soup, sour cream, and salsa — This trio builds the sauce. The soup adds body, the sour cream adds tang and richness, and the salsa brings seasoning and acidity so the casserole tastes like burritos instead of plain creamy chicken.
- Diced green chiles and onion — Green chiles add gentle heat and that unmistakable Southwestern note, while onion cuts through the richness. If you want a softer onion bite, dice it small; if you skip it entirely, the filling tastes flatter.
- Cheddar or Monterey Jack — Cheddar gives sharper flavor, while Monterey Jack melts into a smoother blanket. A blend is ideal if you have it, because you get both good melt and a little more flavor on top.
Building the Filling So It Bakes Creamy, Not Runny
Mix the Sauce First
Stir the cream of chicken soup, sour cream, and salsa together before anything else goes in. That gives you a smooth base that coats the chicken instead of leaving pockets of thick soup or streaks of sour cream. If the mixture looks too stiff, the salsa usually loosens it enough; if it still seems tight, a spoonful or two of salsa is better than watering it down.
Fold in the Chicken and Flavoring
Add the shredded chicken, green chiles, onion, salt, and pepper after the sauce is combined. This keeps the chicken from getting clumpy and helps every bite taste seasoned all the way through. Taste the mixture before assembling if your salsa is mild or especially salty, because the seasoning can shift a lot depending on the jar you use.
Layer with Even Pressure
Spread a thin layer of filling in the pan, then overlap the tortillas as needed and keep the layers level. Pressing too hard packs the casserole and squeezes the sauce out the sides, while leaving it too loose can create dry gaps. The goal is a pan that feels full but not compressed, with cheese on top and filling visible at the edges.
Bake Until the Top Blisters
Bake at 350°F until the cheese is melted, bubbling at the edges, and turning golden in spots. If the top browns before the center is hot, the casserole was assembled too cold or too thick; cover it loosely with foil for the last stretch and give the center a few more minutes. Let it rest before cutting so the layers hold together when you lift out a square.
How to Adapt This for Different Kitchens and Diets
Gluten-Free Version
Use certified gluten-free flour tortillas if you can find them, and check the label on the cream of chicken soup because many canned versions contain wheat. The texture stays very close to the original as long as the tortillas are soft and flexible, though some gluten-free brands tear more easily when layered.
Dairy-Free Swap
Use a dairy-free sour cream and a meltable dairy-free shredded cheese, then replace the cream of chicken soup with a dairy-free condensed soup or a thick homemade white sauce. The casserole will still bake up creamy, but the flavor is a little less rich, so a well-seasoned salsa matters even more.
Spicier Burrito Casserole
Swap in a hot salsa, add a pinch of chili powder, or fold in diced jalapeños with the onion. That extra heat works best if you keep the topping simple with sour cream, because the cool finish balances the spice at the table.
Make-Ahead for a Busy Night
Assemble the casserole up to a day ahead, cover it tightly, and refrigerate it unbaked. Pull it out while the oven preheats so it doesn’t go into the oven ice-cold, which can make the center lag behind the top and stretch the bake time.
Storage and Reheating
- Refrigerator: Store leftovers covered for up to 4 days. The tortillas soften a bit more as it sits, but the flavor holds up well.
- Freezer: It freezes well in portions. Cool completely, wrap tightly, and freeze for up to 2 months; thaw overnight in the fridge before reheating.
- Reheating: Reheat covered in a 325°F oven until hot in the center, or microwave individual slices in short bursts. The common mistake is blasting it uncovered, which dries out the top before the middle warms through.
Questions I Get Asked About This Recipe
Chicken Burrito Casserole
Ingredients
Equipment
Method
- Preheat the oven to 350°F, so it reaches temperature by the time the casserole is assembled. This helps the cheese melt quickly and the filling heat through evenly.
- In a bowl, mix cream of chicken soup, sour cream, and salsa until smooth and fully combined. Stirring evenly will prevent dry spots and keep the filling creamy.
- Stir in shredded chicken, diced green chiles, diced onion, salt, and pepper until every bite is coated with the saucy mixture. Stop when you see no onion or seasoning pockets.
- Spread a thin layer of the filling mixture on the bottom of a greased 9x13-inch pan. Use a steady layer so the first tortilla sits flat.
- Layer the flour tortillas over the filling, overlapping as needed to cover the surface. Aim for full coverage so the casserole holds together when scooped.
- Add half of the remaining filling over the tortillas and spread into an even layer. Look for an even thickness so the bake heats uniformly.
- Sprinkle 1 cup shredded cheese over the filling layer. The cheese should form a visible meltable layer before the next tortillas go on.
- Repeat with the remaining tortillas and the rest of the filling, ending with cheese on top. Finish with cheese centered over the whole pan for bubbling edges.
- Bake at 350°F for 35 minutes until heated through and the cheese is melted. A golden-brown top with bubbling cheese around the edges is your cue to pull it out.
- Let the casserole rest for 10 minutes before serving. This firms the layers so a fork lifts clean squares with tortilla and filling visible.
- Top with cilantro, sour cream, fresh salsa, and green onions just before serving. Finish with a fresh, bright garnish for contrast to the creamy bake.


