Golden tortillas, melted mozzarella, and garlic butter chicken make these cheesy garlic chicken wraps the kind of lunch or dinner that disappears fast. The wrap gets its best texture from a quick skillet toast at the end: the outside turns crisp and deeply golden while the cheese inside softens into the chicken and holds everything together. Cut one open and you get that stretch of melted cheese, fresh romaine, and juicy tomato right at the center.
What makes this version work is the order. The chicken is cooked first so it can brown properly, then it gets tossed in garlic butter off the direct heat so the garlic turns fragrant instead of bitter. After that, the tortillas are warmed just enough to roll without cracking, and the wraps are toasted seam-side down so they seal before you flip them. It’s simple, but the small timing details are what keep the whole thing from turning soggy or falling apart.
Below, I’ve included the little things that matter most: how to keep the wraps crisp, what to swap if you’re out of one ingredient, and how to reheat them without losing that toasted edge.
The garlic butter chicken browned up beautifully, and the seam-side-down toast kept the wrap sealed instead of falling apart. My kids ate theirs before I even sat down.
Save these cheesy garlic chicken wraps for the nights when you want melty mozzarella, crisp tortillas, and a fast skillet dinner.
The Reason the Chicken Needs to Brown Before the Garlic Goes In
Garlic burns fast, especially in a skillet that’s hot enough to give the chicken color. That’s why the chicken gets its own turn in the pan first. You’re looking for browned edges and a fully cooked center before the garlic ever touches the heat.
Once the chicken is done, the garlic goes into the leftover butter for just long enough to turn fragrant. If it starts to take on color, pull the pan off the burner and stir in the chicken right away. That short window is what gives you a buttery garlic coating instead of a harsh, bitter one.
What Each Ingredient Is Actually Doing in These Wraps
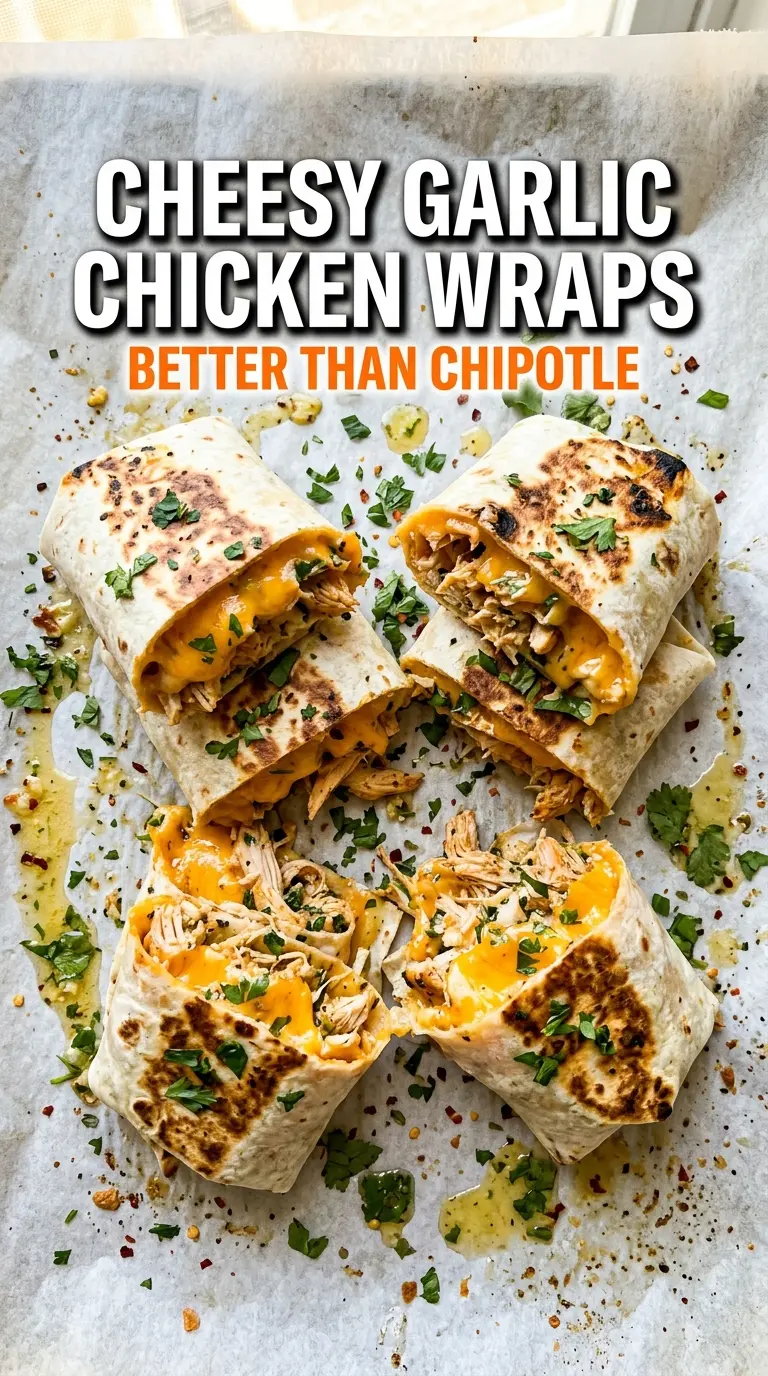
- Chicken breasts — Cutting them into strips helps them cook quickly and stay juicy. If you swap in chicken thighs, the wraps get a little richer and more forgiving, but breasts give you a cleaner bite and less grease inside the tortilla.
- Butter — This carries the garlic and helps the chicken brown. You can use salted butter if that’s what you have; just go lighter on added salt at the seasoning stage.
- Fresh garlic — This is the backbone of the wrap, so use fresh cloves if you can. Jarred garlic works in a pinch, but it tends to taste sharper and less rounded once it hits the pan.
- Mozzarella — It’s the melt factor. Shredded mozzarella gives you that stretchy pull when the wrap is cut, while a block shredded by hand melts a little smoother than pre-shredded cheese.
- Romaine and tomatoes — These need to go in cold and dry so they add crunch without watering down the tortilla. Pat the tomatoes lightly if they’ve been sitting a while.
- Ranch or Caesar dressing — This is the binder that keeps the filling from tasting dry. Caesar gives a saltier, sharper edge; ranch keeps things milder and creamier.
How to Build a Wrap That Stays Crisp Instead of Soggy
Cooking the Chicken in a Single Layer
Heat the butter until it melts and the skillet feels lively, then add the chicken in a layer with space between the pieces. Crowding the pan traps steam, and steam is what keeps the chicken pale instead of giving it those browned edges you want. Cook until the strips are golden on the outside and hit 165°F in the thickest piece, then move them out of the direct heat before you start the garlic.
Turning the Butter Into Garlic Sauce
Use the same pan so the chicken drippings stay in the mix. Add the garlic to the remaining butter and stir constantly for about a minute, just until it smells sweet and savory. If it goes past fragrant and starts to look tan, it’s already on the edge of bitterness, so get the chicken back in and toss fast.
Rolling and Toasting the Wraps
Warm the tortillas until they’re flexible, then spread the dressing in a thin layer so it doesn’t pool in the center. Stack the cheese first, then the chicken, then the lettuce and tomatoes; that order keeps the greens from getting crushed against the hot pan. Roll tightly, place seam-side down, and toast over medium heat until the outside is deeply golden and the cheese has started to melt enough to glue everything together.
Three Ways to Adjust These Wraps Without Losing the Good Part
Make it gluten-free
Use certified gluten-free tortillas and check the dressing label, since some Caesar dressings contain gluten. The texture changes a little because GF tortillas can be more delicate, so warm them gently and toast the wraps with a light hand.
Use chicken thighs for a juicier wrap
Boneless thighs work well if you want a richer filling that stays tender even if you cook a minute too long. They bring a little more fat, so the wrap tastes deeper, but the filling can feel heavier than the breast version.
Swap the cheese for pepper jack
Pepper jack melts almost the same way as mozzarella but gives the wrap more heat and a little extra salt. It works best if you like a stronger flavor and don’t mind losing some of that classic stretchy mozzarella pull.
Make it lower-carb
Skip the tortilla and turn the filling into a lettuce wrap or serve it over chopped romaine as a bowl. You lose the crisp toasted shell, but the garlic butter chicken and melted cheese still carry the dish.
Storage and Reheating
- Refrigerator: Store wrapped tightly for up to 3 days. The tortilla softens a bit once chilled, but the flavor holds up well.
- Freezer: These freeze, but the lettuce and tomato don’t thaw well, so freeze only the chicken, cheese, and tortilla portion if you want the best texture.
- Reheating: Reheat in a dry skillet over medium-low heat until the outside crisps again and the center warms through. The mistake is blasting it in the microwave, which makes the tortilla chewy and the filling watery.
Answers to the Questions Worth Asking
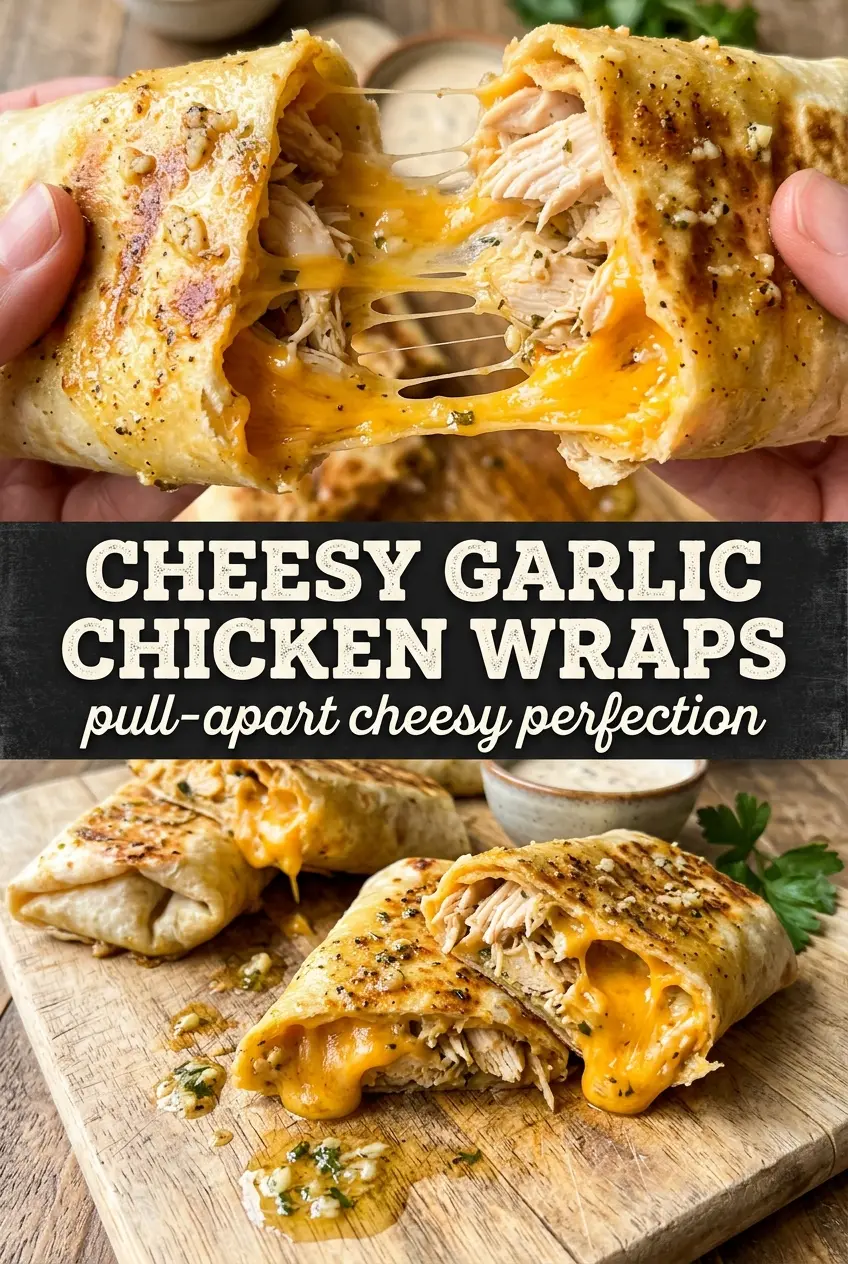
Cheesy Garlic Chicken Wraps
Ingredients
Equipment
Method
- Season the chicken strips with salt and pepper. Cook in 2 tablespoons butter in a skillet over medium-high heat for 5-6 minutes until golden and cooked through to 165°F, stirring so each strip browns.
- In the remaining 2 tablespoons butter, cook the minced garlic for 1 minute until fragrant. Toss the cooked chicken strips in the garlic butter and stir in the chopped parsley, then remove from heat.
- Warm the tortillas until pliable so they fold without cracking. Spread ranch dressing over each tortilla as a thin even layer.
- Layer shredded mozzarella, garlic chicken strips, shredded romaine, and halved cherry tomatoes over the dressed tortillas. Keep the filling centered for easier rolling.
- Roll each wrap tightly, then toast seam-side down in a skillet over medium heat for 2 minutes per side until golden and the cheese is melted. Use a light press with a spatula so the seam stays closed and the cheese grips the tortilla.
- Slice each wrap diagonally and serve immediately while the cheese is still stretchy.


