Golden seared chicken with a molten mushroom, garlic butter, and cheese center earns its place fast because it eats like a restaurant dinner without asking for a pile of ingredients or a long marinade. The outside gets deeply browned and savory, while the filling stays creamy and a little stretchy, with the mushrooms giving it enough substance that it doesn’t turn into just melted cheese in a pocket.
The part that makes this version work is building the mushroom mixture until the moisture is gone before the cheese goes in. If the mushrooms are still wet, the filling turns loose and the chicken leaks instead of holding a neat, rich center. A quick sear in a hot skillet sets the outside color first, then the oven finishes the chicken gently so the filling melts without drying out the breast.
Below you’ll find the exact points that matter most: how to cook the mushrooms down properly, how to cut and fill the chicken without tearing through it, and what to look for when it’s time to pull the skillet from the oven.
The mushroom filling stayed inside the chicken, and the garlic butter at the end made the whole pan taste like something from a steakhouse. I cooked it exactly 20 minutes in the oven and the chicken was juicy, not dry.
Save this cheesy garlic butter mushroom stuffed chicken for the night you want a crisp seared crust, a juicy center, and that mushroom-cheese filling to stay put.
The Mushroom Filling Has to Lose Its Moisture First
The most common reason stuffed chicken turns sloppy is rushing the filling. Mushrooms hold a lot of water, and if that water is still in the pan when you add the cheese, the filling softens into a runny mass that’s hard to keep inside the chicken. Cook the diced mushrooms until the pan looks dry and they start to catch a little at the edges. That dry, concentrated base is what gives you a filling that tastes savory instead of watery.
Garlic goes in at the end because it burns fast in a hot pan. One minute is enough. After that, pull the mixture off the heat and let it cool slightly before stirring in the mozzarella and Parmesan. If you add the cheese while the pan is screaming hot, it can get greasy instead of smooth, and you lose that creamy, melty texture.
What Each Ingredient Is Actually Doing in the Filling

- Cremini mushrooms — These bring the deep, savory backbone. White button mushrooms work, but cremini give you a fuller mushroom flavor and a better browned finish when the moisture cooks off.
- Mozzarella — This is the stretch and the creaminess. Pre-shredded will work in a pinch, but freshly shredded melts cleaner because it doesn’t carry the anti-caking coating that can dull the texture.
- Parmesan — Parmesan adds salt and a sharp edge that keeps the filling from tasting flat. Grate it finely so it melts into the mushrooms instead of clumping.
- Butter and garlic — Butter carries the garlic and helps the mushrooms brown instead of steaming. Fresh garlic matters here; jarred garlic is softer and won’t give the same punch after baking.
- Chicken breasts — Use evenly sized breasts so they finish at the same time. If one side is thick and the other is thin, pound the thicker end just enough to even it out before cutting the pocket.
From Seared Skillet to Juicy Center
Building the Pocket Without Breaking the Chicken
Cut a deep pocket into the thick side of each chicken breast with a sharp knife, keeping the blade parallel to the board so you don’t slice through the other side. You want enough room for filling, but not an opening so wide that the stuffing leaks out immediately. Season the inside and outside generously, because the filling won’t season the meat all the way through on its own. If the breasts are very large, a light pound on the thick end helps them cook evenly and makes the pocket easier to fill.
Sealing and Searing for Color
Pack the filling into each pocket and secure the opening with toothpicks, then heat the olive oil in an oven-safe skillet until it shimmers. Lay the chicken in and leave it alone for 3 to 4 minutes so the surface can brown properly. If you move it too soon, it sticks and tears before the crust forms. Flip once and brown the second side. You’re looking for a deep golden surface, not a pale one that will need to be rescued in the oven.
Finishing in the Oven
Move the skillet to a 400°F oven and bake until the thickest part of the chicken reaches 165°F, usually 18 to 22 minutes. The exact time depends on size, so temperature beats the clock here. Pull the chicken out as soon as it reaches temperature and let it rest for 5 minutes before slicing. That rest keeps the juices inside the meat instead of running out onto the cutting board.
The Garlic Butter Finish
Drizzle the top with extra garlic butter after resting. The heat from the chicken melts it into the seared crust and gives the whole dish a glossy finish. Slice only after removing the toothpicks so the filling doesn’t drag out in one long spill. When it’s right, the chicken cuts cleanly and the center stays molten, not soupy.
How to Make This Work for Different Kitchens and Diets
Dairy-Free Version
Use a dairy-free butter and a good melting plant-based mozzarella. The filling won’t be quite as rich or stretchy, but the mushrooms still bring enough body that it holds together well. Keep the heat moderate when you cook the filling so the substitute cheese doesn’t break or get oily.
Extra Herby Mushroom Filling
Add a small pinch of chopped rosemary or parsley with the thyme if you want a brighter finish. Keep the amount modest so the herbs don’t take over the garlic and mushroom flavor. This version works especially well with roasted potatoes or simple rice.
Lighter Cheese Swap
You can use part-skim mozzarella and a little less Parmesan if you want a lighter filling. The texture will still melt, but it will be a touch less luxurious and a little less salty, so taste the mushroom mixture before stuffing the chicken. Don’t cut the butter too much or the filling can dry out.
Storage and Reheating
- Refrigerator: Store leftovers in an airtight container for up to 3 days. The filling stays tasty, but the chicken firms up a little as it chills.
- Freezer: This freezes decently, though the cheese filling gets a little less silky after thawing. Wrap each piece tightly and freeze for up to 2 months.
- Reheating: Rewarm in a 325°F oven, covered loosely with foil, until heated through. The biggest mistake is blasting it in the microwave, which makes the chicken tough and pushes the filling out of the pocket.
Questions I Get Asked About This Recipe
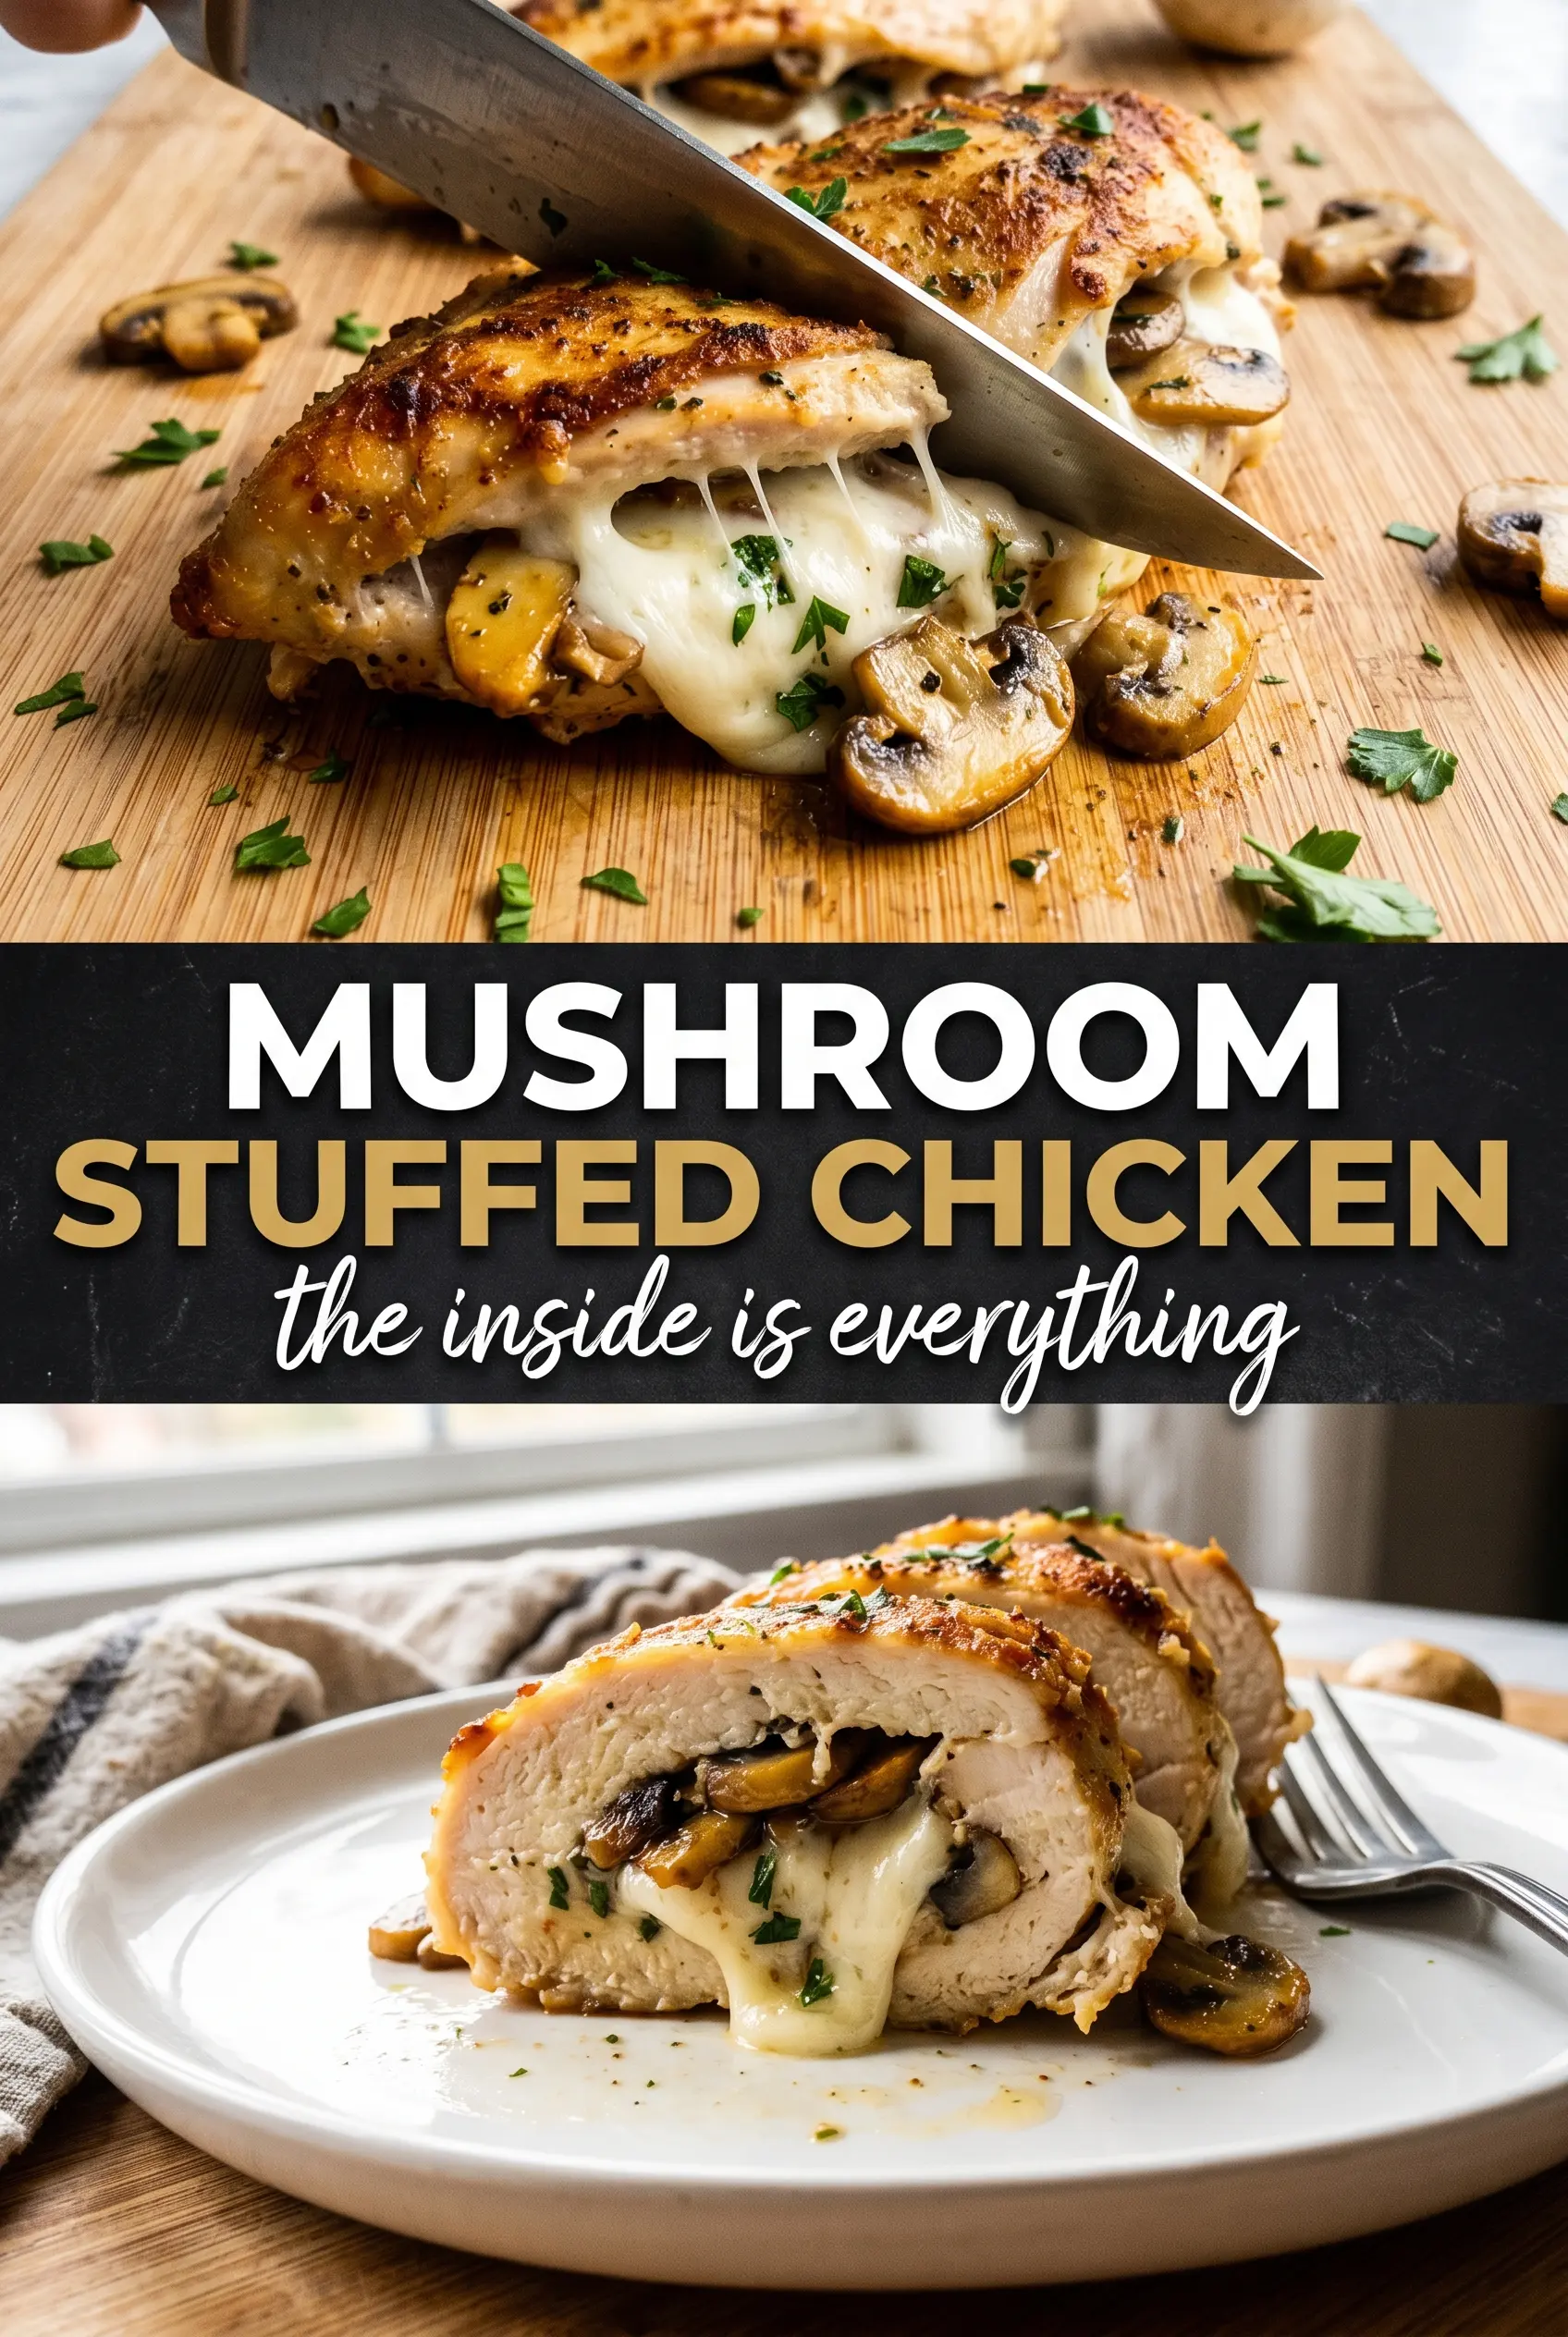
Cheesy Garlic Butter Mushroom Stuffed Chicken
Ingredients
Equipment
Method
- Cook the cremini mushrooms in butter over medium-high heat for 5-6 minutes until all moisture has evaporated, stirring so they brown evenly. The mixture should look drier and slightly caramelized as the pan clears.
- Add the minced garlic and fresh thyme leaves and cook for 1 minute, stirring constantly to keep the garlic from browning too fast. You should smell garlic and thyme right away.
- Cool the mushroom mixture for a few minutes until it's warm but not hot. This helps prevent the cheese from melting immediately and keeps the filling workable.
- Stir in the shredded mozzarella cheese and grated Parmesan cheese until fully combined and thick. The filling should look glossy and cohesive.
- Cut a deep pocket in each chicken breast, keeping the bottom intact so it will hold the filling. Aim for an even opening across the thickness.
- Season inside each pocket and on the outside of the chicken breasts with salt, pepper, garlic powder, and smoked paprika to taste. Press the spices gently so they adhere.
- Fill each pocket with the mushroom-cheese mixture and secure the opening with toothpicks. The filling should be contained with no gaps spilling out.
- Heat olive oil in an oven-safe skillet over medium-high heat, then sear the stuffed chicken for 3-4 minutes per side until golden. The exterior should develop deep caramel-brown color.
- Bake in the oven at 400°F for 18-22 minutes, until the internal temperature reaches 165°F. The filling should be hot and the chicken should feel firm when pressed.
- Remove the toothpicks and drizzle with extra garlic butter over the top. Let the sauce glisten on the browned surface.
- Rest the chicken for 5 minutes before slicing. This keeps the molten filling from running out too quickly and supports juicy slices.


