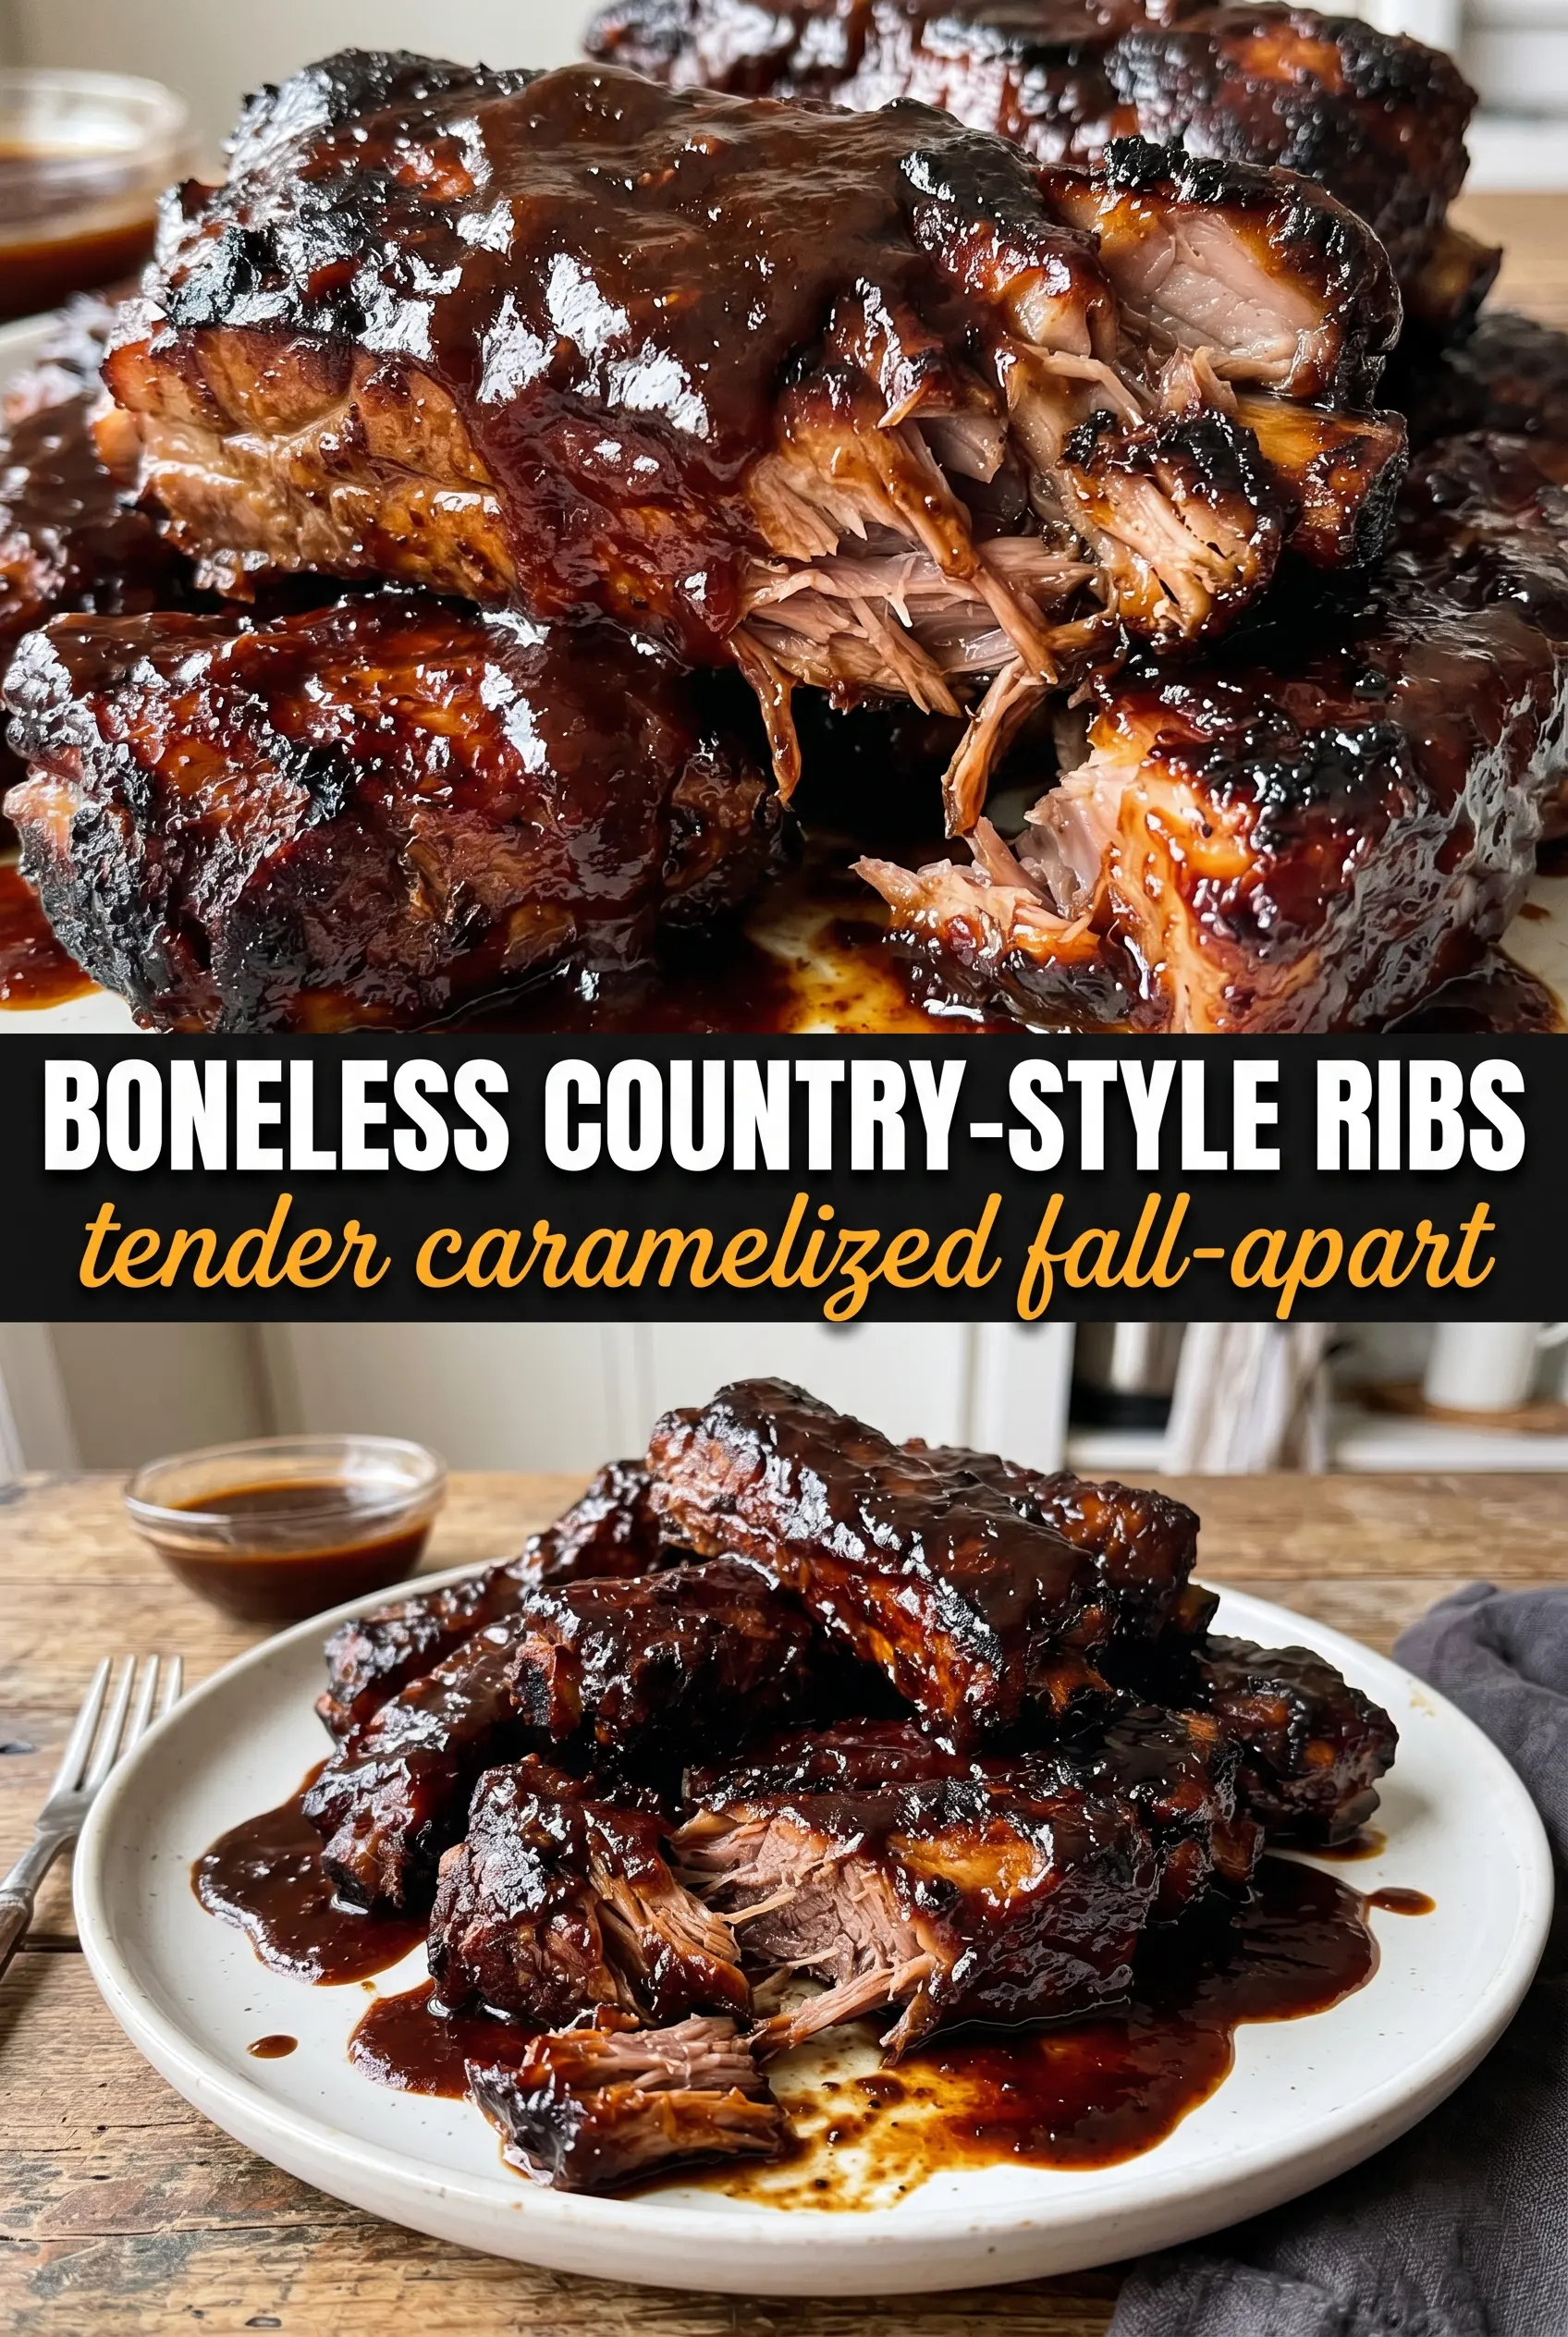
Sticky, caramelized boneless country-style ribs are the kind of dinner that makes the whole kitchen smell like you’ve been cooking all afternoon, even though the prep is barely 15 minutes. The meat turns soft enough to pull apart with a fork, then gets a glossy BBQ finish that clings to every ridge and browned edge.
What makes this version work is the two-stage bake. The low oven temperature gives the pork time to break down without drying out, and the covered pan traps enough steam to keep the ribs tender. Then the foil comes off, the sauce goes on, and the hotter oven sets that sticky crust without burning the sugar in the glaze.
Below I’m walking through the small details that matter here: how to season the ribs so the crust tastes balanced, why the vinegar goes in the pan instead of the sauce, and what to look for when the ribs are tender enough for the final glaze.
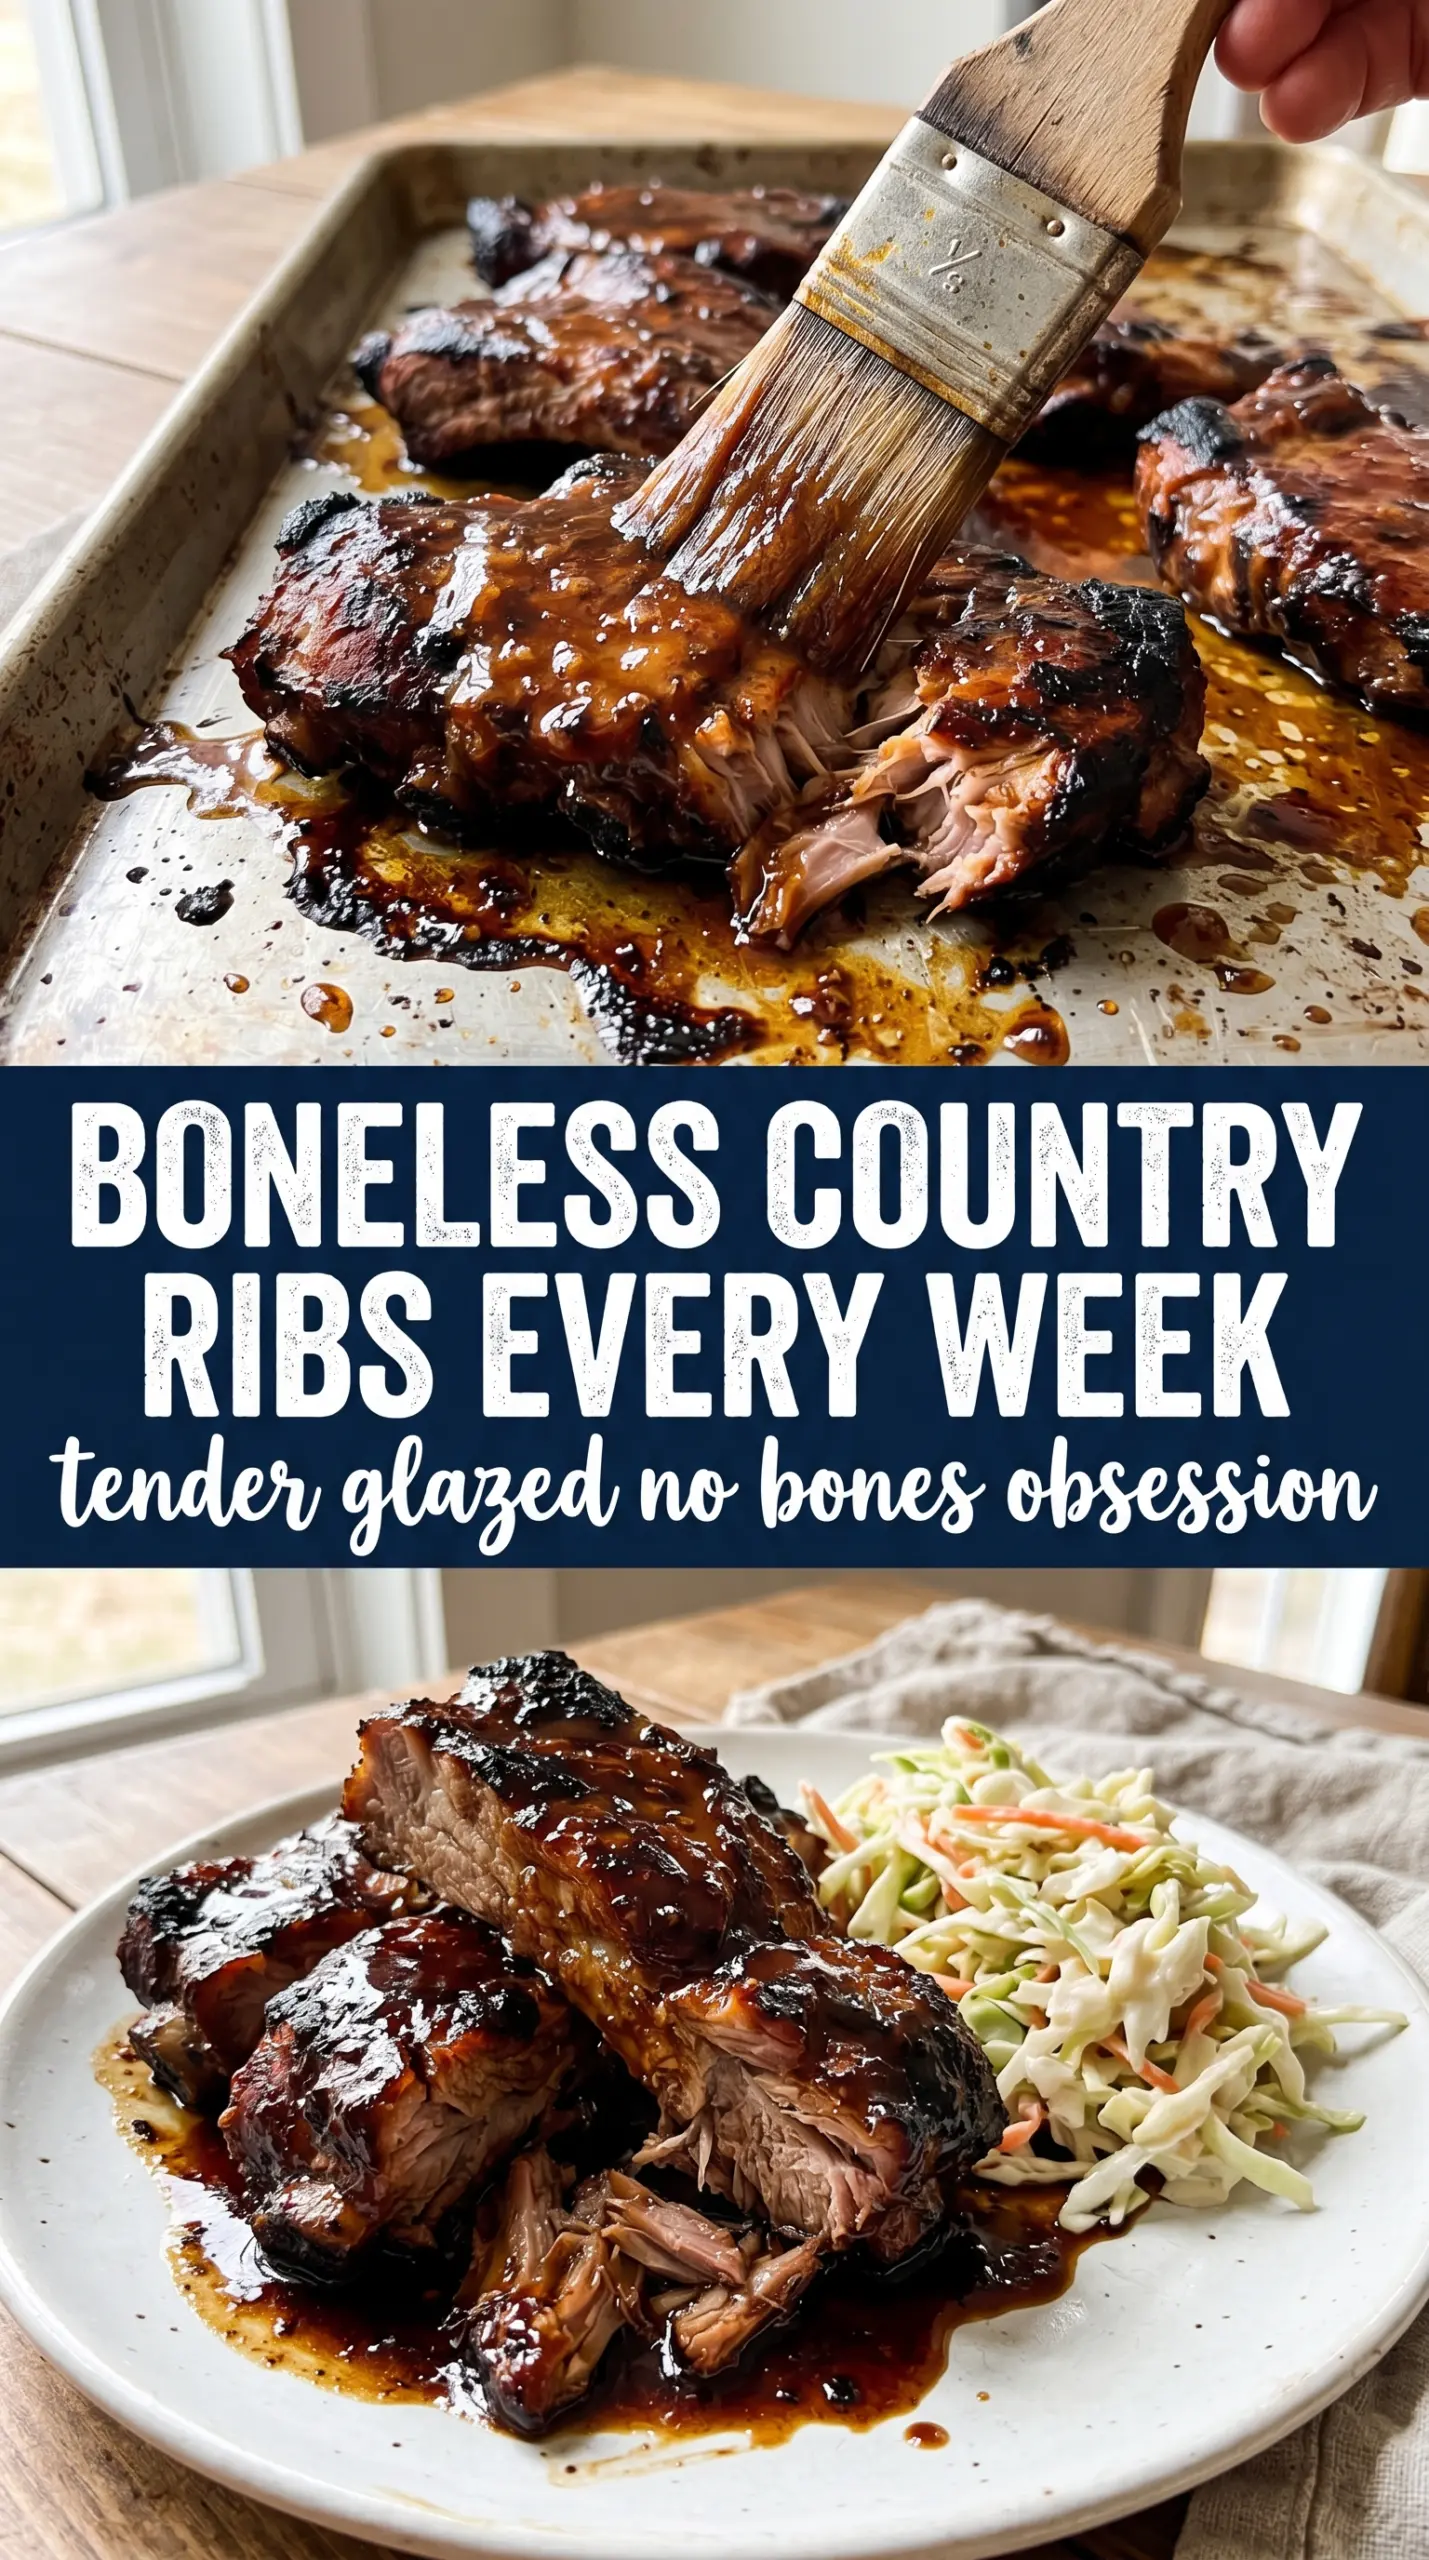
The ribs came out fall-apart tender, and the sauce caramelized into that sticky edge I always hope for. I used the full 25 minutes at the end, and they still stayed juicy instead of drying out.
Like this recipe? Save these sticky boneless country-style ribs for the night you want tender pork with a caramelized BBQ crust.
The Part That Keeps Boneless Country-Style Ribs Tender Instead of Dry
Country-style ribs are cut from the shoulder, not the loin, so they need time, not aggression. The mistake is rushing them with high heat from the start. That tightens the meat before the connective tissue has a chance to relax, which is how you end up with pork that looks browned but eats chewy.
The covered bake at 300°F is doing the real work here. The vinegar adds a little steam and acidity in the pan, which helps soften the surface and keeps the dish from drying out under foil. Then the uncovered finish at 400°F is short enough to caramelize the sauce without turning the ribs leathery.
- Low oven heat — This is what gives the ribs time to break down properly. Don’t start hotter unless you’re willing to trade tenderness for speed.
- Foil cover — A tight seal traps moisture and keeps the pan environment humid. If the foil is loose, the ribs will dry before they’re tender.
- Final high-heat finish — This sets the BBQ glaze into a sticky crust. If you leave them at 300°F for the whole cook, the sauce stays thin and the edges won’t darken.
What Each Ingredient Is Actually Doing in the Pan
- Boneless country-style pork ribs — These are meaty and forgiving, but they still need slow heat to turn tender. If you swap in loin-style pork, the cook time gets shorter and the texture won’t shred the same way.
- Brown sugar — It helps the dry rub brown and gives the sauce something to caramelize against. Light or dark brown sugar both work; dark just tastes a little deeper.
- Smoked paprika — This brings the smoky note that makes oven ribs taste like they spent time on a grill. Regular paprika works in a pinch, but the finish won’t have the same depth.
- BBQ sauce — Use one you already like straight from the bottle, because the final glaze is only as good as the sauce itself. A thinner sauce brushes on easily and reduces into a better crust than an overly thick one.
- Apple cider vinegar — This keeps the baking dish from feeling heavy and helps the pork stay juicy through the long cook. Don’t pour it over the sauce; keep it in the pan so the acid softens the meat without thinning the glaze.
Building the Tender Bake and Sticky Finish
Seasoning the Ribs Evenly
Mix the dry rub until the brown sugar and spices look evenly blended, then coat every side of the ribs. You want a thin, even layer, not a paste. If the seasoning clumps in one spot, that area can taste too sweet or too salty after baking. Arrange the ribs in a single layer so they cook at the same pace and the heat can move around them.
Locking in Moisture Under Foil
Pour the vinegar into the bottom of the dish, not over the top of the ribs, and cover the pan tightly. The ribs should bake until they’re very tender and a fork slides in without resistance. If the pan isn’t sealed well, the liquid evaporates too fast and the meat can tighten before it reaches that soft point. This is the stage that gives you the fork-tender texture everyone wants.
Glazing and Caramelizing
Uncover the dish and brush the ribs generously with BBQ sauce. Turn the oven up to 400°F and bake just until the sauce darkens, bubbles, and starts to cling in a sticky layer. Watch the edges closely near the end; sugar goes from caramelized to burnt faster than people expect. If the sauce looks dry before it colors, brush on a little more.
Serving at the Right Moment
Let the ribs sit for a few minutes before serving so the glaze settles instead of running off the meat. They should pull apart cleanly with a fork and still look glossy on the surface. Add extra BBQ sauce at the table if you want a saucier plate, but the ribs should already taste complete on their own.
How to Adapt These Ribs Without Losing That Tender Texture
Dairy-Free and Gluten-Free As Written
This recipe is naturally dairy-free and can be gluten-free if your BBQ sauce is. The only thing to check is the label on the sauce, since some brands use soy sauce, malt vinegar, or thickeners that contain gluten.
Spicier, Smokier Ribs
Add 1/2 teaspoon cayenne or a pinch of chipotle powder to the dry rub if you want heat. Chipotle pushes the smoky side of the sauce, while cayenne keeps the flavor cleaner and sharper.
Using Bone-In Country-Style Ribs
Bone-in ribs work too, but they usually need a little more time in the covered bake. Start checking after 2 hours, then keep going until the meat feels tender when pierced with a fork. The final glaze stage stays the same.
Making It Ahead for Easier Serving
You can bake the ribs through the tender stage, cool them, and refrigerate them before the final sauce finish. Reheat covered at 300°F until hot, then glaze and caramelize at 400°F right before serving. That keeps the coating sticky instead of soggy.
Storage and Reheating
- Refrigerator: Store leftovers in an airtight container for up to 4 days. The sauce will thicken as it chills, but the pork stays tender.
- Freezer: These freeze well for up to 2 months if you freeze the ribs with a little extra sauce. Thaw overnight in the refrigerator before reheating so the meat warms evenly.
- Reheating: Cover and warm in a 300°F oven until hot, then uncover for the last few minutes if you want the glaze to wake back up. The biggest mistake is blasting them in the microwave too long, which tightens the meat and dulls the sauce.
Answers to the Questions Worth Asking
Boneless Country-Style Ribs
Ingredients
Equipment
Method
- Preheat the oven to 300°F. Mix the dry rub ingredients and coat the pork ribs on all sides, then place them in a single layer in a baking dish.
- Pour the apple cider vinegar into the bottom of the dish and cover tightly with foil. Bake at 300°F for 2 hours, until the ribs are very tender.
- Uncover the dish and brush the ribs generously with BBQ sauce. Increase the oven to 400°F and bake 20–25 minutes until the sauce is caramelized and glossy.
- Transfer the ribs to a serving platter and spoon any pan glaze over the top. Serve with extra BBQ sauce so the sticky crust stays flavorful at every bite.


