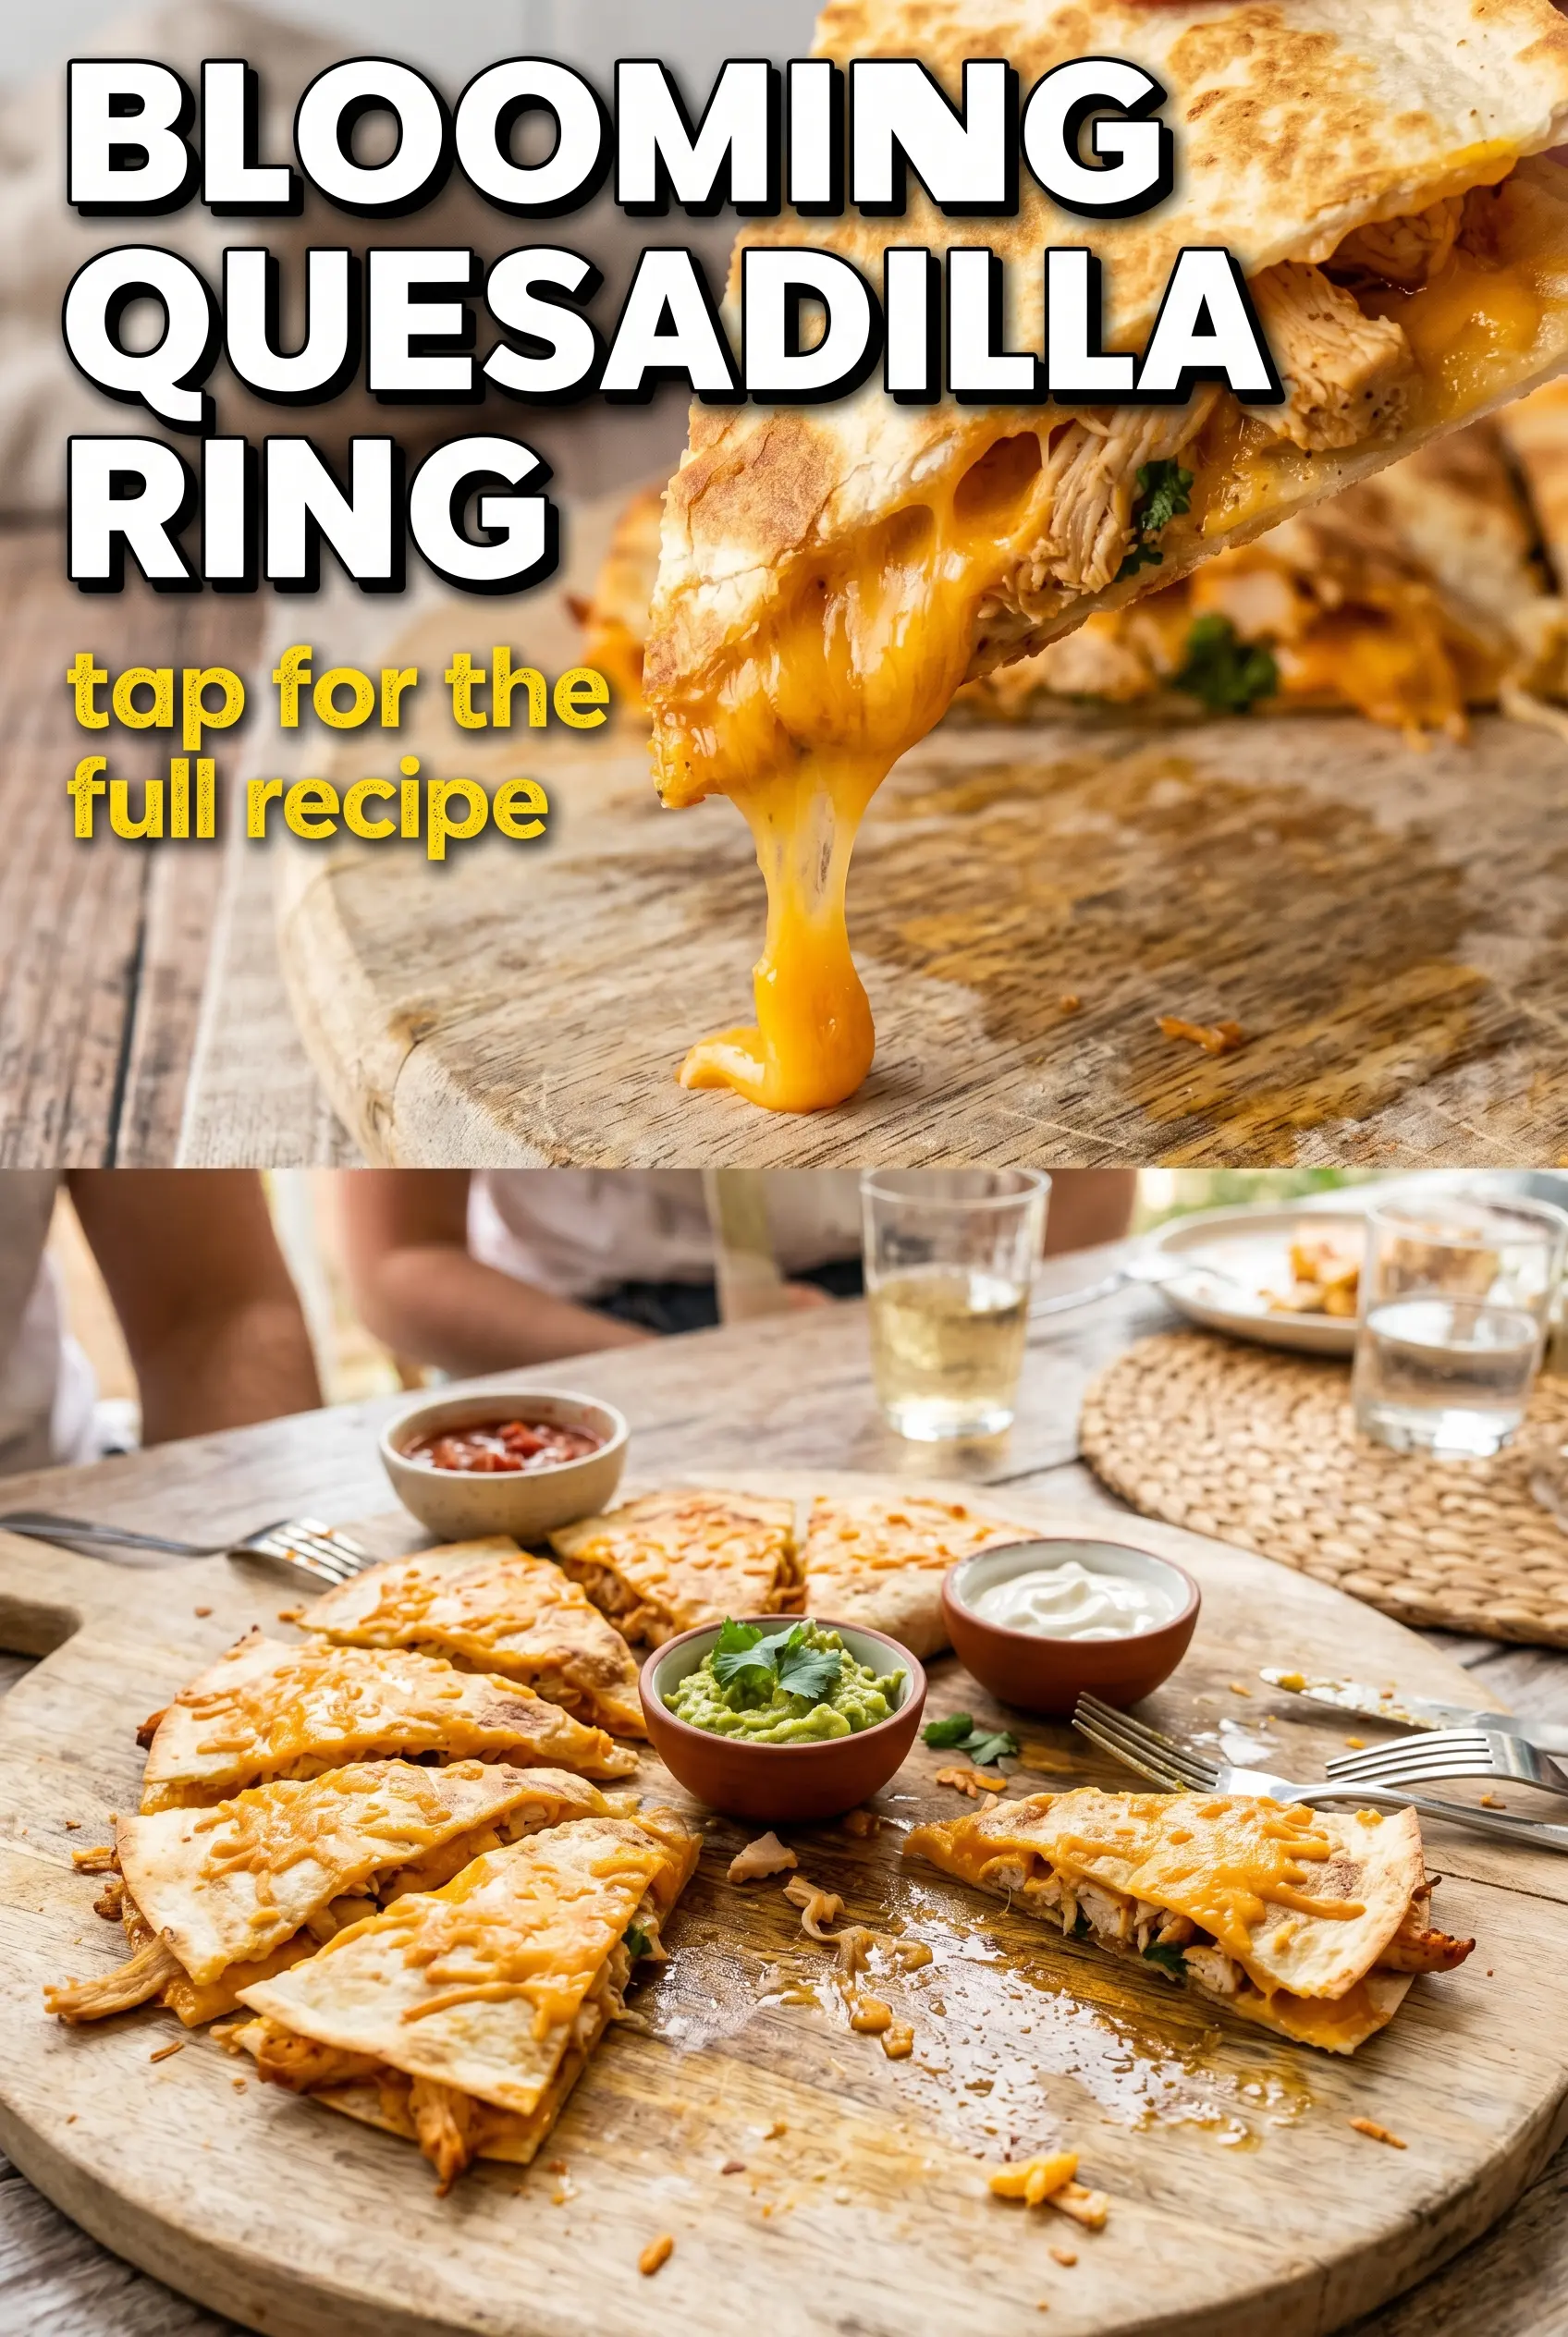
Golden quesadilla triangles fanned into a ring turn a simple skillet dinner into a centerpiece that disappears fast once it hits the table. The edges stay crisp, the cheese melts into the filling, and every piece has those browned tortilla corners that give you a little crunch before the stretch of cheddar and beef. It looks festive without asking for much more than the ingredients you probably already keep around.
What makes this version work is the order of assembly and the way the triangles are cooked. The cheese goes against the tortilla where it can glue everything together as it melts, while the beef and vegetables stay tucked inside instead of spilling out into the pan. A quick skillet cook over medium-high heat gives you color before the tortillas dry out, and cutting after folding keeps each piece sturdy enough to stand in the ring.
Below you’ll find the detail that matters most: how to keep the ring from collapsing and how to swap the filling without losing that clean, pull-apart shape. Once you’ve made it once, the method makes sense fast.
The triangles held together perfectly, and the center dip was such a smart touch. I loved that the tortillas got crisp without the cheese leaking everywhere, and the ring disappeared before I even got back to the kitchen.
Save this Blooming Quesadilla Ring for party nights when you want a crisp, cheesy appetizer with a built-in dip in the center.
Why the Filling Stays Put Instead of Sliding Out
The biggest mistake with quesadilla triangles is overstuffing them and hoping the tortilla will hold on for dear life. It won’t. The filling needs to be packed in a thin, even layer so the cheese can melt into the meat and vegetables before the tortilla edges have a chance to split open in the pan.
Cheese on the bottom side does more than add flavor. It acts like glue once the heat hits it, which helps the folded tortilla seal itself around the filling. If you add too much salsa or use wet vegetables straight from the cutting board, the inside turns slippery and the triangles lose structure. Keep the filling modest, cook the beef first so excess moisture is gone, and you’ll get clean wedges that can stand upright on the platter.
- Cheddar cheese — Sharp cheddar melts smoothly and gives you those long, stretchy pulls when the ring is opened up. Pre-shredded works, but block cheese shredded at home melts a little better because it doesn’t carry the anti-caking coating.
- Cooked seasoned ground beef — This brings the hearty, savory base. Drain it well after cooking; any extra grease makes the tortilla soft and can leak onto the platter.
- Bell peppers, onion, and corn — These add color and texture, but they also need to be chopped small. Big pieces make the quesadilla lumpy and harder to fold cleanly.
- Sour cream and salsa — This quick center dip gives you creaminess and brightness. Use a thick salsa, not a watery one, or the sauce in the middle will loosen as it sits.
- Queso dip — Warm queso beside the ring gives people another dip option and reinforces the party-food feel. A jarred queso is fine here because it’s serving a supporting role.
The Skillet Window That Gives You Crisp Tortillas and Melted Cheese
Building the quesadilla layers
Lay out each tortilla and keep the filling in a fairly thin mound over one half. Start with cheese, then add the beef and vegetables, then finish with a little more cheese if you want the layers to lock together even harder. Fold the tortilla over and press gently so it sits flat. If the filling reaches the edge, it will spill into the skillet and burn before the tortilla has time to brown.
Cutting the half-moons into triangles
Use a sharp knife or pizza cutter and slice each folded tortilla into wedges before it hits the pan. That gives you the signature ring shape later and helps each piece cook evenly. If the tortilla drags or tears while cutting, it usually means the filling is too loose or too full. Work with a clean, steady cut so the edges stay neat.
Browning in batches
Heat a thin layer of oil over medium-high heat until it shimmers, then cook the triangles in batches. You want deep golden spots on both sides and cheese that has melted enough to hold the layers together. If the heat is too low, the tortillas absorb oil and go limp; if it’s too high, the outside darkens before the center melts. Pull them as soon as they feel crisp at the edges and supple in the middle.
Assembling the blooming ring
Arrange the hot triangles upright and slightly overlapped on a round platter. Move quickly while they’re still flexible from the pan, because they set as they cool. The overlap is what gives the ring its full, blooming look and keeps the pieces from toppling over. Spoon the salsa-sour cream mixture into the center and serve the queso on the side while everything is still warm.
How to Adapt the Ring When You Want a Different Filling
Make it vegetarian without losing the hearty bite
Swap the beef for black beans, pinto beans, or a mix of sautéed mushrooms and beans. Beans keep the filling sturdy and creamy, while mushrooms add a deeper savory note. Just drain everything well so the tortillas stay crisp instead of turning soggy.
Make it gluten-free with sturdy corn tortillas
Use large corn tortillas only if they’re flexible enough to fold without cracking. Warm them briefly before filling so they bend instead of splitting. The texture will be a little more rustic and less pliable than flour tortillas, but the ring still works if you handle the wedges gently.
Turn it into a spicier appetizer
Add diced jalapeños, pepper jack cheese, or a spoonful of chipotle in adobo to the beef. The heat reads best when it’s built into the filling instead of dumped on top at the end. Keep the center dip a little milder so the whole platter stays balanced.
Make-ahead for a party
You can cook the filling a day ahead and refrigerate it, then assemble and fry the quesadillas right before serving. That keeps the tortillas crisp and the cheese melty instead of rubbery. If you build the ring too early, the steam softens the bottoms and the whole presentation loses its shape.
Storage and Reheating
- Refrigerator: Store leftover wedges in an airtight container for up to 3 days. The tortillas soften a bit, but the flavor stays good.
- Freezer: Freeze the cooked wedges in a single layer, then transfer to a bag for up to 2 months. They reheat better from frozen than a fully assembled ring does.
- Reheating: Warm in a 375°F oven or air fryer until the tortillas crisp back up and the center is hot. Skip the microwave if you want any crunch left; it steams the tortillas and makes the filling heavy.
Questions I Get Asked About This Recipe
Blooming Quesadilla Ring
Ingredients
Equipment
Method
- Layer each tortilla with shredded cheddar cheese, cooked seasoned ground beef, diced red bell pepper, diced green bell pepper, diced onion, corn, and chopped cilantro.
- Fold each loaded tortilla in half, pressing gently so the filling stays inside.
- Cut each folded tortilla into triangles, keeping the layers intact for even melting.
- Heat oil in a large skillet over medium-high heat until shimmering.
- Cook the quesadilla triangles in batches for 2-3 minutes per side, turning once, until golden and the cheese is melted.
- Mix sour cream with salsa until smooth and evenly pink.
- Arrange the cooked quesadilla pieces in a circular ring on a platter, standing them up slightly and overlapping for a blooming effect.
- Spoon the sour cream–salsa mixture into the center and serve immediately with warm queso dip on the side.


