Baked ranch chicken turns out best when the topping bakes into a crisp, bronzed crust while the chicken underneath stays juicy and tender. The combination of creamy ranch-mayo and salty Parmesan gives you a strong, savory layer on top, and the panko keeps it from turning heavy or pasty in the oven. When it comes out right, the crust crackles a little as you cut into it.
The trick here is using a thin, even layer of the mayo mixture so it acts like glue instead of sliding off the chicken. Freshly grated Parmesan melts and browns better than the pre-shredded stuff, and panko brings the crunch that regular breadcrumbs just can’t match. A hot oven does the rest, helping the coating set quickly before the chicken has a chance to dry out.
Below you’ll find the small details that make this recipe worth keeping: how to keep the crust from getting soggy, which substitutions still give you good texture, and what to watch for in the final minutes so the chicken stays moist.
The crust turned out golden and stayed on the chicken instead of sliding off, and the center was still juicy at 25 minutes. My husband asked if I could put this in the regular dinner rotation.
Like the crackly Parmesan crust on this baked ranch chicken? Save it to Pinterest for the nights when you want juicy chicken with a crisp, savory topping and almost no cleanup.
The One Thing That Keeps the Crust Crisp Instead of Soft
The biggest mistake with ranch chicken is piling on too much wet topping and expecting it to brown like a breaded cutlet. It won’t. The mayonnaise and seasoning mixture needs to be spread in a thin, even layer so the Parmesan-panko topping can toast instead of sinking in and steaming.
Chicken breasts also vary a lot in thickness, and that matters here. If one end is much thicker than the other, the thin end will dry out before the thick end is cooked through. A quick pound to even thickness gives you a better crust and a juicier result, because the chicken finishes more evenly in the same bake time.
- Boneless skinless chicken breasts — These work because they cook quickly and give the topping a large surface to cling to. If yours are especially thick, split them horizontally or pound them lightly so they bake in the same time.
- Mayonnaise — This is the binder that keeps the crust attached and helps the seasoning stay moist long enough to brown. Greek yogurt can work in a pinch, but it browns a little less deeply and can taste tangier.
- Freshly grated Parmesan — Freshly grated cheese melts and browns more cleanly than shelf-stable shreds. If you use pre-grated Parmesan, expect a drier, saltier topping with less melt.
- Panko breadcrumbs — Panko is what gives you that crackly top. Regular breadcrumbs will work, but they pack down tighter and the crust won’t feel as crisp.
- Ranch seasoning mix — This carries the herb-and-garlic flavor that makes the whole dish taste finished. Homemade ranch seasoning works too, but keep the salt in check because packaged mixes are usually already seasoned.
How to Build the Topping So It Browns, Not Burns
Season the Chicken First
Lay the chicken breasts in a greased baking dish and season them lightly with salt and pepper before anything else goes on top. That small layer of seasoning matters because the crust seasons the surface, not the meat all the way through. If the breasts are wet from packaging, pat them dry first so the topping sticks instead of sliding around.
Mix the Coating Into a Thick Paste
Stir the mayonnaise and ranch seasoning together until the mixture is fully blended and a little thick. Spread it over the tops of the chicken in an even layer, not a mound. If the layer gets too thick, the topping steams before it sets and the crust can turn heavy instead of crisp.
Press On the Crunchy Layer
Combine the Parmesan, panko, garlic powder, and smoked paprika, then press that mixture onto the mayo-coated chicken with your fingertips. Press, don’t sprinkle. You want the crumbs to anchor into the creamy layer so they brown in place. If some spots look bare, add a little more topping there, because the exposed mayo will bake up soft.
Bake Until the Center Hits Temperature
Bake at 400°F until the topping is golden and the chicken reaches 165°F at the thickest part, usually 22 to 25 minutes. The crust should look bronzed around the edges and feel set when you tap it lightly. If the top is browning too quickly before the chicken is done, lay a loose piece of foil over the dish for the last few minutes.
Dairy-Free Version With a Similar Crunch
Use a dairy-free mayonnaise and swap the Parmesan for a dairy-free Parmesan-style topping or a mix of extra panko plus nutritional yeast. You’ll lose a little of the salty, nutty depth from real Parmesan, but the crust still browns well and stays crisp.
Gluten-Free Swap That Keeps the Texture
Use certified gluten-free panko in place of standard panko. The topping still gets that light crunch, and you won’t need to change the bake time. Avoid dense gluten-free crumbs if you can; they tend to brown faster but don’t stay as crisp.
Chicken Thighs for a Juicier, Richer Finish
Boneless skinless thighs work well if you want more forgiving meat and a richer bite. They usually need a few extra minutes, so cook to temperature instead of the clock. The crust still bakes up nicely, though the finished dish feels a little less lean than the breast version.
Storage and Reheating
- Refrigerator: Store leftovers in an airtight container for up to 3 days. The crust softens a bit, but the flavor holds up well.
- Freezer: It freezes, but the topping loses some crunch after thawing. Freeze individual portions tightly wrapped, then thaw in the refrigerator before reheating.
- Reheating: Warm in a 350°F oven until heated through, uncovered, so the crust can re-crisp a little. The microwave will work in a pinch, but it turns the topping soft and the chicken can dry out at the edges.
Questions I Get Asked About This Recipe
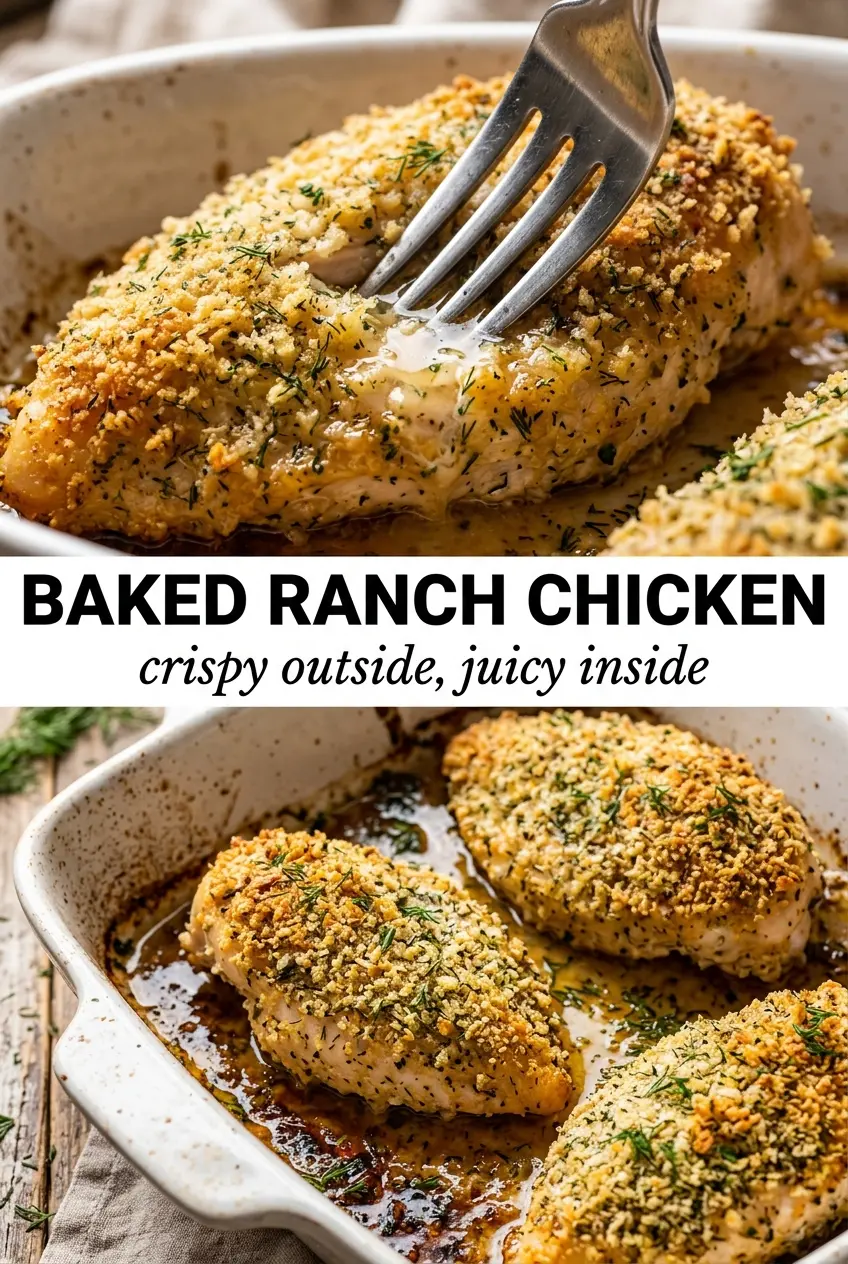
Baked Ranch Chicken
Ingredients
Equipment
Method
- Preheat the oven to 400°F and grease a baking dish or sheet pan so the chicken won’t stick.
- Season the chicken lightly with salt and pepper, then place the breasts in the prepared dish.
- Mix the mayonnaise with the ranch seasoning mix until fully combined, then spread generously over the top of each chicken breast.
- Combine Parmesan cheese, panko breadcrumbs, garlic powder, and smoked paprika, then press the mixture over the mayonnaise-coated chicken so it adheres.
- Bake for 22-25 minutes at 400°F until the crust is golden and the internal temperature reaches 165°F, with the topping visibly crackled and bronzed.
- Garnish with fresh chives or parsley and serve immediately for the best crunch.


