Golden, crackly Caesar-crusted chicken is the kind of dinner that looks like you worked harder than you did. The dressing turns into a savory marinade, the Parmesan bakes into a salty shell, and the panko on top keeps the crust from going heavy or greasy. You get juicy chicken underneath and a sharp, toasty finish on top.
The trick here is giving the chicken a short marinate so the Caesar dressing can season the meat without making it soggy. Freshly grated Parmesan matters because it melts and browns better than the pre-shredded stuff, and pressing the panko mixture firmly over the top helps it stay put long enough to form that deep golden crust. A little lemon zest keeps the whole dish from tasting flat.
Below, I’ll walk through the one part that matters most for texture, plus a few smart swaps if you want to adjust the recipe for what’s in your fridge. It’s a straightforward bake, but a couple of small choices make the difference between a dull chicken dinner and one that gets scraped clean.
The crust stayed crisp even after I added the extra Caesar dressing at the table, and the chicken was still juicy after 25 minutes. My husband kept saying it tasted like a restaurant lunch salad turned into dinner.
Save this Baked Caesar Chicken for the nights when you want a crunchy Parmesan crust, juicy chicken, and barely any cleanup.
The Crust Only Works If You Don’t Rush the Marinate
The biggest mistake with Caesar chicken is treating the dressing like a sauce you pour on at the end. It needs time on the chicken first. Those 20 minutes aren’t there for show; they let the salt, acid, and seasoning sink into the meat so the finished chicken tastes seasoned all the way through, not just on the crust.
There’s another reason to keep the marinate short. Caesar dressing is rich, and if the chicken sits in it too long, the outside can turn a little slippery, which makes the panko topping slide off instead of baking into a proper shell. Twenty minutes is the sweet spot: enough flavor, not so much moisture that you lose the crunch.
What Each Part of the Coating Is Doing
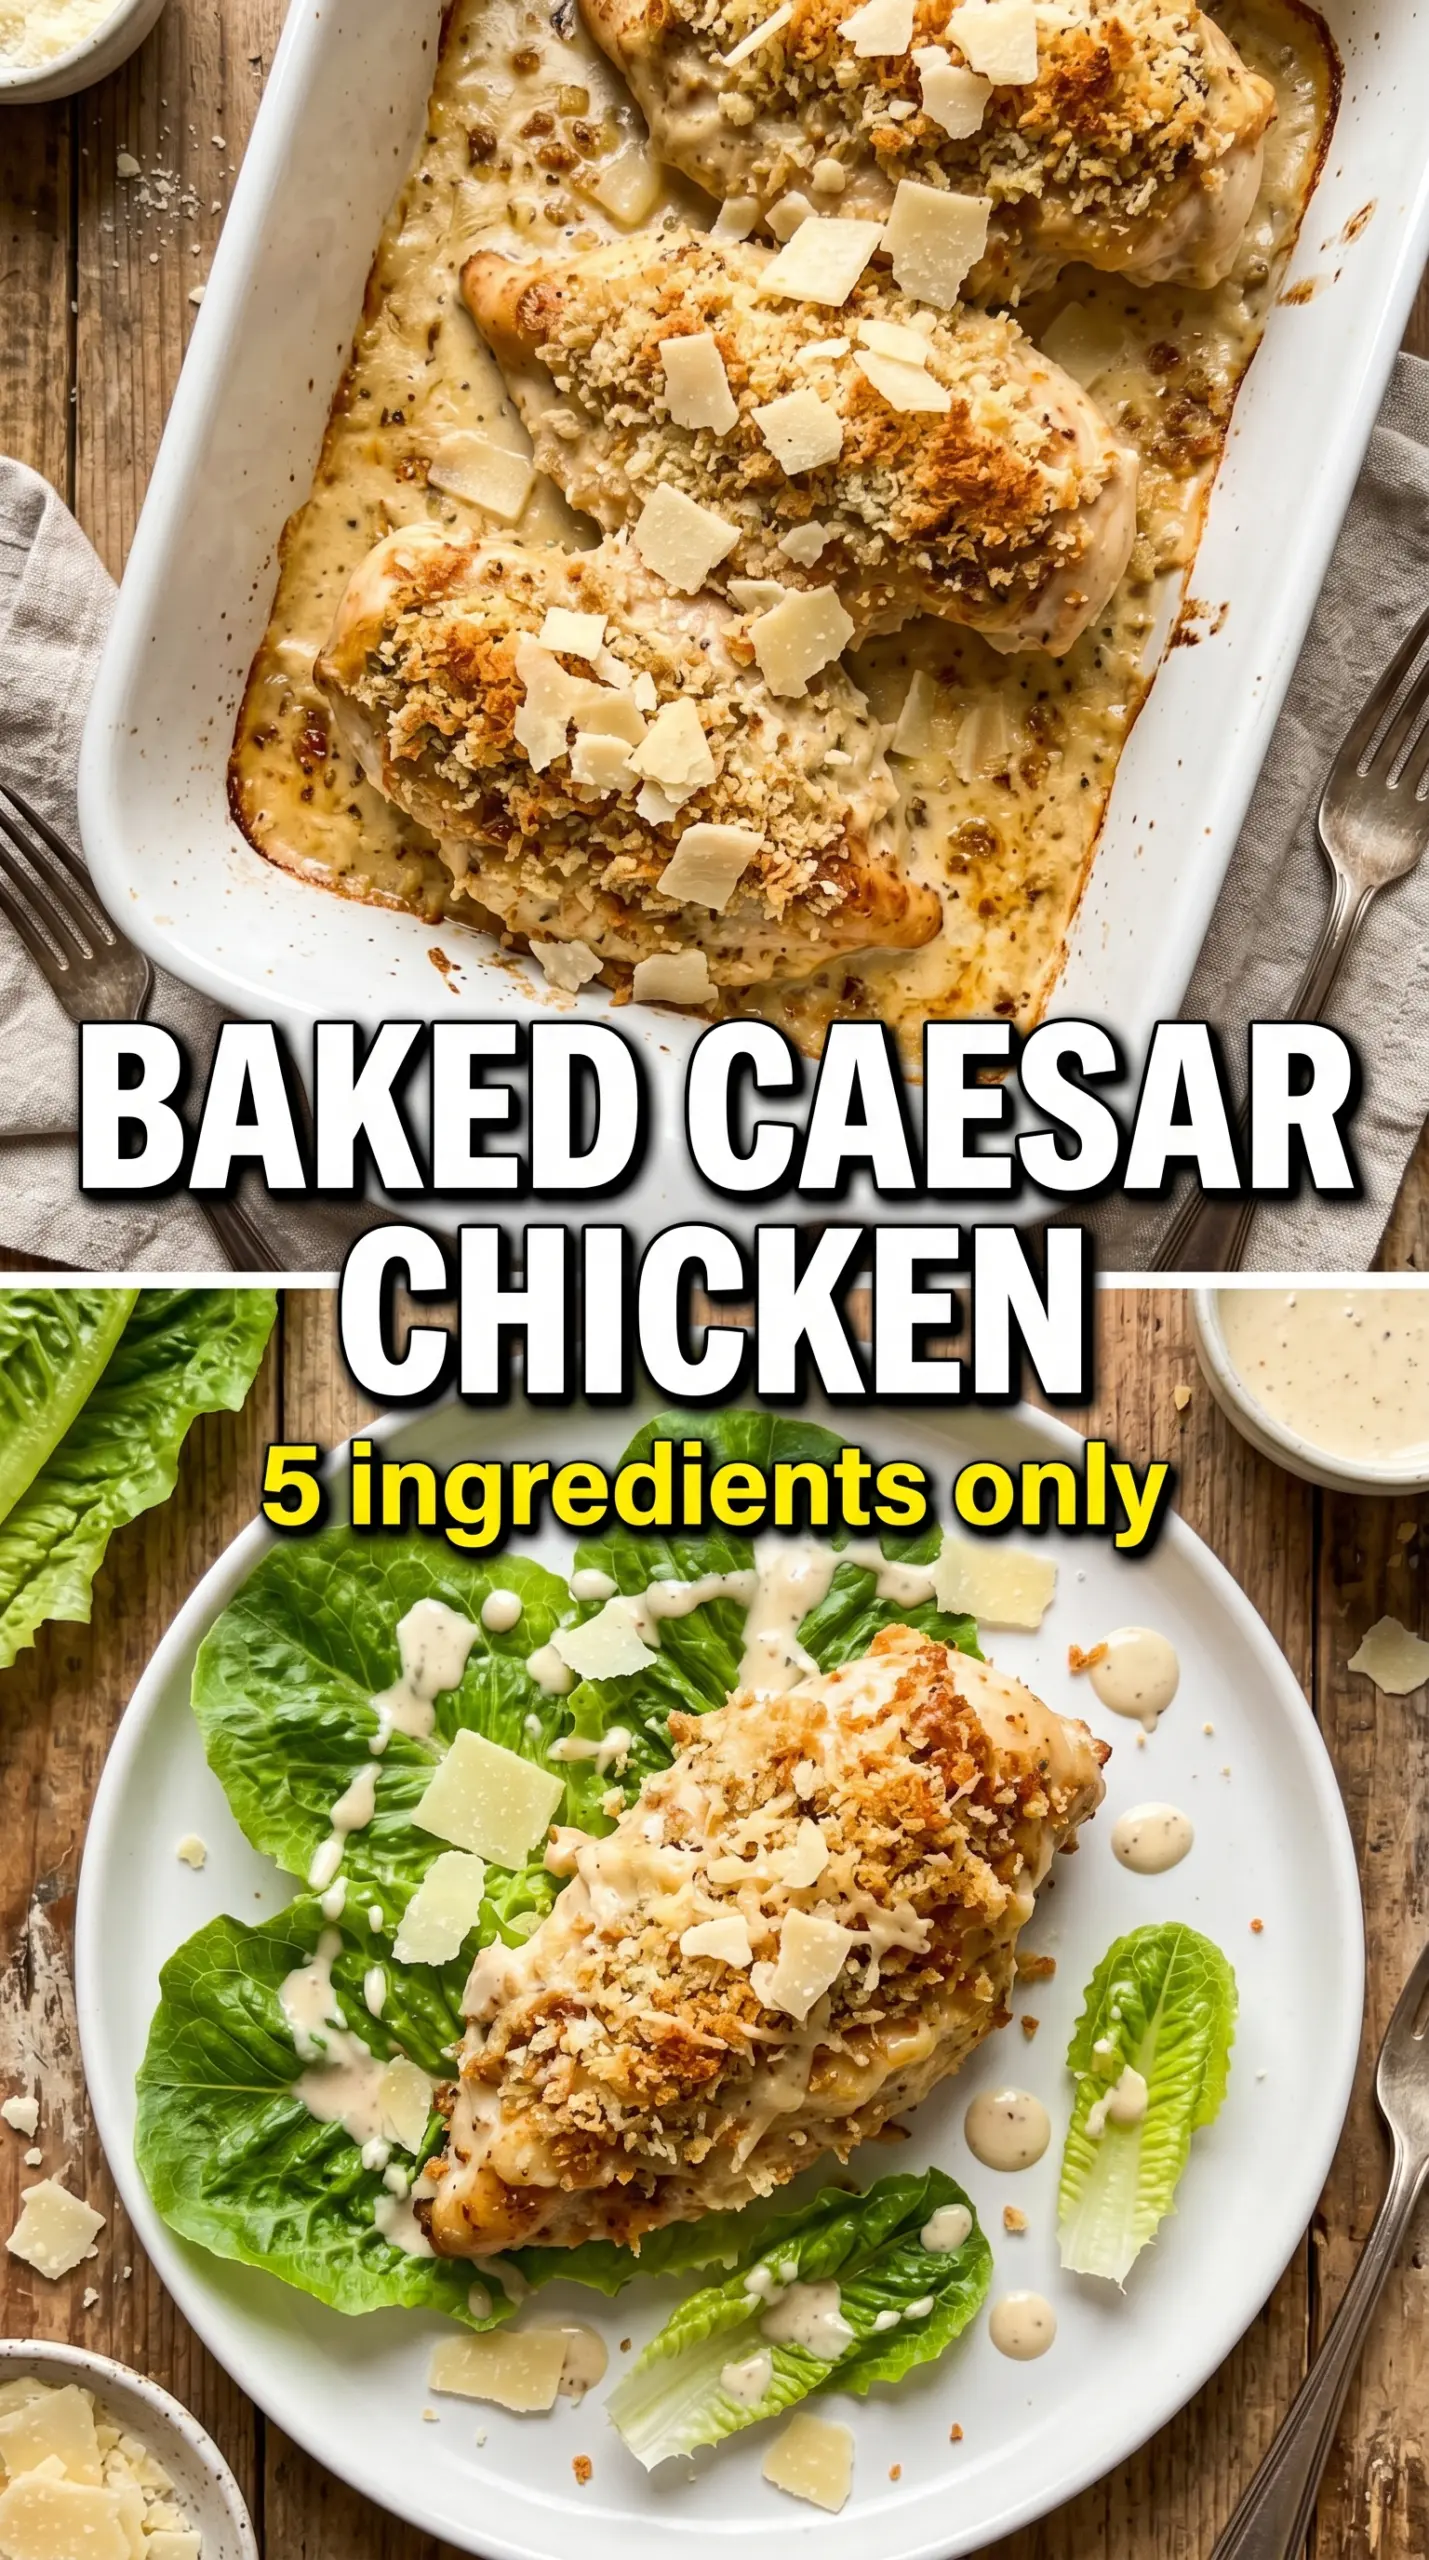
- Caesar dressing — This is the backbone of the recipe. It seasons the chicken, brings the creamy tang, and helps the Parmesan cling. Store-bought works fine here because you want the consistent texture and salt level; if you use homemade, keep it on the thicker side so it coats instead of running off.
- Freshly grated Parmesan — This is worth buying or grating yourself. It melts into the dressing and browns on top, while the bagged stuff often stays sandy and doesn’t form the same crust. Divide it exactly as written so some seasons the marinade and the rest builds the top.
- Panko breadcrumbs — Panko is what gives you that lighter, crackly finish. Regular breadcrumbs can work in a pinch, but they bake up denser and absorb more moisture. Press them onto the chicken instead of just sprinkling them so they actually stay on the surface.
- Lemon zest — Don’t skip this. Caesar can lean heavy, and zest wakes up the whole dish without making it taste lemony. If you only have bottled lemon juice, add a tiny splash to the marinade, but zest gives the cleaner lift.
How to Get a Golden Crust Without Drying Out the Chicken
Mix the Marinade First
Stir the Caesar dressing, half of the Parmesan, garlic powder, and lemon zest together before the chicken goes in. That way the cheese is evenly distributed and you don’t end up with clumps of seasoning in one spot and bare chicken in another. The mixture should look thick and spoonable, not watery. If it seems loose, your dressing is probably thin, and that’s a sign to keep the marinate on the shorter side.
Press the Topping, Don’t Just Sprinkle It
After the chicken goes into the baking dish, combine the remaining Parmesan with the panko and press it onto each breast with your fingers or the back of a spoon. The coating should sit in a real layer, not a dusting. If you just scatter it on top, the steam from the chicken will knock it loose and you’ll lose that crisp crust. A little pressure helps it bond with the dressing underneath.
Bake Until the Top Is Deeply Colored
At 400°F, the coating should turn golden and spotty brown in 22 to 25 minutes, and the chicken should hit 165°F in the thickest part. Don’t pull it too early because the center still needs that final push to finish cooking through. If your breasts are very thick, flatten them slightly before marinating or they’ll need longer and the top may overbrown before the middle is done.
Finish With the Salad, Not Under It
Add the romaine, croutons, extra dressing, and shaved Parmesan after the chicken comes out of the oven. If you pile those on too soon, the heat wilts the greens and softens the croutons. This final step gives the plate the Caesar salad feel without stealing the crunch from the chicken crust.
How to Adapt This for a Different Pantry or Diet
Gluten-Free Caesar Chicken
Swap the panko for gluten-free breadcrumbs or crushed gluten-free crackers. You’ll still get crunch, but the texture may be a little finer, so press it on firmly and watch the oven near the end to keep the top from overbrowning.
Dairy-Free Version
Use a dairy-free Caesar dressing and a parmesan-style vegan cheese that melts well. The crust won’t taste exactly the same, but the salty, garlicky backbone still works. Avoid dry, crumbly vegan cheese shreds here because they can brown before they actually help the coating hold together.
No Panko on Hand
Crushed crackers, plain cornflakes, or even torn-up toasted bread can step in. Panko is still the best choice for a lighter crust, but any dry, coarse crumb will help the topping set. If you use something saltier, cut back slightly on the added salt in the chicken seasoning.
Make It a Salad Plate Dinner
Slice the baked chicken and serve it over romaine instead of alongside it. That turns the dish into a more complete meal without changing the cooking method, and the warm chicken softens the greens just enough to feel cohesive. Keep the croutons on top until the last second so they stay crunchy.
Storage and Reheating
- Refrigerator: Store leftover chicken in an airtight container for up to 3 days. The crust softens a bit, but the flavor holds up well.
- Freezer: It freezes best without the romaine and croutons. Wrap the baked chicken tightly and freeze for up to 2 months, then thaw in the fridge before reheating.
- Reheating: Warm it in a 350°F oven or air fryer until heated through. The microwave will make the topping soggy fast, so use it only if texture isn’t a priority.
Answers to the Questions Worth Asking

Baked Caesar Chicken
Ingredients
Equipment
Method
- In a bowl, mix Caesar dressing, 1/2 cup Parmesan, garlic powder, and lemon zest until evenly combined. Add the chicken breasts and marinate for 20 minutes so the flavor penetrates.
- Heat the oven to 400°F and grease a baking dish. Arrange the marinated chicken in the dish in a single layer.
- In a small bowl, mix the remaining 1/4 cup Parmesan with panko breadcrumbs. Press the panko-Parmesan mixture over the top of each chicken breast so it forms an even crust.
- Bake for 22-25 minutes at 400°F until the crust is golden and crackled, and the internal temperature reaches 165°F. Let the chicken rest briefly after baking so juices settle.
- Serve the baked Caesar chicken topped with chopped romaine and croutons, then drizzle with extra Caesar dressing. Finish with shaved Parmesan for a salty, savory topper.


