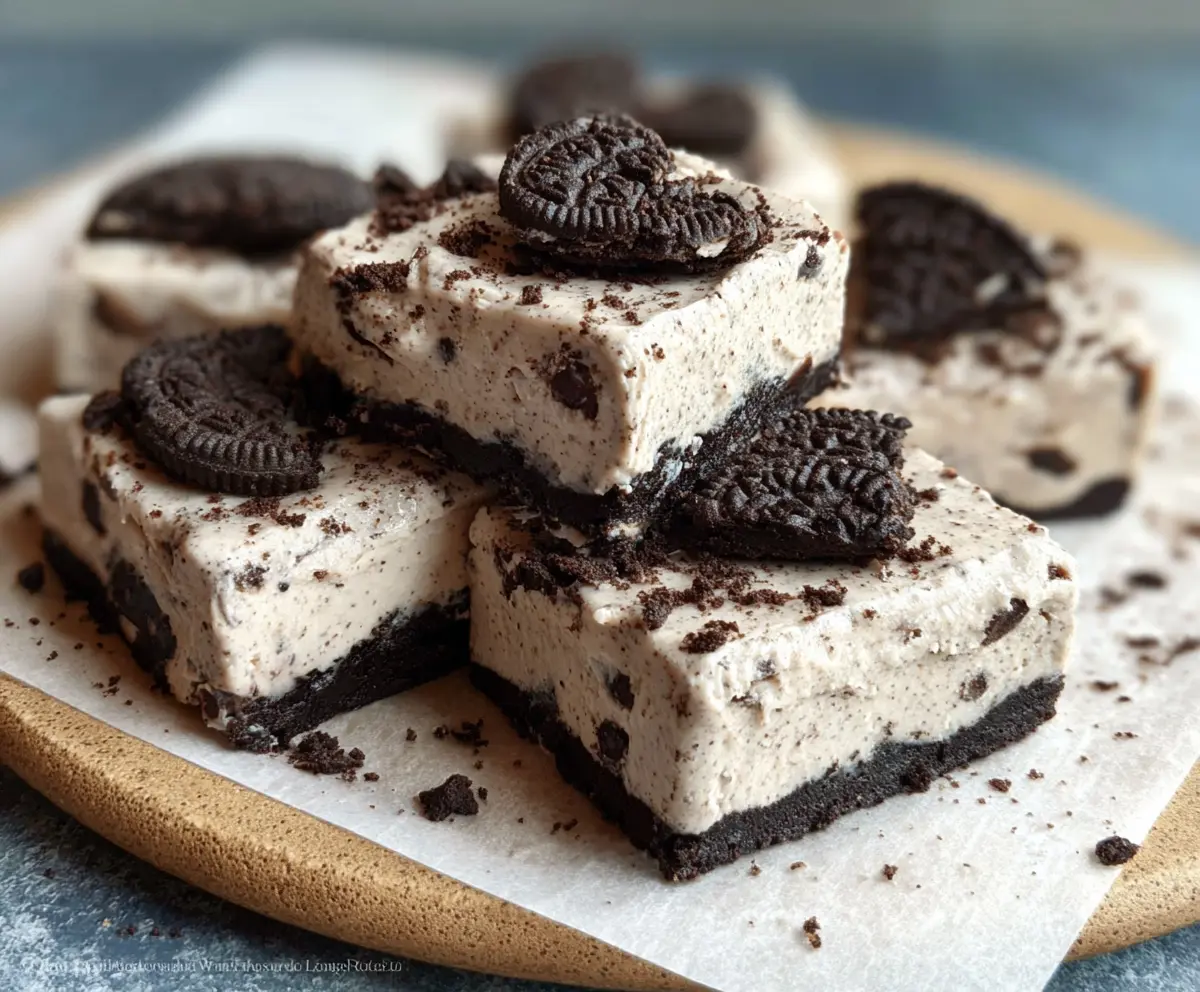
Your taste buds will thank you for these No Bake Oreo Protein Bars! They are easy to make and super yummy, packed with the classic Oreo flavor you love.
I like to grab one for a quick snack after my workout, and they never last long around here! Plus, no baking means no mess to clean up. How great is that?
Key Ingredients & Substitutions
Oreo Cookies: These are the star of the show! Use regular Oreos for classic flavor. If you’re avoiding gluten, try gluten-free Oreos. You can also use any chocolate cookie as a substitute for the crust.
Cream Cheese: Light cream cheese gives a nice creaminess. You can swap it for Greek yogurt for a healthier twist or use dairy-free cream cheese if needed.
Protein Powder: I recommend a vanilla or cookies & cream flavor for the best taste. If you’re dairy-free, go for a plant-based protein powder. You can also skip it altogether for a lighter version.
Greek Yogurt: This adds protein and a creamy texture. If you want a non-dairy option, use coconut yogurt. Just make sure it’s unsweetened to balance the flavors.
Milk: Any type of milk works! Almond, soy, or oat milk are great for dairy-free options. You can also use water if you’re in a pinch!
How Can I Get the Creamy Texture Just Right?
A smooth and creamy texture is key for these bars. Start by ensuring your cream cheese is fully softened at room temperature. This makes it much easier to mix and blend with other ingredients.
- Mix the cream cheese with the crushed Oreos until it’s well combined and sticky.
- For the protein mixture, whisk everything together until there are no lumps. Gradually adding the milk can help achieve creaminess without making it too runny.
- Don’t over-mix once you add in the mini Oreo pieces; gently fold them to keep some crunch!
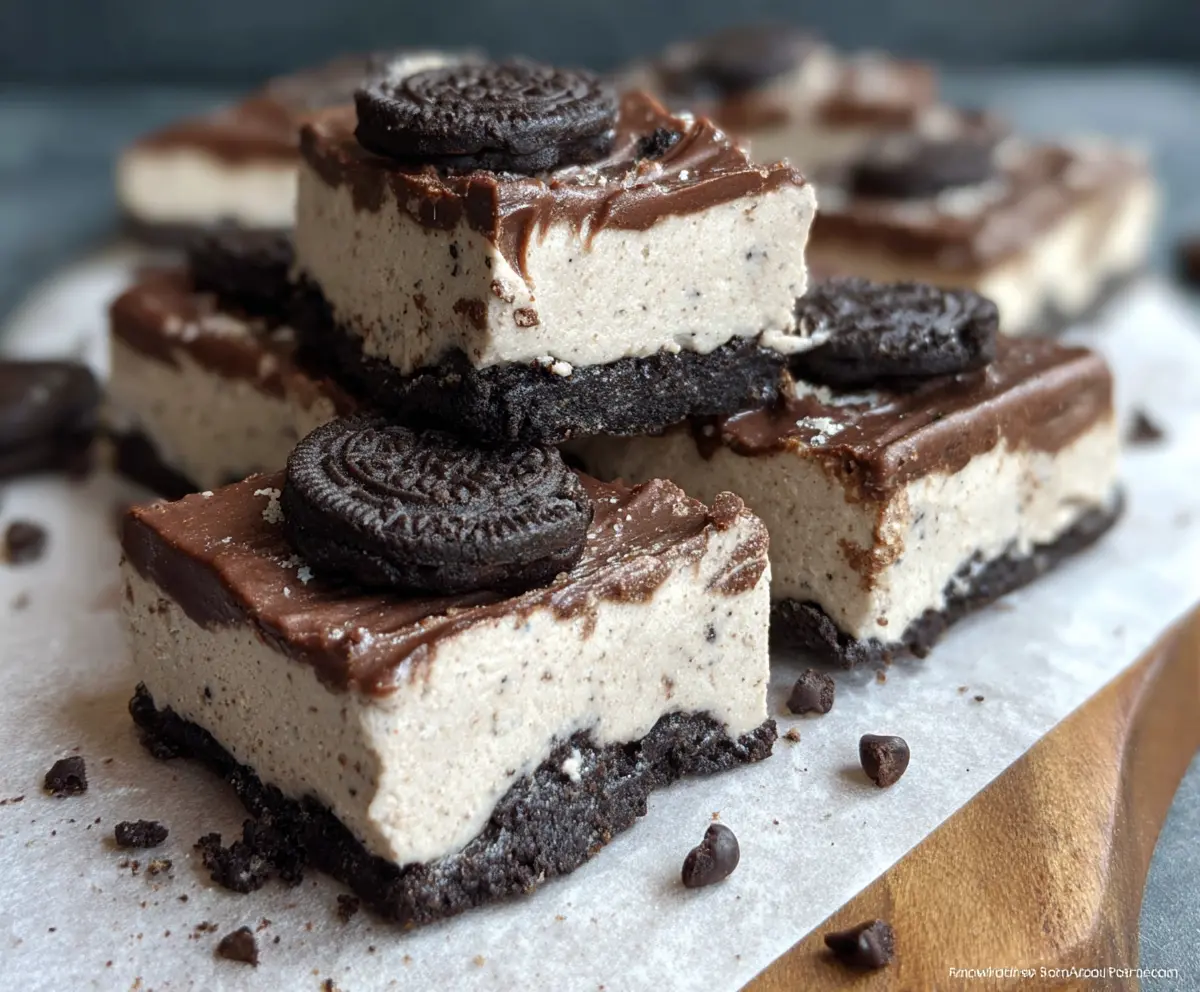
No Bake Oreo Protein Bars
Ingredients You Will Need:
For The Base:
- 1 ½ cups Oreo cookies, crushed (about 15-18 cookies)
- ½ cup light cream cheese, softened
For The Filling:
- 1 scoop vanilla or cookies & cream flavored protein powder
- 1 cup Greek yogurt (plain or vanilla)
- ¼ cup milk (any kind)
- 1 tbsp honey or maple syrup (optional, for sweetness)
- 1 tsp vanilla extract
For Mixing In And Garnishing:
- Mini Oreo pieces, for mixing in and garnish
How Much Time Will You Need?
This tasty no bake treat takes about 15 minutes to prepare, plus 3-4 hours of chilling time in the fridge. After a little wait, you’ll have a delicious snack ready to enjoy!
Step-by-Step Instructions:
1. Prepare the Pan:
Start by lining an 8×8-inch (20×20 cm) square pan with parchment paper. This will help you easily lift the bars out once they’re set, making things a lot simpler!
2. Make the Base:
In a medium bowl, mix the crushed Oreo cookies and softened cream cheese together. Stir until you achieve a crumbly, sticky base. This will be the crust of your bars!
3. Form the Crust:
Transfer the Oreo mixture into the prepared pan. Press it firmly into the bottom to create an even layer. Make sure it’s packed tightly so the base holds together well.
4. Prepare the Filling:
In a separate bowl, combine the protein powder, Greek yogurt, milk, honey (if you want it sweeter), and vanilla extract. Whisk everything together until the mixture is smooth and creamy. This is where all the delicious flavor comes from!
5. Add Mini Oreos:
Gently fold in about ¼ cup of mini Oreo pieces into the creamy mixture. This adds extra crunch and flavor to the bars, making them even more delightful!
6. Combine and Smooth:
Pour the creamy protein mixture over the crust in the pan. Use a spatula to spread it evenly and smooth the top. It should look nice and neat!
7. Garnish:
Sprinkle some additional crushed Oreo pieces or mini Oreos on top for decoration and added flavor. This adds a lovely touch!
8. Chill:
Cover the pan with plastic wrap or foil, and place it in the refrigerator for at least 3-4 hours. This allows the bars to set properly.
9. Cut the Bars:
Once the bars are firm, lift them out using the parchment paper. Cut them into squares or rectangles – however you prefer to enjoy them!
10. Store and Enjoy:
Keep the bars refrigerated and grab one whenever you need a tasty, protein-packed snack! They are perfect for post-workout or just a quick treat during the day.
Now you have a delicious dessert that requires no baking and is oh-so-simple to make. Enjoy these creamy, sweet bites of heaven!
Can I Use Different Types of Protein Powder?
Absolutely! You can use any flavor of protein powder you like, but vanilla or cookies & cream flavors work best for this recipe. If you’re dairy-free, opt for a plant-based protein powder.
How Long Can I Store These Protein Bars?
You can keep these bars in an airtight container in the fridge for up to one week. Just make sure they are well sealed to maintain freshness!
What If I Don’t Have Cream Cheese?
No worries! You can substitute light cream cheese with Greek yogurt for a healthier option or use dairy-free cream cheese if you need a non-dairy version. Just ensure it’s softened for easy mixing!
Can I Freeze These Bars?
Yes, you can freeze them! Wrap individual bars in plastic wrap and place them in an airtight container. They will stay fresh for about 2-3 months. Thaw in the fridge before enjoying.