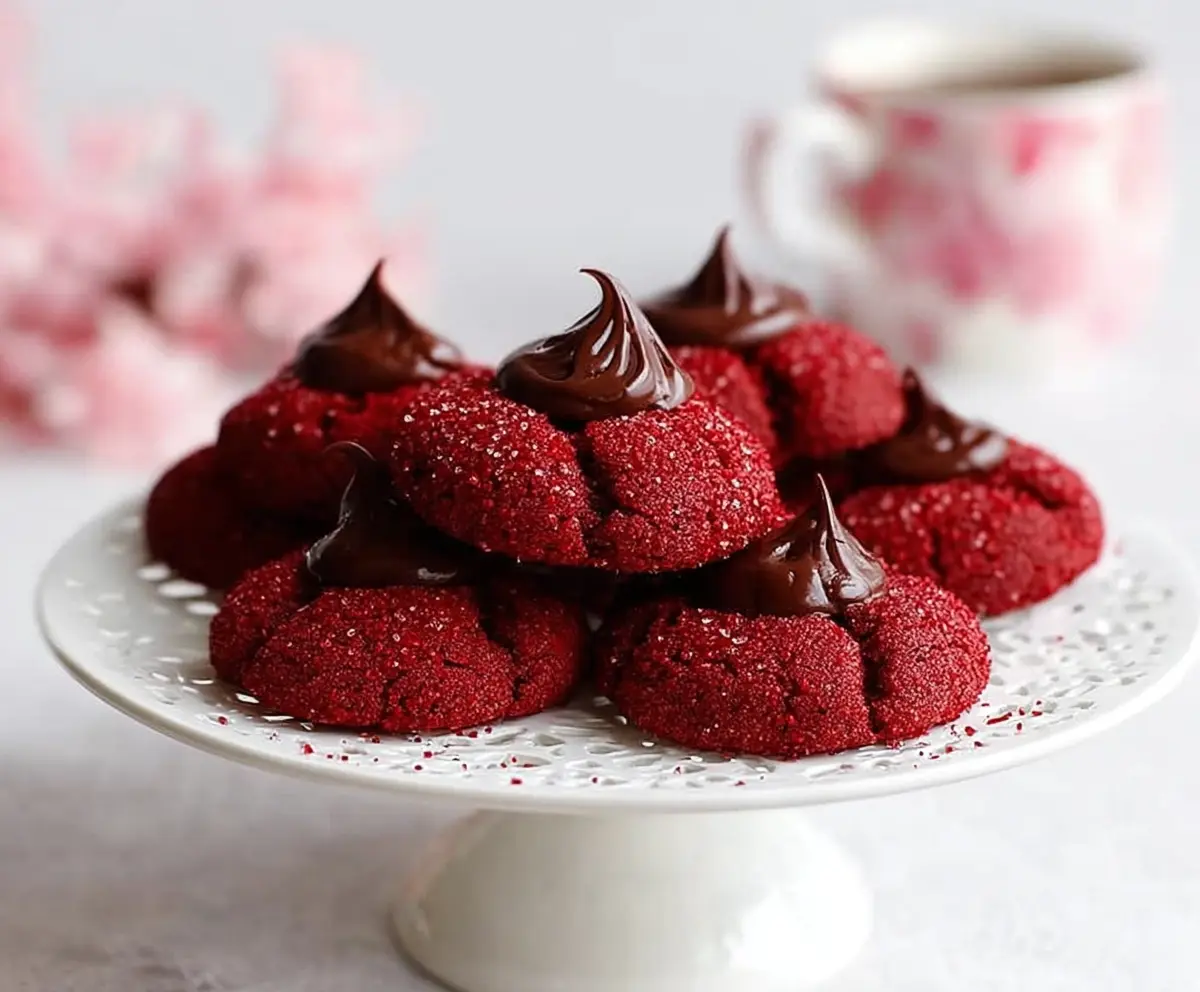
These Hershey’s Red Velvet Blossoms Cookies are soft, tasty, and so pretty! With a rich red color and a special chocolate kiss on top, they’re perfect for any occasion.
Honestly, who can resist that sweet chocolate surprise waiting inside? I love making these cookies with friends—it’s always a fun and colorful treat to enjoy together!
Key Ingredients & Substitutions
All-Purpose Flour: This is essential for structure. If you’re gluten-free, you can use a 1-to-1 gluten-free flour blend instead to get similar results.
Cocoa Powder: Unsweetened cocoa adds flavor and color. If you like a sweeter cookie, you could use Dutch-processed cocoa, but note it might change the color slightly.
Red Food Coloring: This gives the cookies their signature color. If you prefer natural options, you can use beet juice or powdered beet for a reddish tint. Just know it may be paler than typical red dye.
Butter: Unsalted butter is perfect here for controlling the saltiness. You can swap it with coconut oil for a dairy-free version. Just let it soften first!
Chocolate Kisses: Hershey’s Kisses are a classic, but you could use other chocolates like caramel-filled or dark chocolate for a twist. Just make sure they’re about the same size!
How Do I Get the Perfect Texture for My Cookies?
The texture of these cookies is key! To get a soft and chewy result, here are some helpful tips:
- Ensure your butter is softened, not melted. Softened butter beats better, leading to a fluffier texture.
- Be cautious not to over-mix the dough. Mix just until the flour is incorporated to keep the cookies tender.
- When baking, keep an eye on them! Remove them from the oven when the edges are set but the center appears soft to avoid drying them out.
Also, pressing the chocolate kiss into the warm cookie right after baking creates that melt-in-your-mouth experience. Enjoy your baking!
Hershey’s Red Velvet Blossoms Cookies
Ingredients You’ll Need:
For the Cookies:
- 1 cup all-purpose flour
- 1/4 cup unsweetened cocoa powder
- 1/2 teaspoon baking soda
- 1/4 teaspoon salt
- 6 tablespoons unsalted butter, softened
- 1/2 cup granulated sugar
- 1/2 cup packed brown sugar
- 1 large egg
- 1 tablespoon milk
- 1 teaspoon vanilla extract
- 1 teaspoon distilled white vinegar
- 1 1/2 teaspoons red food coloring
- Granulated sugar, for rolling
- About 24 Hershey’s Milk Chocolate Kisses, unwrapped
How Much Time Will You Need?
This recipe takes about 15 minutes for preparation and around 10 minutes for baking, totaling approximately 25 minutes. You’ll have delicious, soft cookies ready to enjoy in no time!
Step-by-Step Instructions:
1. Preheat Your Oven:
Start by preheating your oven to 350°F (175°C). This ensures that your cookies bake evenly and perfectly fluffy!
2. Mix Dry Ingredients:
In a medium bowl, whisk together the flour, cocoa powder, baking soda, and salt. Make sure everything is mixed nicely, then set this bowl aside for later.
3. Cream the Butters and Sugars:
In a large bowl, use an electric mixer to beat the softened butter along with the granulated sugar and brown sugar. Keep mixing until the mixture is light and fluffy—this step is crucial for a good texture!
4. Add Wet Ingredients:
Now, add the egg, milk, vanilla extract, distilled white vinegar, and red food coloring to the butter and sugar mixture. Mix it all together until well combined. The red food coloring will give it that stunning color!
5. Combine Mixtures:
Gradually add the dry ingredients from your first bowl into the wet ingredients. Mix until just blended—be careful not to over-mix to keep your cookies soft!
6. Shape the Cookies:
Roll the dough into 1-inch balls. Once you’ve formed the balls, roll each one in granulated sugar for that sweet coating!
7. Bake:
Place the sugar-coated dough balls about 2 inches apart on ungreased cookie sheets. Pop them into the oven and bake for 8-10 minutes, until the cookies are set but still soft in the middle.
8. Add the Chocolate Kisses:
Once baked, take the cookies out of the oven and immediately press a Hershey’s Kiss into the center of each cookie. The warm cookie will melt the kiss slightly, making it extra delicious!
9. Cool Down:
Allow the cookies to cool on the baking sheet for a few minutes until the chocolate sets a bit. Then, transfer them to a wire rack to cool completely.
Enjoy your soft, vibrant red velvet blossoms with a delicious chocolate kiss center! These cookies are sure to impress everyone!
Can I Use a Different Color Gel for These Cookies?
Absolutely! While red food coloring is traditional for red velvet, you can experiment with other colors like blue or green for a fun twist. Just keep in mind that it will alter the flavor slightly, so stick to gel food coloring for best results!
What If I Don’t Have Distilled White Vinegar?
No worries! If you don’t have distilled white vinegar, you can substitute it with lemon juice or apple cider vinegar in equal amounts. This helps to activate the baking soda and create a lighter texture.
Can I Freeze These Cookies?
Yes! To freeze, let the cookies cool completely, then place them in an airtight container separated by parchment paper. They can last up to 3 months in the freezer. Just thaw at room temperature before enjoying!
How Do I Make These Cookies Chewier?
For chewier cookies, try slightly underbaking them by 1-2 minutes. Also, using more brown sugar than granulated sugar can help create a softer, chewier texture. Enjoy your baking!