Craving something sweet and wonderfully cold? I know I am! I’ve gathered some of my absolute favorite homemade ice cream recipes for you today. Whether you have an ice cream maker or prefer a no-churn method, you’ll find a delicious frozen dessert here.
Making your own ice cream at home is easier than you think, and the taste is truly unmatched. Get ready to create some amazing creamy treats that everyone will love, from classic fruit flavors to exciting cookie blends!
Jump to Recipe:
- 1. Easy Homemade Biscoff Ice Cream Recipe
- 2. Easy Homemade Blueberry Ice Cream Recipe
- 3. Easy Homemade Custard Ice Cream Recipe
- 4. Easy Homemade Pineapple Ice Cream Recipe
- 5. Easy Homemade Pistachio Ice Cream Recipe
- 6. Easy Ninja Creami Cookies And Cream Ice Cream Recipe
- 7. Easy No Churn Blueberry Pie Ice Cream Recipe
Easy Homemade Biscoff Ice Cream Recipe
This Biscoff ice cream brings the delicious taste of speculoos cookies right into your freezer. It’s a rich, creamy treat perfect for any cookie butter fan.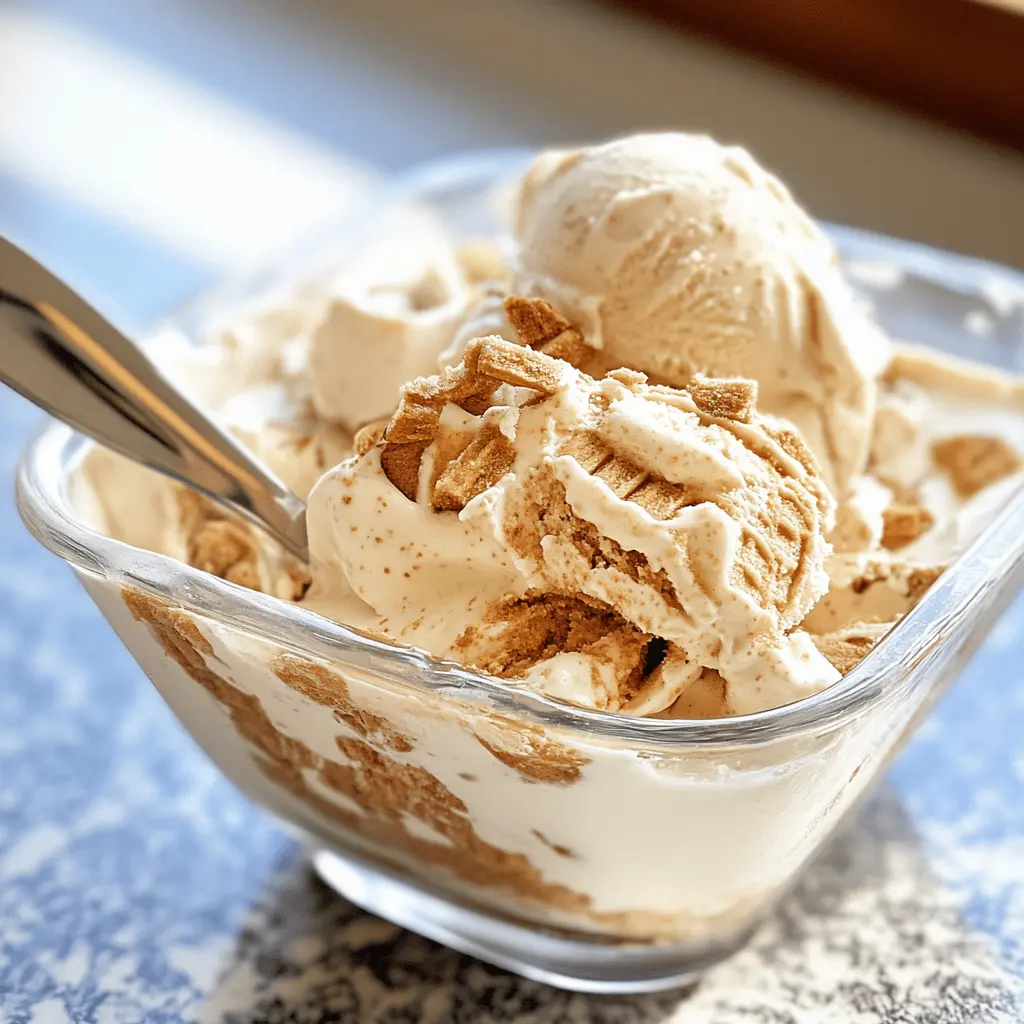
Key Ingredients & Tips for Biscoff Ice Cream
- Biscoff Cookies: Crush them into varying sizes for texture – some fine crumbs, some larger chunks.
- Heavy Cream: Make sure it’s very cold before whipping; this helps it get light and airy quickly.
- Sweetened Condensed Milk: This is key for a smooth, no-churn base and adds a lovely sweetness.
What You Need for Biscoff Ice Cream
- 2 cups cold heavy cream
- 1 (14-ounce) can sweetened condensed milk
- ½ cup Biscoff cookie spread
- 1 cup crushed Biscoff cookies
⏱️ Time: Prep 15 min | Freeze 6+ hrs🍽️ Yields: 6-8 servings
How to Make Biscoff Ice Cream
Step 1: Whip the Cream
In a large, chilled bowl, beat the cold heavy cream with an electric mixer on high speed until soft peaks form. This usually takes about 3-5 minutes.
Step 2: Combine the Base
Gently fold in the sweetened condensed milk and Biscoff cookie spread into the whipped cream until just combined. Be careful not to deflate the cream too much.
Step 3: Add Cookies and Freeze
Fold in the crushed Biscoff cookies. Pour the mixture into a freezer-safe container, cover it, and freeze for at least 6 hours, or until firm.
📝 Final Note
For the best texture, let your Biscoff ice cream sit out for 5-10 minutes before scooping.
Easy Homemade Blueberry Ice Cream Recipe
This blueberry ice cream is bursting with fresh fruit flavor, making it a bright and cheerful dessert. It’s simple to make and tastes wonderful.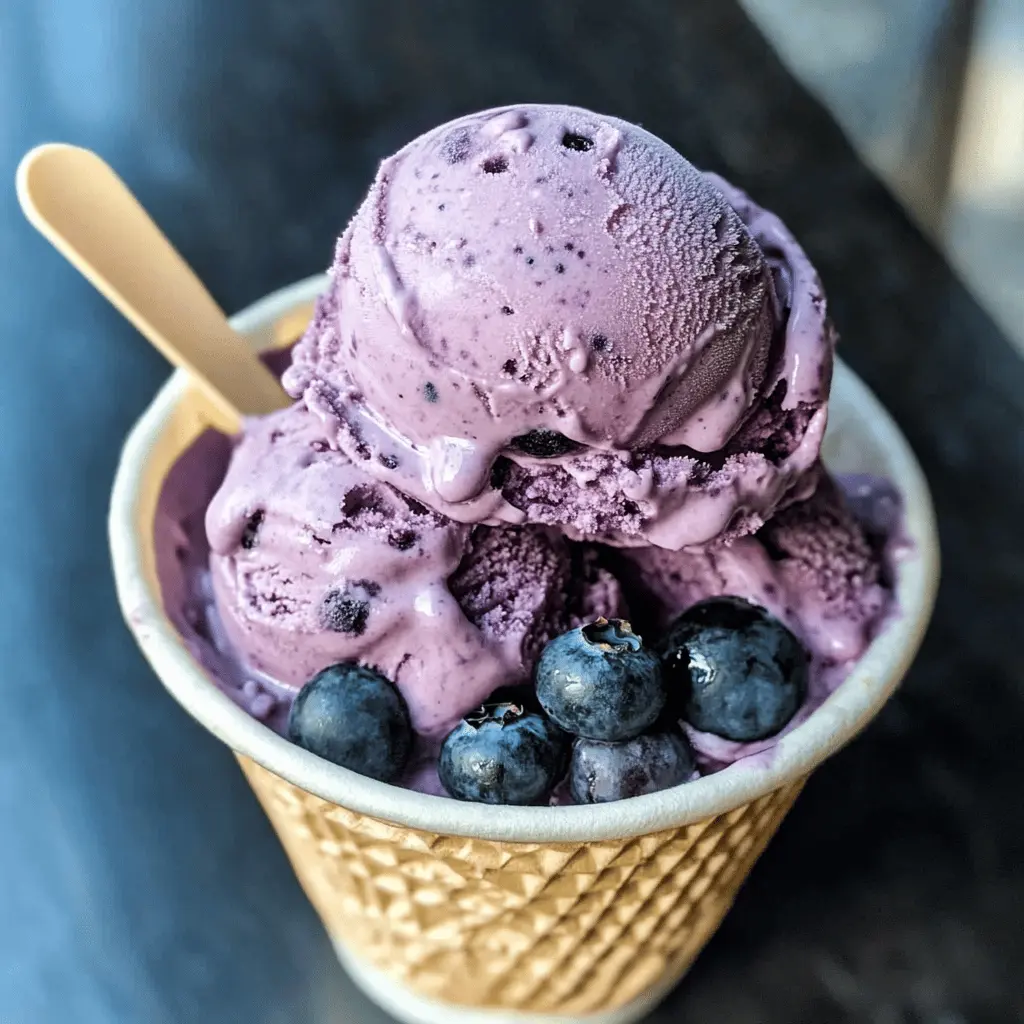
Key Ingredients & Tips for Blueberry Ice Cream
- Fresh or Frozen Blueberries: Both work great! If using frozen, you might want to thaw them slightly before cooking.
- Lemon Juice: A small amount brightens the blueberry flavor and prevents it from being too sweet.
- Churning: If using an ice cream maker, ensure your bowl is fully frozen for at least 24 hours.
What You Need for Blueberry Ice Cream
- 2 cups fresh or frozen blueberries
- ½ cup granulated sugar
- 1 tablespoon lemon juice
- 1 ½ cups heavy cream
- 1 ½ cups whole milk
⏱️ Time: Prep 20 min | Chill 2 hrs | Churn 25 min🍽️ Yields: 6-8 servings
How to Make Blueberry Ice Cream
Step 1: Cook Blueberries
In a saucepan, combine blueberries, sugar, and lemon juice. Cook over medium heat until blueberries soften and burst, about 5-7 minutes. Mash them gently with a fork. Let cool completely.
Step 2: Mix Ice Cream Base
In a large bowl, whisk together the heavy cream and whole milk. Stir in the cooled blueberry mixture until everything is well combined.
Step 3: Chill and Churn
Cover the mixture and chill in the refrigerator for at least 2 hours. Pour the chilled mixture into your ice cream maker and churn according to the manufacturer’s instructions until it reaches a soft-serve consistency.
Step 4: Freeze
Transfer the soft ice cream to a freezer-safe container. Cover tightly and freeze for another 2-4 hours, or until firm.
📝 Final Note
For a smoother texture, you can strain the blueberry mixture after cooking to remove some of the skins, but I like them in!
Easy Homemade Custard Ice Cream Recipe
This custard ice cream recipe delivers a rich, creamy, and wonderfully smooth dessert, thanks to a classic egg yolk base. It’s a foundational recipe that tastes amazing on its own.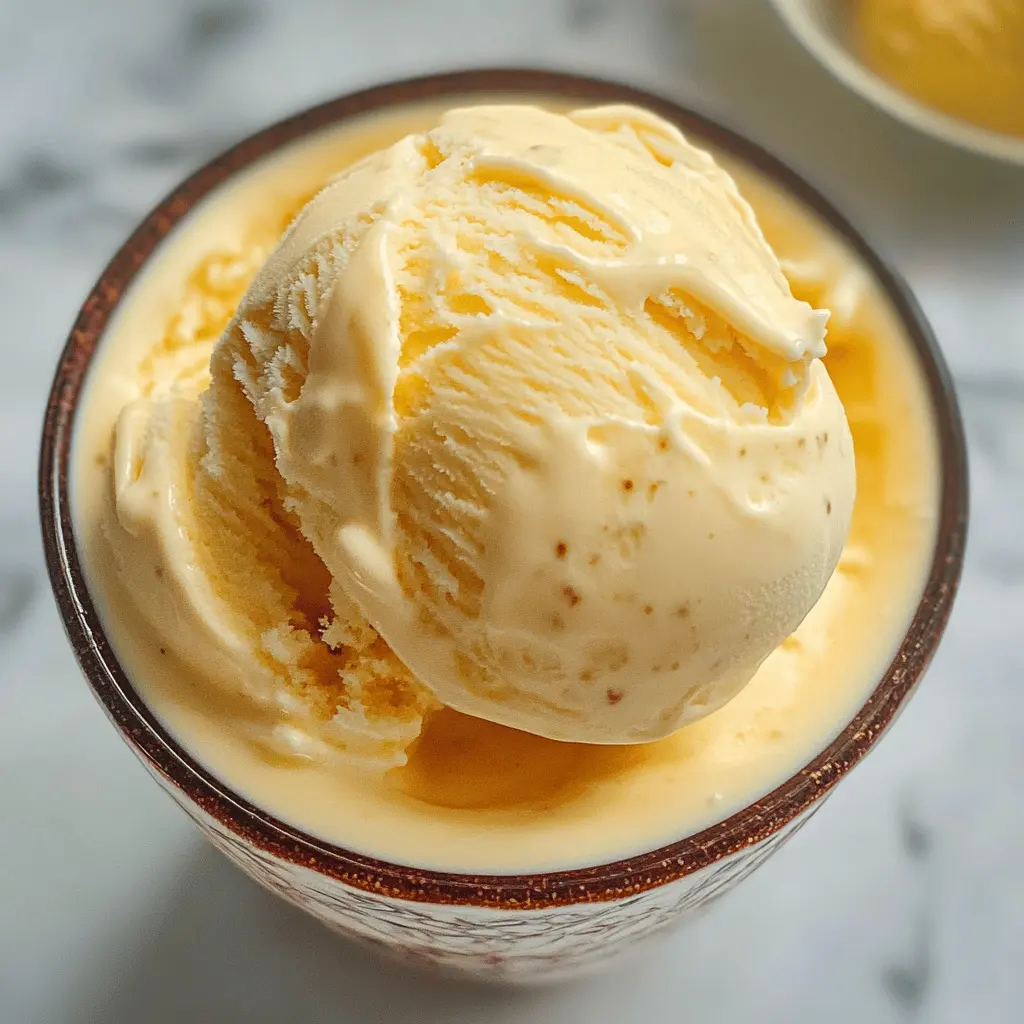
Key Ingredients & Tips for Custard Ice Cream
- Egg Yolks: These are essential for the creamy, rich texture of custard ice cream. Don’t skip them!
- Tempering Eggs: Slowly add the hot milk mixture to the egg yolks to prevent them from scrambling.
- Vanilla Extract: Use a good quality extract for the best flavor in this simple, classic base.
What You Need for Custard Ice Cream
- 2 cups whole milk
- 1 cup heavy cream
- ¾ cup granulated sugar, divided
- 5 large egg yolks
- 1 teaspoon vanilla extract
⏱️ Time: Prep 25 min | Cook 10 min | Chill 4+ hrs | Churn 25 min🍽️ Yields: 6-8 servings
How to Make Custard Ice Cream
Step 1: Heat Milk Mixture
In a medium saucepan, combine milk, heavy cream, and ½ cup of the sugar. Heat over medium heat until small bubbles form around the edges, but do not boil.
Step 2: Temper Egg Yolks
In a separate bowl, whisk egg yolks with the remaining ¼ cup sugar until light and creamy. Slowly pour about half of the hot milk mixture into the egg yolks, whisking constantly. This is called tempering.
Step 3: Cook Custard
Pour the egg yolk mixture back into the saucepan with the remaining hot milk. Cook over low heat, stirring constantly with a wooden spoon, until the mixture thickens enough to coat the back of the spoon (do not boil). Remove from heat and stir in vanilla extract.
Step 4: Chill and Churn
Strain the custard through a fine-mesh sieve into a clean bowl. Cover with plastic wrap, pressing it directly onto the surface to prevent a skin from forming. Chill completely in the refrigerator for at least 4 hours, or preferably overnight. Once chilled, churn in your ice cream maker according to instructions, then freeze until firm.
📝 Final Note
This custard base is excellent for adding other flavors like chocolate, coffee, or fruit purees once it’s chilled.
Easy Homemade Pineapple Ice Cream Recipe
This pineapple ice cream is a tropical dream, offering a sweet and tangy escape in every scoop. It’s a fantastic way to enjoy the bright flavor of pineapple.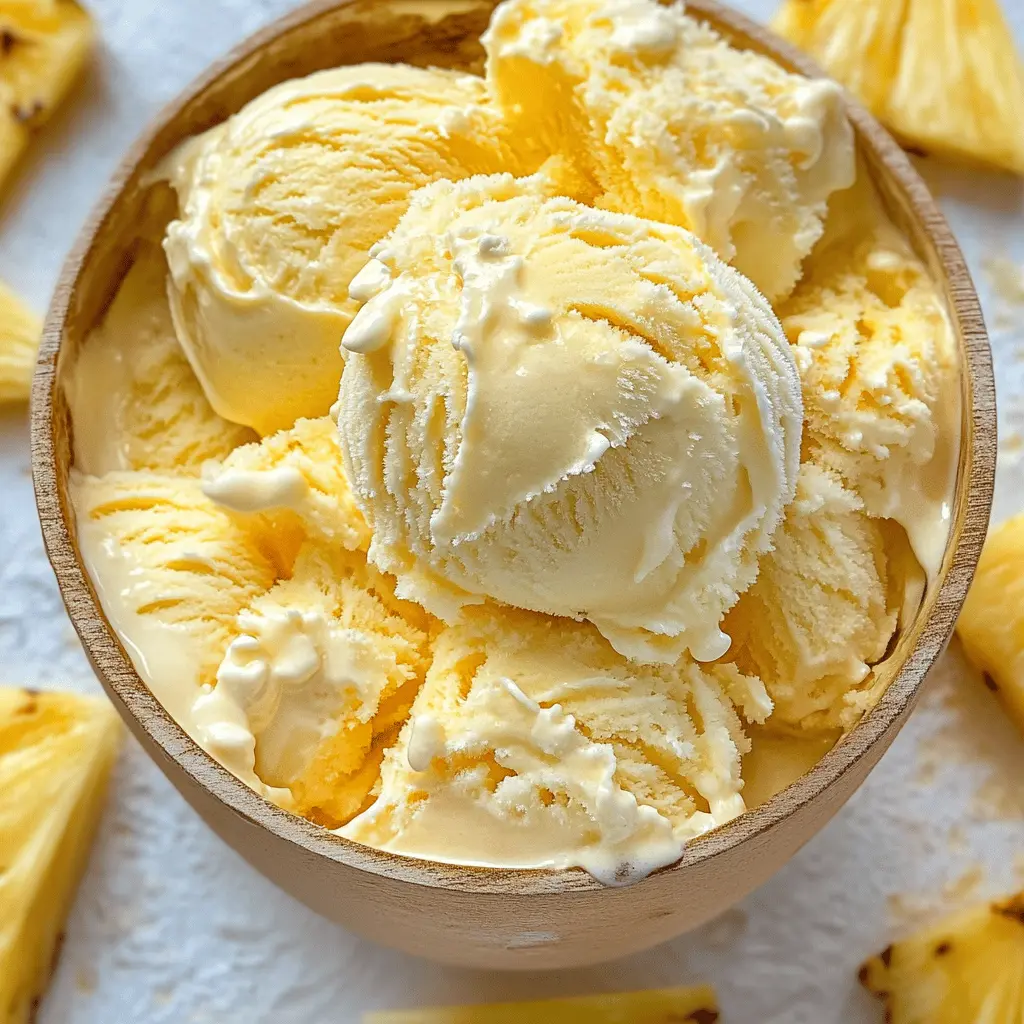
Key Ingredients & Tips for Pineapple Ice Cream
- Fresh Pineapple: Use ripe, sweet pineapple for the best taste. Canned pineapple in its own juice can also work.
- Cooking the Pineapple: Briefly cooking the pineapple helps to concentrate its flavor and soften it for a smoother puree.
- Sweetness Adjustment: Taste your pineapple mixture before adding it to the base; you might need more or less sugar depending on the fruit’s ripeness.
What You Need for Pineapple Ice Cream
- 2 cups chopped fresh pineapple
- ¼ cup granulated sugar
- 2 cups heavy cream
- 1 (14-ounce) can sweetened condensed milk
- 1 teaspoon vanilla extract (optional)
⏱️ Time: Prep 20 min | Freeze 6+ hrs🍽️ Yields: 6-8 servings
How to Make Pineapple Ice Cream
Step 1: Prepare Pineapple
In a small saucepan, combine chopped pineapple and ¼ cup sugar. Cook over medium heat for 5-7 minutes, stirring occasionally, until the pineapple softens and releases its juices. Let cool completely, then blend into a smooth puree.
Step 2: Whip Cream
In a large, chilled bowl, beat the cold heavy cream until firm peaks form. Add the vanilla extract if using.
Step 3: Combine and Freeze
Gently fold the sweetened condensed milk into the whipped cream. Then, fold in the cooled pineapple puree until just combined. Pour the mixture into a freezer-safe container, cover, and freeze for at least 6 hours, or until firm.
📝 Final Note
For an extra tropical touch, you can add a tablespoon of shredded coconut to the mixture before freezing.
Easy Homemade Pistachio Ice Cream Recipe
This pistachio ice cream is wonderfully nutty and creamy, with a subtle sweetness that highlights the unique flavor of pistachios. It’s a classic for good reason.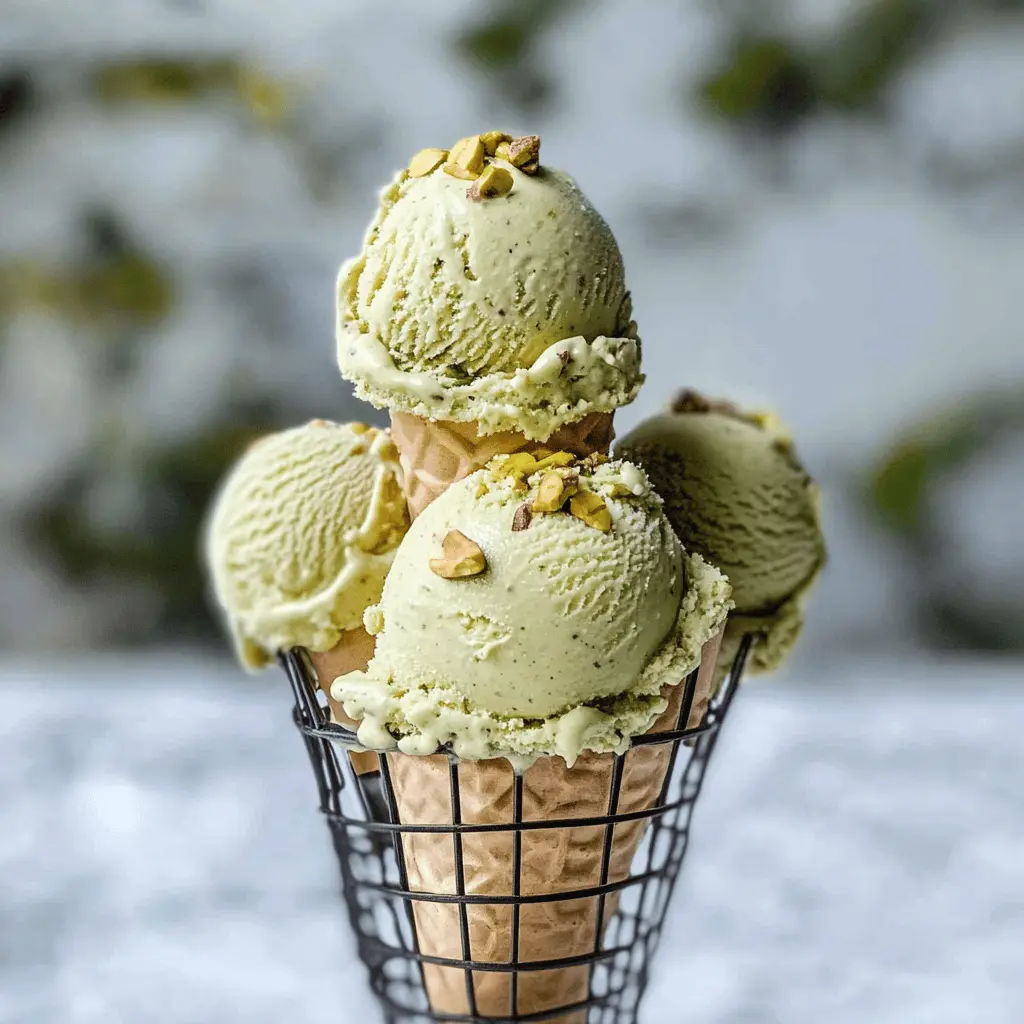
Key Ingredients & Tips for Pistachio Ice Cream
- Pistachio Paste: Using actual pistachio paste gives the most authentic and intense pistachio flavor. You can find it online or in specialty stores.
- Chopped Pistachios: Add some chopped, unsalted pistachios for texture and extra nutty taste.
- Almond Extract: A tiny bit of almond extract can enhance the nutty notes of the pistachios.
What You Need for Pistachio Ice Cream
- 2 cups heavy cream
- 1 cup whole milk
- ¾ cup granulated sugar
- ½ cup pistachio paste
- ¼ teaspoon almond extract (optional)
- ½ cup chopped roasted, unsalted pistachios
⏱️ Time: Prep 15 min | Chill 2 hrs | Churn 25 min🍽️ Yields: 6-8 servings
How to Make Pistachio Ice Cream
Step 1: Combine Base Ingredients
In a large bowl, whisk together the heavy cream, whole milk, granulated sugar, pistachio paste, and almond extract (if using) until the sugar dissolves and the paste is well blended.
Step 2: Chill Mixture
Cover the mixture and chill in the refrigerator for at least 2 hours, or until very cold. This step is important for proper churning.
Step 3: Churn and Add Pistachios
Pour the chilled mixture into your ice cream maker and churn according to the manufacturer’s instructions until it reaches a soft-serve consistency. During the last 5 minutes of churning, add the chopped pistachios.
Step 4: Freeze
Transfer the soft ice cream to a freezer-safe container. Cover tightly and freeze for another 2-4 hours, or until firm.
📝 Final Note
For a vibrant green color, you can add a tiny drop of green food coloring, but it’s not needed for taste.
Easy Ninja Creami Cookies And Cream Ice Cream Recipe
This Cookies and Cream ice cream made in a Ninja Creami is incredibly easy and yields a perfectly creamy texture with crunchy cookie bits. It’s a favorite for many!
Key Ingredients & Tips for Ninja Creami Cookies And Cream
- Milk Choice: You can use whole milk for a richer result or a lower-fat milk for a lighter option; both work well in the Ninja Creami.
- Cream Cheese: A small amount of cream cheese helps to create a super smooth and creamy texture in the Ninja Creami.
- Cookie Placement: Don’t add all the cookies at the start. Reserve some to add during the “mix-in” step for better distribution.
What You Need for Ninja Creami Cookies And Cream
- 1 ¾ cups whole milk
- ¼ cup granulated sugar
- 2 tablespoons cream cheese, softened
- 1 teaspoon vanilla extract
- 6-8 chocolate sandwich cookies, crushed (like Oreos)
⏱️ Time: Prep 5 min | Freeze 24 hrs | Creami 5 min🍽️ Yields: 1 Ninja Creami pint
How to Make Ninja Creami Cookies And Cream
Step 1: Prepare Base
In a bowl, whisk together the milk, granulated sugar, softened cream cheese, and vanilla extract until the sugar is dissolved and the cream cheese is fully incorporated and smooth.
Step 2: Add Cookies and Freeze
Pour the mixture into a Ninja Creami pint container. Add about half of the crushed cookies to the liquid. Place the lid on the pint and freeze for 24 hours until solid and level.
Step 3: Process in Creami
Once frozen, remove the pint from the freezer and place it in the outer bowl of your Ninja Creami. Secure the lid with the paddle. Select the “ICE CREAM” function. If it’s crumbly after the first spin, select “RE-SPIN”.
Step 4: Mix In Remaining Cookies
Create a small hole down the center of the ice cream and add the remaining crushed cookies. Place the pint back in the machine and select the “MIX-IN” function to evenly distribute the cookies. Serve immediately.
📝 Final Note
If you have leftovers, level the ice cream in the pint, refreeze, and re-spin on “ICE CREAM” when you want another scoop.
Easy No Churn Blueberry Pie Ice Cream Recipe
This No Churn Blueberry Pie Ice Cream captures all the comforting flavors of a warm pie in a cold, creamy dessert. It’s an incredible treat with no ice cream maker needed.
Key Ingredients & Tips for No Churn Blueberry Pie Ice Cream
- Pie Crust Crumbs: Use pre-made graham cracker crumbs or crushed actual pie crust for that true “pie” experience.
- Blueberry Pie Filling: Canned blueberry pie filling is a quick and easy way to get that classic flavor.
- Folding Gently: Be gentle when folding in the condensed milk and pie filling to keep the whipped cream light and airy.
What You Need for No Churn Blueberry Pie Ice Cream
- 2 cups cold heavy cream
- 1 (14-ounce) can sweetened condensed milk
- 1 teaspoon vanilla extract
- 1 cup blueberry pie filling
- ½ cup crushed graham crackers or pie crust crumbs
⏱️ Time: Prep 15 min | Freeze 6+ hrs🍽️ Yields: 6-8 servings
How to Make No Churn Blueberry Pie Ice Cream
Step 1: Whip Cream
In a large, chilled bowl, beat the cold heavy cream with an electric mixer on high speed until firm peaks form. Stir in the vanilla extract.
Step 2: Combine Base
Gently fold the sweetened condensed milk into the whipped cream until just combined. Next, gently fold in the blueberry pie filling, leaving some streaks for a nice swirl effect.
Step 3: Add Crumbs and Freeze
Fold in the crushed graham crackers or pie crust crumbs. Pour the mixture into a freezer-safe container, cover it, and freeze for at least 6 hours, or until firm.
📝 Final Note
You can warm a little extra blueberry pie filling to drizzle over each scoop when serving for an added touch.