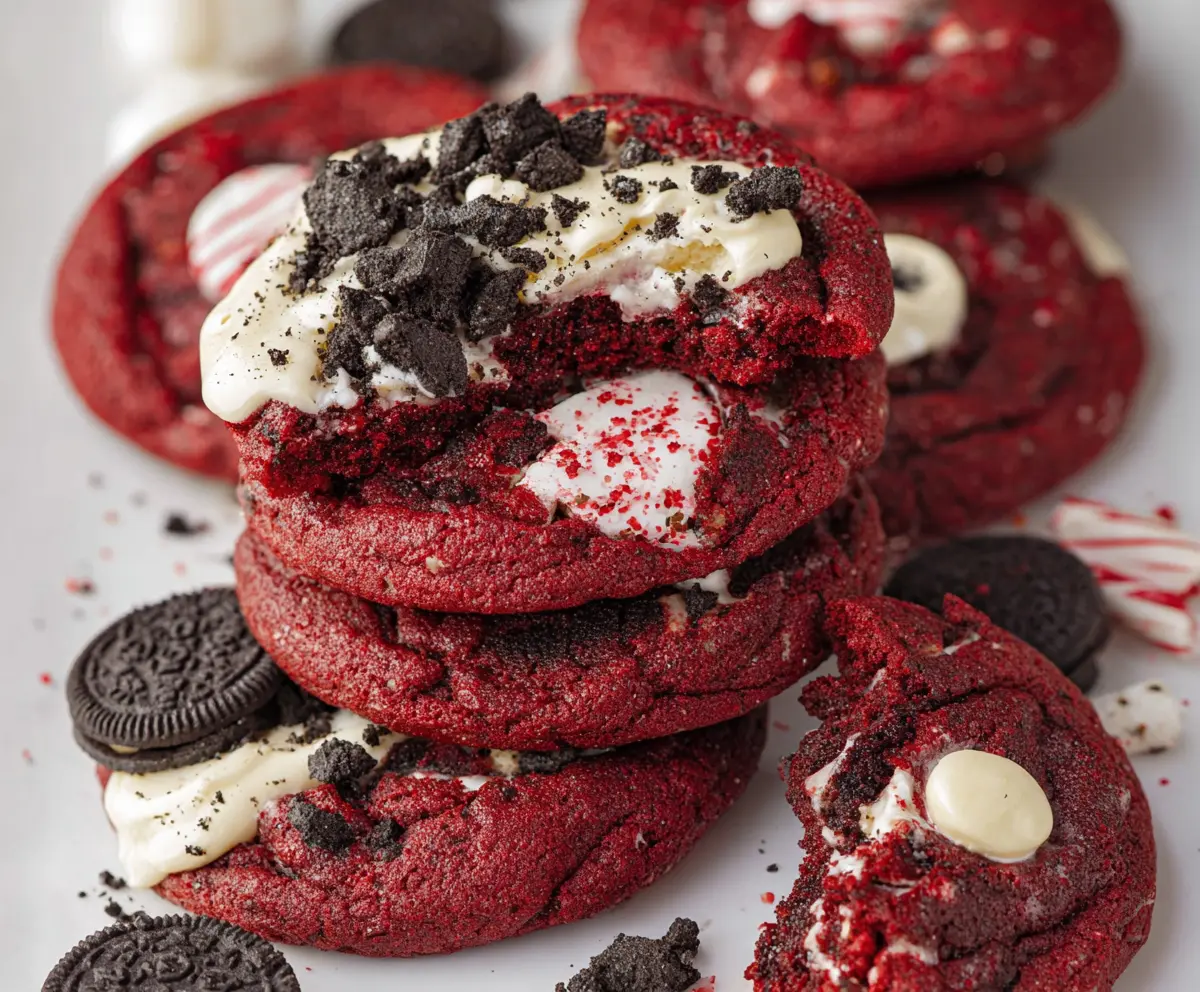
These Crushed Oreo Red Velvet Cookies are a fun twist on the classic red velvet flavor! They combine the soft and chewy texture of red velvet with crunchy bits of Oreo. Yum!
Every bite feels like a party in your mouth. I love to bake these for gatherings, and they always disappear fast—everyone’s favorite! Plus, they’re super easy to make. 😉
Key Ingredients & Substitutions
Unsalted Butter: Using unsalted butter gives you better control over the salt in your cookies. If you’re in a pinch, you can substitute it with equal parts of margarine or coconut oil, though the texture may vary slightly.
Granulated Sugar: This sugar provides sweetness and helps with the texture. You can swap it for brown sugar for a deeper flavor, but note that it may make the cookies a bit chewier.
Red Food Coloring: The food coloring is what makes these cookies pop! If you’re looking for a natural alternative, beet juice can be a fun substitution, though it may change the flavor slightly.
Buttermilk: If you don’t have buttermilk on hand, mixing regular milk with a splash of vinegar or lemon juice works perfectly. Just let it sit for about 5 minutes before using.
White Chocolate Chips: For a twist, you can use dark chocolate chips or even milk chocolate chips. The chocolate taste contrasts beautifully with the red velvet.
How Do I Achieve the Perfect Cookie Texture?
Getting the right texture for these cookies can be tricky but rewarding! Here are some tips:
- Make sure your butter is softened, not melted. This helps with creaming properly, leading to a lighter texture.
- Don’t over-mix once you add the dry ingredients. Mixing just until combined maintains a tender crumb.
- Underbake the cookies slightly. They may look soft when you take them out, but they’ll continue to bake on the baking sheet.
- Cooling on a wire rack helps them set without getting overly firm.
With these insights and techniques, you’ll be on your way to baking the perfect Crushed Oreo Red Velvet Cookies. Enjoy the process and the delicious results!

Crushed Oreo Red Velvet Cookies
Ingredients You’ll Need:
For the Cookie Dough:
- 1/2 cup (115g) unsalted butter, softened
- 3/4 cup (150g) granulated sugar
- 1 large egg
- 1 teaspoon vanilla extract
- 1 tablespoon red food coloring
- 1 1/4 cups (160g) all-purpose flour
- 2 tablespoons unsweetened cocoa powder
- 1/2 teaspoon baking soda
- 1/4 teaspoon salt
- 1/2 cup buttermilk (or 1/2 cup milk + 1/2 teaspoon vinegar)
- 1 cup white chocolate chips
- 1 cup Oreos, coarsely crushed
For Topping:
- Additional crushed Oreos for topping
How Much Time Will You Need?
This cookie recipe will take about 15-20 minutes for preparation and around 10-12 minutes for baking. Make sure to allow for cooling time of about 5 minutes on the baking sheet before transferring them to a wire rack. Altogether, you’ll need roughly 30-40 minutes before you can sink your teeth into these delicious cookies!
Step-by-Step Instructions:
1. Preheat and Prepare:
Start by preheating your oven to 350°F (175°C). While that’s heating up, line a baking sheet with parchment paper to prevent the cookies from sticking.
2. Cream the Butter and Sugar:
In a large mixing bowl, cream together the softened butter and granulated sugar using a whisk or electric mixer. Beat until the mixture is light and fluffy—this usually takes about 2-3 minutes!
3. Add Liquid Ingredients:
Next, add the egg, vanilla extract, and red food coloring to your butter and sugar mix. Stir well until everything is nicely combined and smooth.
4. Combine Dry Ingredients:
In a separate bowl, sift together the flour, cocoa powder, baking soda, and salt. This step helps to break up any clumps and ensures even mixing.
5. Mix it All Together:
Now, gradually add your dry ingredient mixture to the wet ingredients. Alternate with the buttermilk, starting and ending with the dry mix. Be careful not to over-mix; just stir until everything is combined.
6. Fold in Chocolate and Oreos:
Gently fold the white chocolate chips and the coarsely crushed Oreos into the dough. This adds delightful chunks in every bite!
7. Scoop the Cookies:
Using a spoon or cookie scoop, scoop rounded tablespoon-sized portions of dough onto the prepared baking sheet, leaving about 2 inches of space between each cookie.
8. Add Toppings:
If you’d like, press a little bit of additional crushed Oreos on top of each cookie for some extra flavor and a fun look.
9. Bake the Cookies:
Place the baking sheet in your preheated oven and bake for 10-12 minutes. The edges should be set, while the centers will still look soft—it’s perfect!
10. Cool:
Once done, let the cookies cool on the baking sheet for about 5 minutes. Then, transfer them to a wire rack to cool completely.
11. Serve and Enjoy:
Your scrumptious Crushed Oreo Red Velvet Cookies are ready! Serve them up and watch them disappear—enjoy the soft, chewy texture with delightful chunks of Oreo in every bite!
These cookies not only look amazing with their bright red color but also taste irresistibly delicious. Happy baking! 🍪❤️
Can I Use Regular Milk Instead of Buttermilk?
Yes, you can! Just mix 1/2 cup of regular milk with 1/2 teaspoon of vinegar or lemon juice. Let it sit for about 5 minutes before adding it to the recipe to mimic buttermilk’s acidity.
How Do I Store Leftover Cookies?
Store leftover cookies in an airtight container at room temperature for up to 3 days. For longer storage, you can freeze them in a freezer-safe container for up to 3 months. Just let them thaw at room temperature when you’re ready to enjoy them again!
Can I Substitute Different Types of Chocolate?
Absolutely! Feel free to swap white chocolate chips for semi-sweet or dark chocolate chips to suit your taste. Each variation will give the cookies a unique flavor twist.
What If My Dough Is Too Sticky?
If your dough feels too sticky, you can add a little more flour, one tablespoon at a time, until it’s manageable. Remember not to overwork the dough to keep your cookies tender!