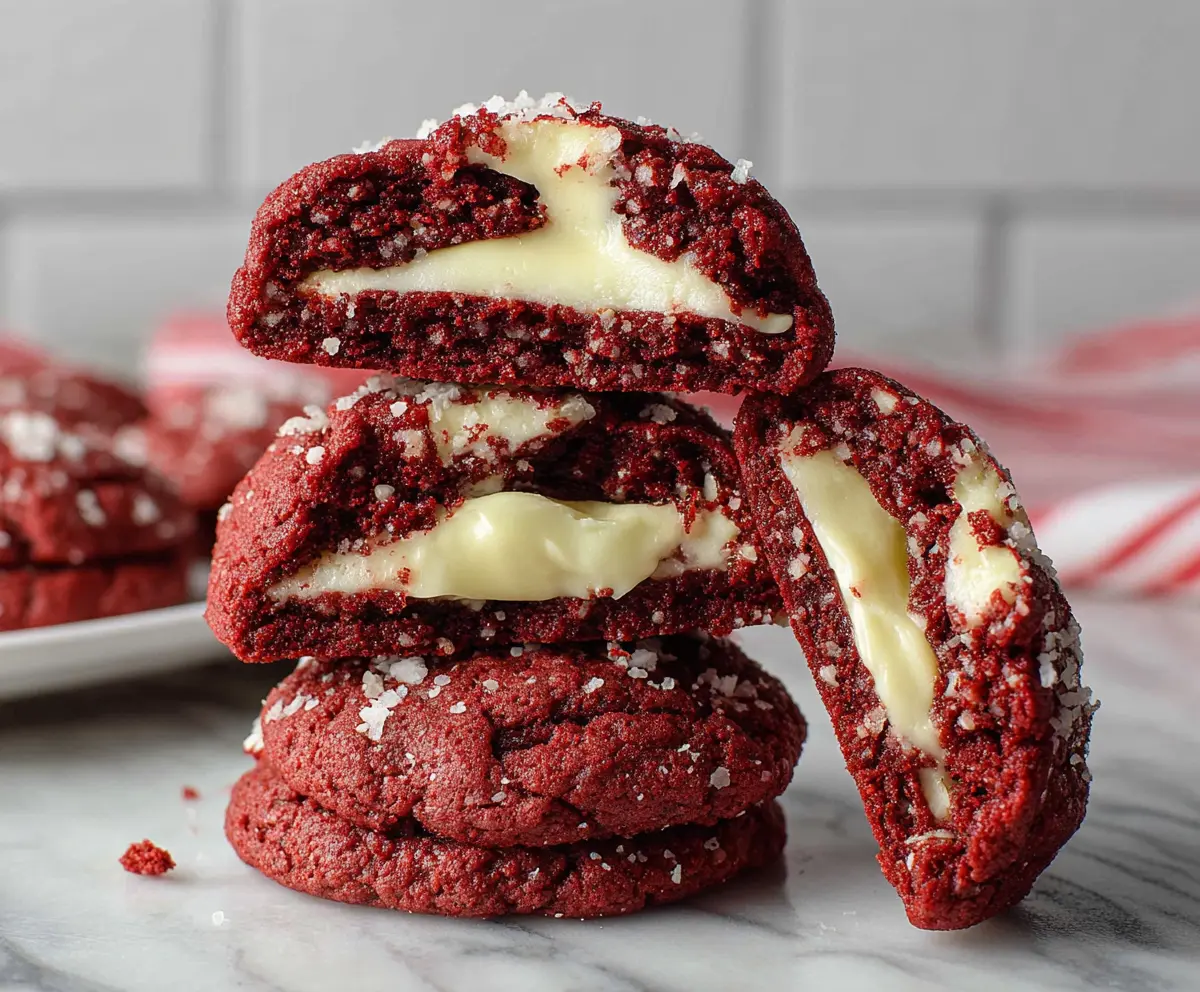
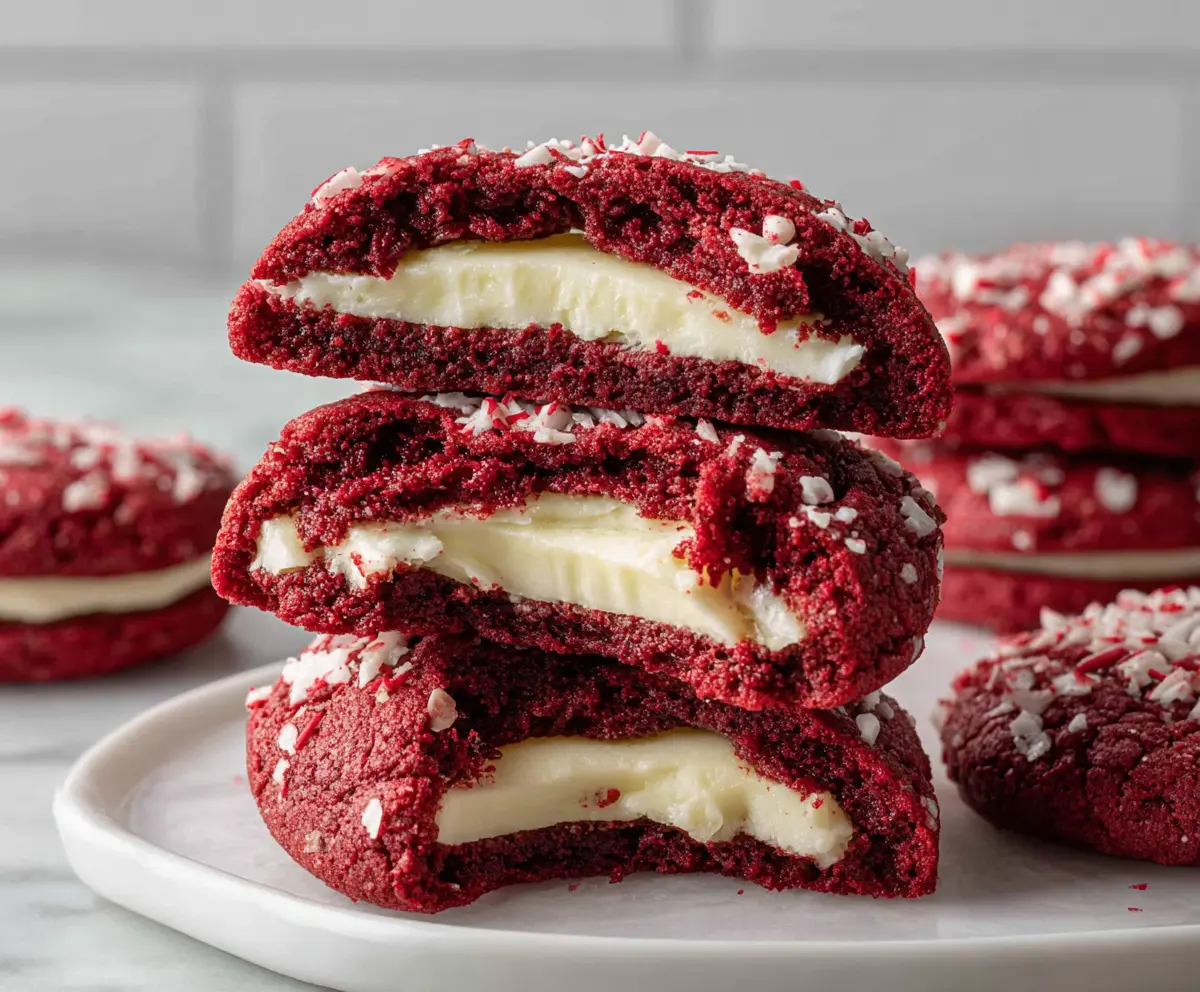
These Cream Cheese Filled Red Velvet Cookies are soft, delicious, and oh-so-pretty! They have a rich, velvety texture with a sweet cream cheese surprise inside. Yum!
Making these cookies is always a blast. I love watching them puff up in the oven, and let’s be real—who can resist that creamy filling? They disappear fast at my house! 😄
Key Ingredients & Substitutions
All-Purpose Flour: This is the standard for cookie recipes. You could use a gluten-free blend if needed! I often use a mix to keep the cookies soft while being gluten-free.
Cocoa Powder: Unsweetened cocoa powder adds chocolate flavor. If you’re out, carob powder can be a good substitute, but it’s not as rich in flavor.
Unsalted Butter: Softened butter is key for creaminess. If you’re dairy-free, coconut oil or vegan butter can work, though they may change the taste a bit.
Red Food Coloring: Traditional red velvet relies on this for color. If you prefer natural options, beet juice can add color without artificial ingredients.
Buttermilk: It adds moisture and a slight tang. You can make a substitute using milk and lemon juice or vinegar. Just let it stand for 5-10 mins before using!
What’s the Best Way to Shape and Fill the Cookies?
Shaping these cookies might seem tricky, but it’s simple once you get the hang of it. Here’s the scoop:
- Start with chilled dough—it makes it easier to handle.
- Use about 2 tablespoons of dough. Flatten it in your palm and place about 1 teaspoon of cream cheese filling in the center.
- Take a smaller ball of dough (about 1 tablespoon) to cover the filling. Ensure the edges seal tightly to keep the filling from escaping during baking.
- Roll it into a smooth ball for a nice finish! This step is crucial for keeping that delightful filling inside.
With these tips, you’ll have beautifully shaped cookies that look as good as they taste!
Cream Cheese Filled Red Velvet Cookies
Ingredients You’ll Need:
For the Red Velvet Cookie Dough:
- 2 1/2 cups all-purpose flour
- 1 1/2 tablespoons unsweetened cocoa powder
- 1 teaspoon baking soda
- 1/2 teaspoon salt
- 1 cup (2 sticks) unsalted butter, softened
- 1 1/4 cups granulated sugar
- 1 large egg
- 1 teaspoon vanilla extract
- 1 tablespoon red food coloring (liquid or gel)
- 1 teaspoon white vinegar
- 1/2 cup buttermilk
For the Cream Cheese Filling:
- 8 oz (1 package) cream cheese, softened
- 1/3 cup granulated sugar
- 1 teaspoon vanilla extract
For Topping:
- Coarse sugar or pearl sugar (optional)
- Flaky sea salt (optional)
How Much Time Will You Need?
This scrumptious recipe will take about 1 hour 30 minutes, including 1 hour for chilling the dough and about 15-20 minutes for baking. A little patience is required while the dough chills, but the end result is totally worth it!
Step-by-Step Instructions:
1. Make the Cream Cheese Filling:
In a mixing bowl, combine the softened cream cheese, granulated sugar, and vanilla extract. Use a hand mixer or a whisk to beat until smooth and creamy. Once ready, transfer the filling into a piping bag or a zip-top bag with a small corner snipped off for easy filling. Pop it in the fridge while you prepare the cookie dough!
2. Prepare the Cookie Dough:
In a medium bowl, whisk together the flour, cocoa powder, baking soda, and salt. This will be your dry mixture. Set it aside for now.
In a larger mixing bowl, beat the softened butter and granulated sugar together until light and fluffy—this should take about 2-3 minutes on medium speed. Then, mix in the egg and vanilla extract until combined.
Next, stir in the red food coloring, white vinegar, and buttermilk until everything is nicely mixed. Finally, gradually add the dry ingredient mixture to the wet ingredients, mixing on low speed until everything is just combined. Remember, don’t overmix!
3. Chill the Dough:
Cover the dough with plastic wrap or place it in an airtight container and chill in the refrigerator for at least 1 hour. Chilling helps the dough firm up so that it’s easier to shape.
4. Shape and Fill the Cookies:
Preheat your oven to 350°F (175°C) and line your baking sheets with parchment paper. Time for some cookie magic!
Using a cookie scoop or a tablespoon, portion out about 2 tablespoons of the red velvet dough for each cookie. Flatten each dough ball slightly in your palm.
Now, it’s time to fill! Pipe or spoon about 1 teaspoon of the cream cheese filling into the center of the flattened dough. Take another smaller ball of dough (about 1 tablespoon) and place it on top of the filling, gently sealing the edges around the cream cheese by rolling it back into a smooth ball. Make sure no filling escapes!
5. Add a Sparkly Touch:
If you’d like, roll the cookie balls in some coarse sugar or pearl sugar for a sparkling finish!
6. Bake the Cookies:
Arrange the cookies on the prepared baking sheets, leaving about 2 inches of space between them. Bake for 12-14 minutes, or until the edges are set and the centers still look a tiny bit soft. That’s the perfect texture!
7. Cool and Serve:
Once they’re out of the oven, if you want, immediately sprinkle them with a little flaky sea salt. Let the cookies cool on the baking sheet for 5 minutes before transferring them to a wire rack to cool completely.
And there you have it! Enjoy these chewy, moist red velvet cookies with that delightful cream cheese center. Perfect for parties, special occasions, or just a sweet craving any day!
Can I Use Low-Fat Cream Cheese for the Filling?
While you can use low-fat cream cheese, keep in mind that it might not be as creamy and may result in a slightly different texture. Regular cream cheese gives a richer taste and a smoother filling, so it’s worth using if you can!
How Do I Prevent the Cream Cheese Filling From Leaking Out?
To keep the filling from leaking, make sure to seal the edges well around the cream cheese filling when you shape the cookies. Rolling them gently into a smooth ball will also help encase the filling securely.
Can I Make the Dough Ahead of Time?
Absolutely! You can prepare the cookie dough in advance and chill it in the refrigerator for up to 2 days. Just make sure to cover it tightly to prevent it from drying out. When you’re ready to bake, let the dough sit at room temperature for a few minutes before shaping and filling.
What Should I Do if My Cookies Spread Too Much While Baking?
If your cookies spread too much, it could be due to the dough being too warm. Make sure to chill the dough thoroughly before baking, and consider chilling the formed cookies for an additional 15-30 minutes before placing them in the oven to help them hold their shape.