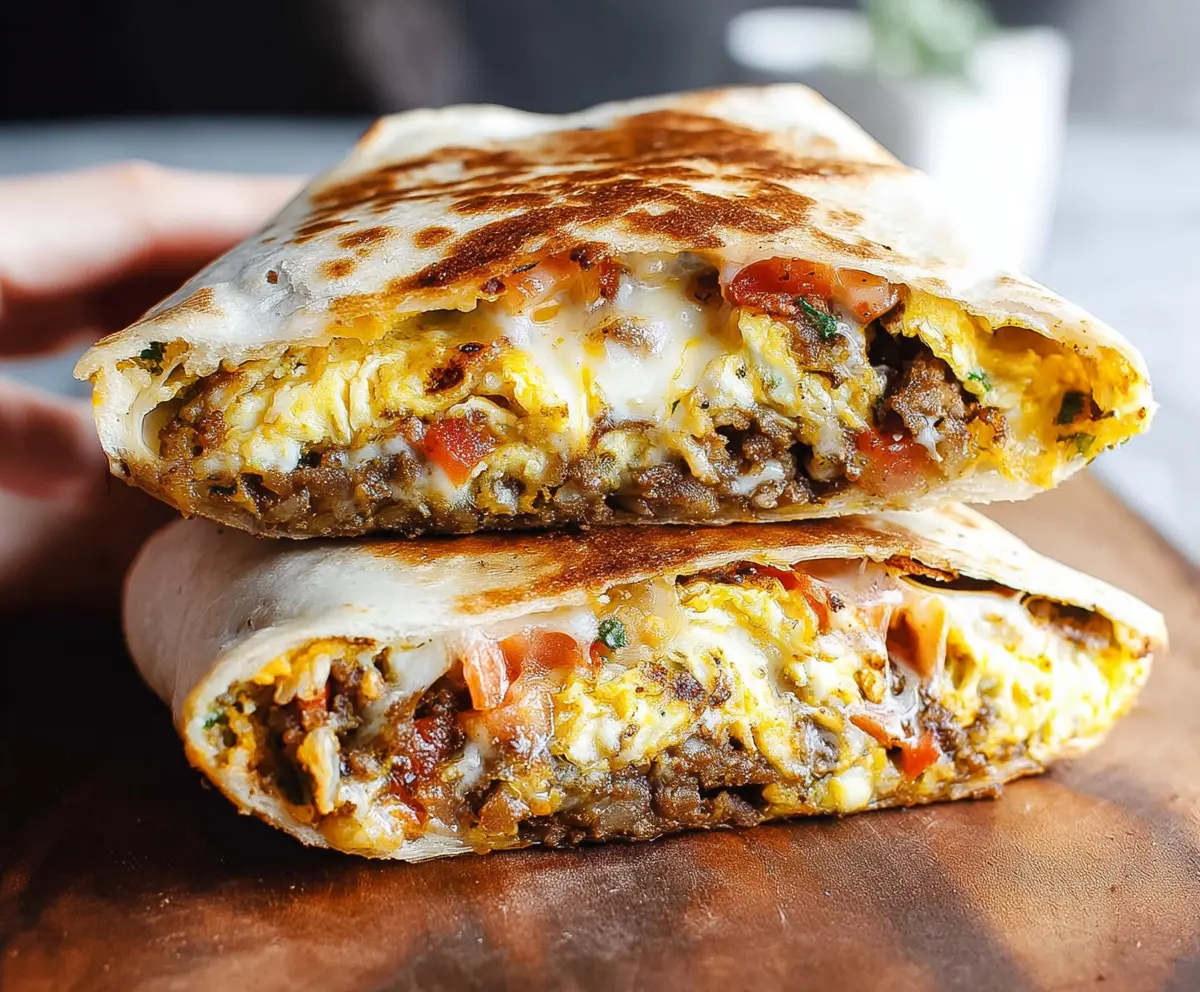
The Breakfast Crunchwrap is a fun and tasty way to start your day! Packed with eggs, cheese, and your favorite fillings, all wrapped up in a warm tortilla, it’s like breakfast on the go!
You can even toss in bacon or veggies for extra yum! I love making these for a busy morning—they’re quick, filling, and oh-so-satisfying. Plus, no dishes to wash! 😄
Key Ingredients & Substitutions
Flour Tortillas: The base of your crunchwrap! I recommend using large flour tortillas (10-12 inches) for easy wrapping. If you prefer a healthier option, whole wheat or corn tortillas can work too, just keep in mind they may not hold up as well.
Eggs: Eggs provide the protein and creaminess in this dish. If you’re vegan or allergic, consider using scrambled tofu or chickpea flour mixed with water to create a similar texture.
Breakfast Sausage/Ground Beef: Both add a hearty flavor! You can swap this for turkey sausage, vegetarian sausage, or even black beans for a meatless option. I love adding some spices to ground turkey for extra flavor!
Shredded Cheese: Cheese adds richness and helps bind everything together. Cheddar is classic, but you can use pepper jack for extra kick or a dairy-free alternative if needed.
Tostada Shells: These give a nice crunch! If you can’t find them, you can use crispy corn tortillas instead or skip them altogether for a softer wrap.
What’s the Best Way to Fold and Cook the Crunchwrap?
Folding the crunchwrap can be tricky, but with a little practice, it gets easy! Here’s how to do it right:
- After layering your ingredients, start folding the edge of the tortilla nearest you over the filling.
- Then fold in the sides towards the center and continue to roll tightly until completely wrapped.
- Use some water or extra salsa on the edges to help seal it if needed. This is a key step to prevent spillage during cooking!
When it comes to cooking, a non-stick skillet is your best friend. Preheat it on medium heat and use butter or oil to ensure that your crunchwrap gets golden brown and crispy all over. Be patient when flipping it to keep everything intact!

Breakfast Crunchwrap
Ingredients You’ll Need:
- 4 large flour tortillas (10-12 inches)
- 6 large eggs
- 1/4 cup milk
- Salt and pepper, to taste
- 1 cup cooked breakfast sausage or ground beef (crumbled)
- 1 cup shredded cheese (cheddar or a Mexican blend)
- 1/2 cup diced tomatoes
- 1/4 cup chopped fresh cilantro
- 1/2 cup salsa or pico de gallo
- 4 medium tostada shells or corn tortillas (toasted until crispy)
- 2 tablespoons butter or oil (for cooking)
How Much Time Will You Need?
This recipe takes about 15 minutes of prep time and 15 minutes of cooking time, so you’re looking at a total of about 30 minutes from start to finish. Perfect for a busy morning or a fun breakfast treat!
Step-by-Step Instructions:
1. Whisk the Eggs:
In a medium bowl, combine the eggs, milk, salt, and pepper. Whisk them together until everything is well mixed and you see a bit of froth on top. This helps make your scrambled eggs fluffy!
2. Scramble the Eggs:
Heat a non-stick skillet over medium heat and add a little butter or oil. Once hot, pour the egg mixture into the skillet. Gently scramble the eggs until they’re fully cooked but still moist. Remove them from the skillet and set aside.
3. Heat the Meat:
In the same skillet, warm the cooked breakfast sausage or ground beef until it’s heated through. This only takes a few minutes! You can add extra seasoning here if you like.
4. Assemble the Crunchwrap:
Lay one flour tortilla flat on a clean surface. Spread a few tablespoons of salsa or pico de gallo in the middle of the tortilla. Now, place one crispy tostada shell right on top of the salsa.
5. Layer the Goodness:
On top of the tostada shell, add a generous amount of scrambled eggs, followed by the warmed sausage or beef, diced tomatoes, chopped cilantro, and a handful of shredded cheese. Yum!
6. Fold It Up:
Now for the fun part! Carefully fold the edges of the tortilla up and over the fillings to create a wrapped, hexagonal shape. If the edges don’t stick well, use a bit of water or salsa to help seal them.
7. Cook the Crunchwrap:
In a clean skillet, heat a bit more butter or oil over medium heat. Place the wrapped crunchwrap seam-side down in the skillet. Let it cook for 2-3 minutes until the bottom is golden brown and sealed. This makes it crunchy!
8. Flip and Finish:
Gently flip the crunchwrap over and cook the other side for another 2-3 minutes until it’s golden brown and the cheese is melted inside.
9. Serve and Enjoy:
Remove from heat and let your delicious crunchwrap rest for about a minute. Then, slice it in half and serve warm with extra salsa or hot sauce on the side if you like a little kick!
Enjoy your tasty, melty Breakfast Crunchwrap packed with tasty fillings all wrapped up securely for a delicious breakfast on the go!
Can I Use Different Fillings in This Crunchwrap?
Absolutely! Feel free to customize the fillings to your liking. You can use grilled chicken, bacon, or even roasted vegetables for a healthier option. Just make sure everything is cooked through before adding it to the wrap!
Can I Make This Crunchwrap Ahead of Time?
Yes, you can! Prepare the fillings and assemble the crunchwraps ahead of time. Store them in an airtight container in the fridge for up to 24 hours. When you’re ready to eat, simply cook them in a skillet as directed for a quick breakfast!
How to Store Leftovers?
If you have any leftover crunchwraps, store them in an airtight container in the fridge for up to 2 days. To reheat, place them back in a skillet over medium heat until warmed through and crispy. You can also microwave them, but they won’t be as crunchy!
Can I Freeze the Breakfast Crunchwraps?
Yes! You can freeze assembled and uncooked crunchwraps. Just wrap them tightly in foil or plastic wrap and place them in a freezer-safe bag or container. Thaw them in the fridge overnight before cooking them in a skillet for a quick meal!